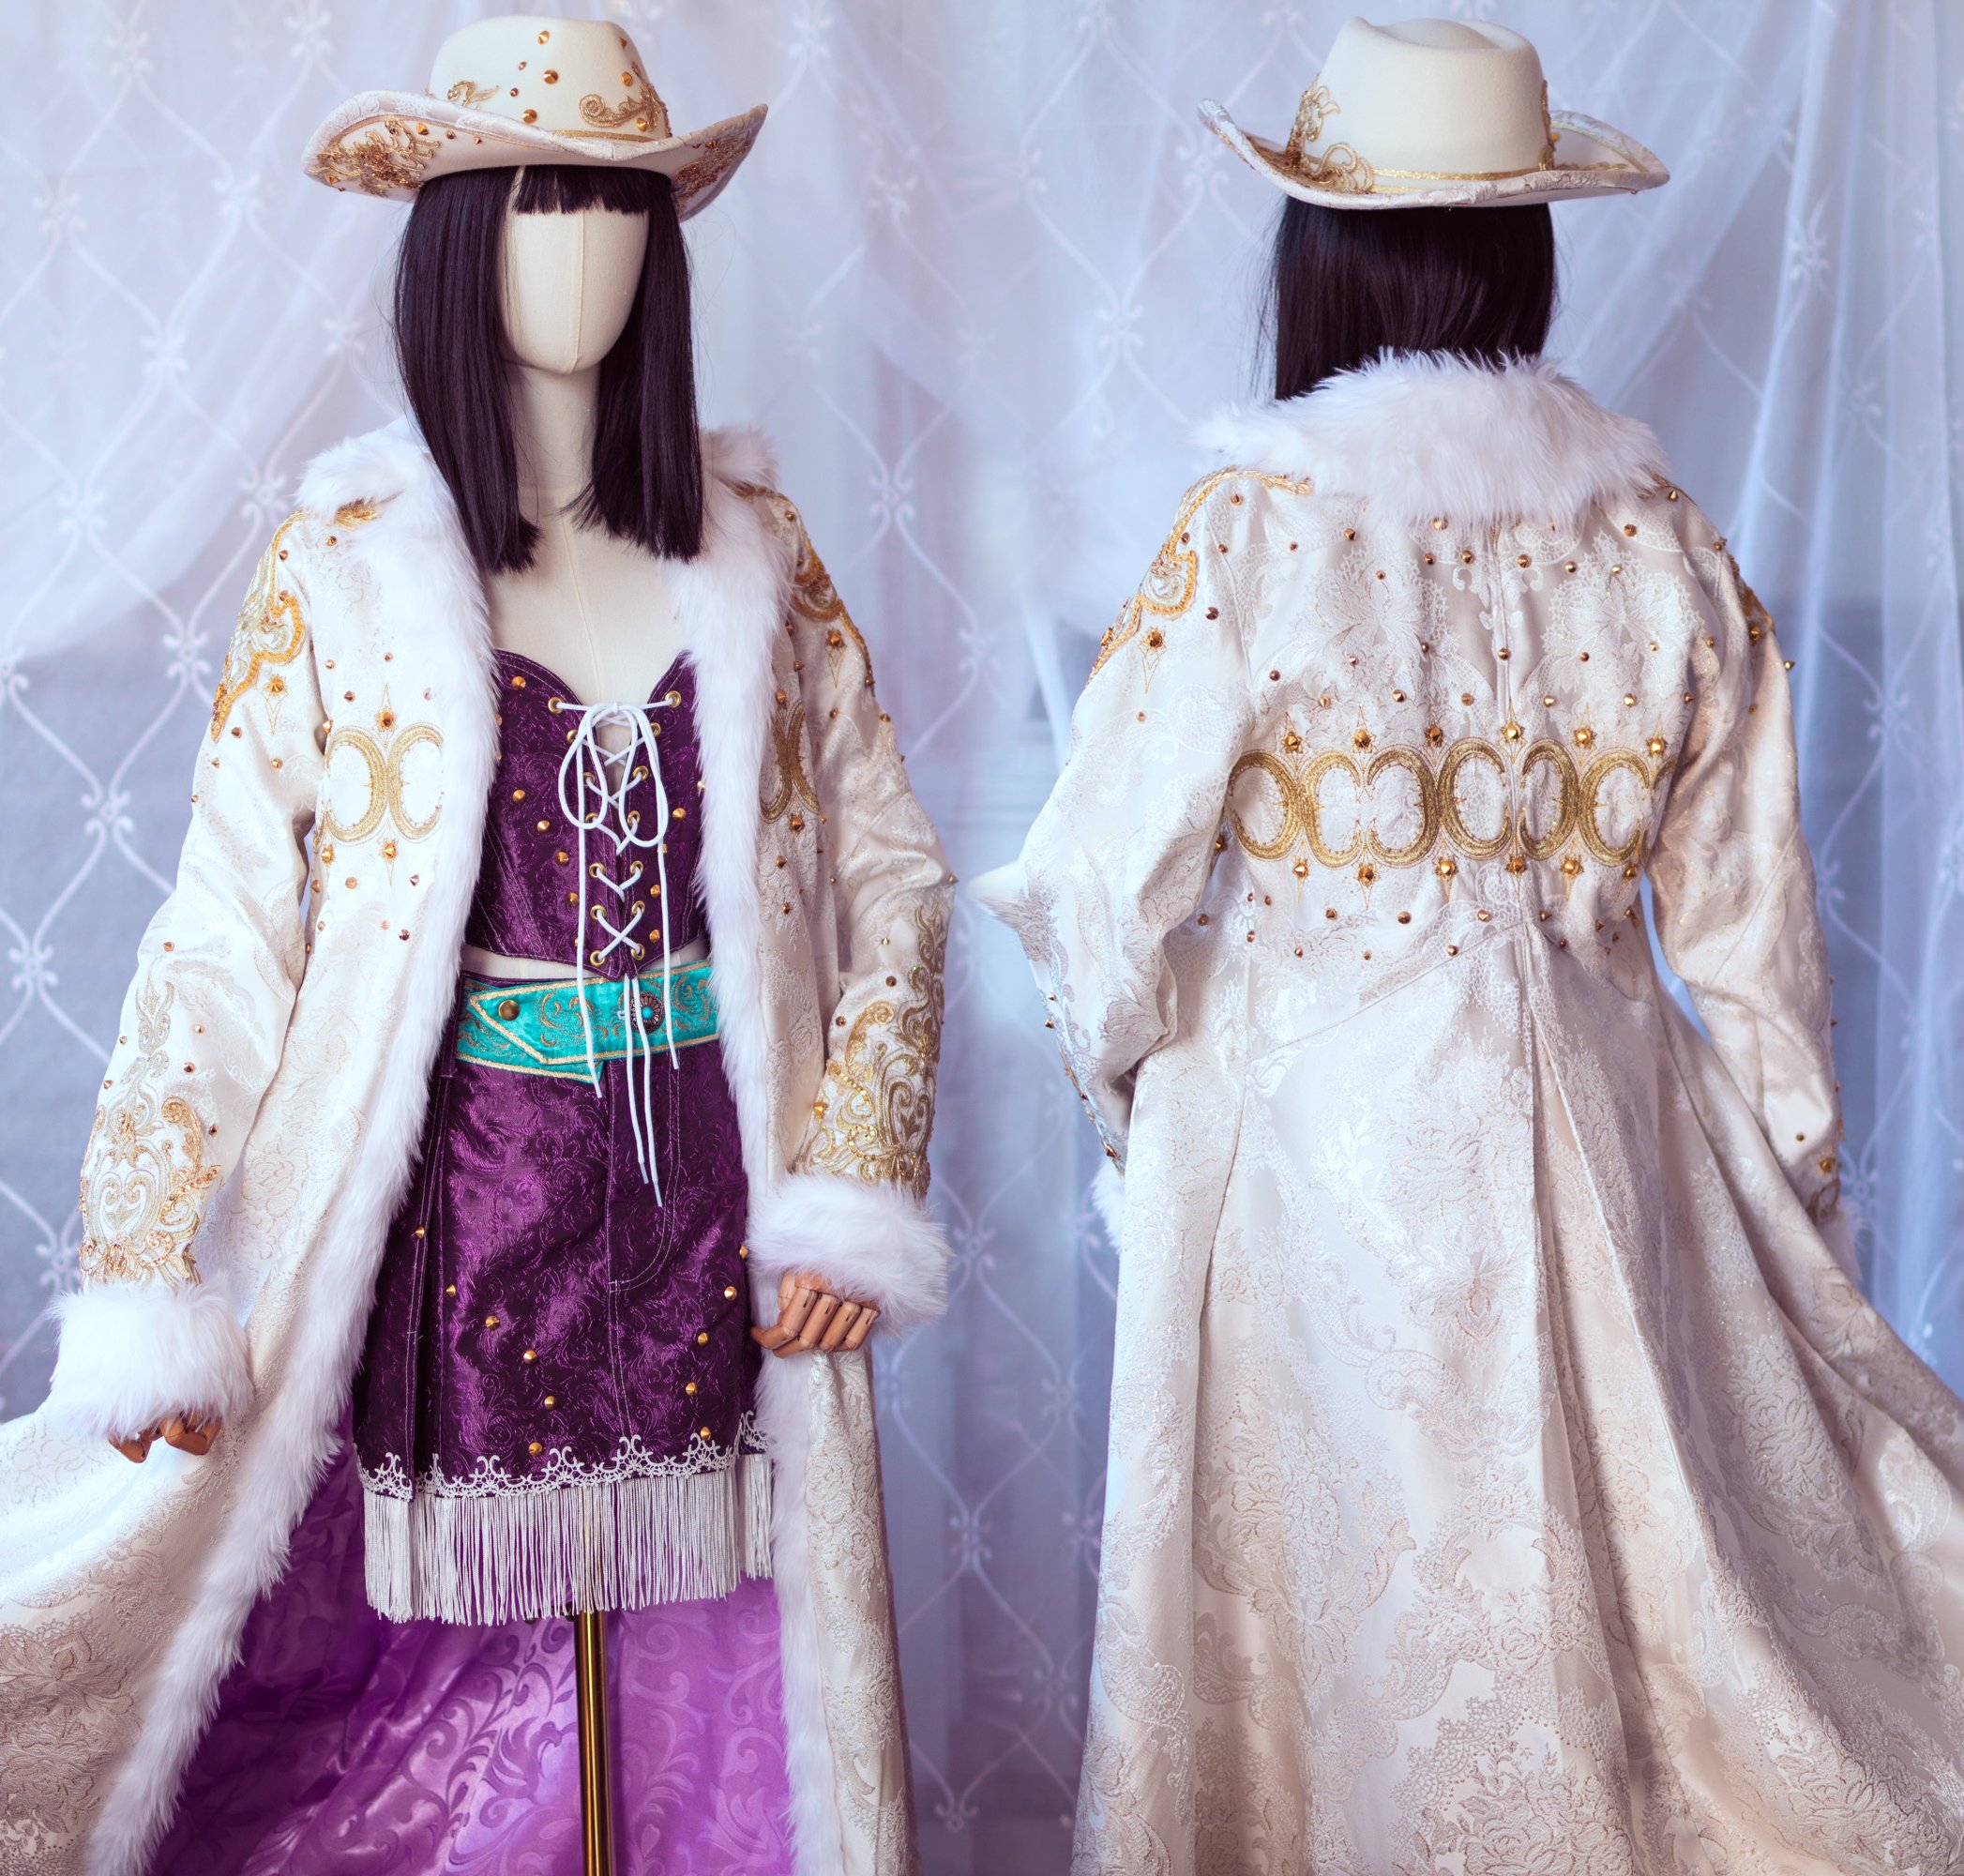
behind the making process Mrs. All Sunday - One Piece
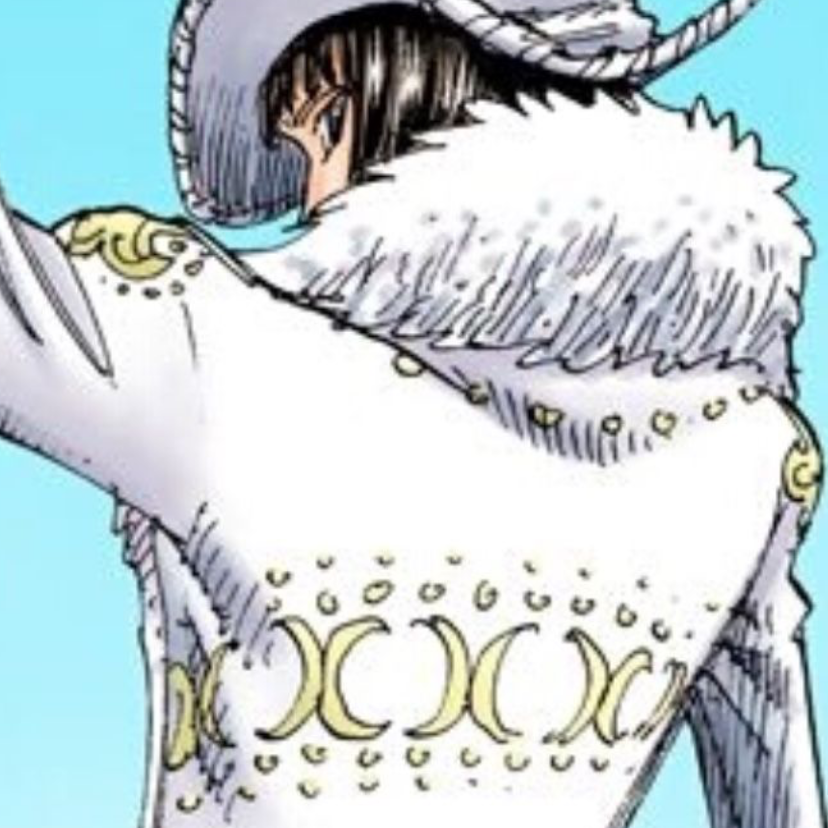
The reference:
There are many different interpretations of this outfit that vary in color and style based on manga vs anime. It can be very confusing to create when one image has gold details and the other has yellow. I chose just a couple screen captures of the character and stuck with it. Because I always add my own elements, I also make a sketch of what I would want that to look like.
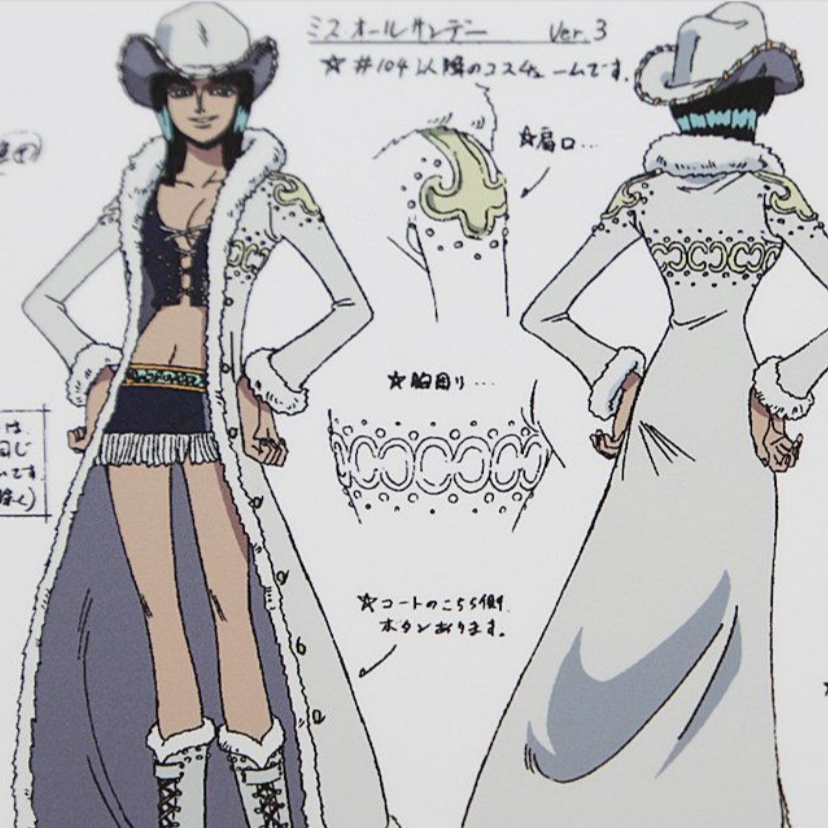
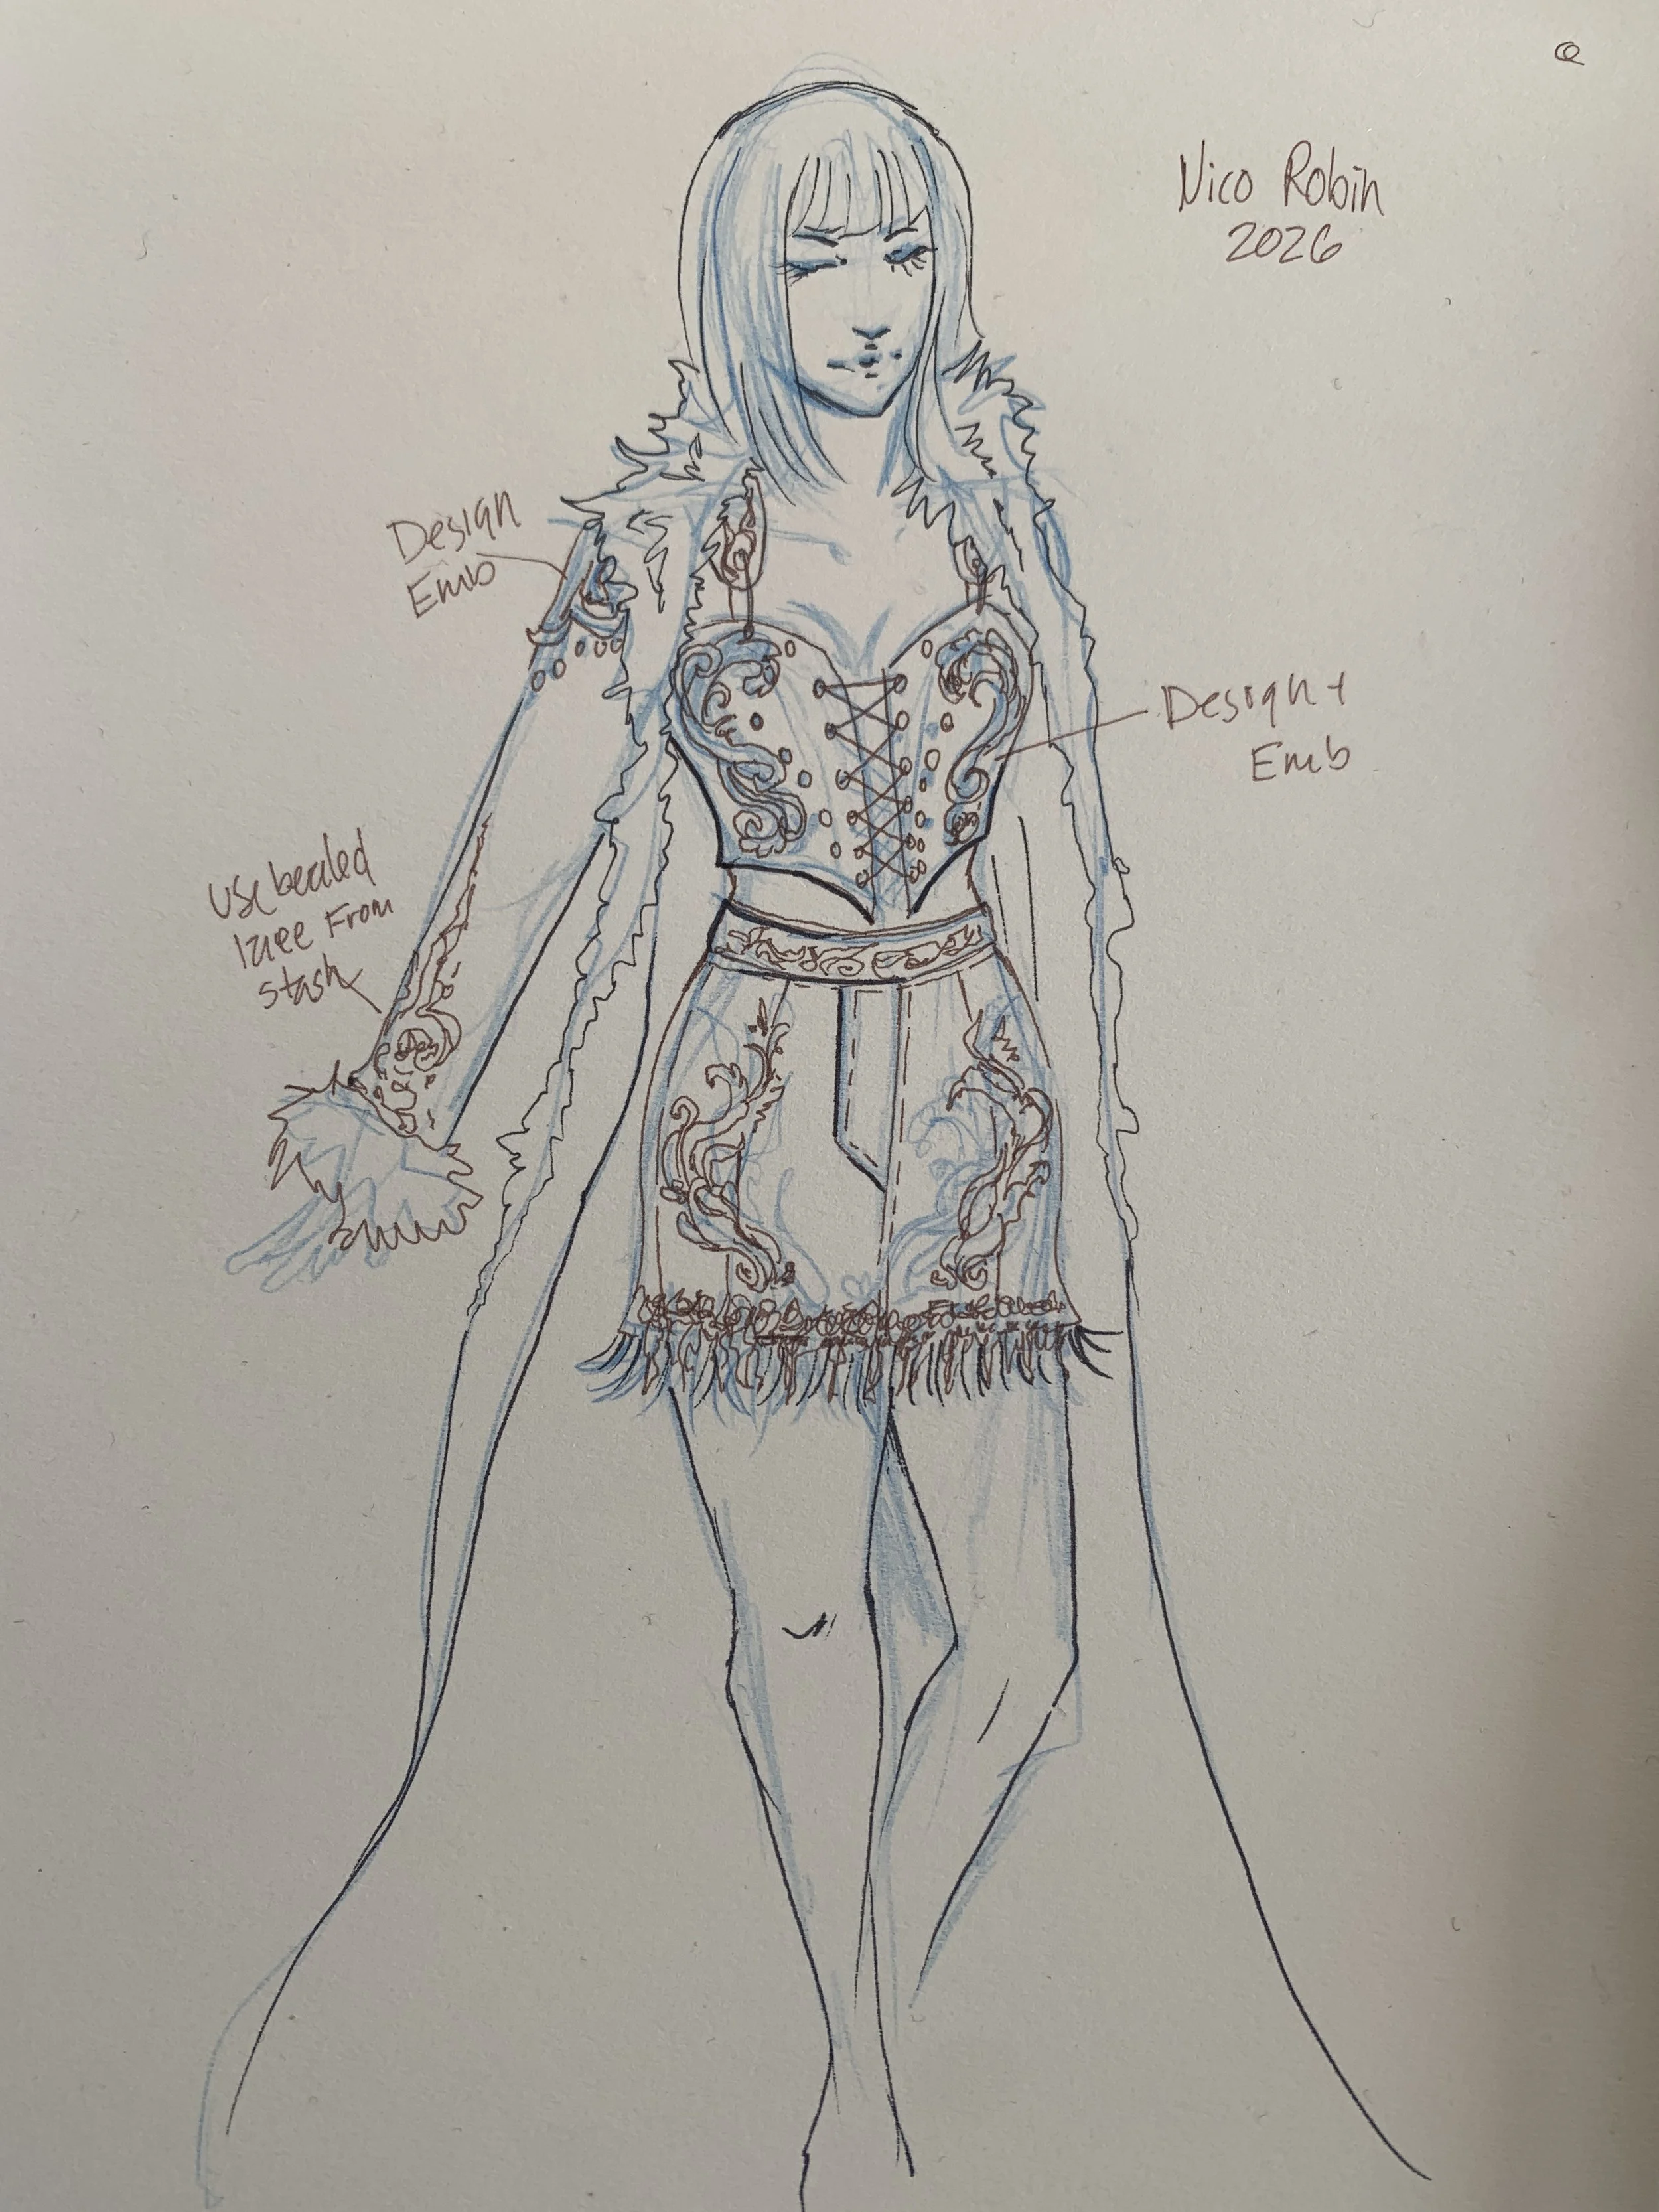
Original Design
I had big plans for applique and embroidery. I did end up deviating from this in my final.
Fabrics:
Lining fabric is a printed cotton and has also been interfaced.
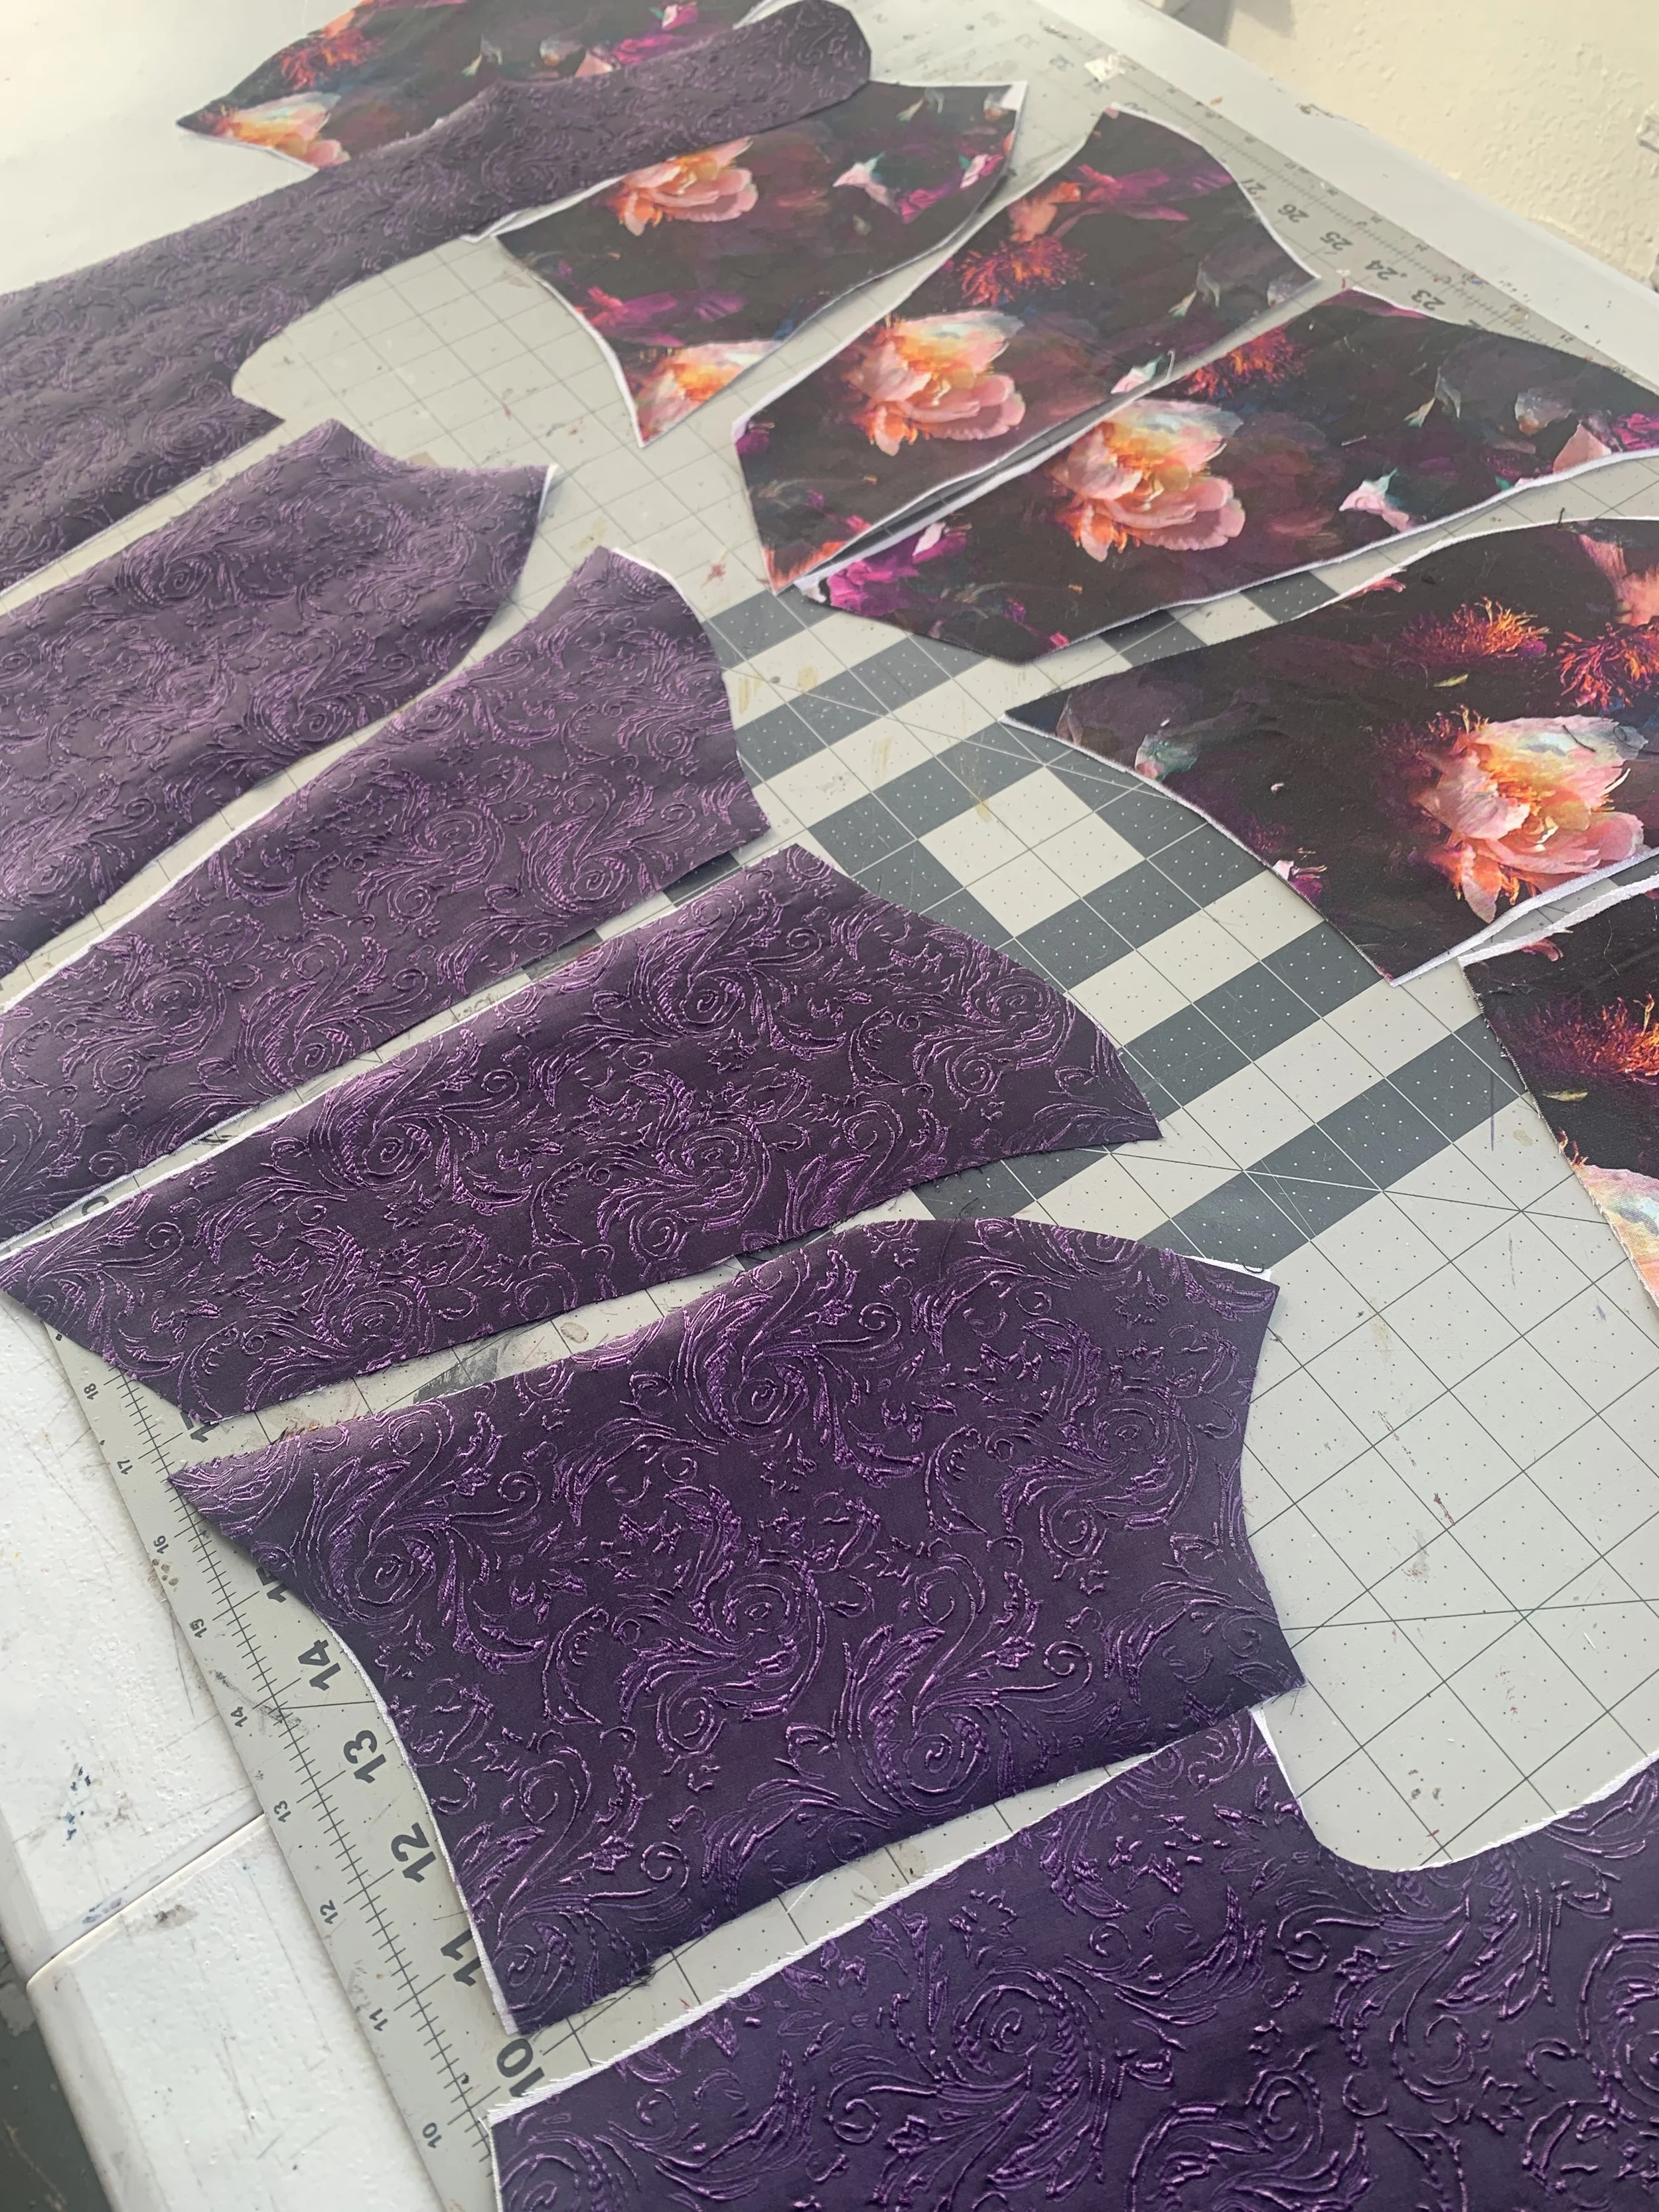
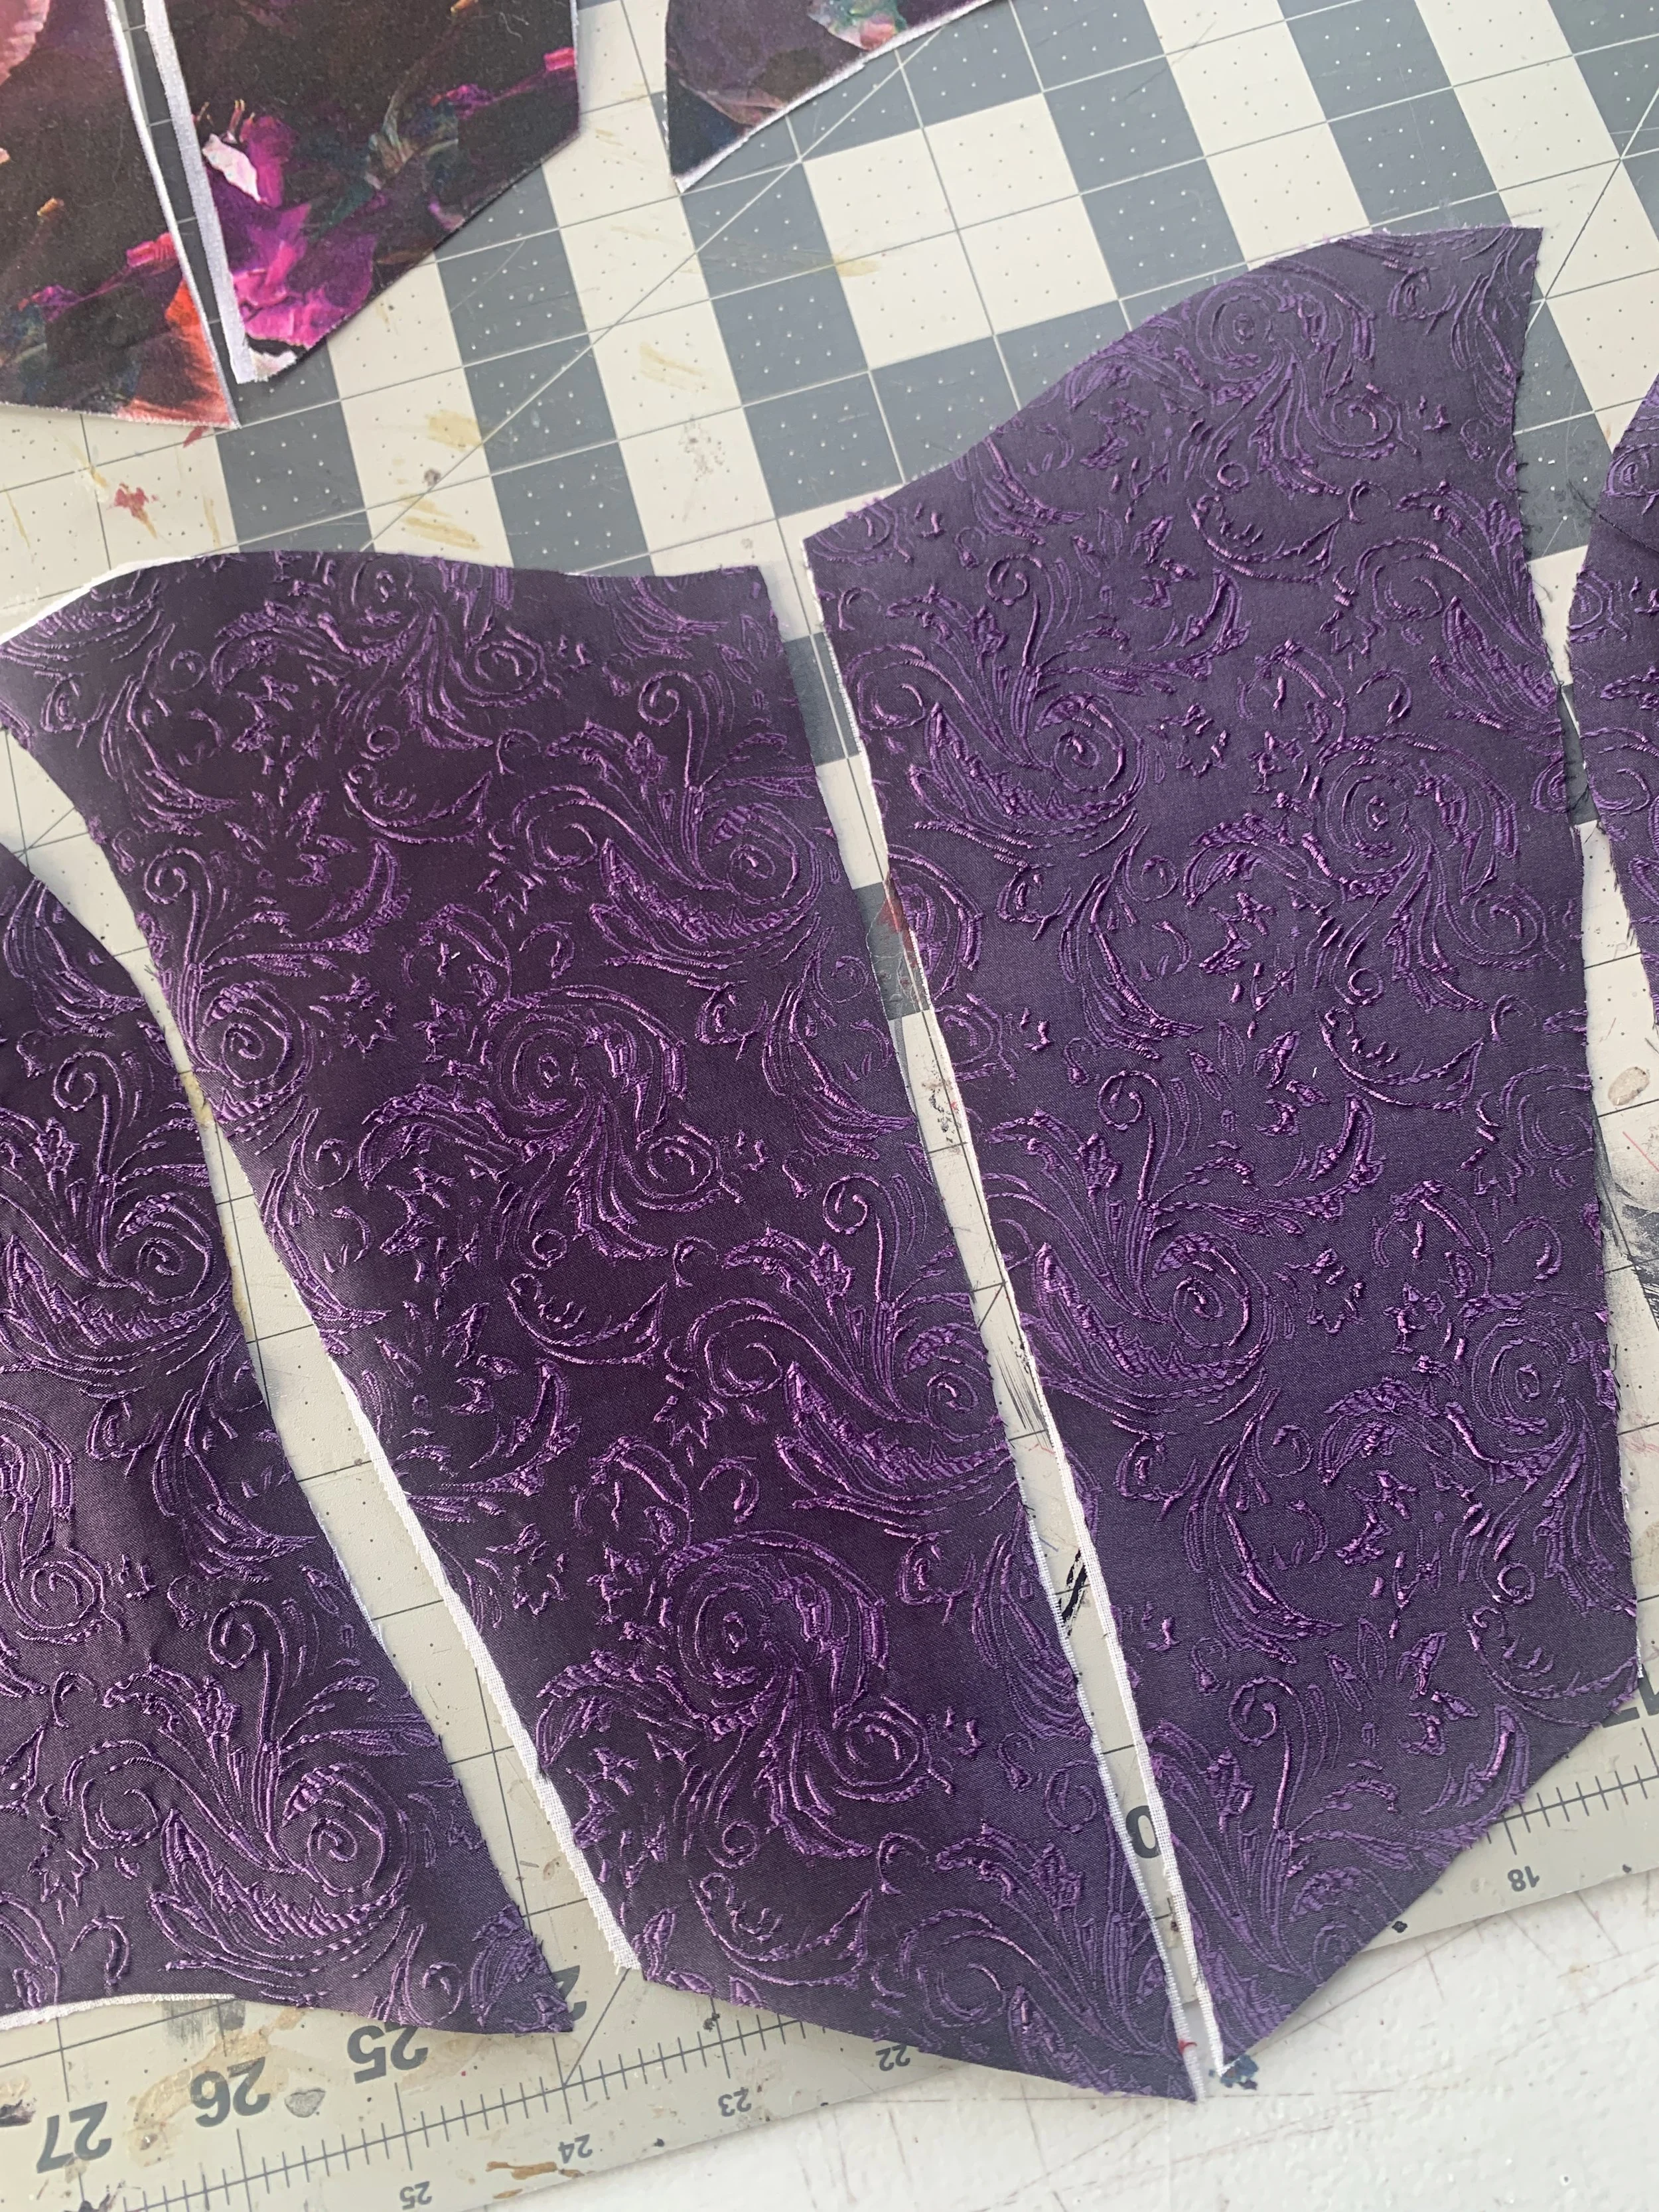
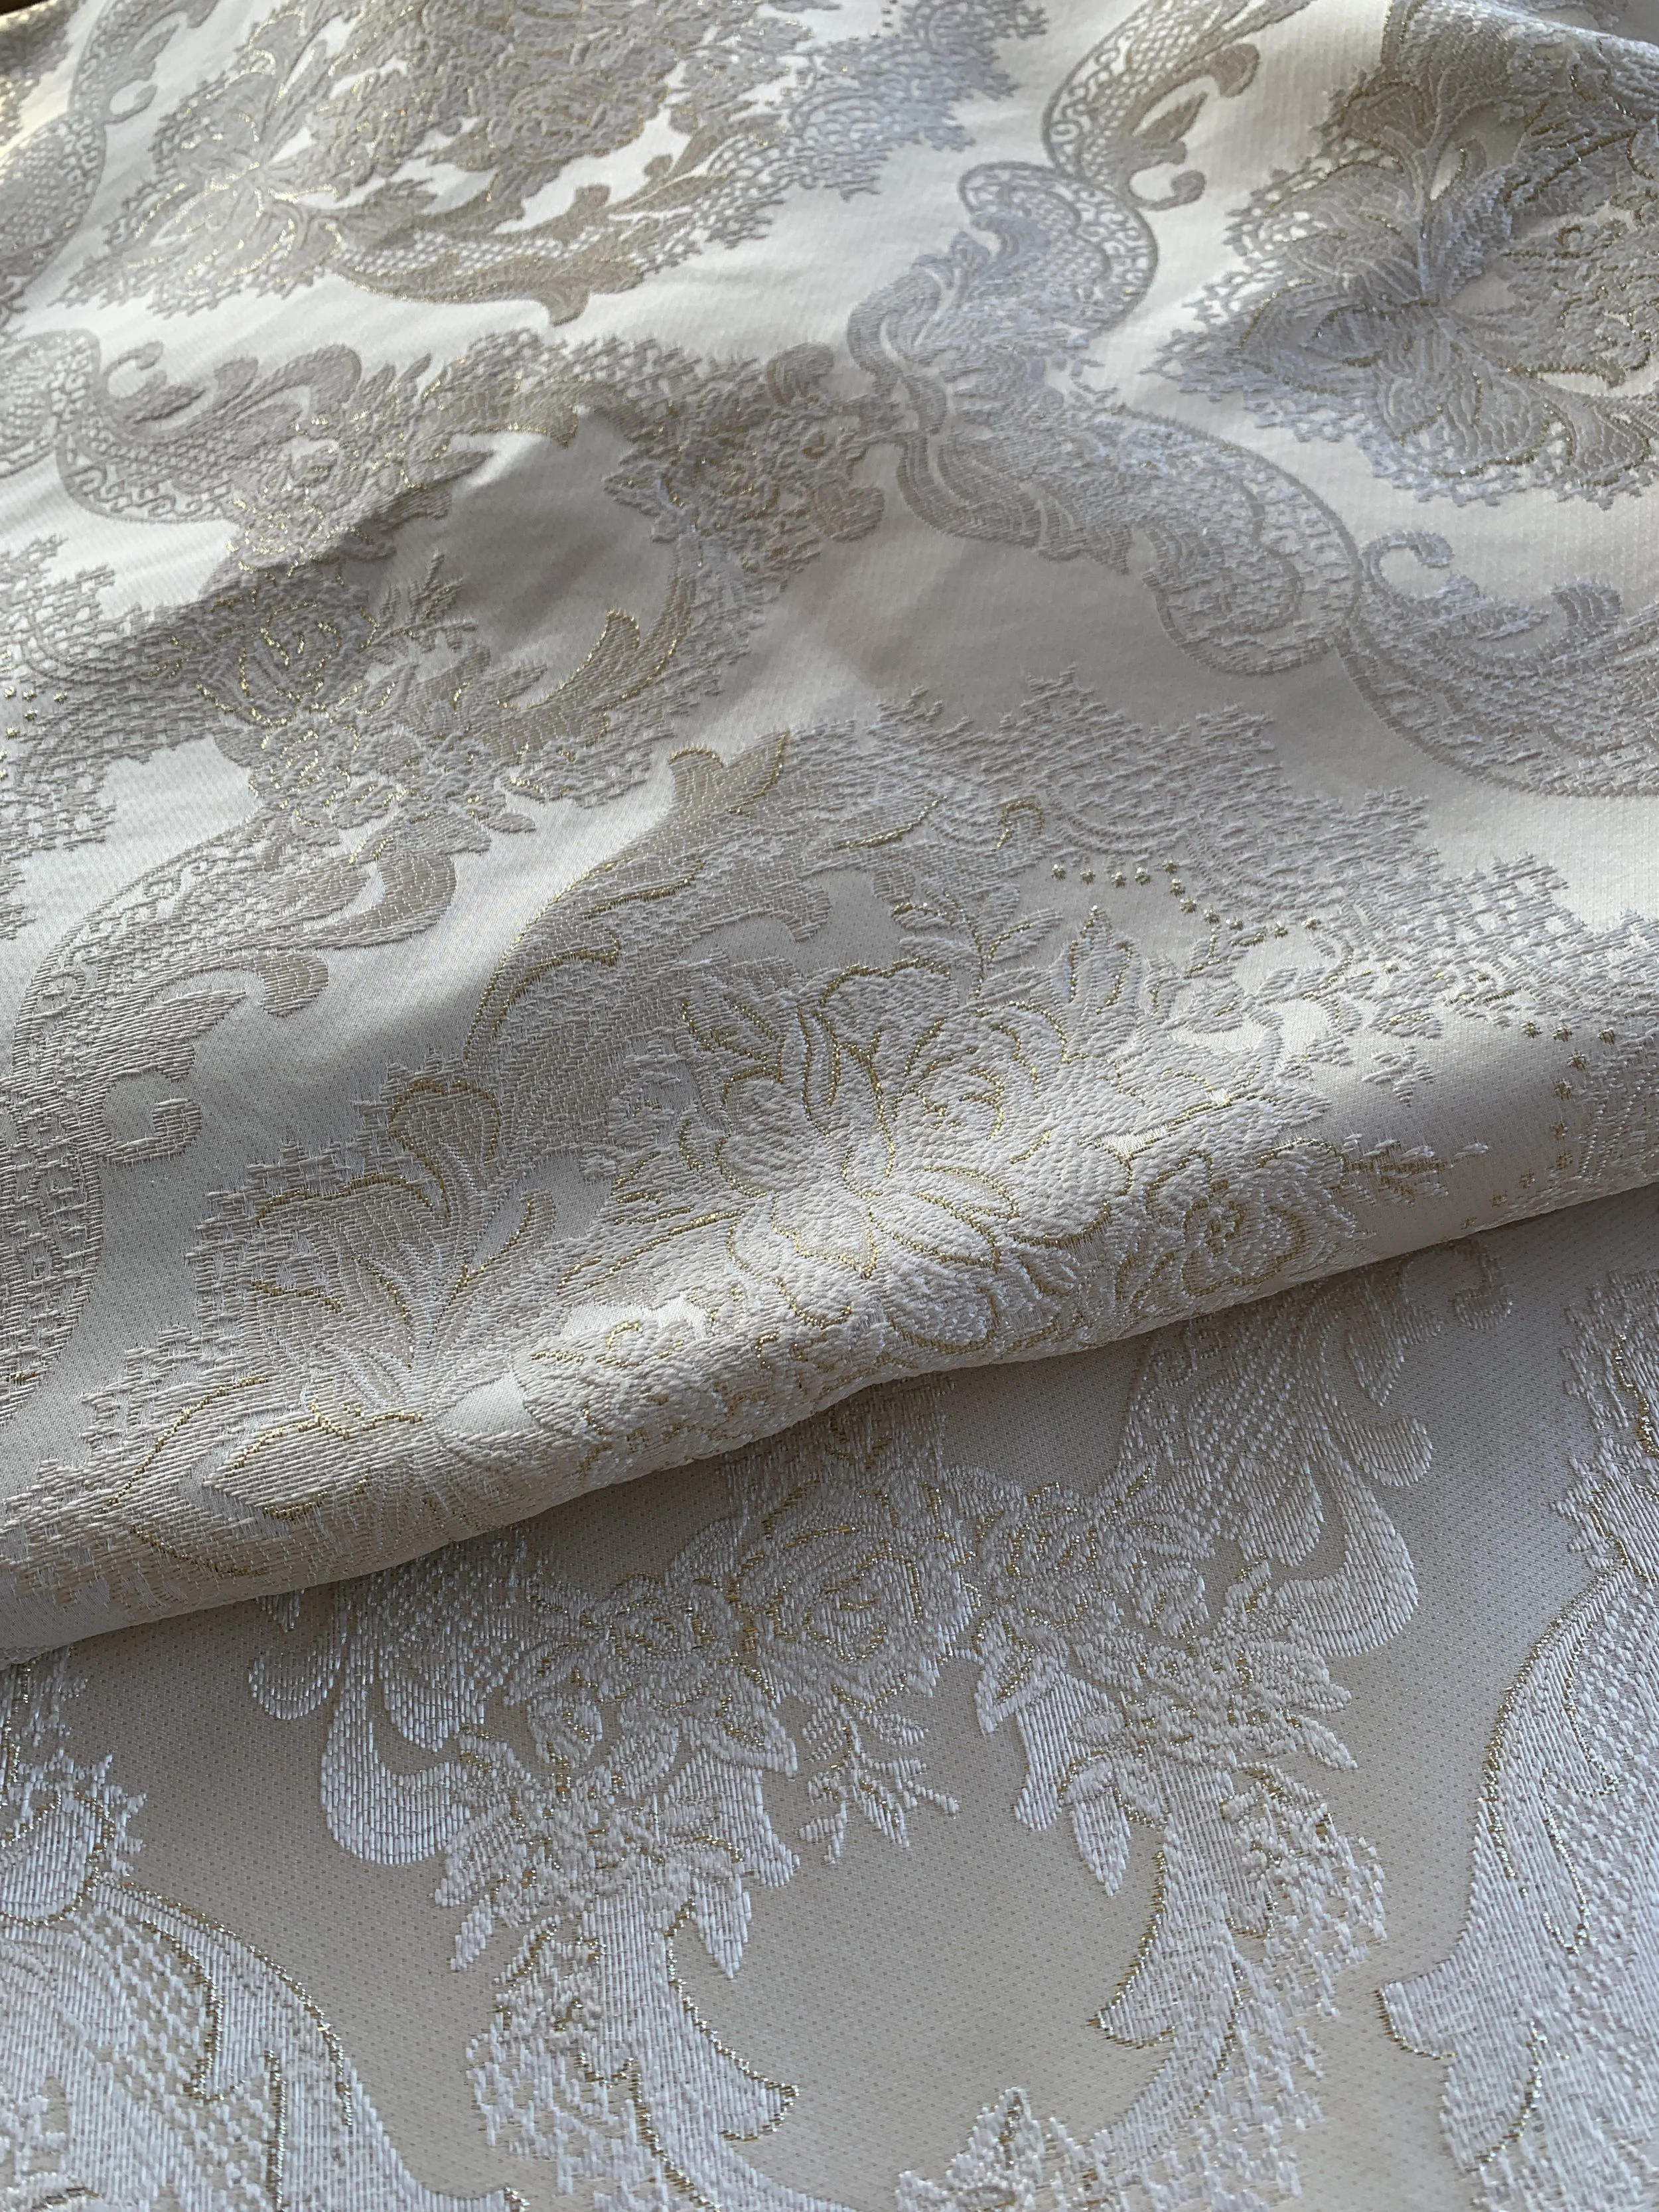
Outside fabric, is a purple Chinese silk brocade which I have interfaced to retain integrity and structure.
Top/Stay
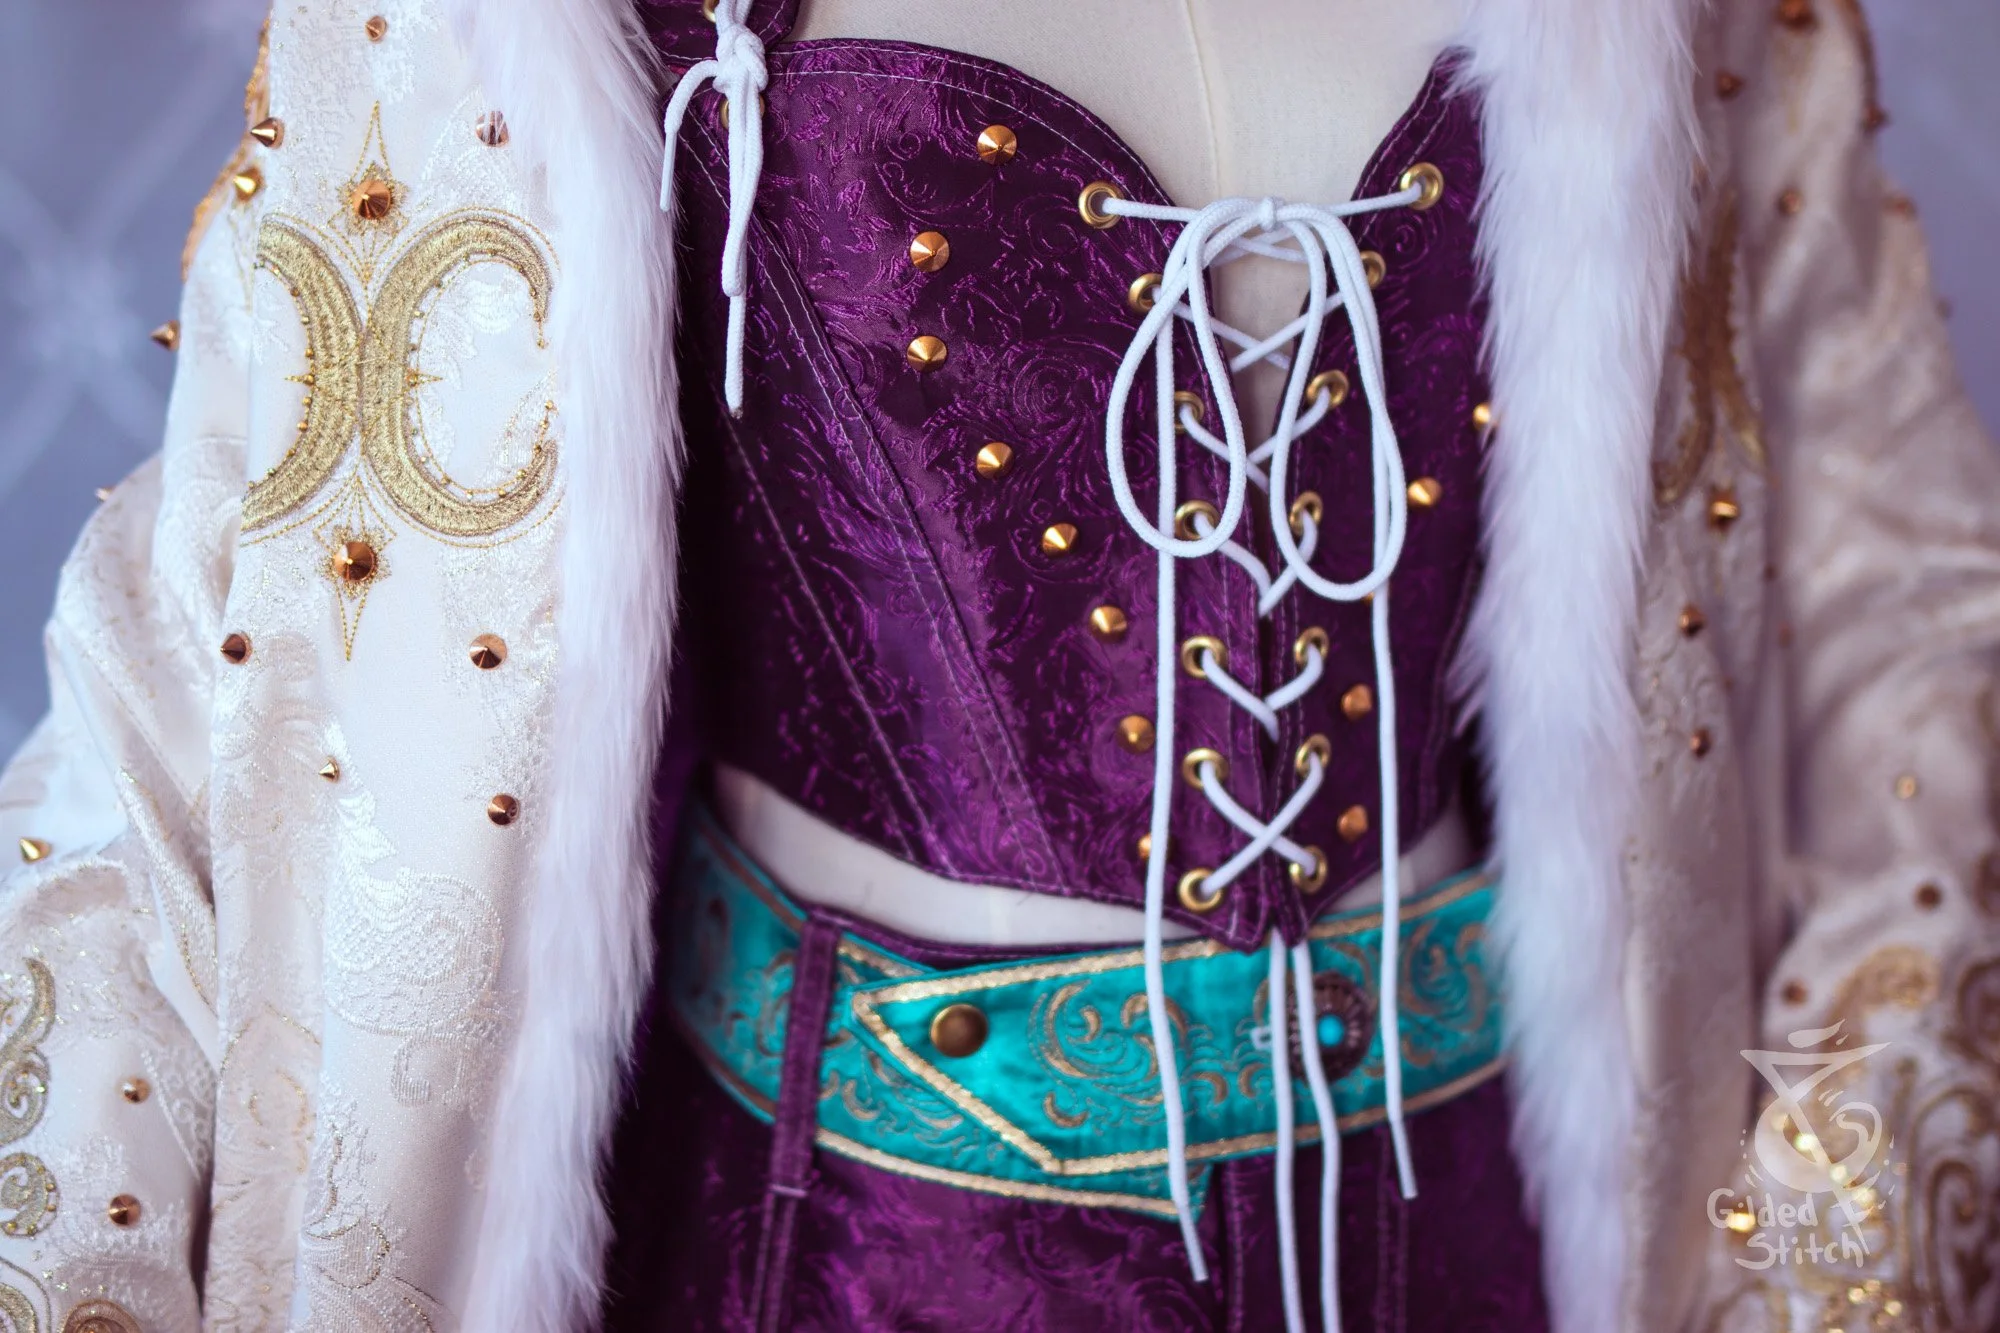
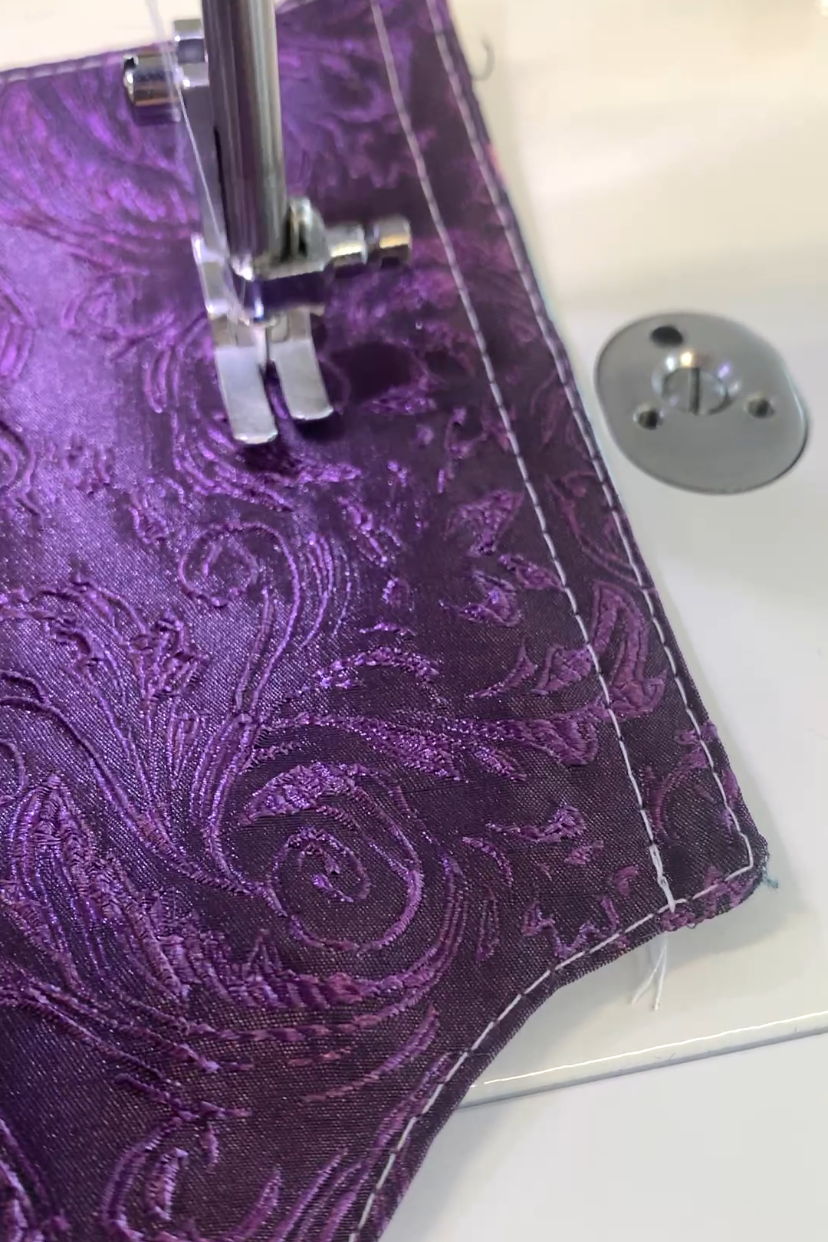
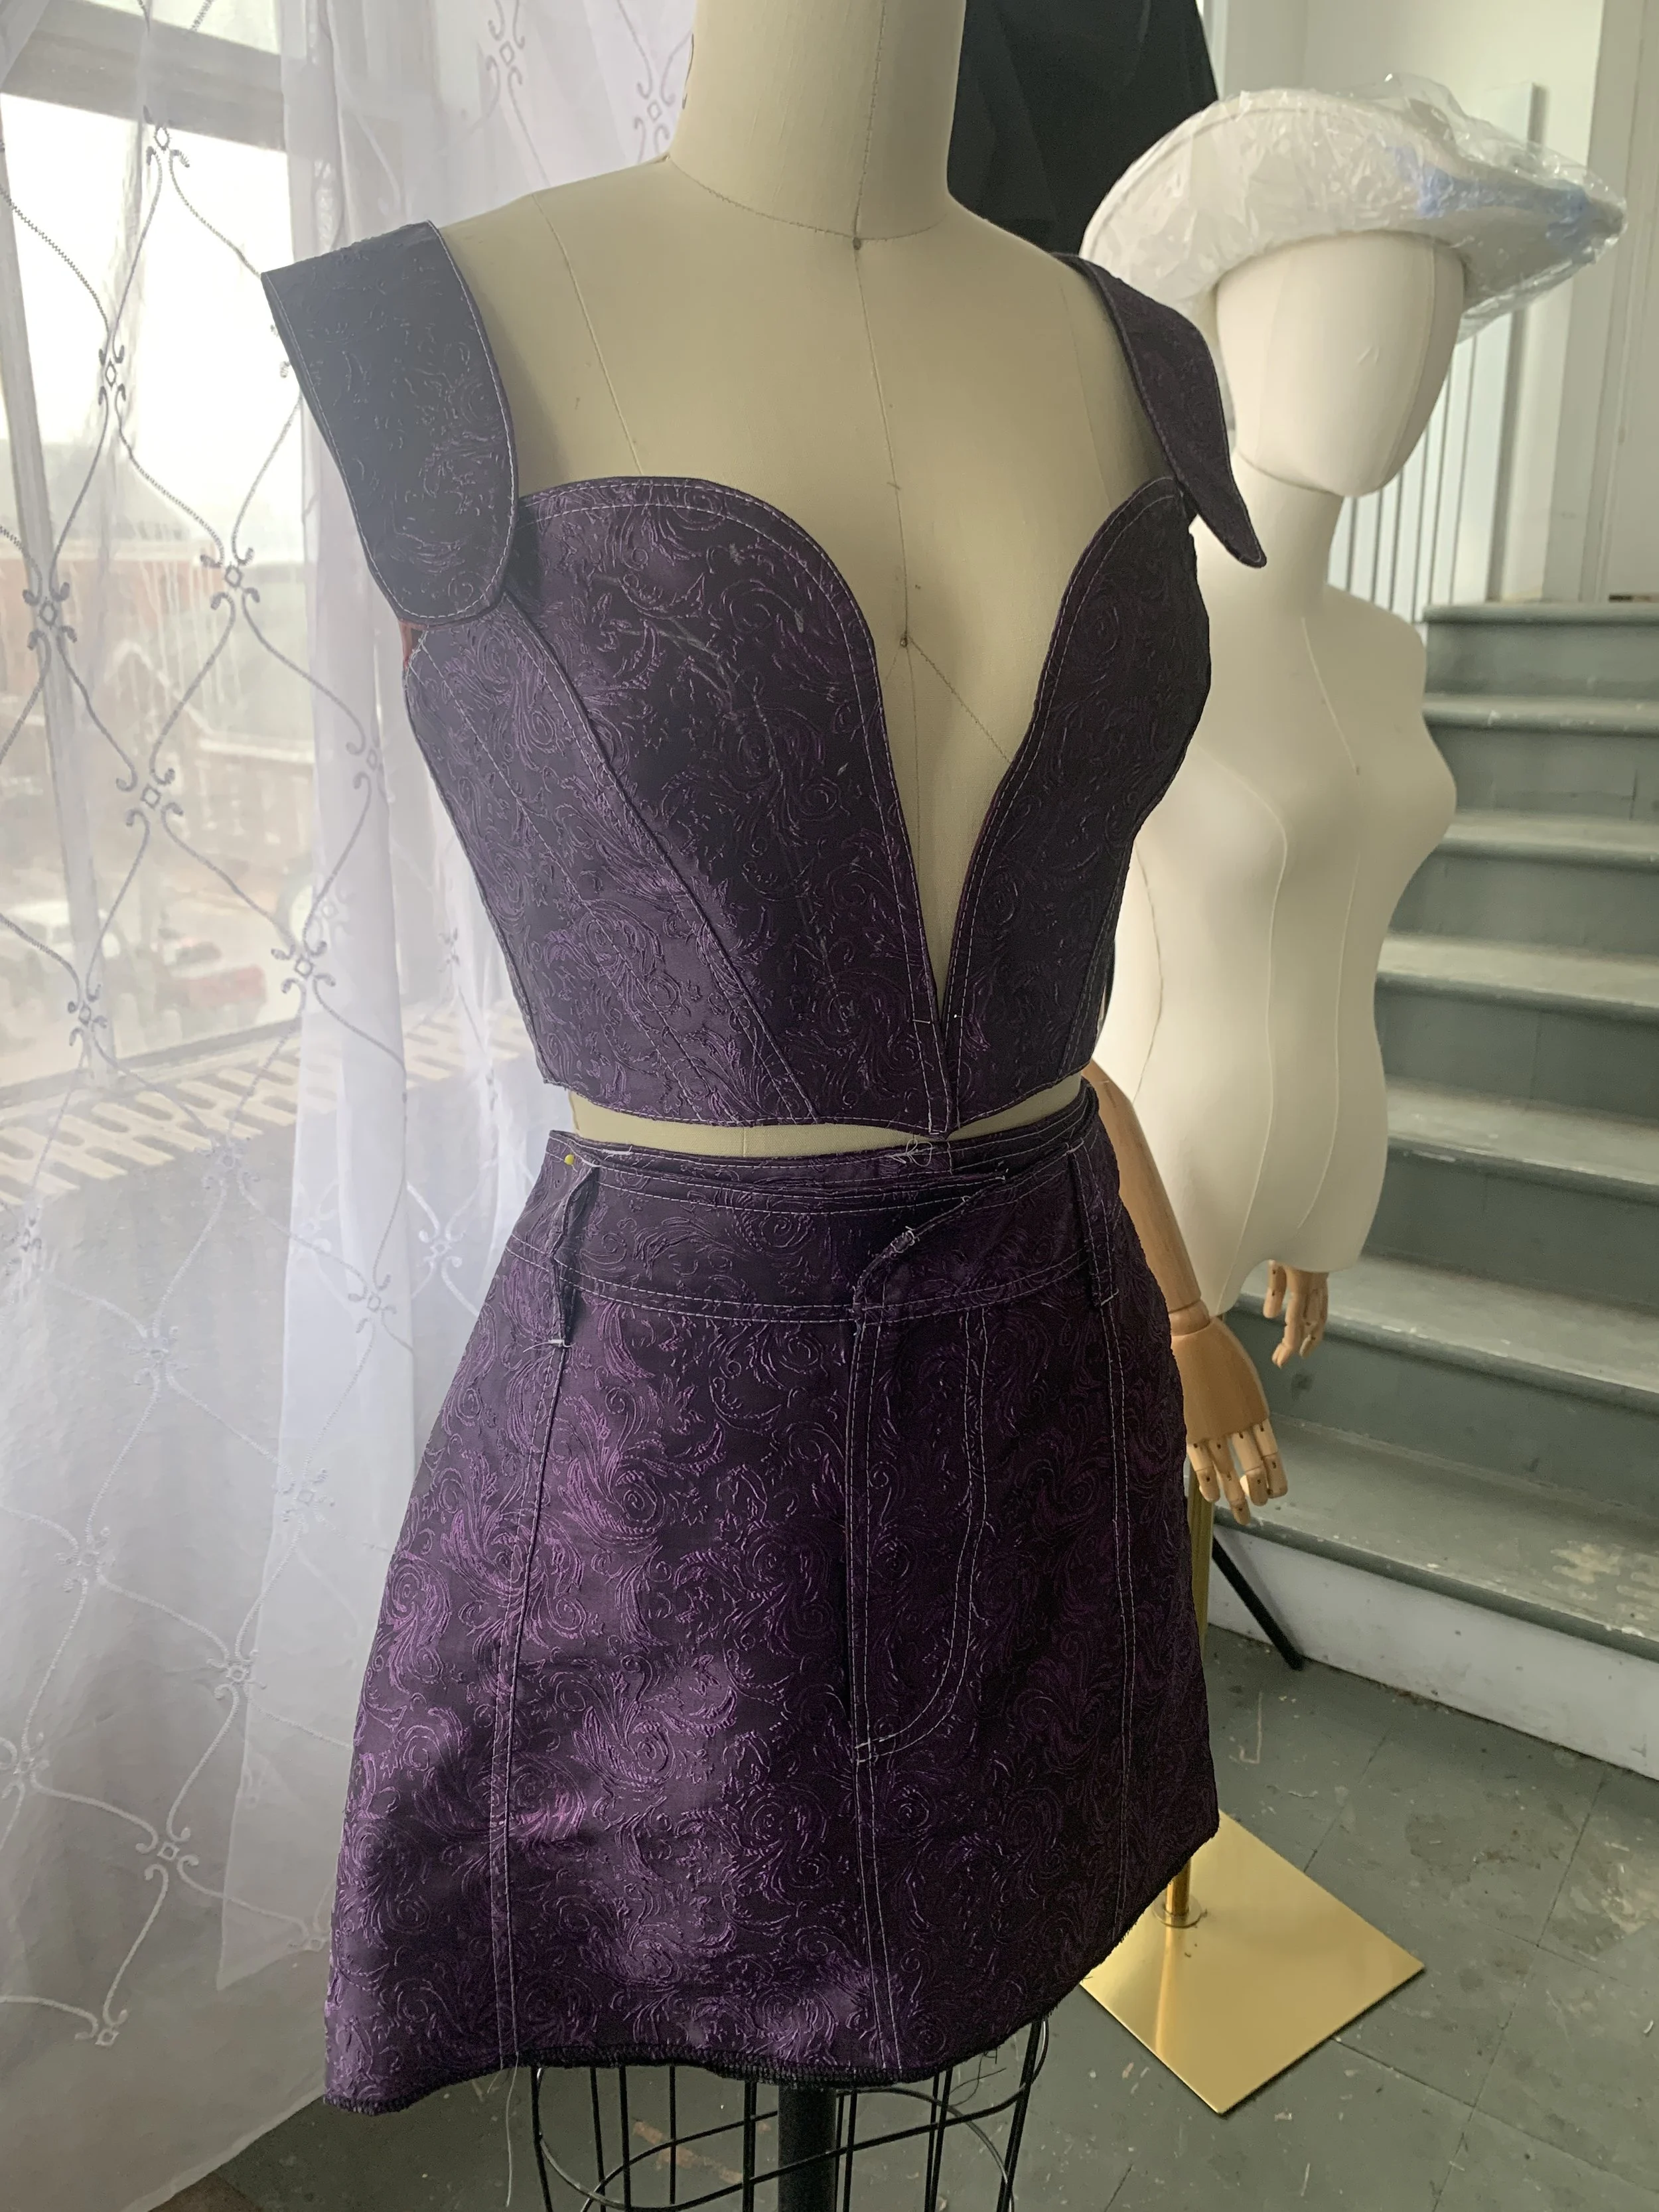
For the Stay inspired top, I drafted my own pattern to perfectly fit my body. I was especially picky about the shape of the top over the bust, wanting that swooping line to accentuate the form. With my final fabrics cut, I sew center front to side and back panels for all fabrics, finishing each one with a flat felled seam/boning channel. I added boning to just two places, on either side of the bust. The stay is finished by sewing the wrong sides together, stitching around the entire perimeter, and pulling everything right side out through the center back. Then I top stitched closed my opening and add any additional creative top stitching.
Pattern drafting
Use of a third inside structural fabric (middle layer)
Finished Boning channels
Use of boning
Finished with top stitching
Added decorative stitching with contrasting thread
The Skirt
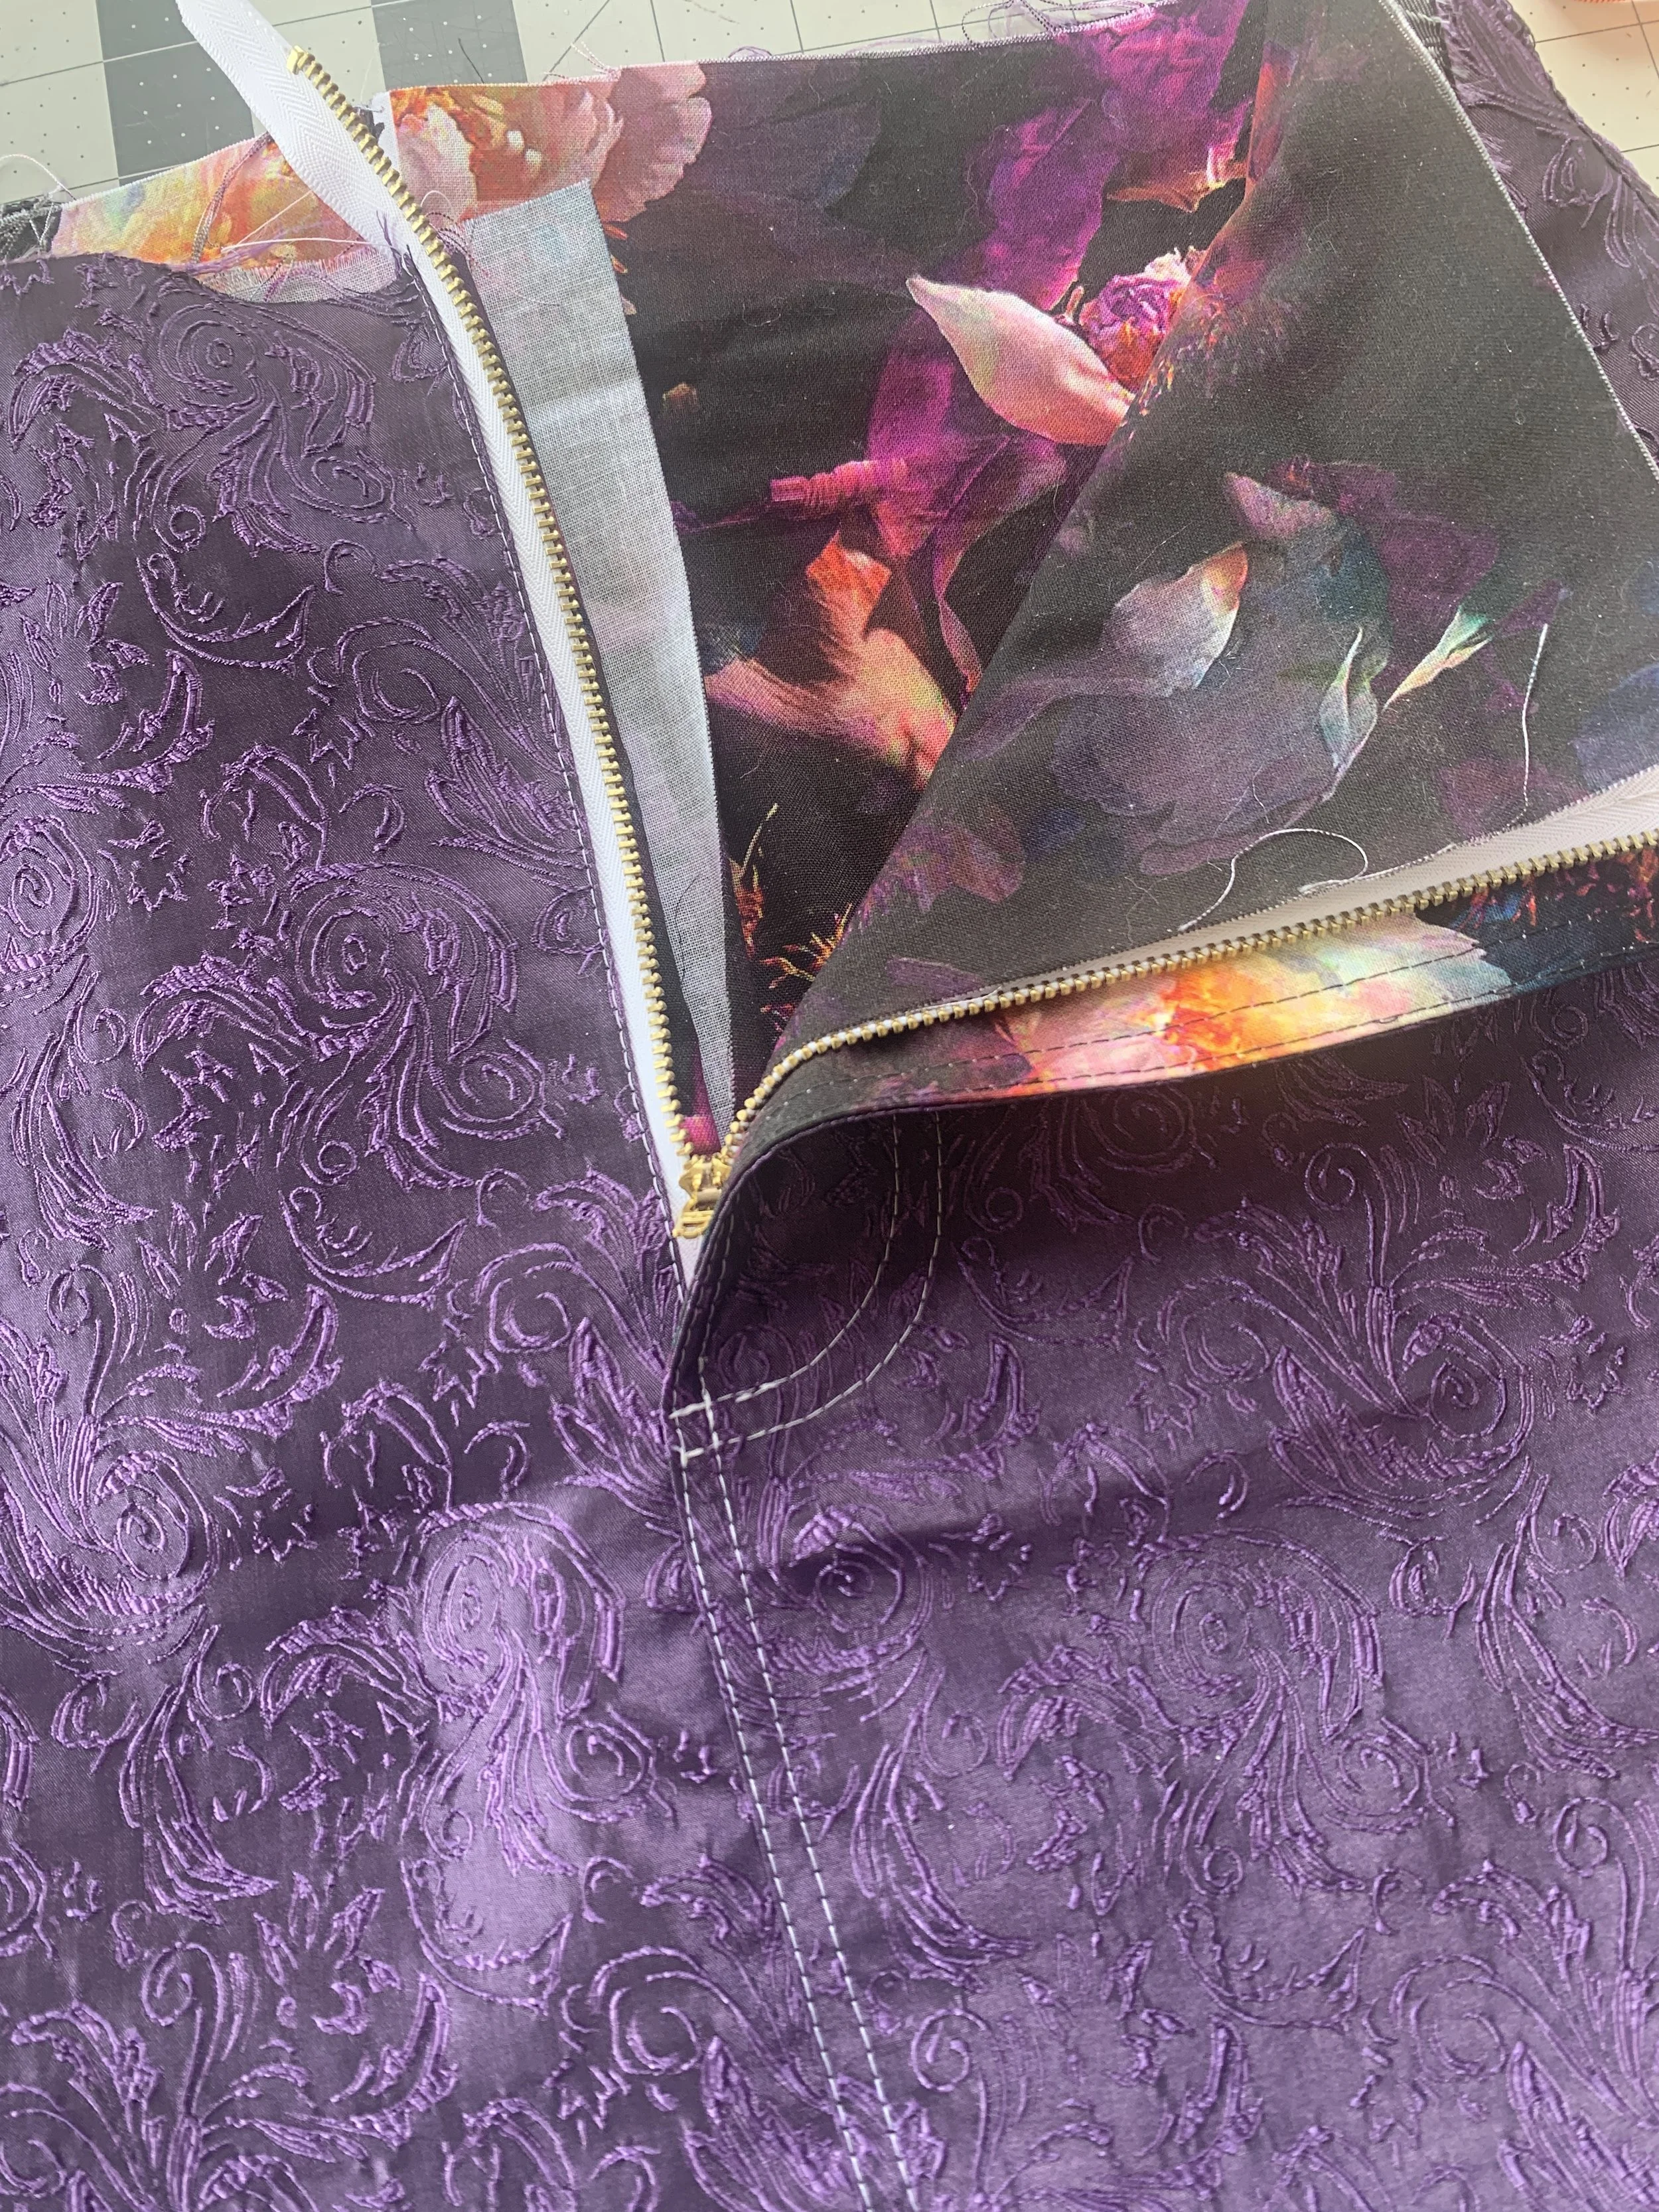
When I was drafting the pattern for the skirt I decided to make a few changes. I prefer to cover my belly, I think garments look more flattering on me that way. So I made the skirt high waisted, but it’s deceivingly short still. I didn’t realize in my process that making the skirt high waisted would give the illusion that the skirt is long. In reality it hardly covers what it’s supposed to! I later on added a couple vents in the middle decorative seam so the skirt wouldn’t be so restricting. I then cut final fabrics and sewed everything together the same as the stay, adding flat felled seams, finishing with a lining, and finally adding decorative stitching.
Flat felled seams
Curved waistband
Functional fly zipper closure
Finished with a lining
Added decorative stitching with contrasting thread
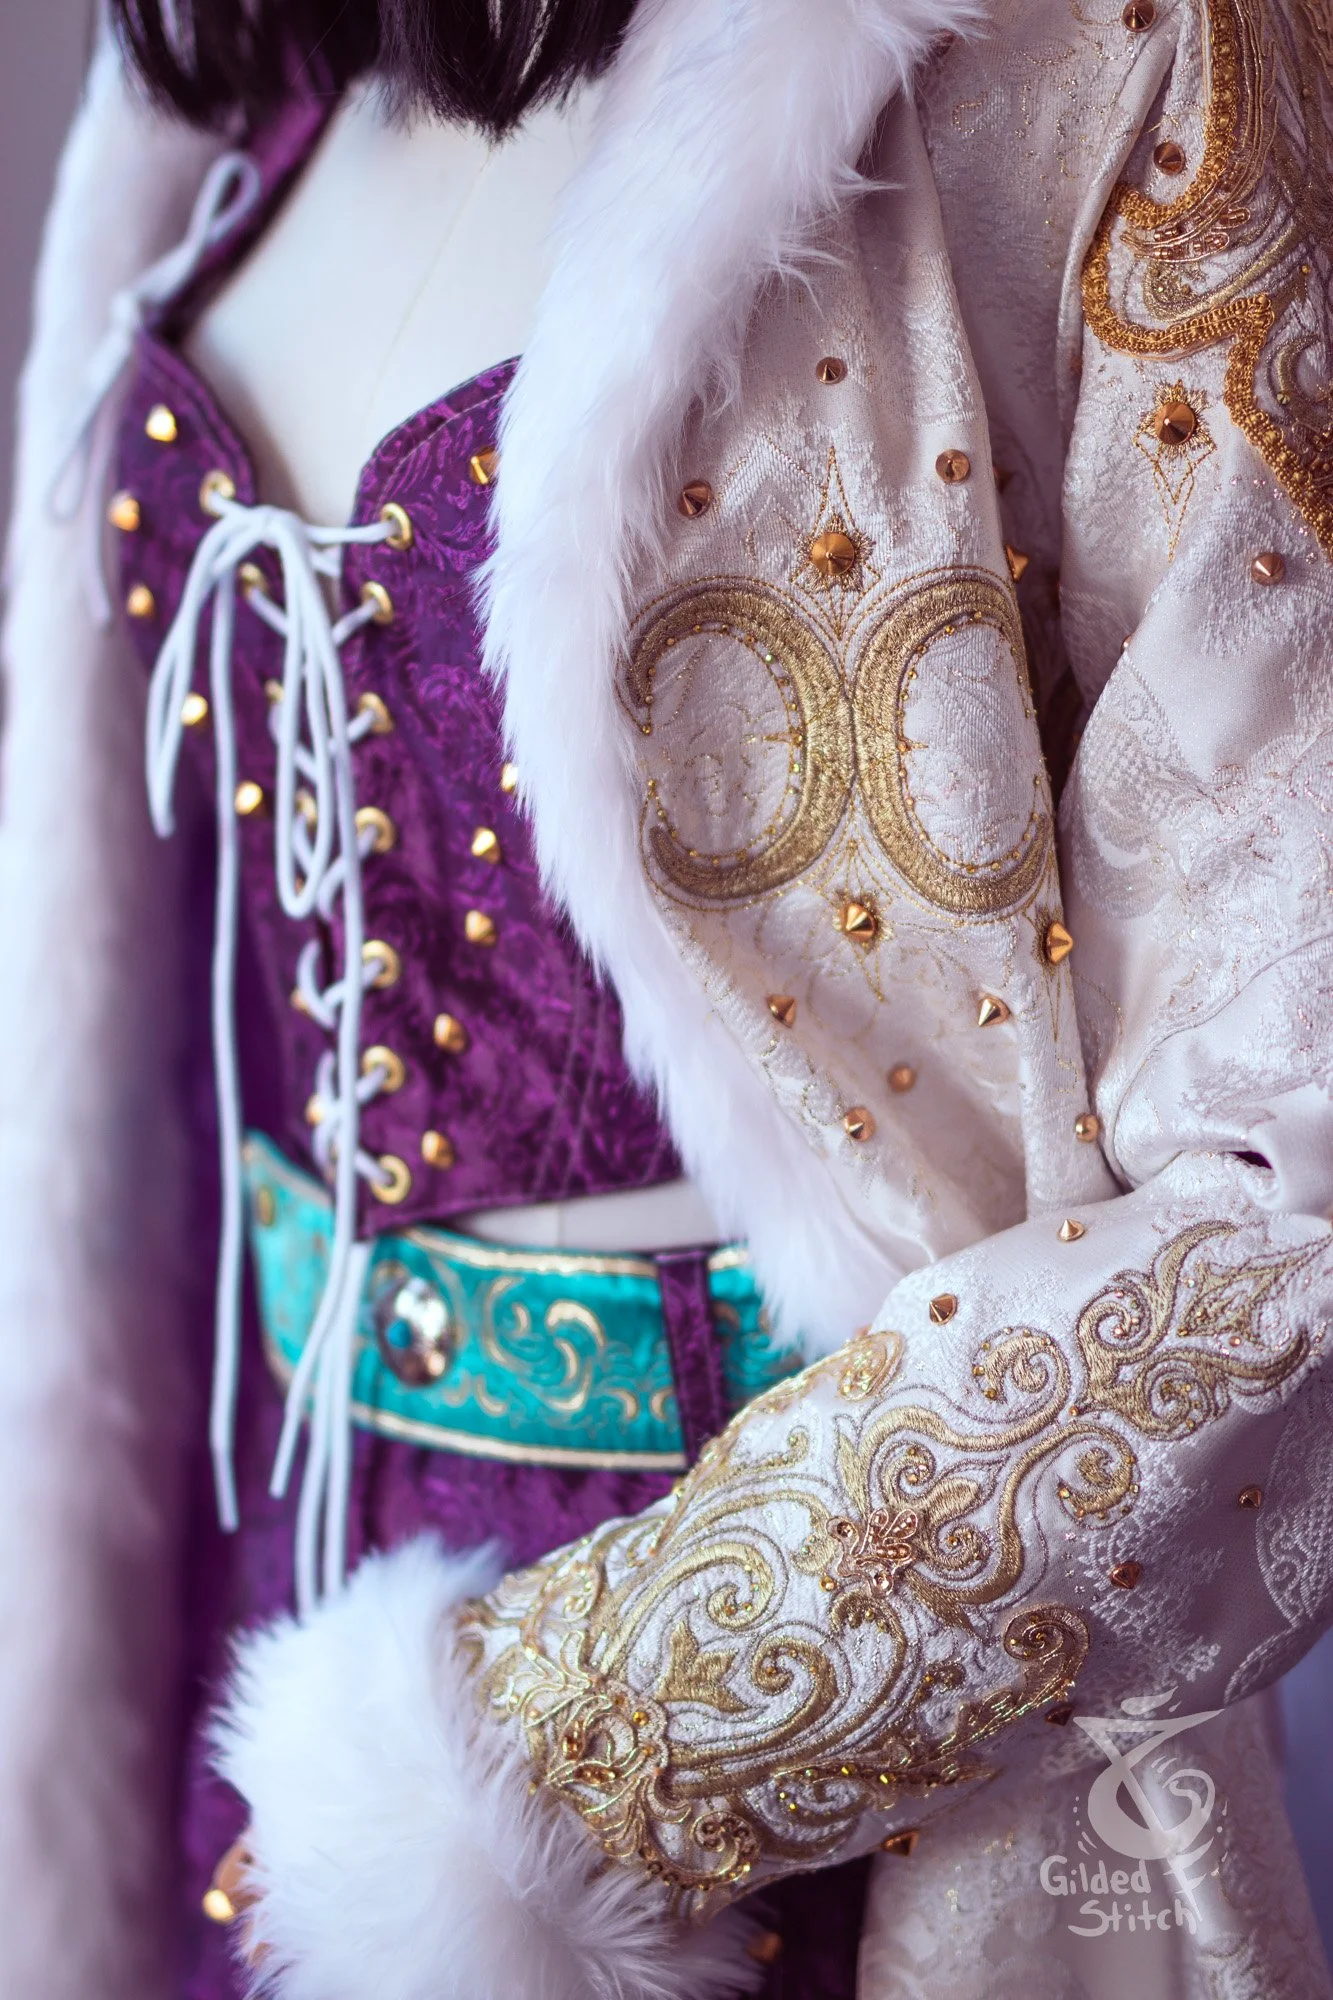
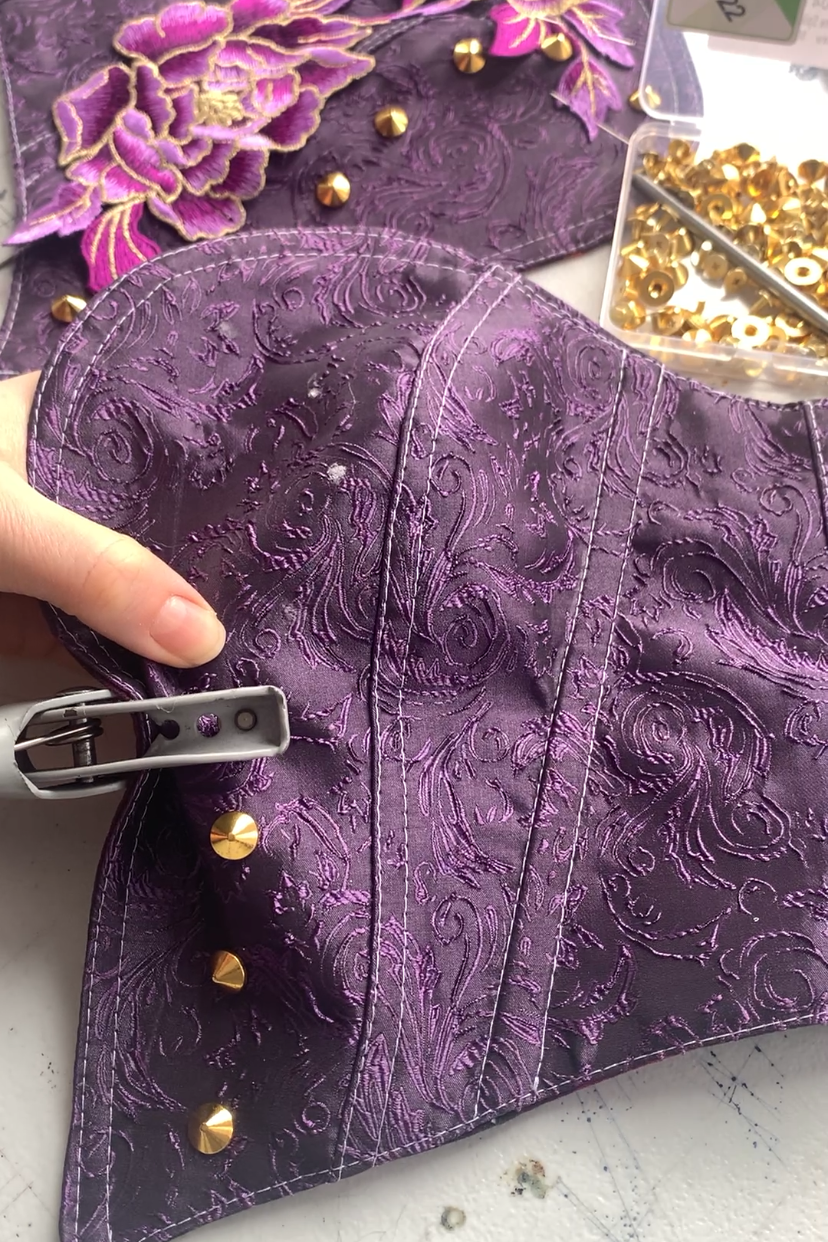
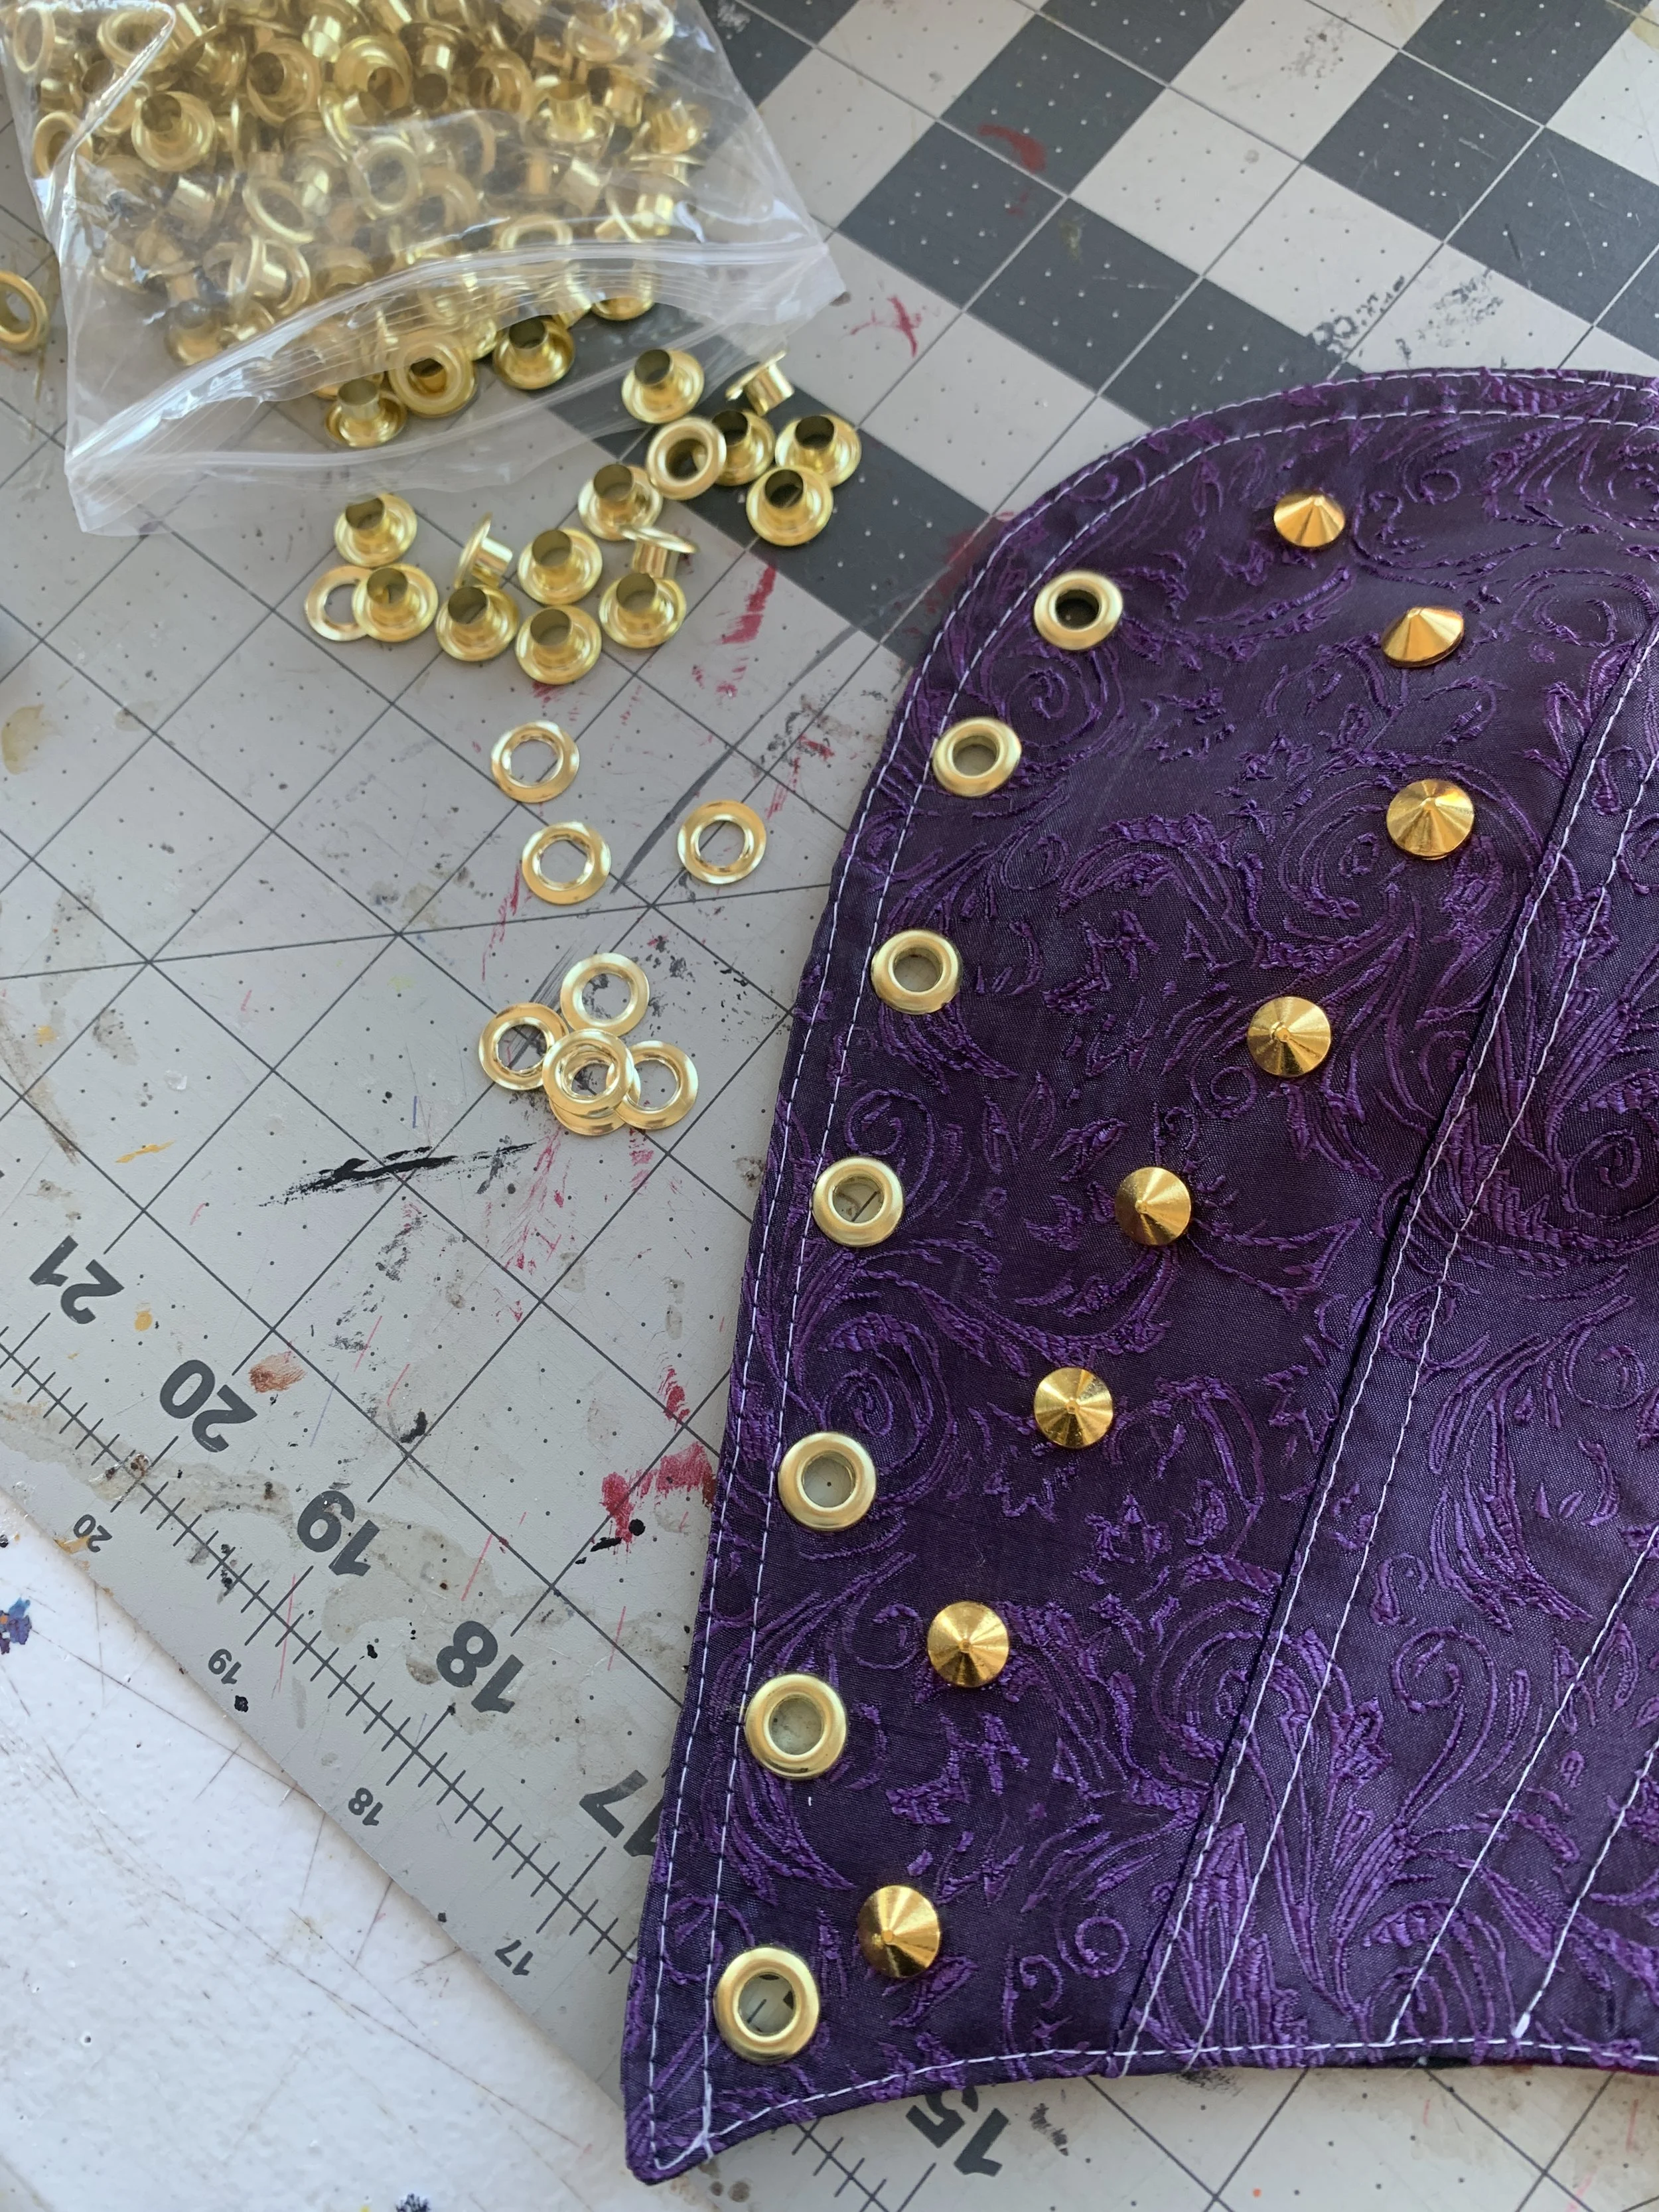
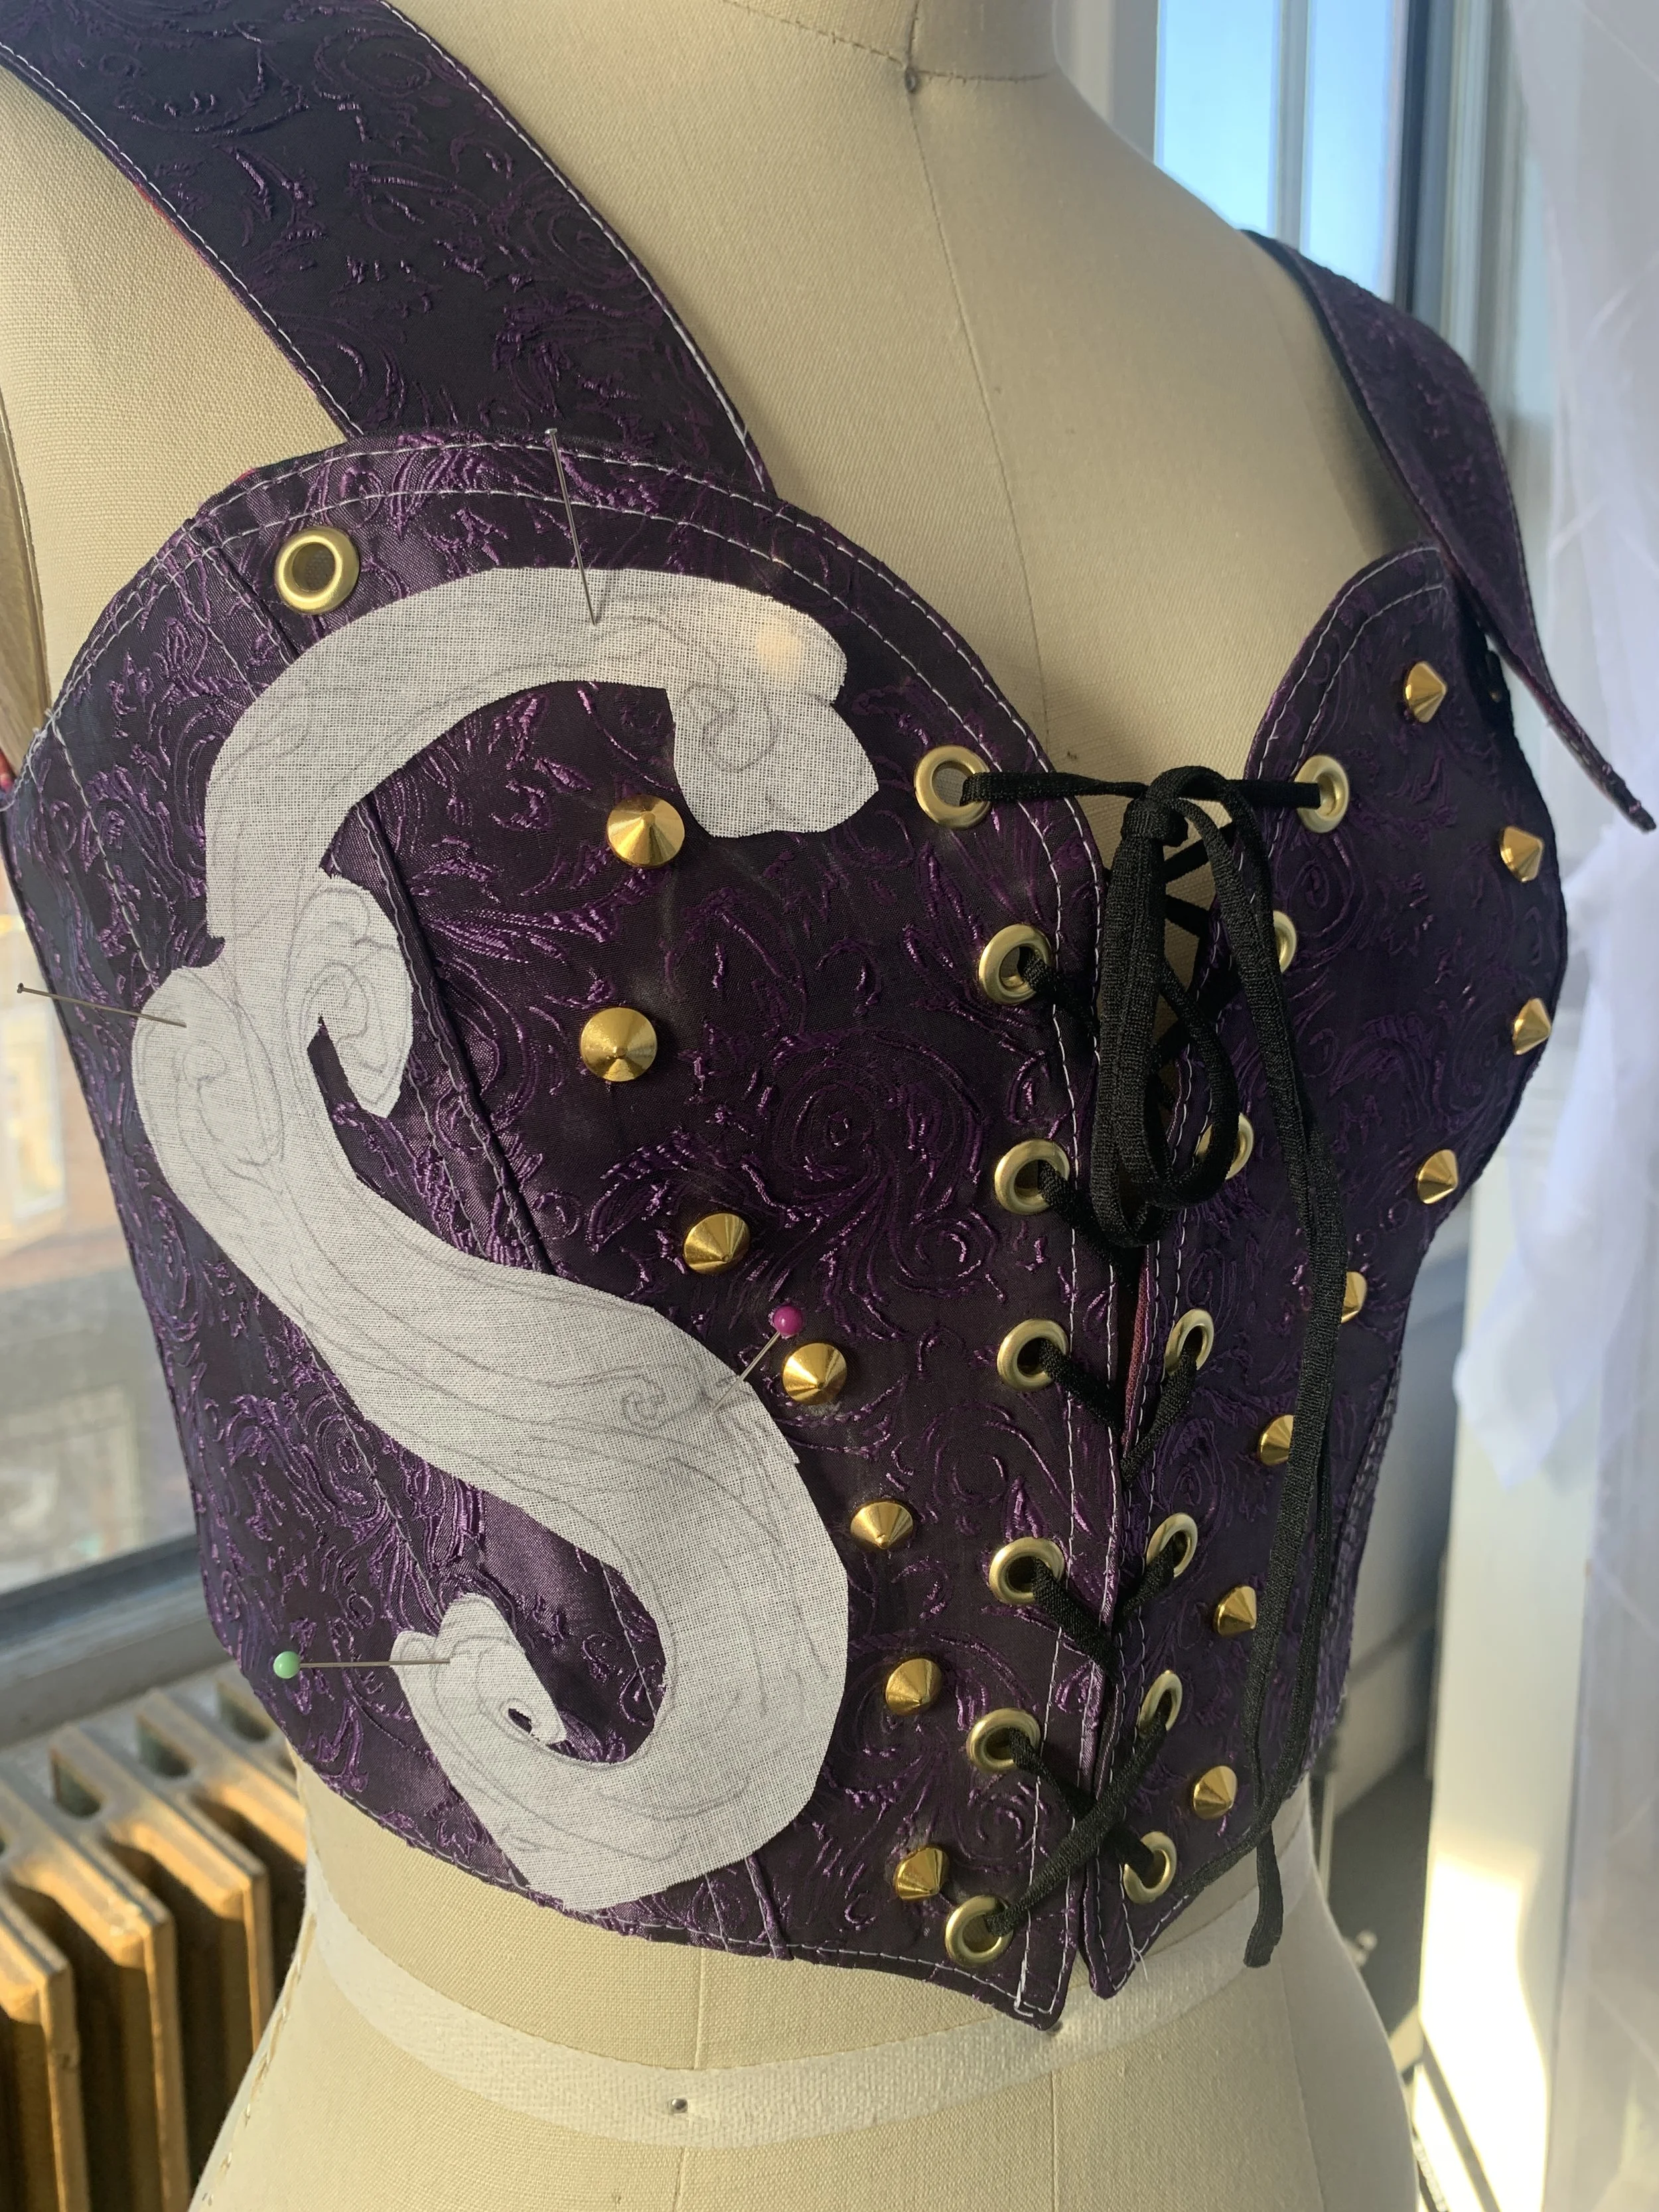
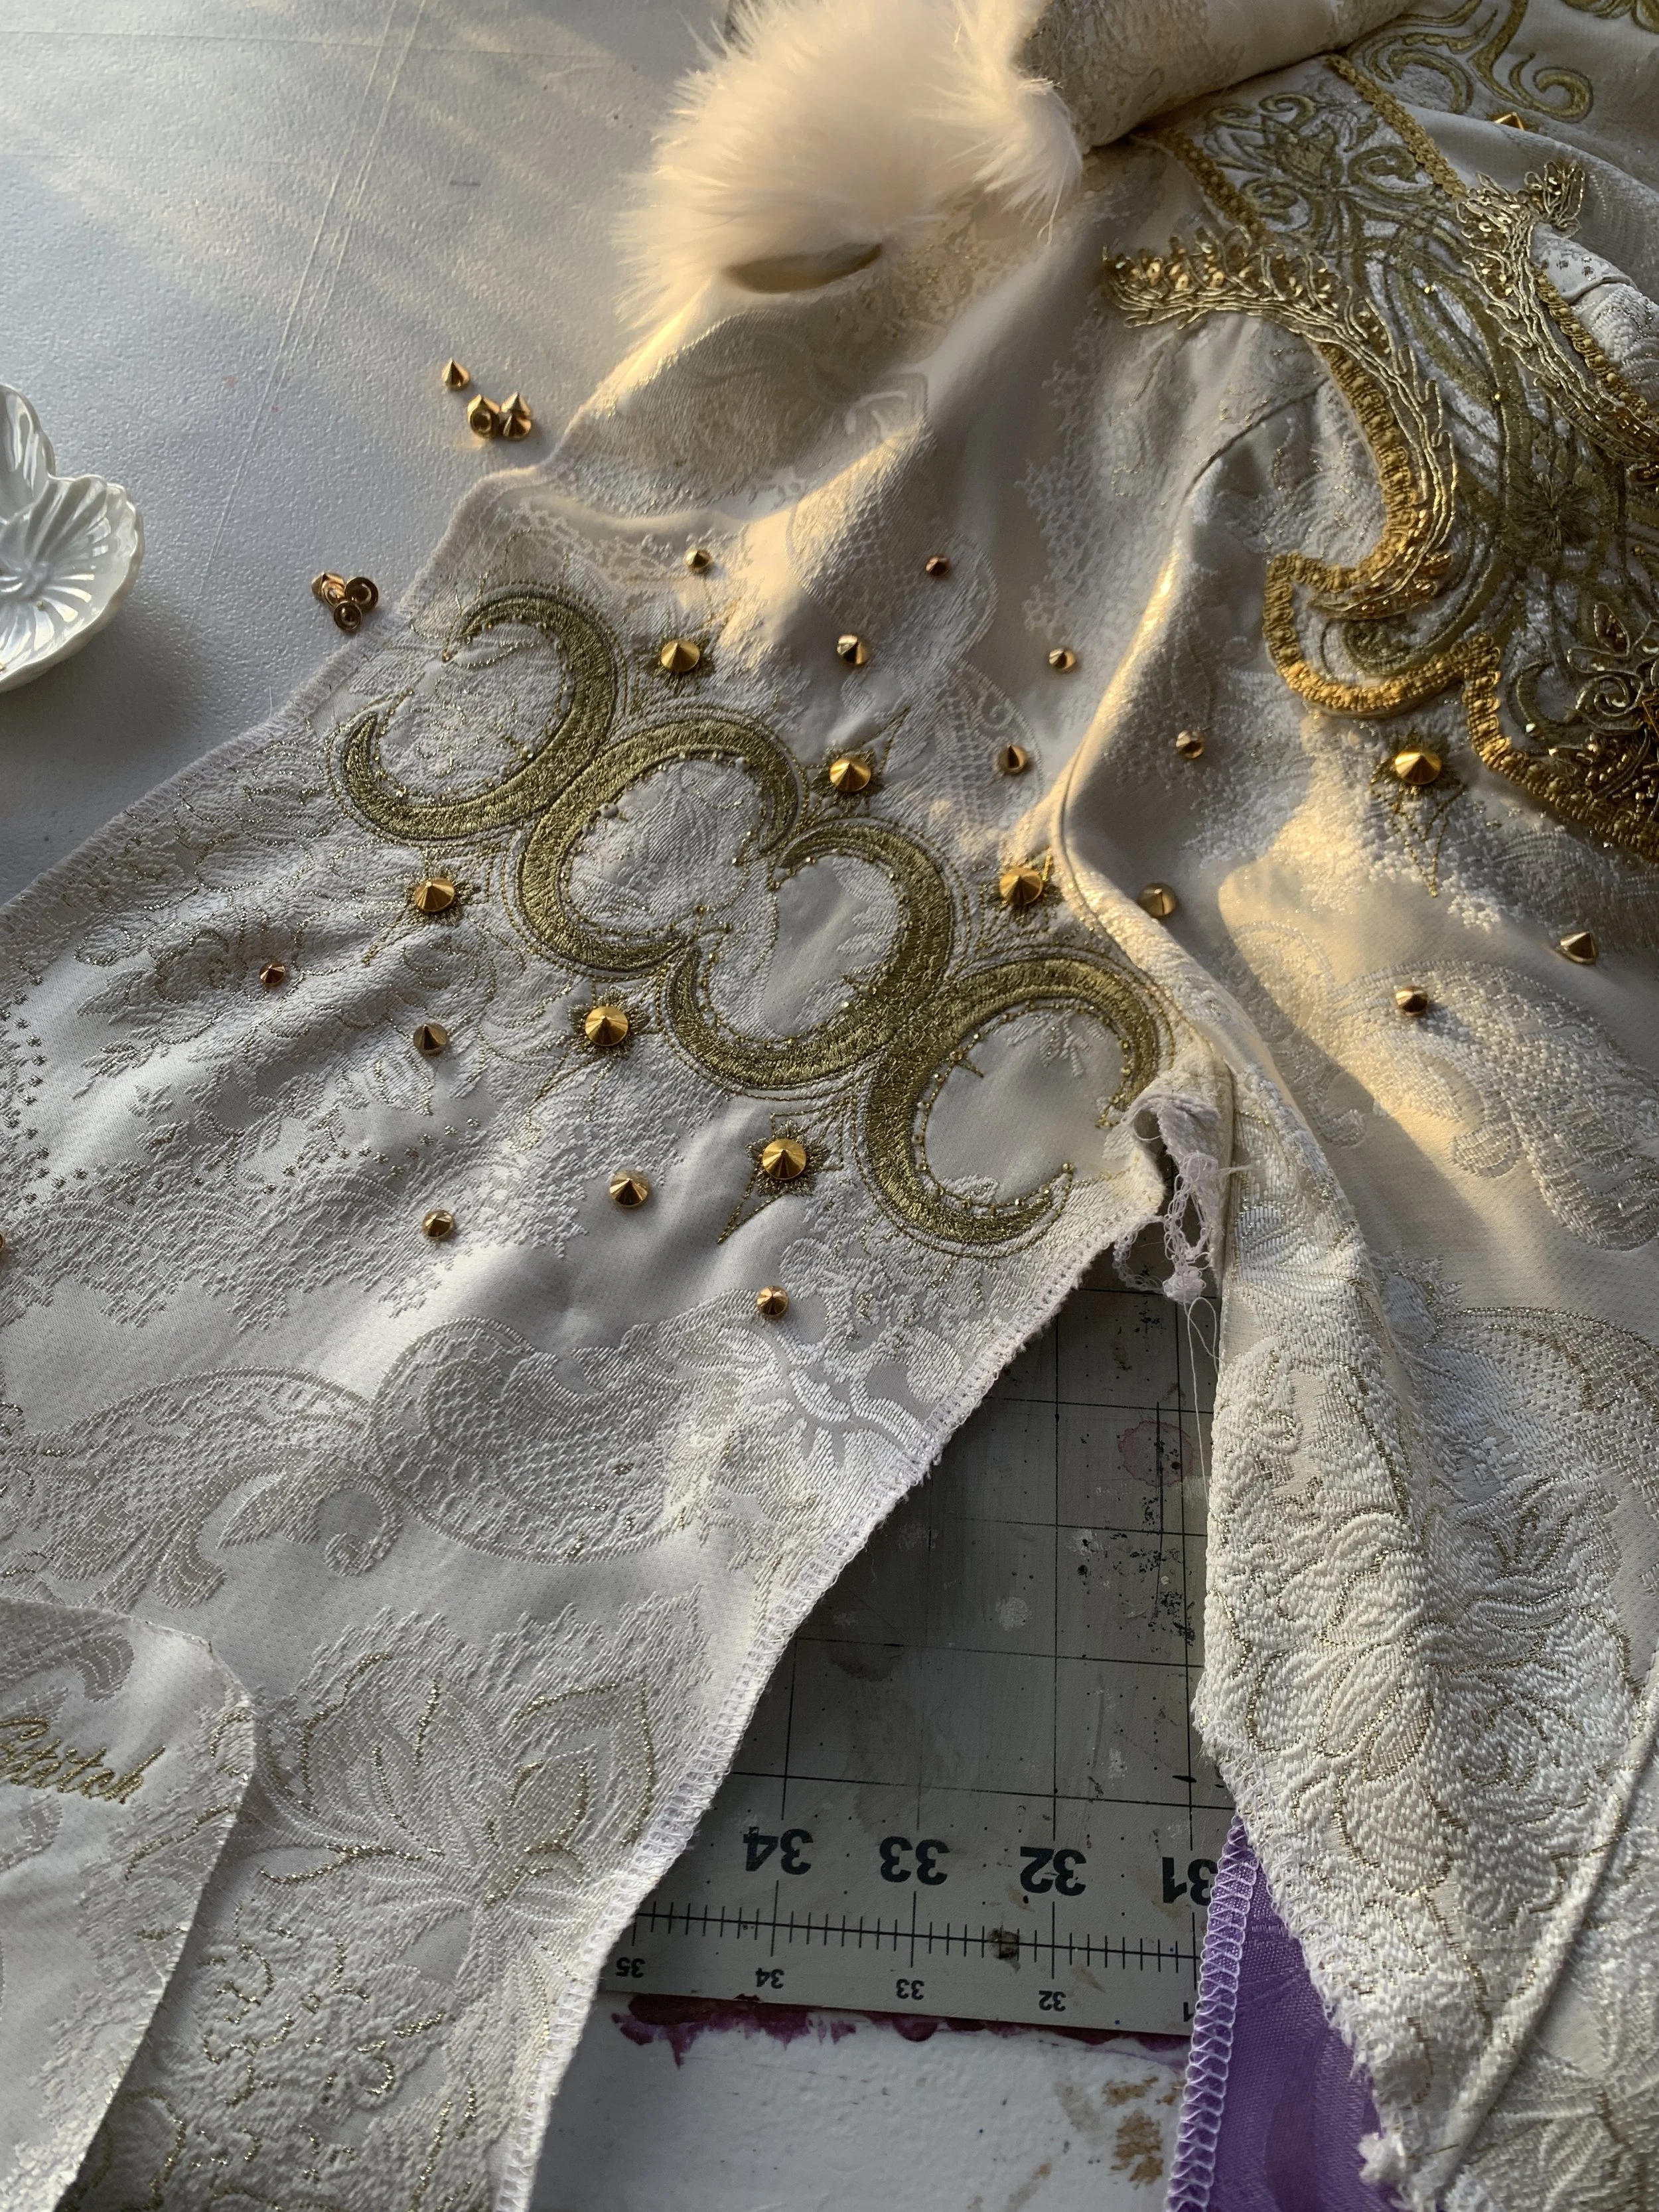
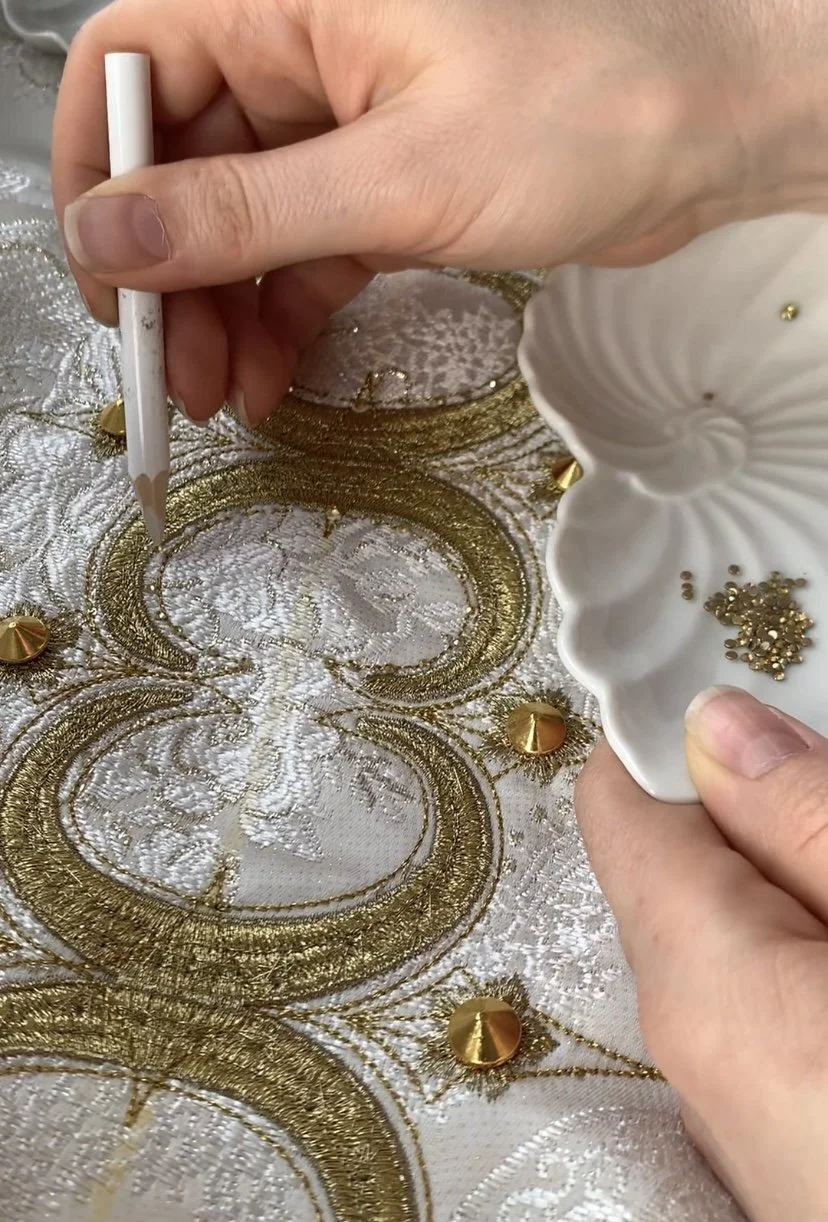
Adding rivets and grommets to the top and rivets to the skirt, by punching holes at my desired placement. Rivets are 1.5 inch apart and grommets are 1 inch apart, I felt that looked best. I started drafting some embroidery swirls for design, though I would later decide it was a little too much and not use them for the final piece. I did play a little with premade appliques (you can see in the background of some of the images) This was my inspiration for wanting to add to the Stay and Skirt.
Use of screw on rivets for details
Use of Gromets for corset lacing
Adding more details to the Skirt
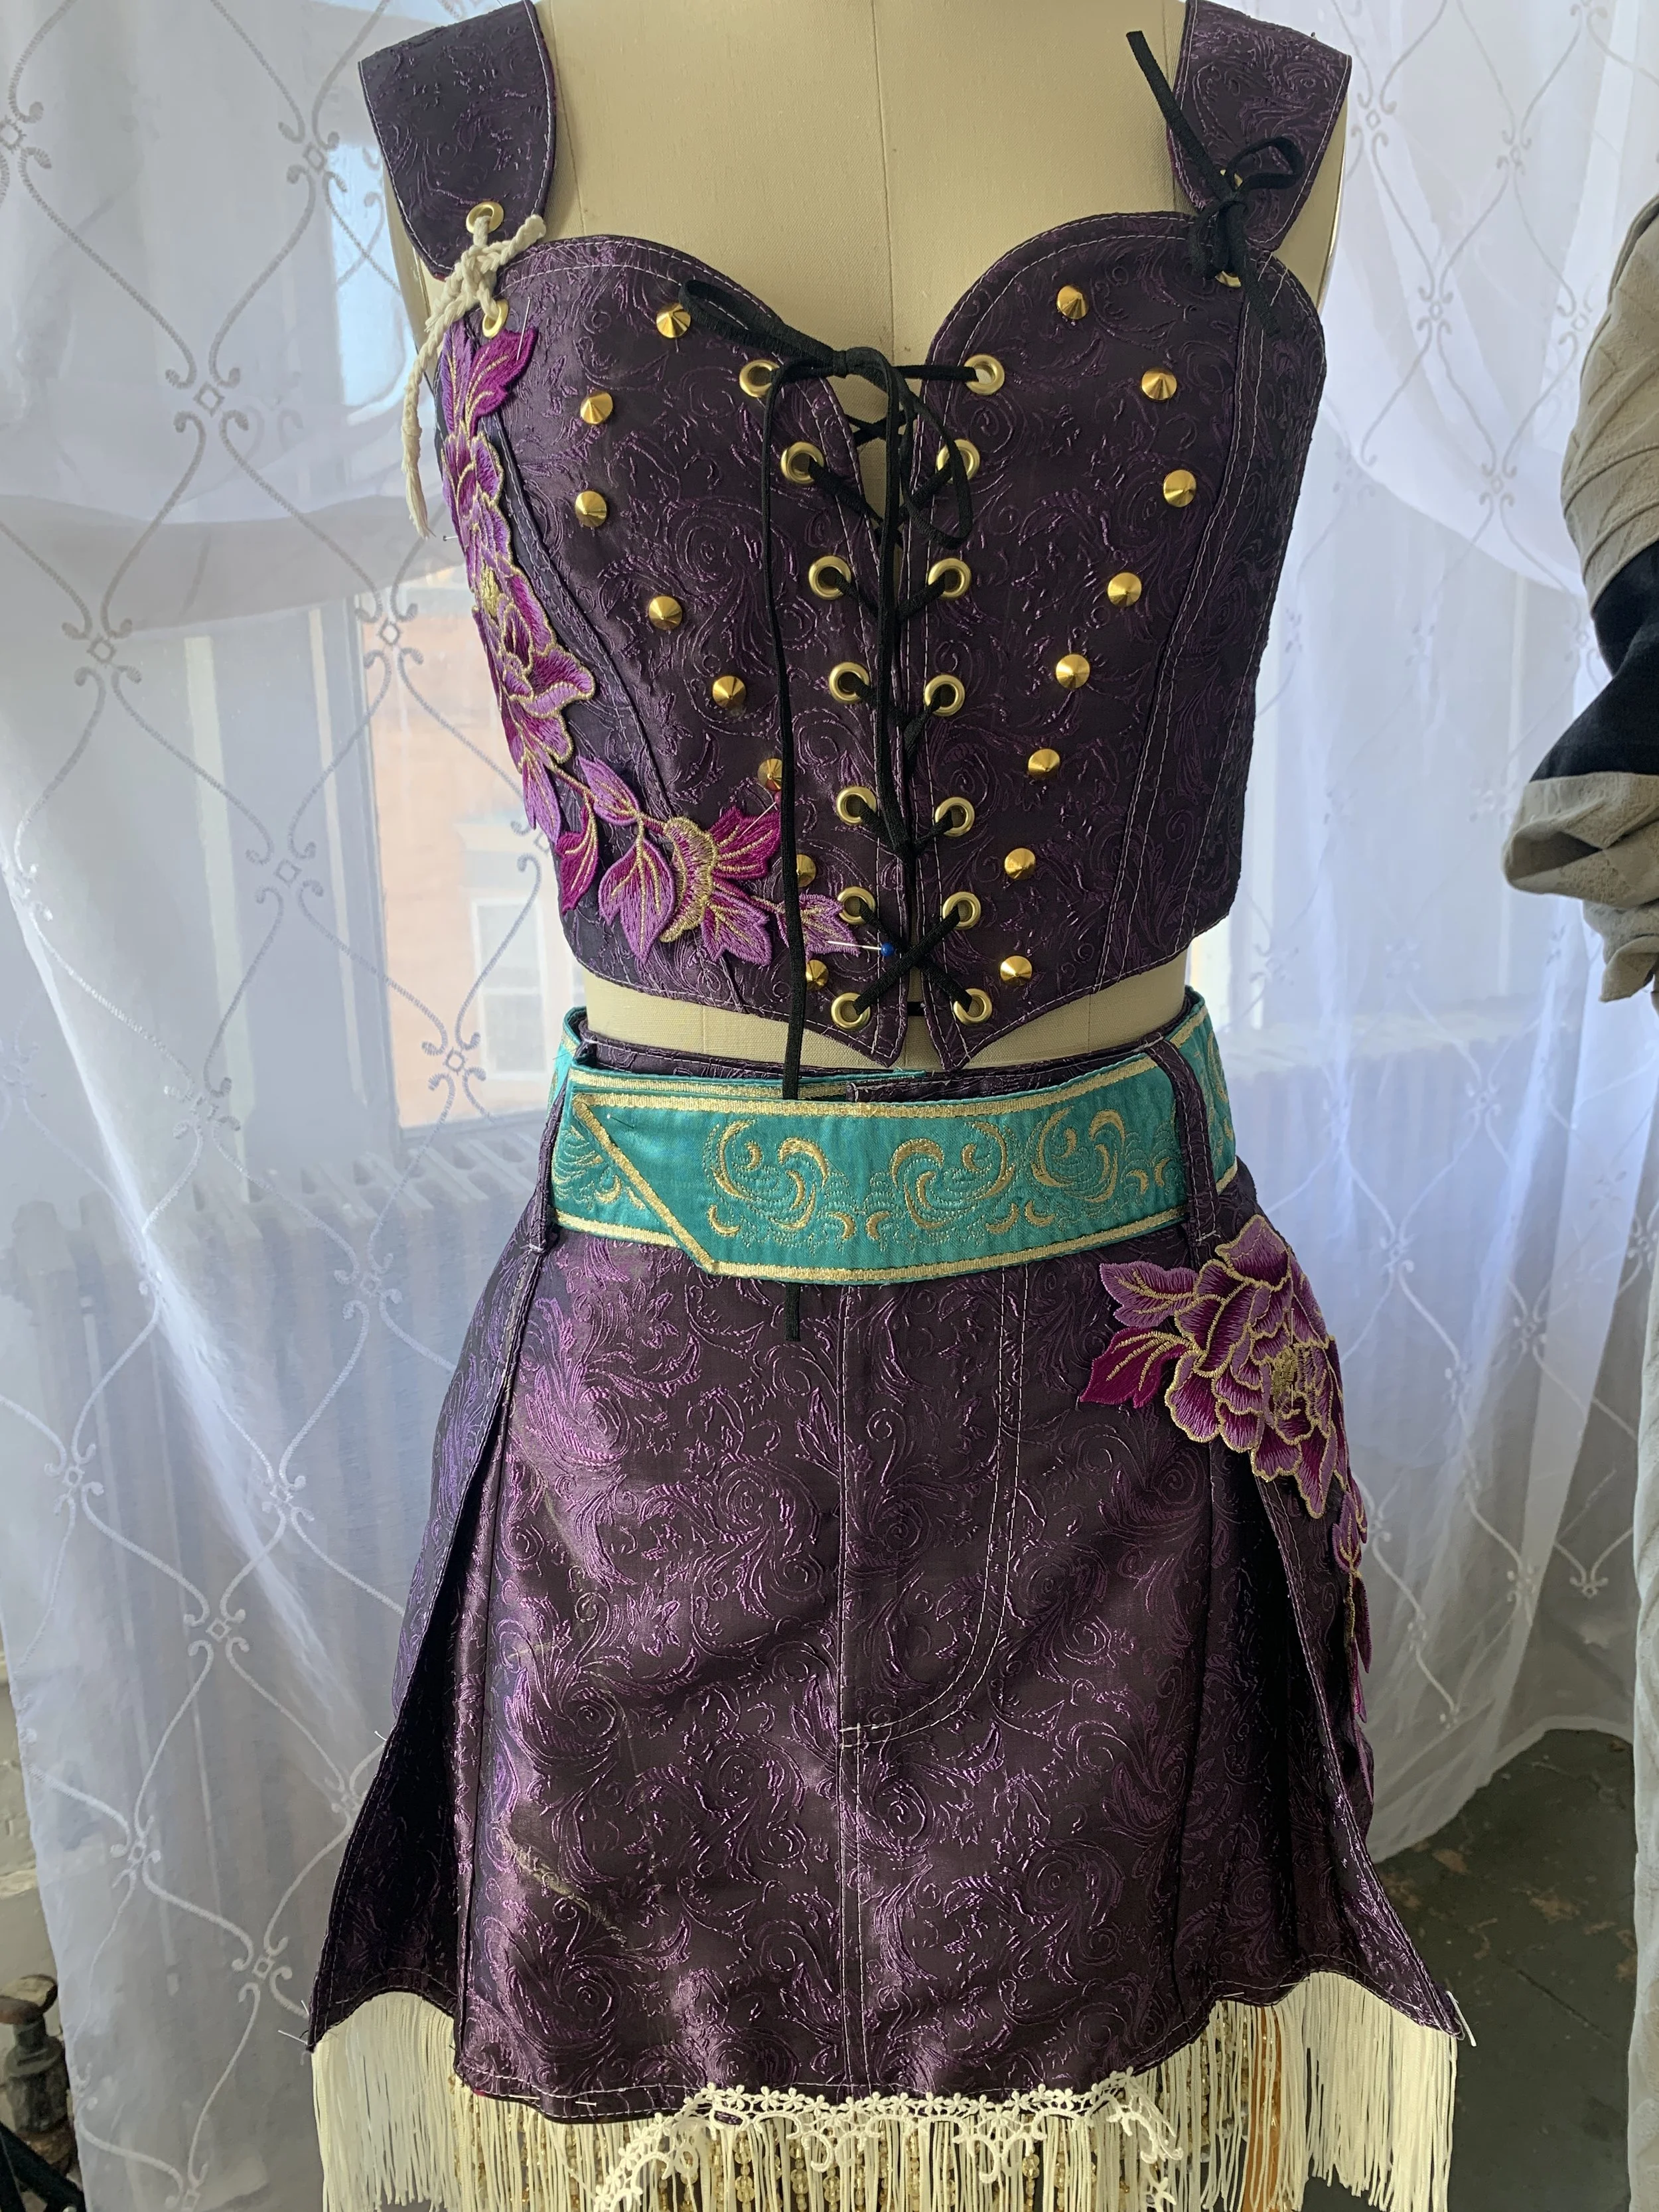
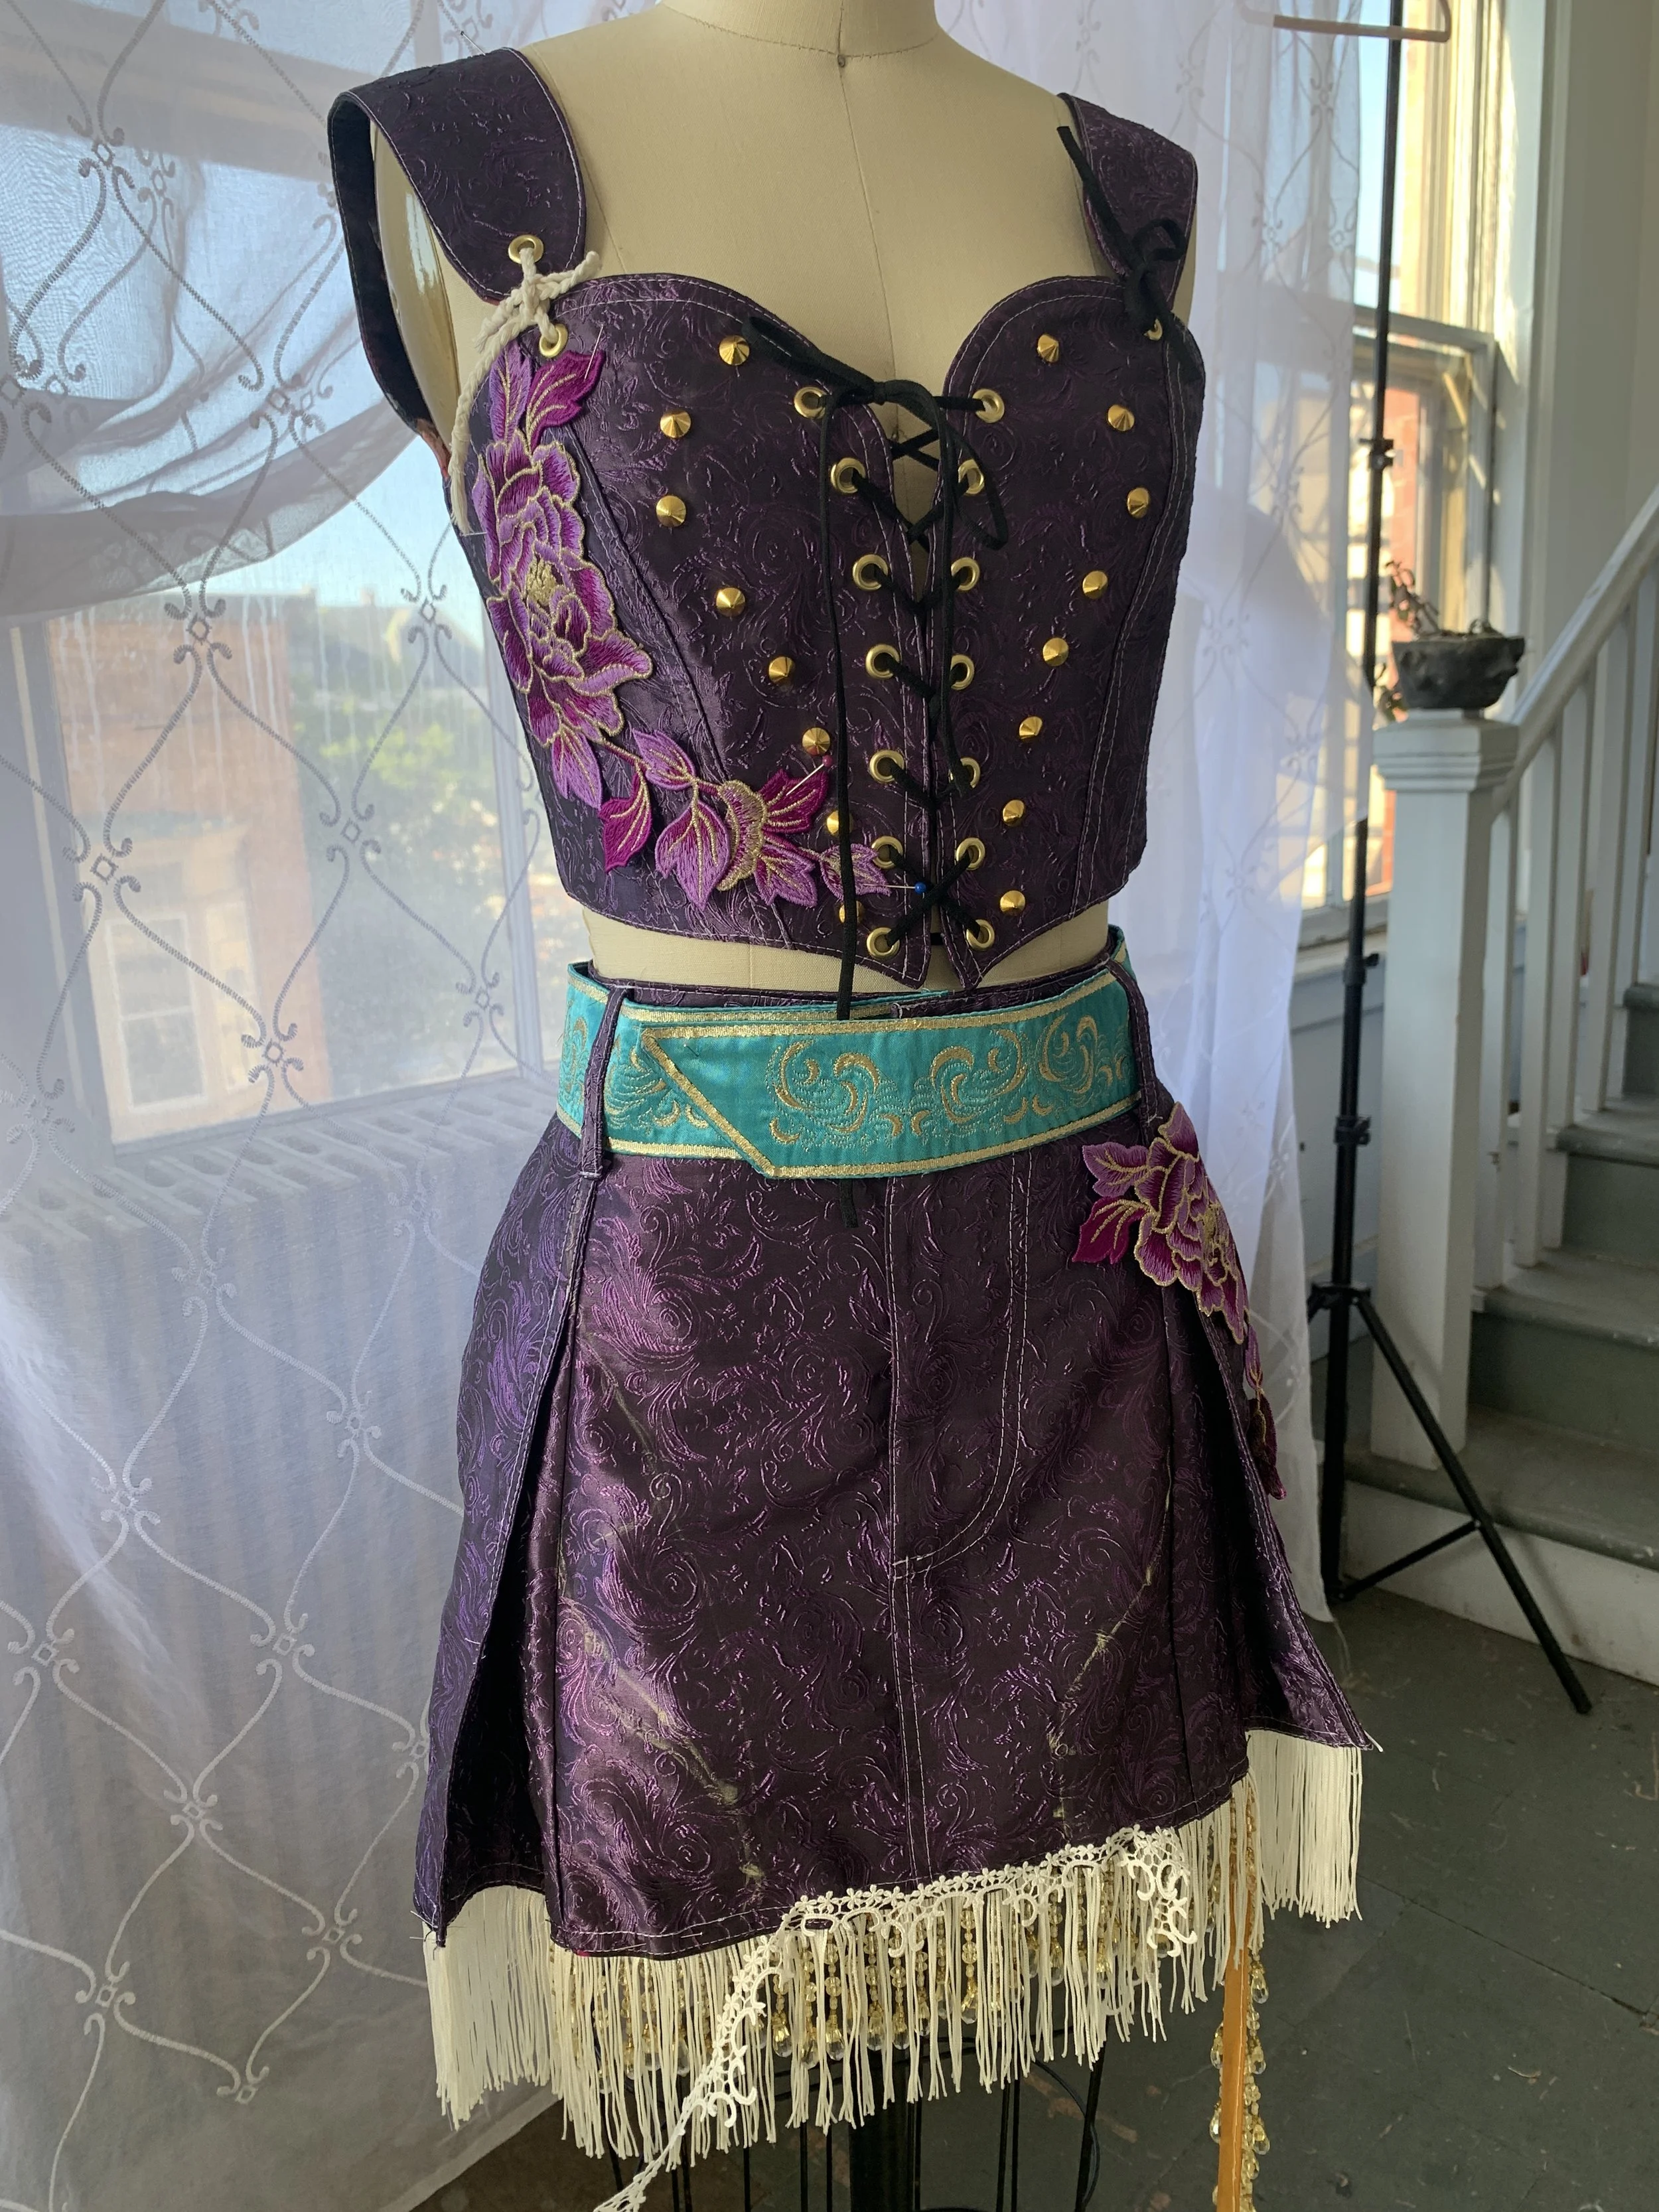
The skirt got a hem by lining and the addition of fringe trim and some other little goodies. I did play with some beads but decided I didn’t want to sit on them while wearing. The fringe is sewn down to the back side of the hem. The dainty trim is glued down to reduce stitch bulk. I made some gromet additions as well to mirror the details of the top/stay.
Adding fringe trim to bottom hem
Adding trim to bottom hem
Creating the Embroidery
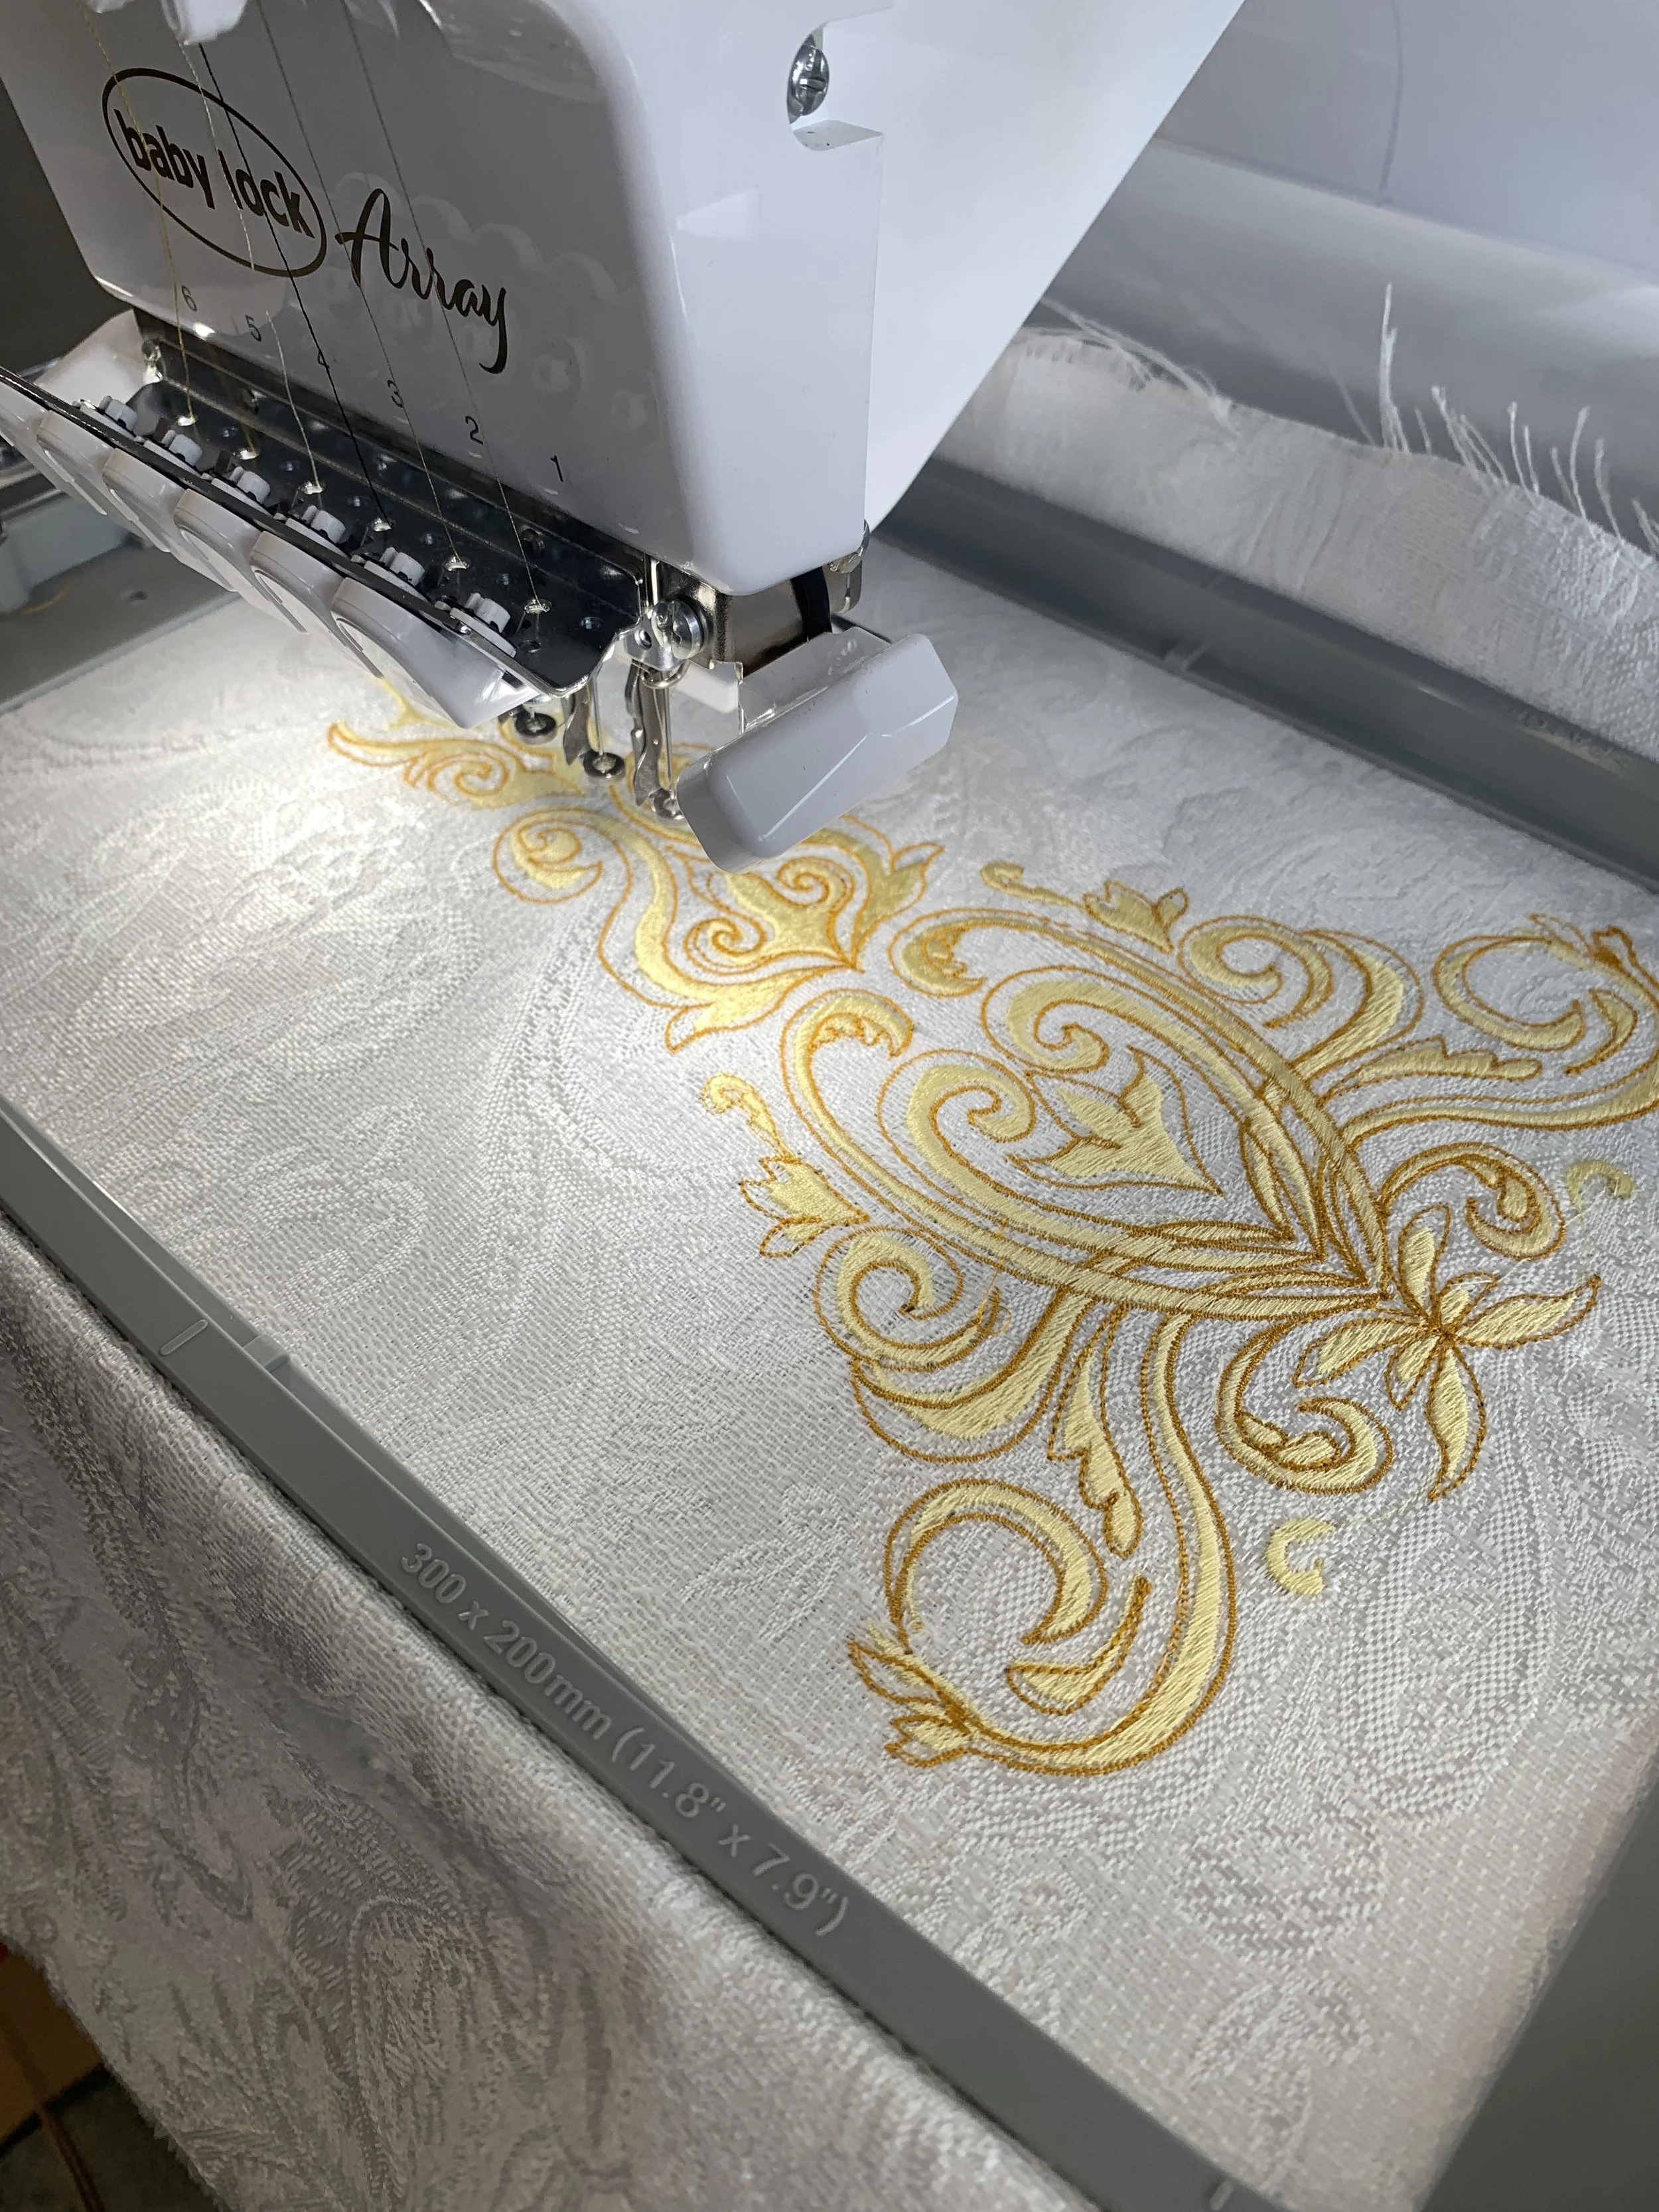
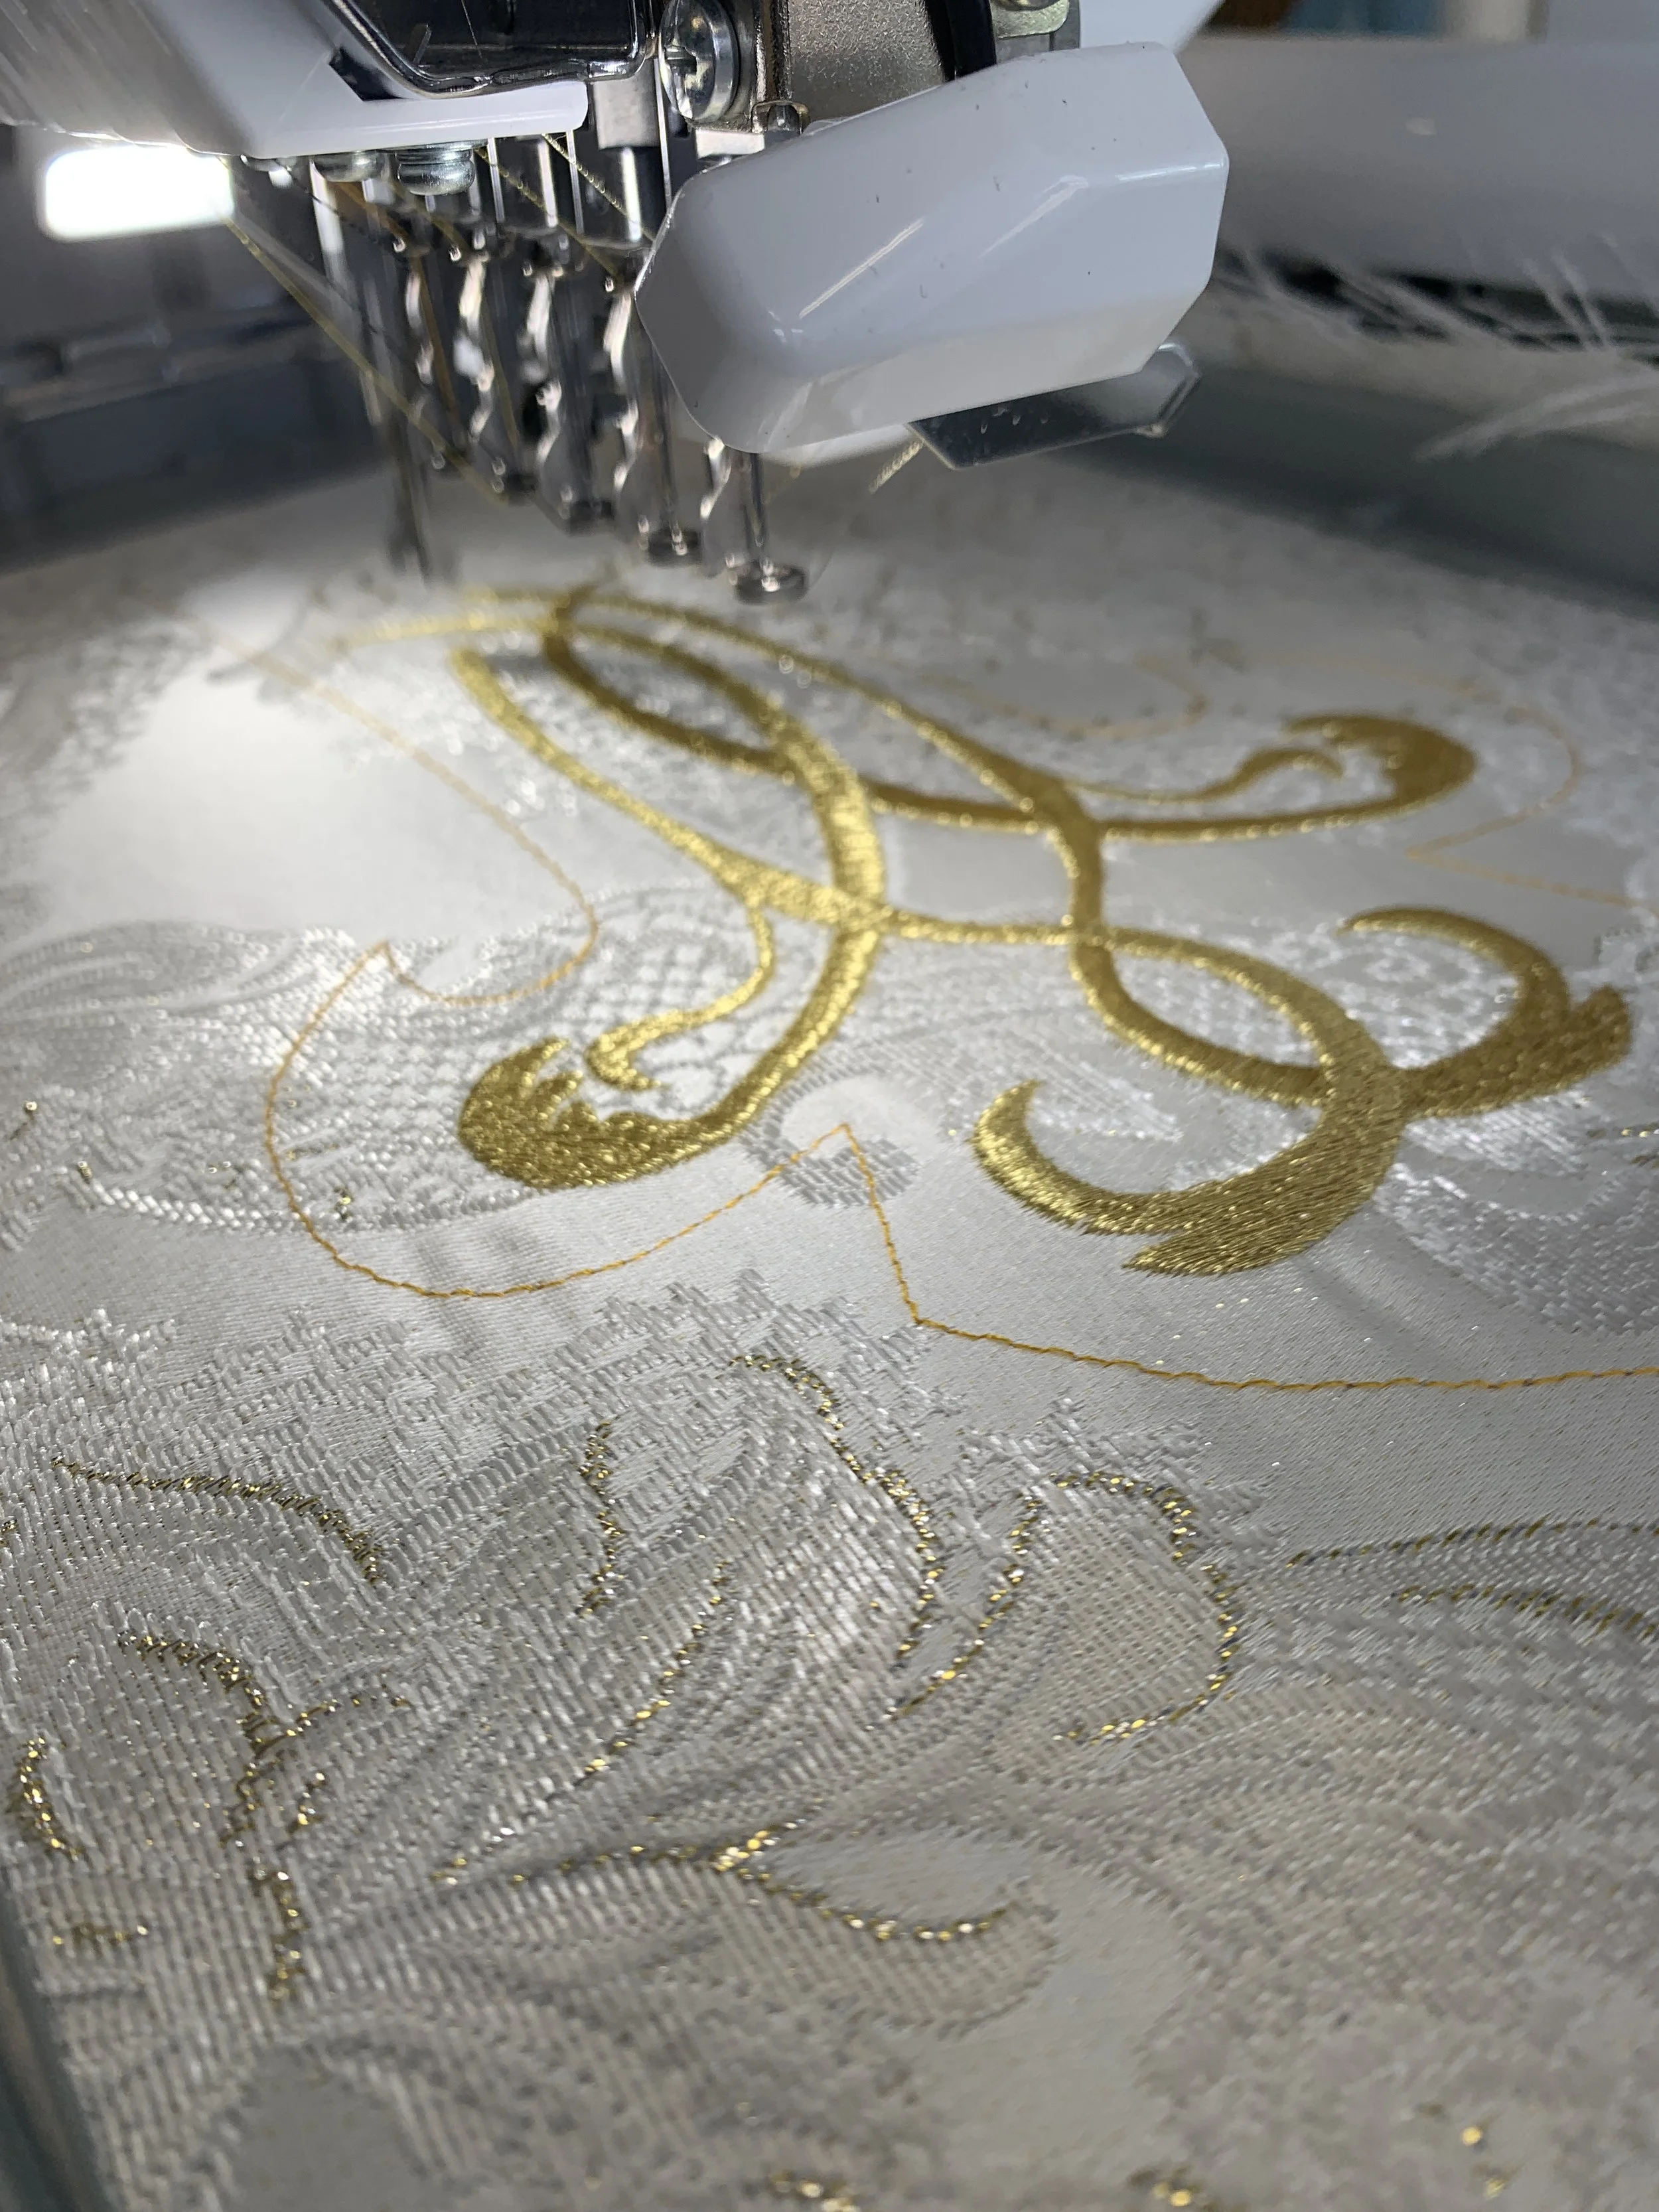
This was an overwhelming process, but well worth it. I consider myself still new to embroidering especially for pieces that go directly on the garment. Normally I have appliques that I can layout and test to make sure I like before making anything final. With embroidering directly to the garment, I don’t get the step of being able to do my normal layout process. So I made a lot of test. I tested how big I needed the pieces to be based off my sewing pattern pieces, and I tested how it looked to weave some applique into the design as well.
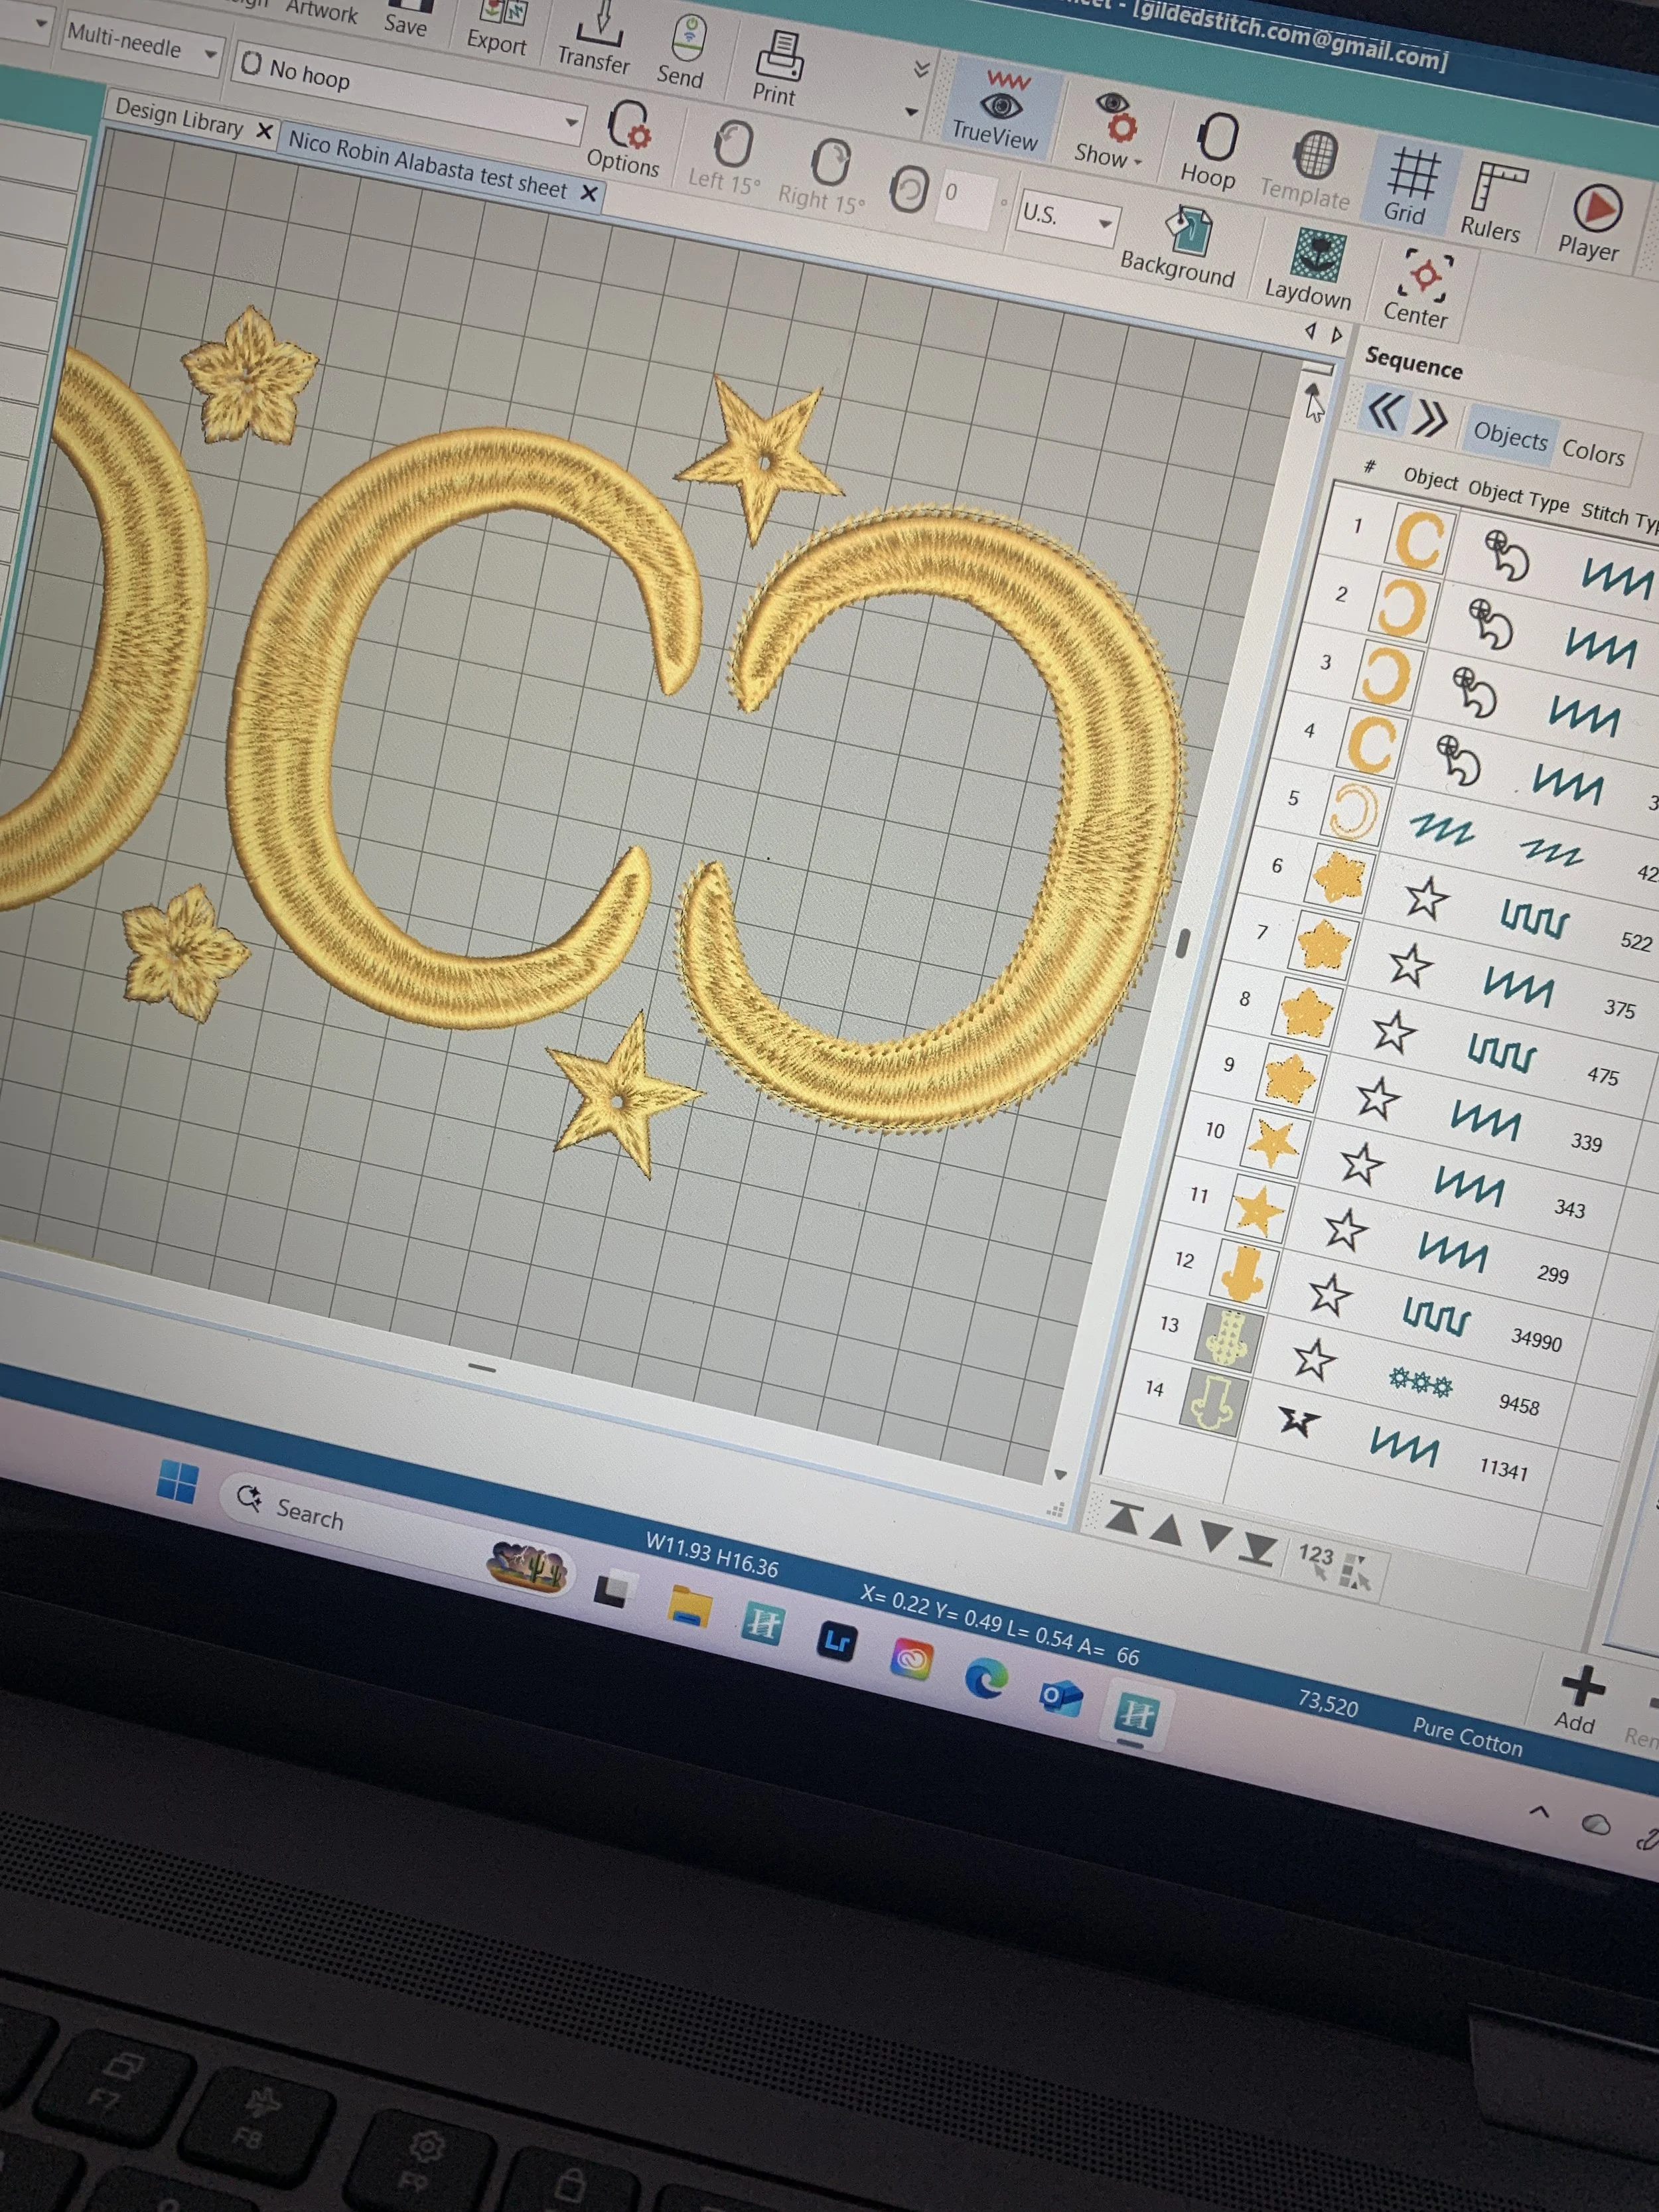
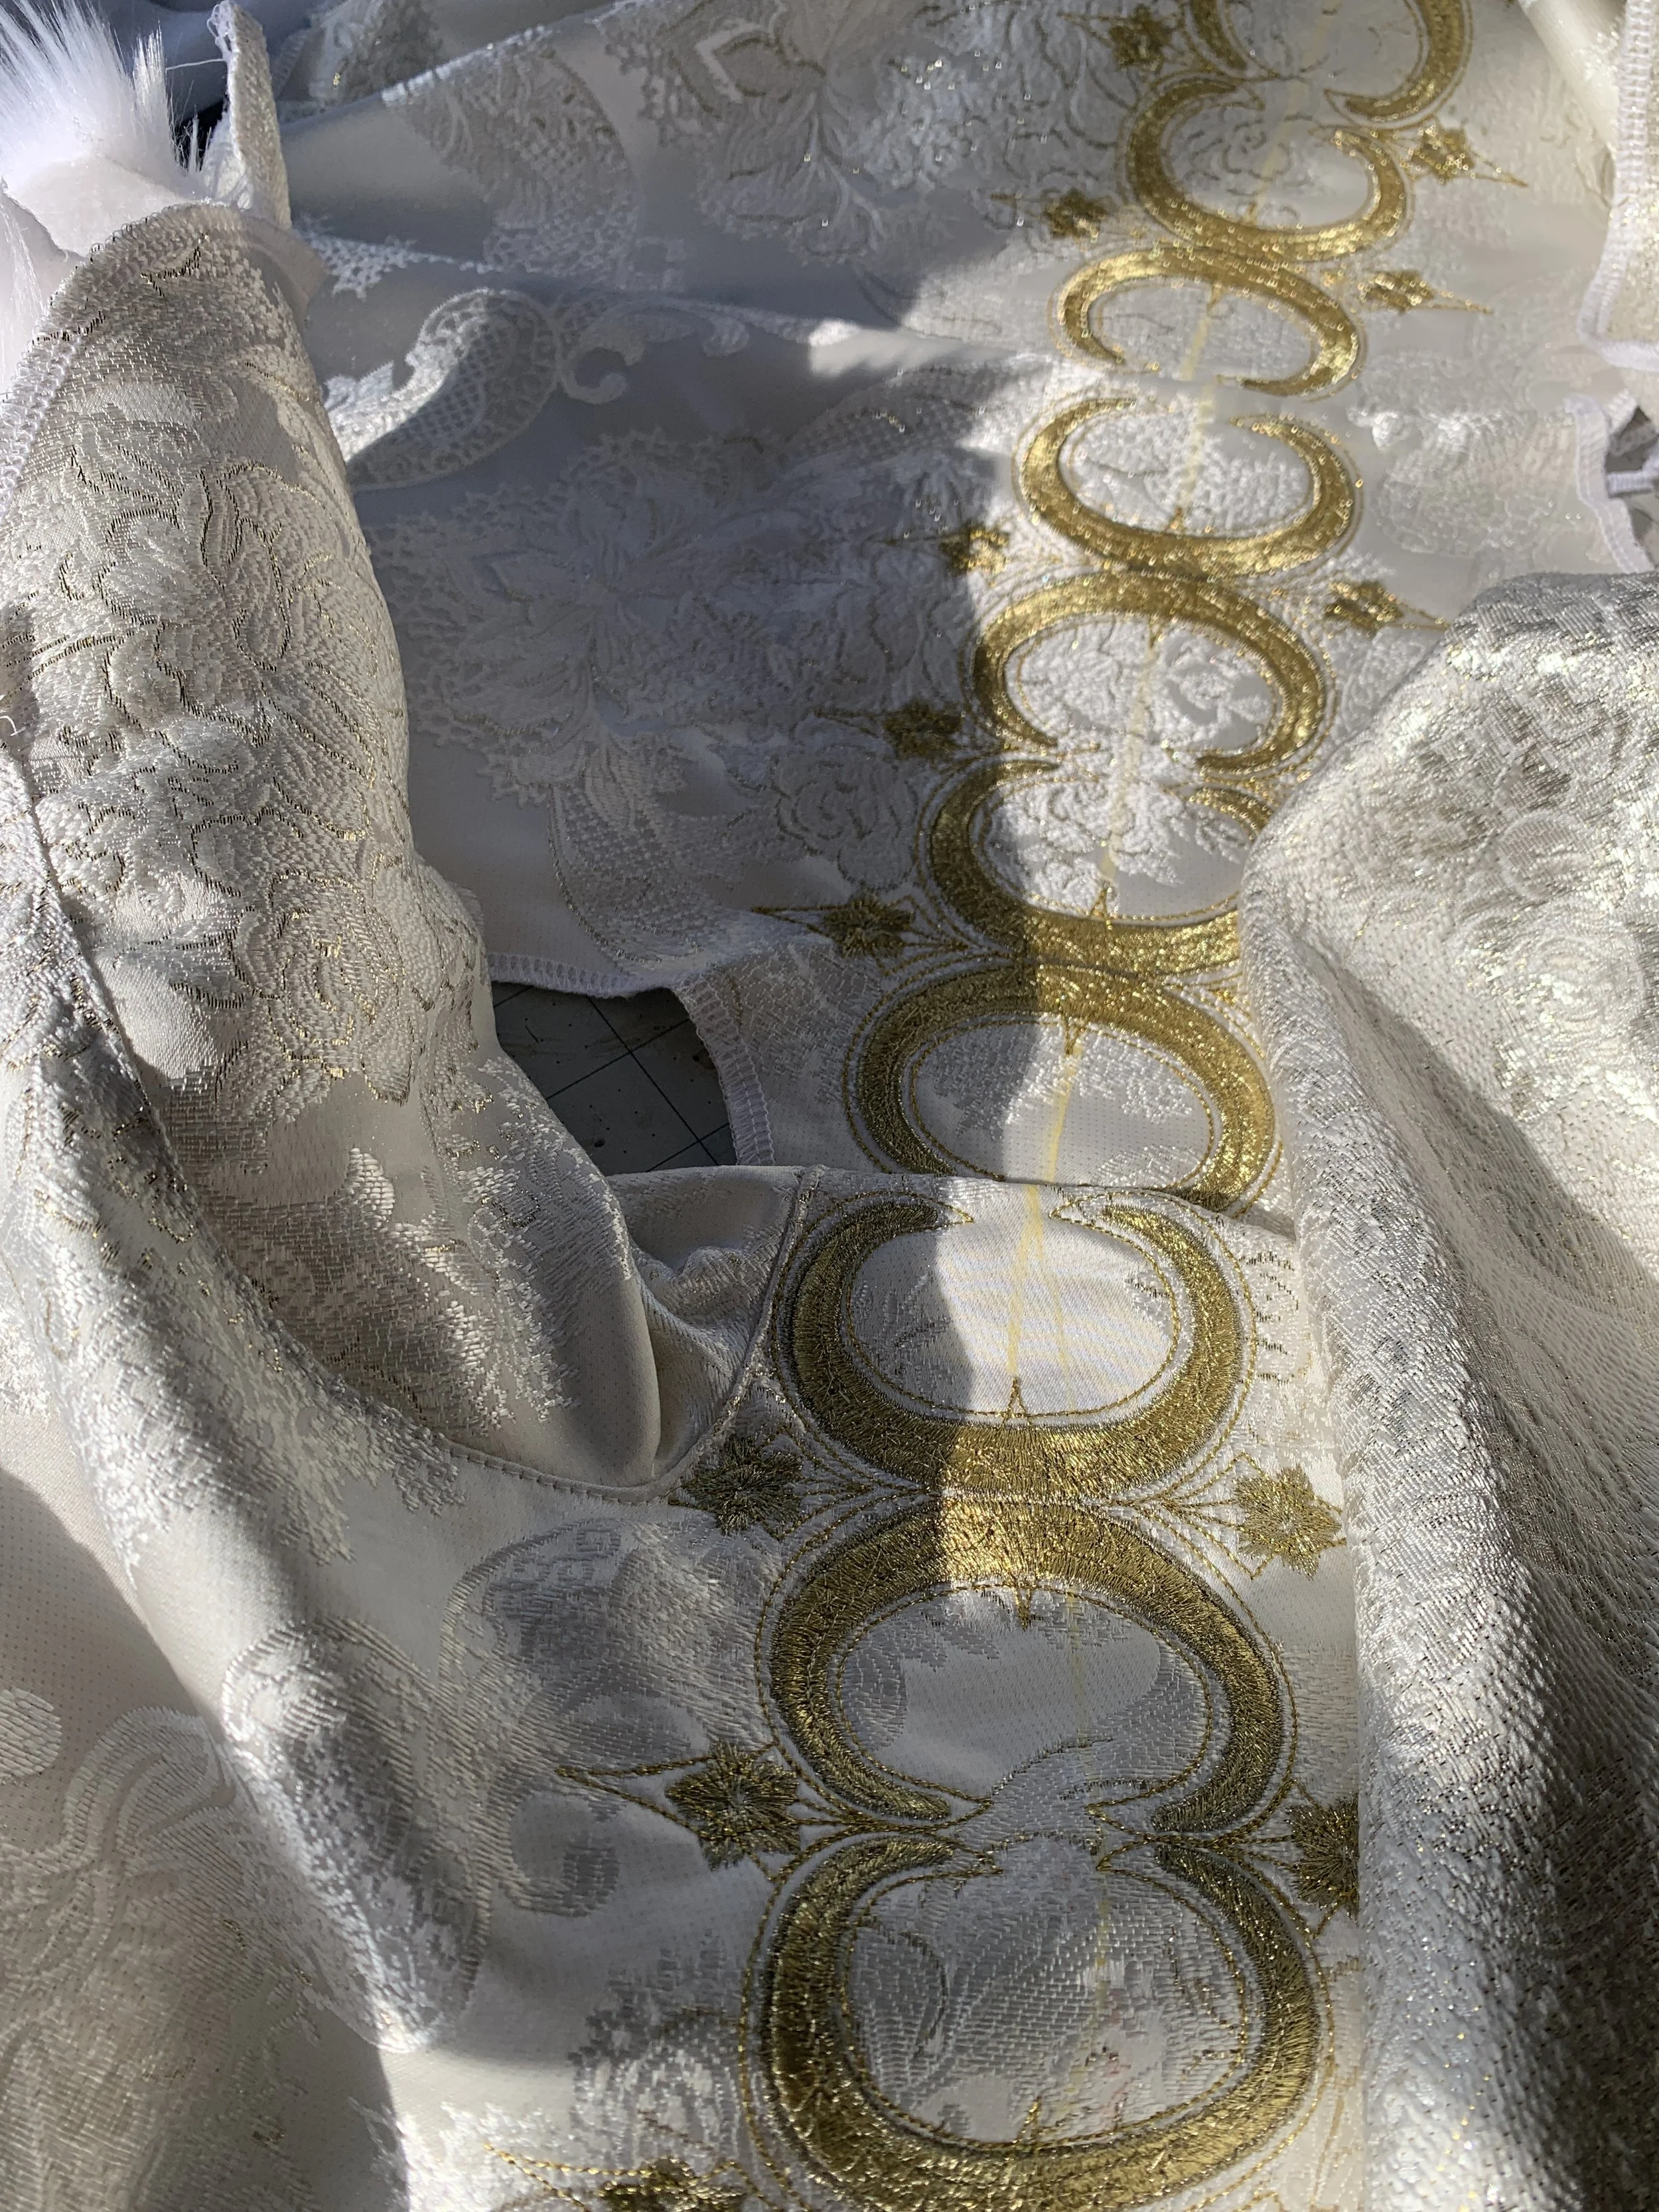
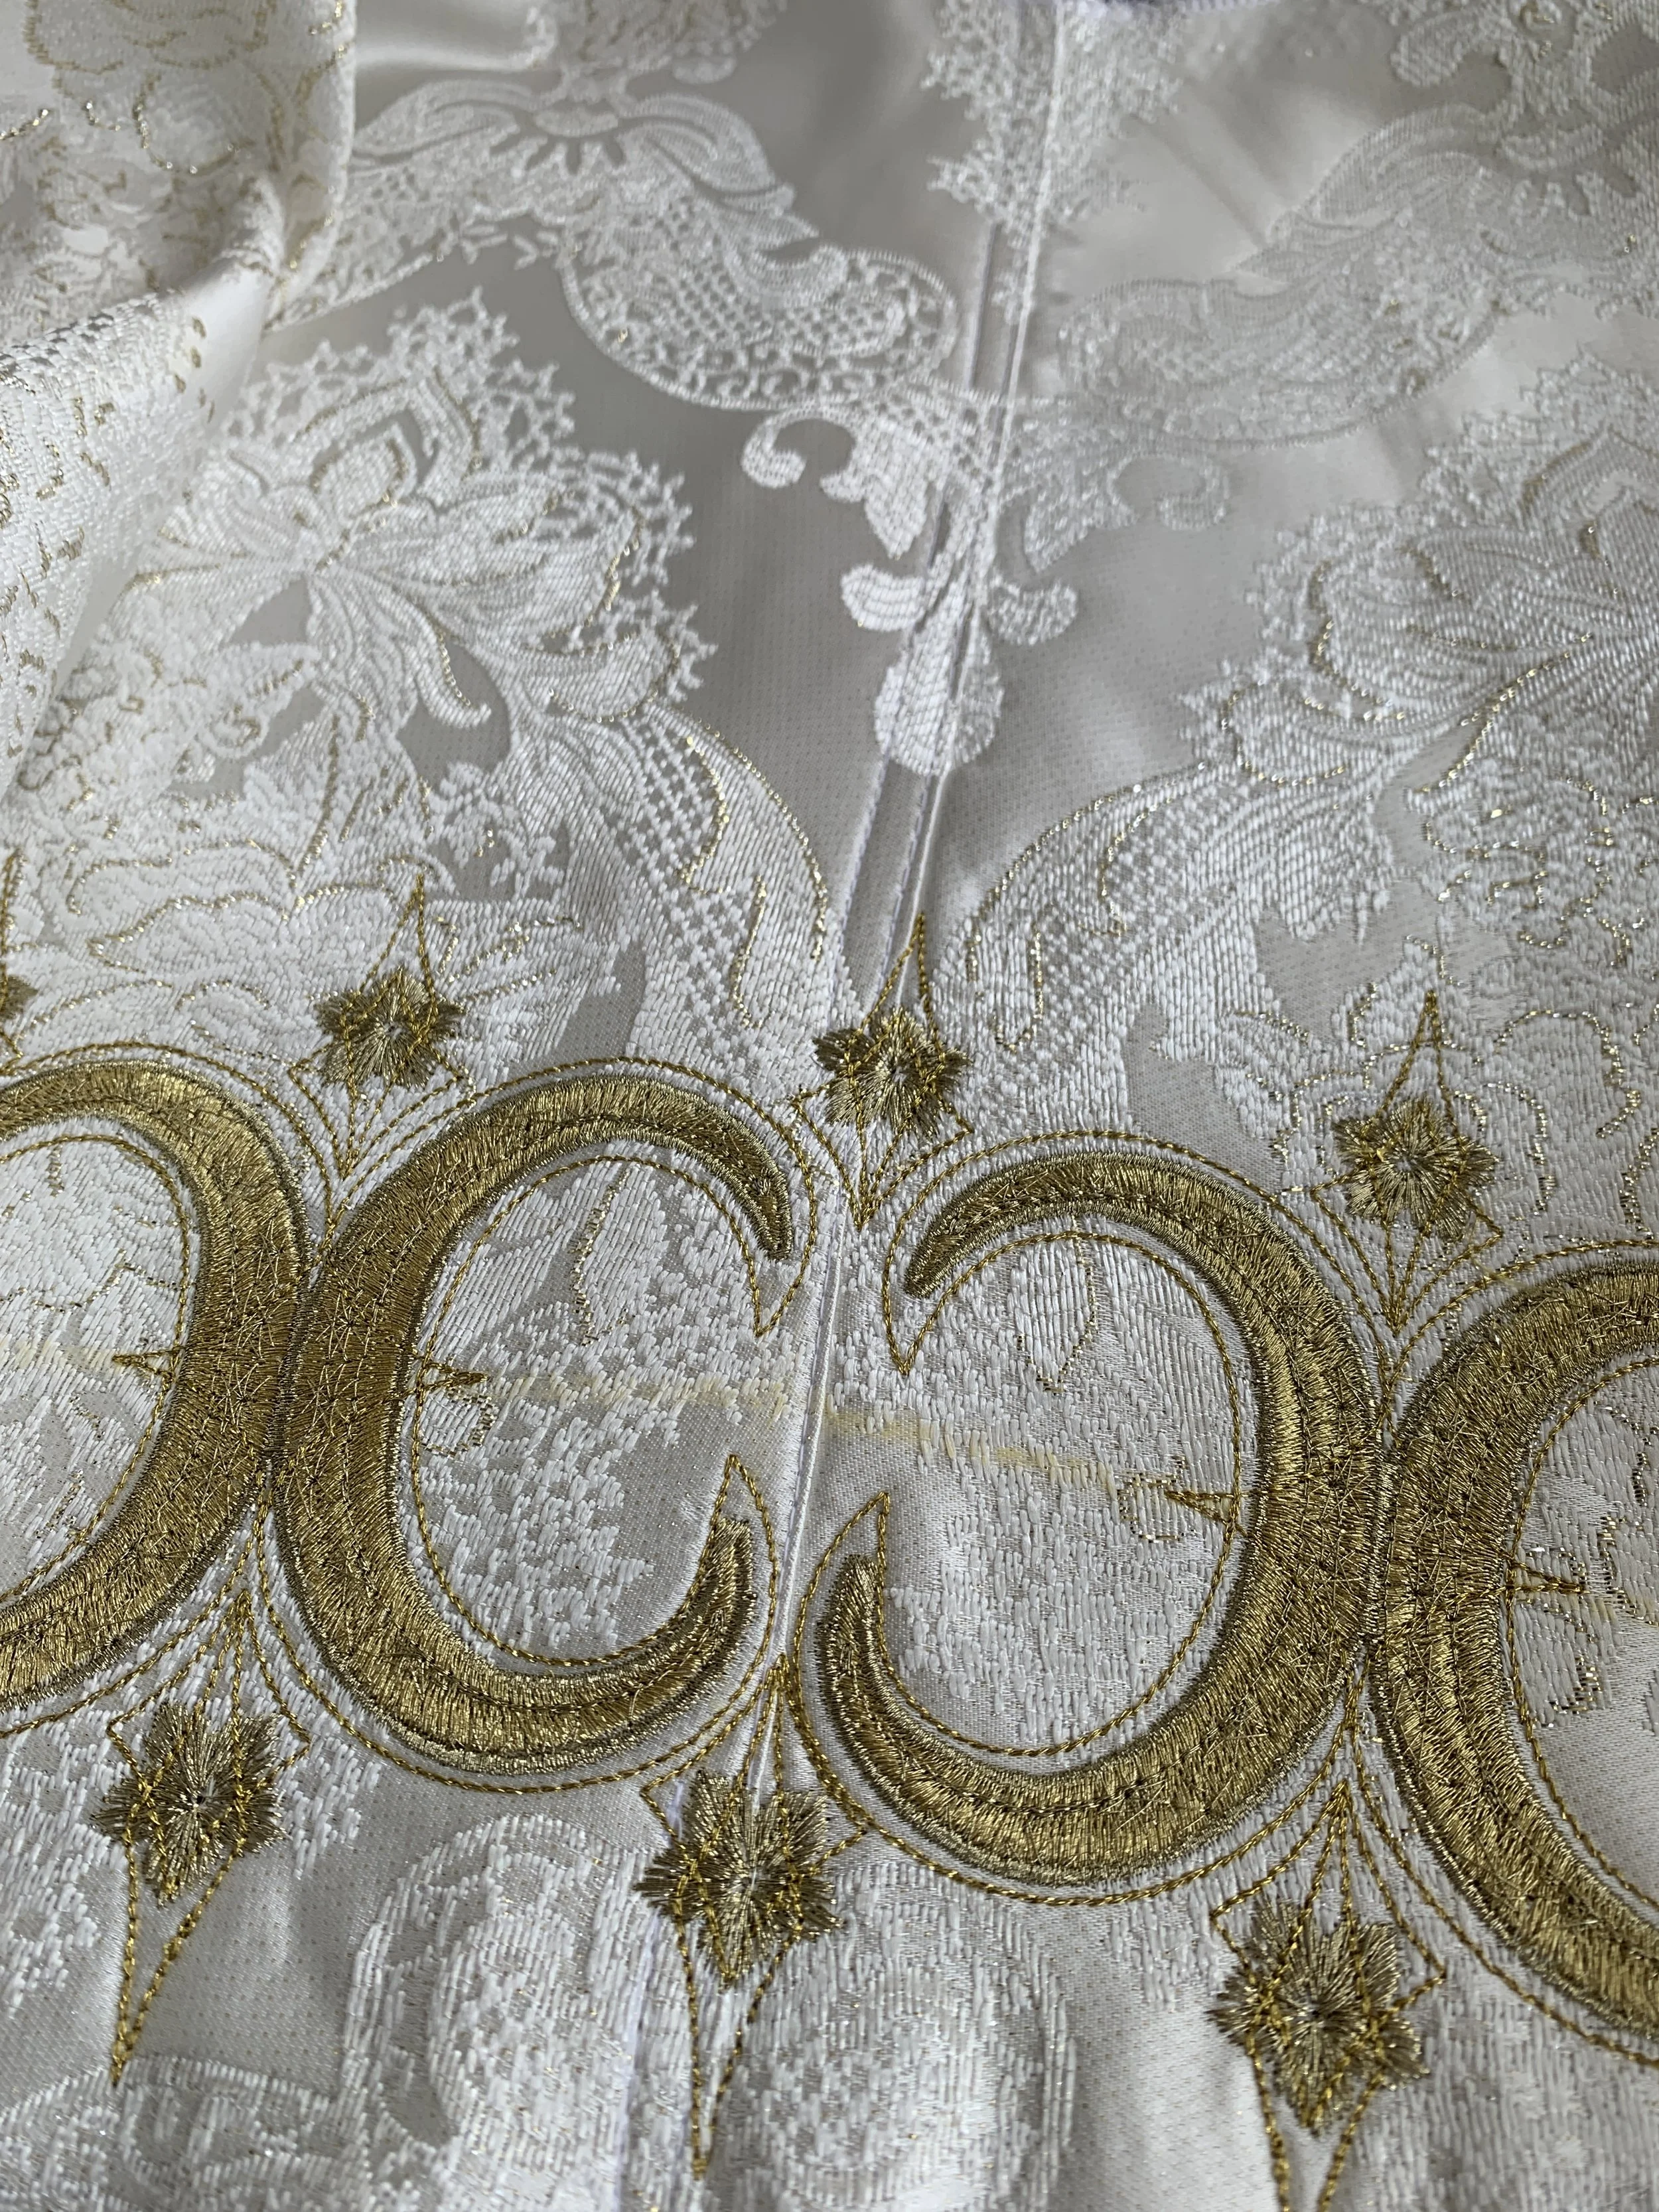
I started with the moon shapes that go around her torso on the jacket: After developing the basic shapes I dove into adding details and refining everything. I experimented a lot with different thread colors and the addition of flowers a nod to Nico Robin’s devil fruit power.
Designing Embroidery
Digitizing Embroidery files
Test sewing
Continuous embroider
Multi hooping
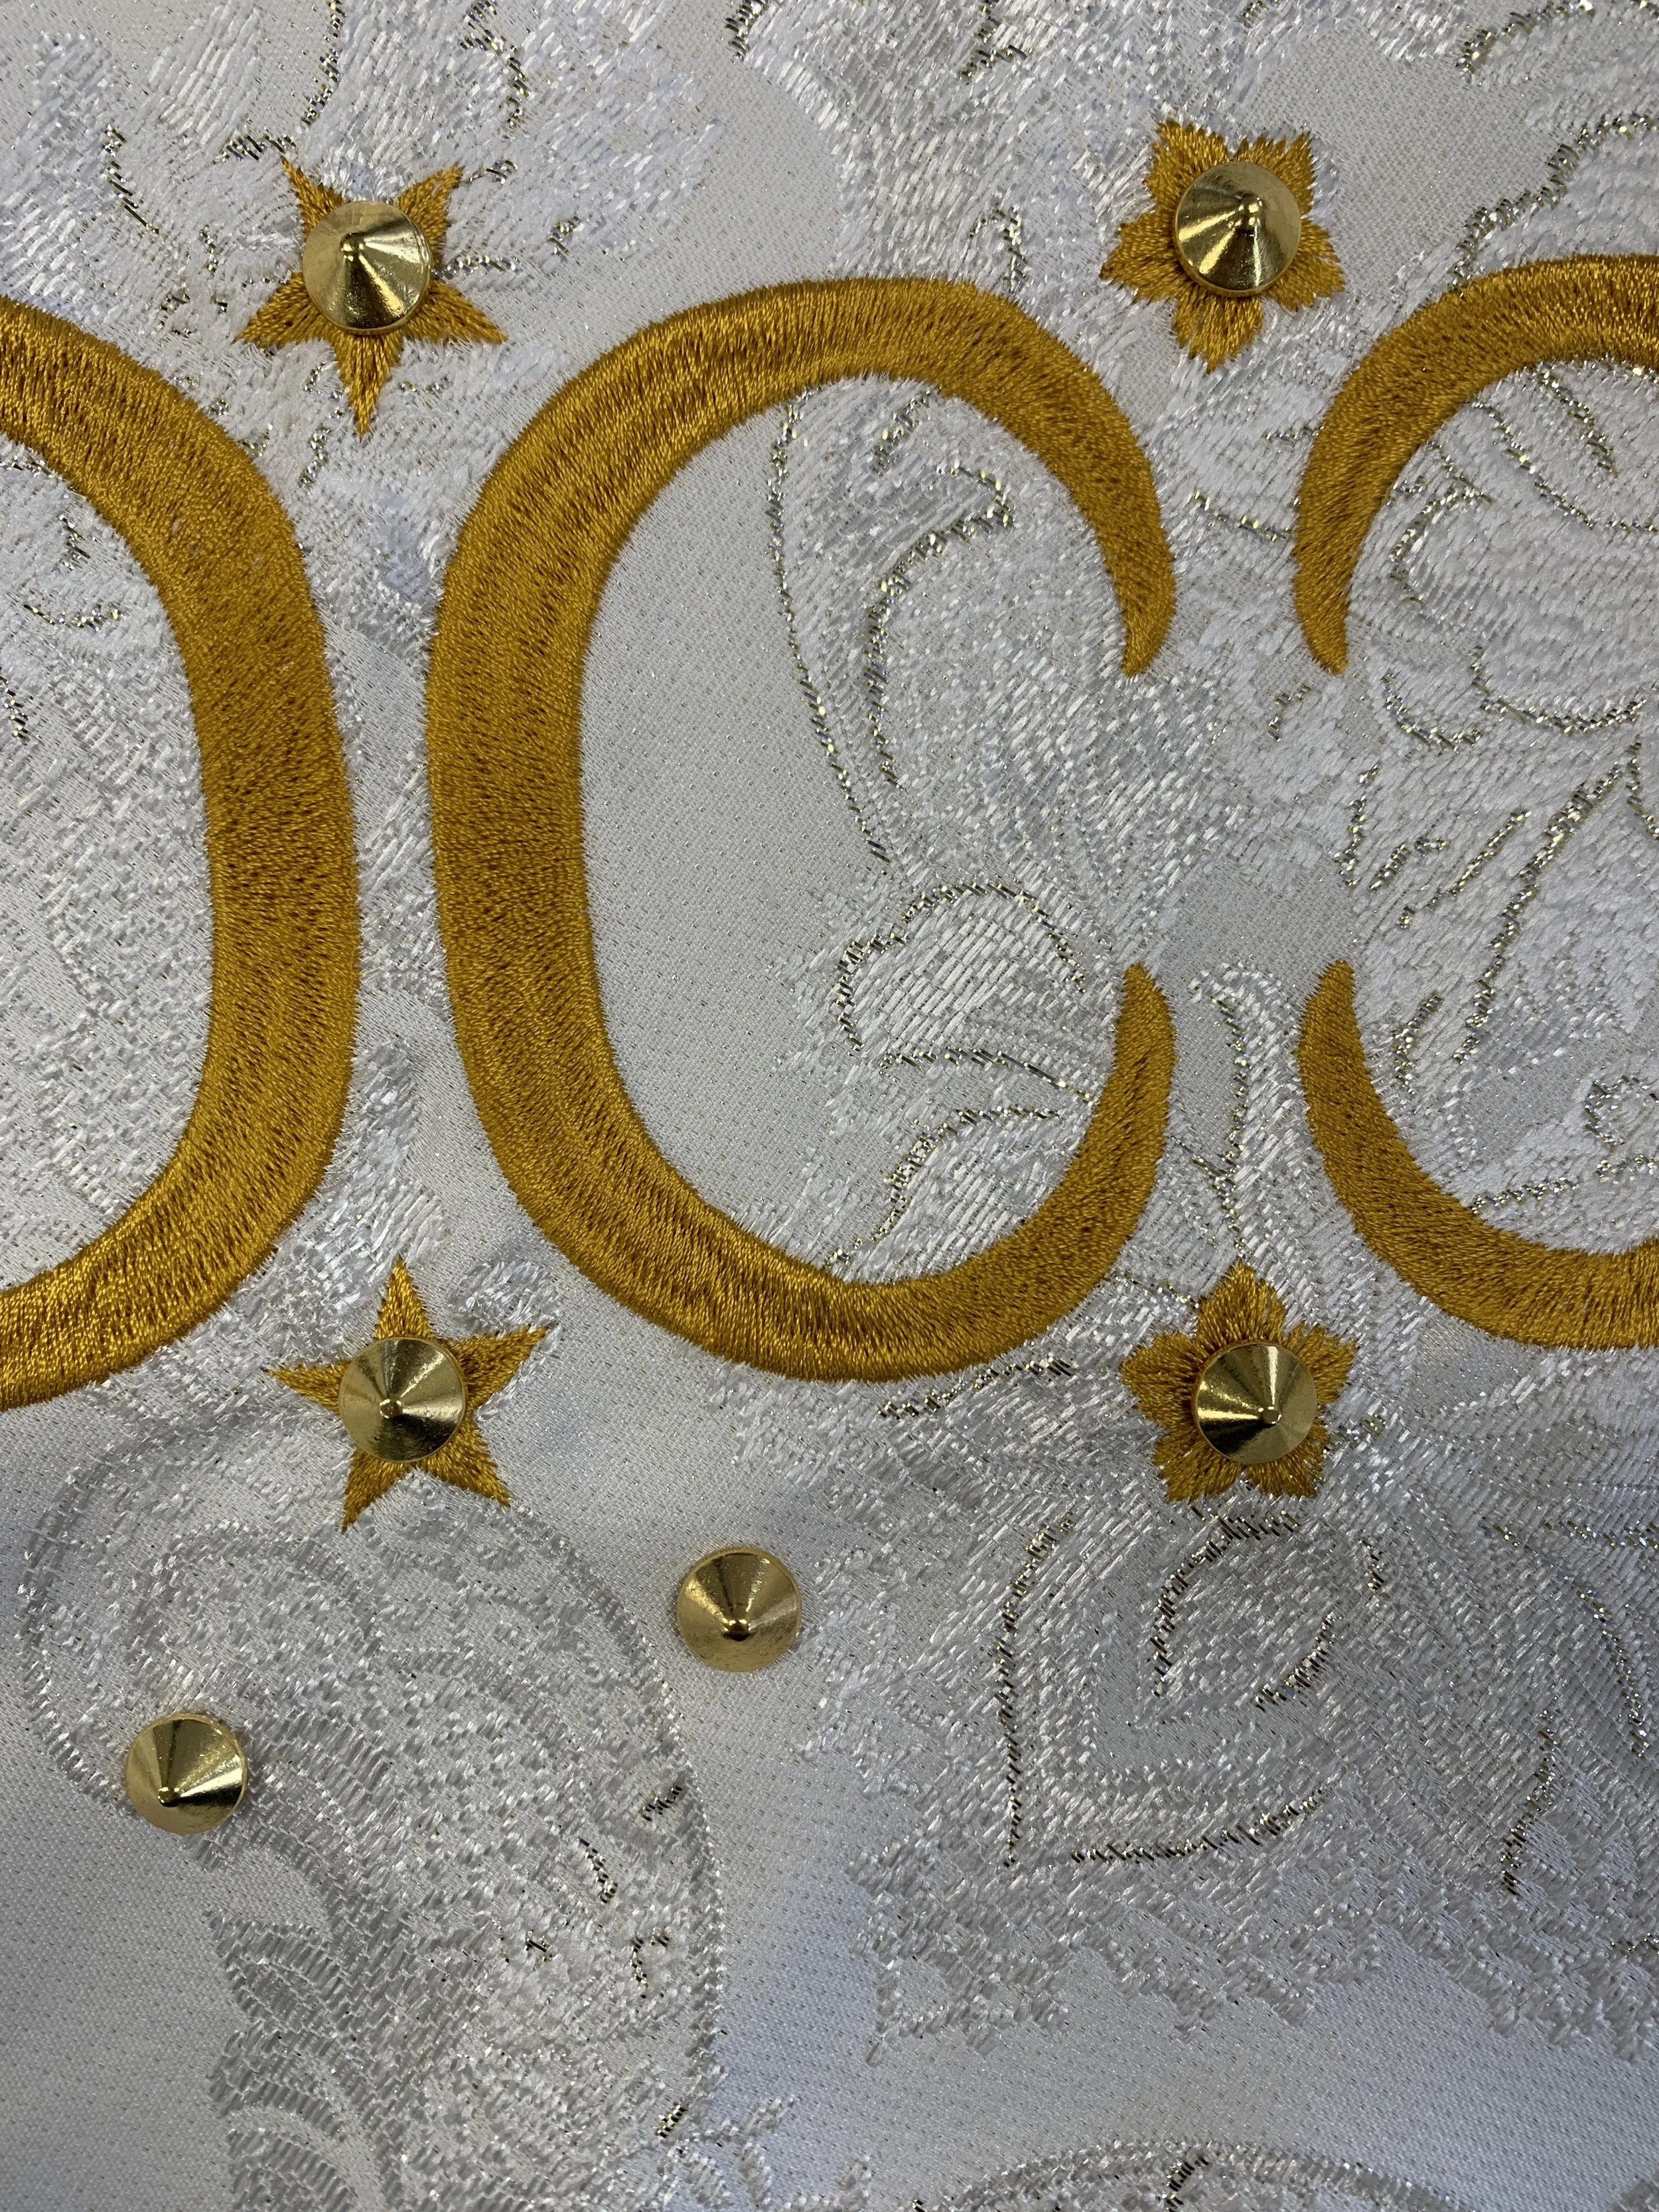
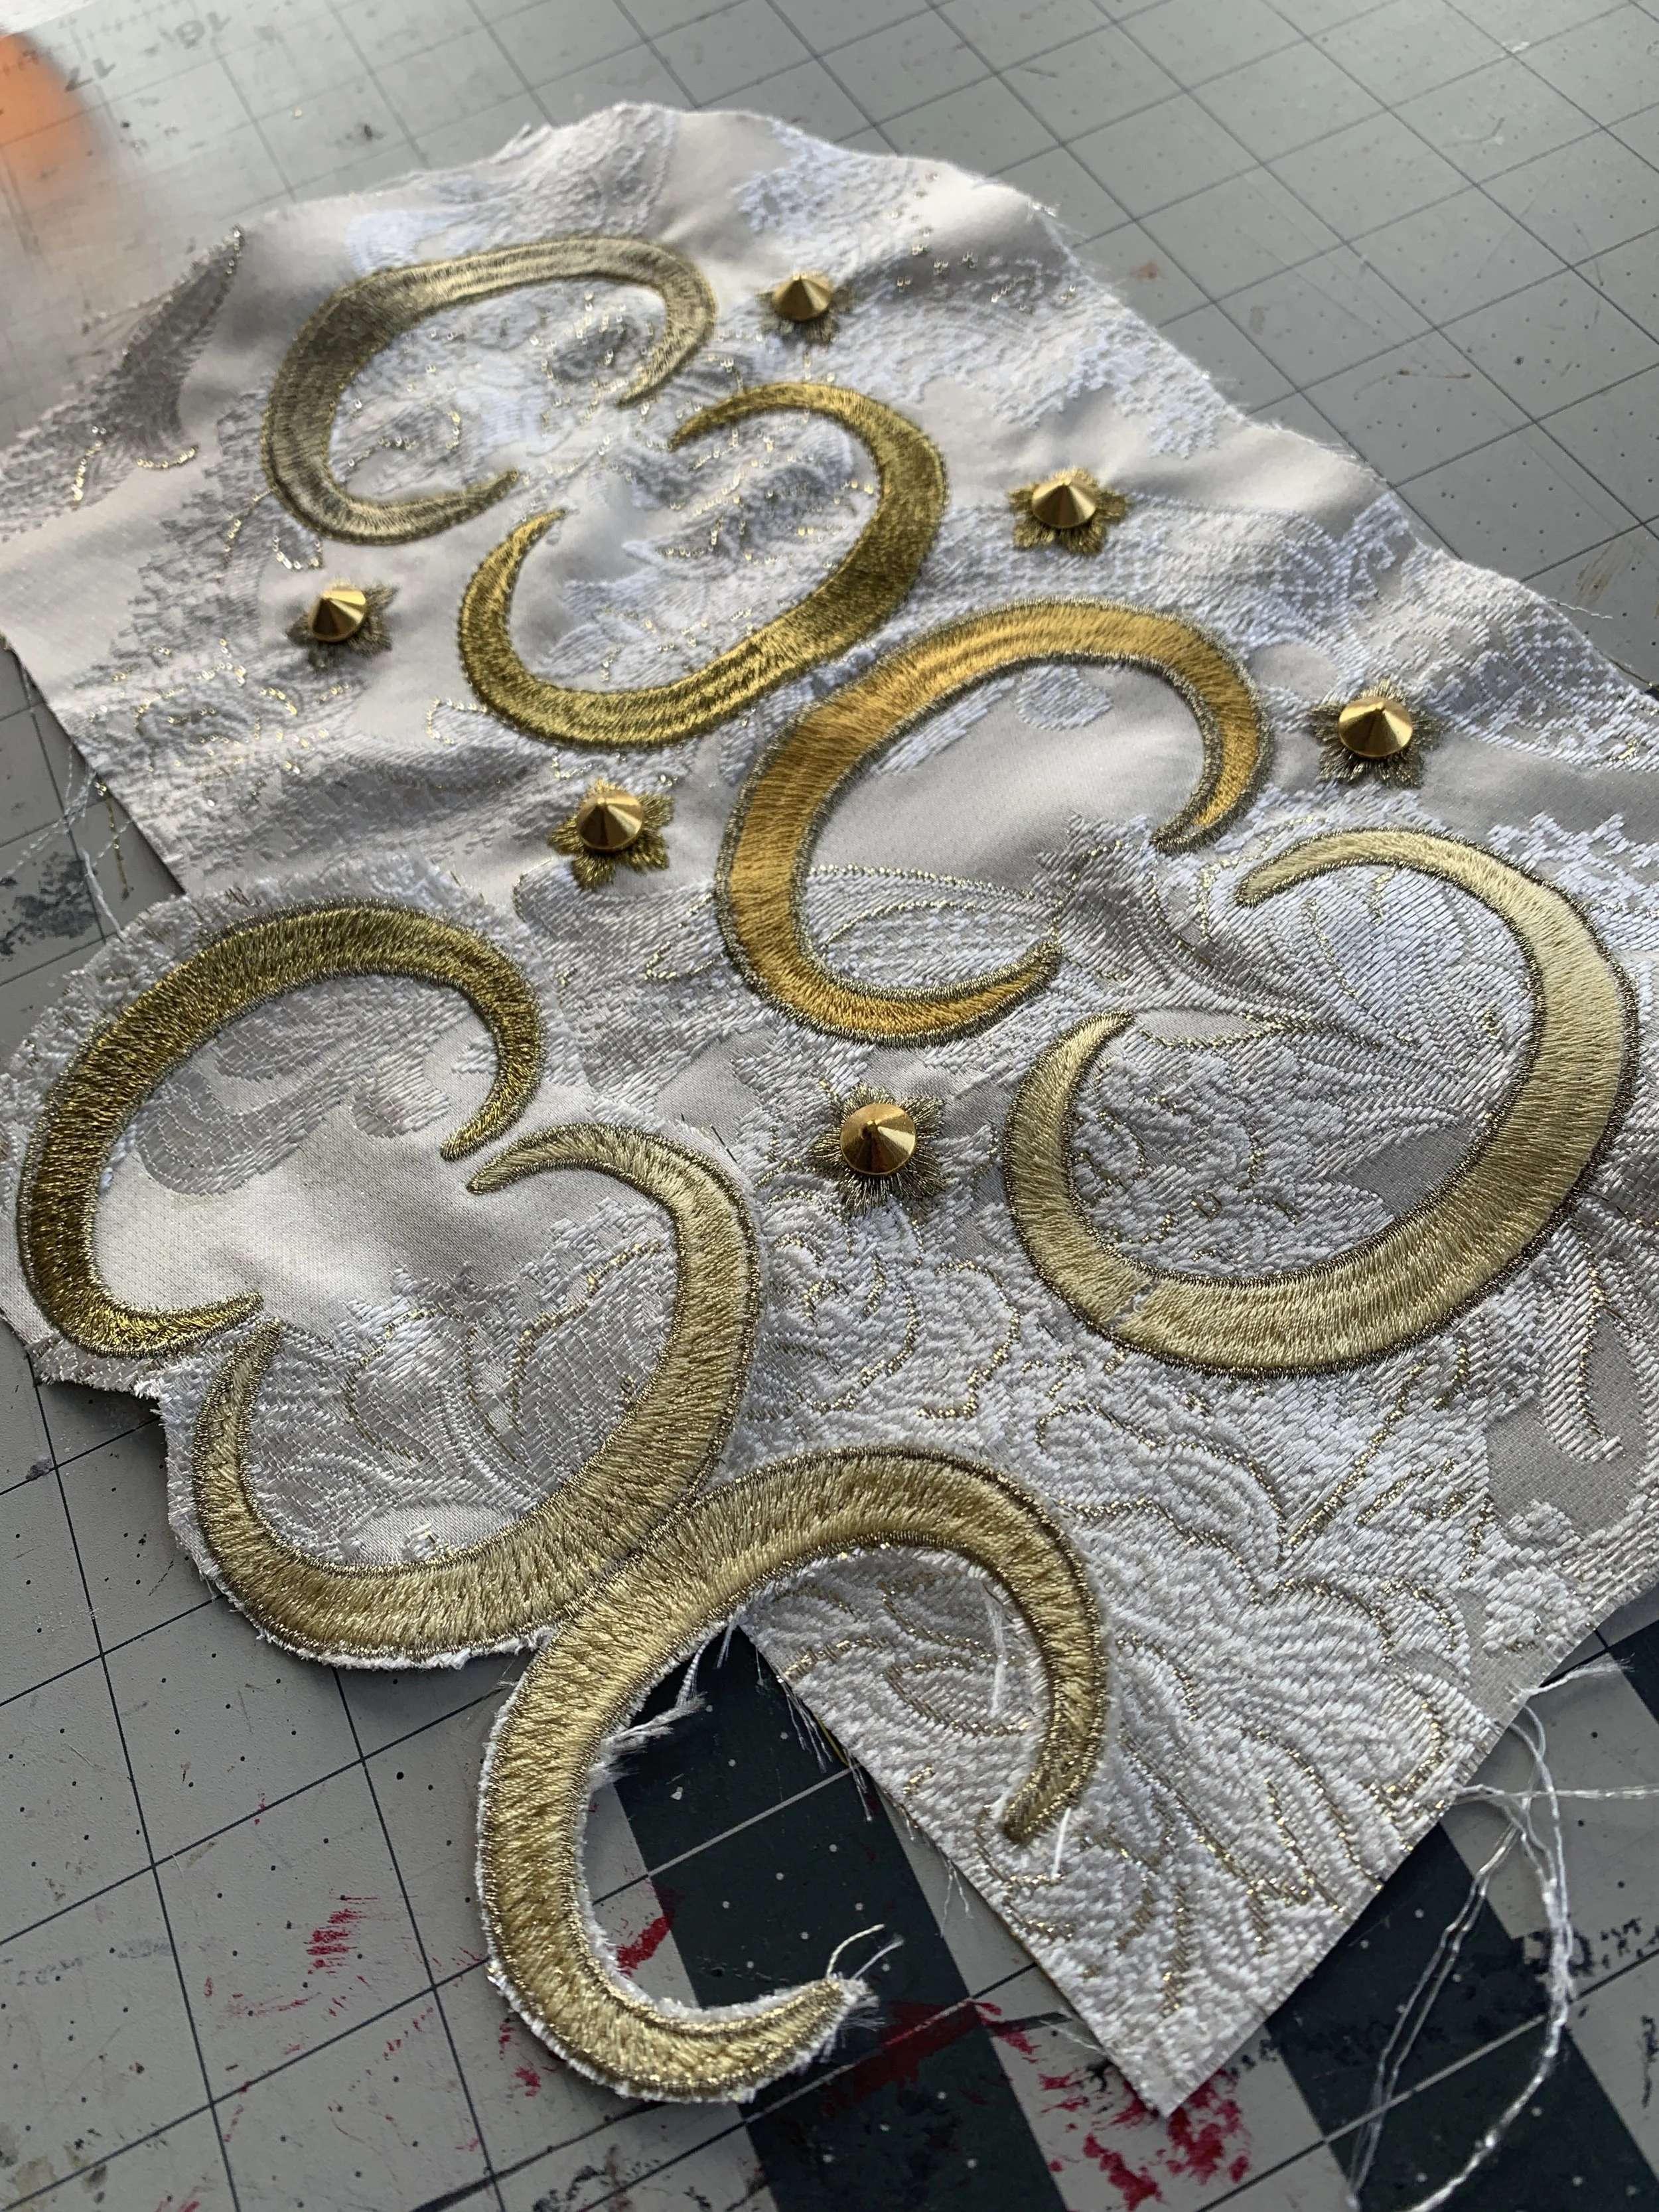
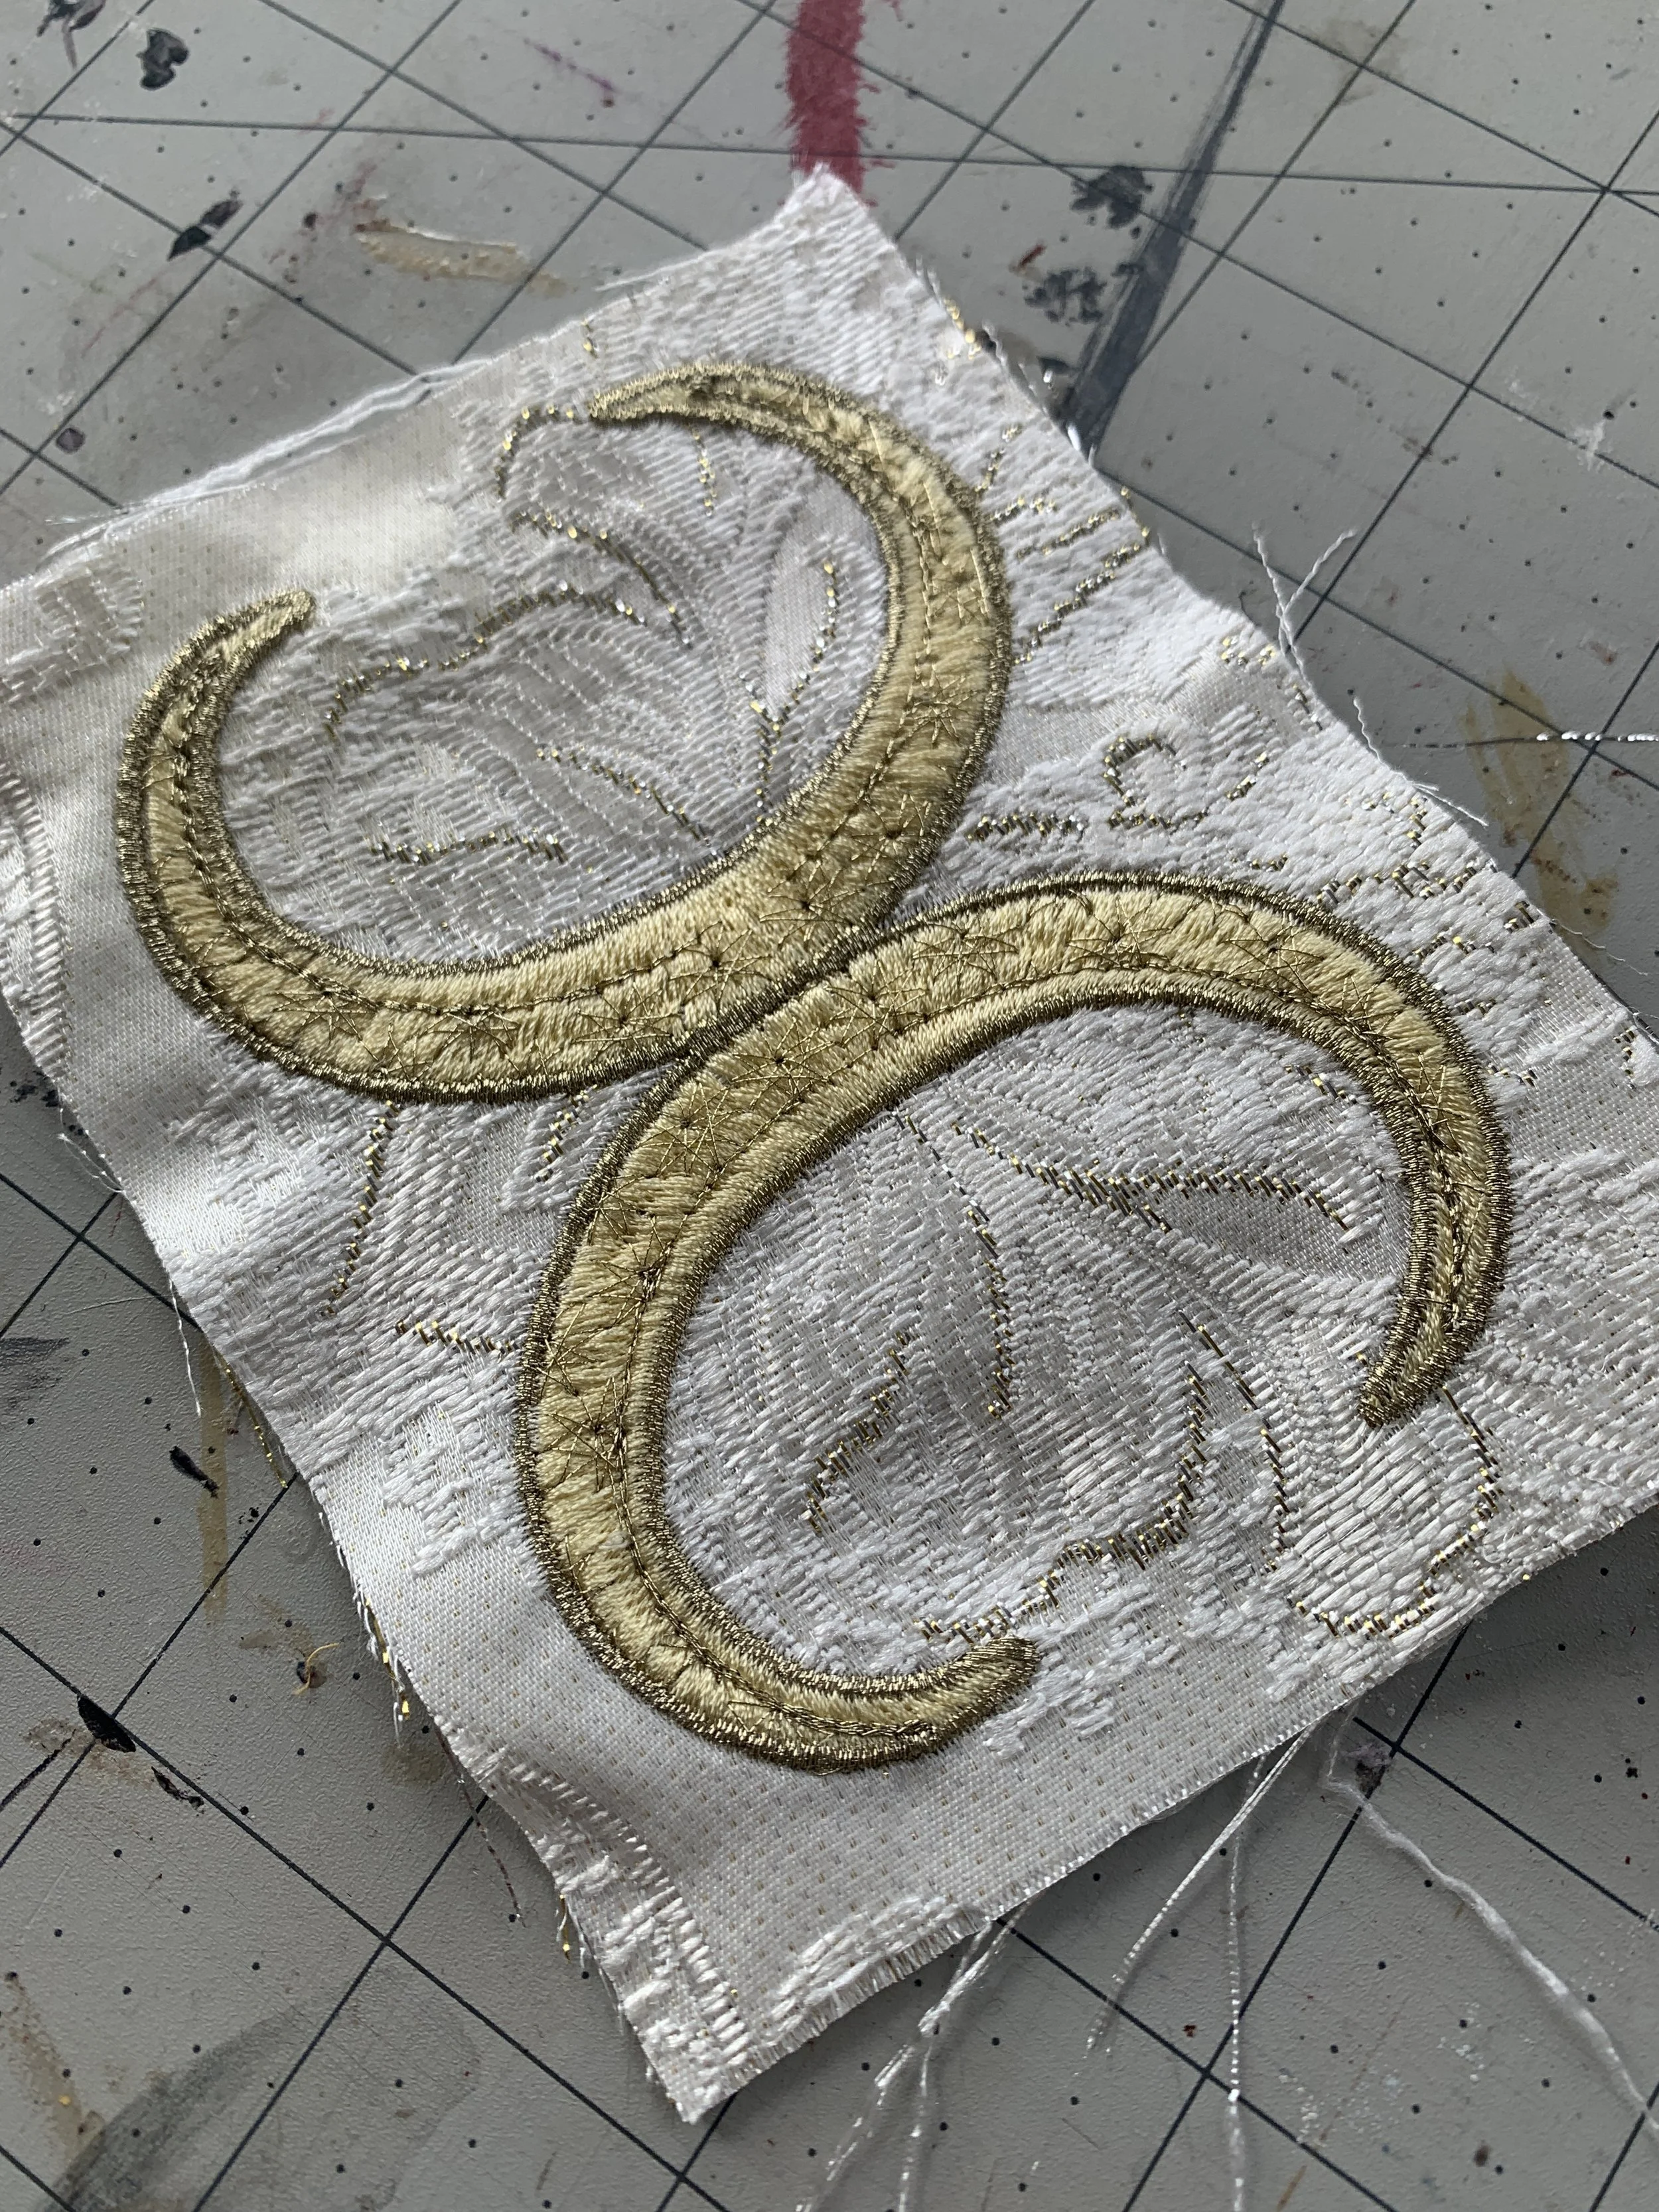
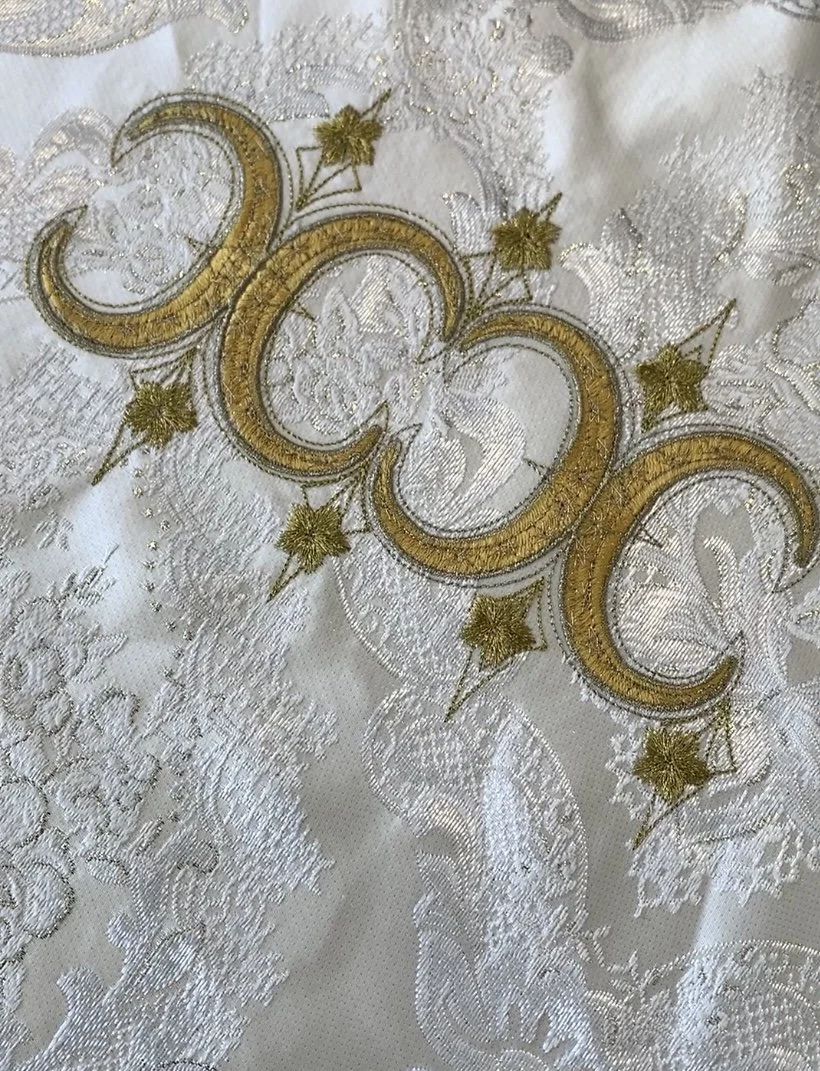
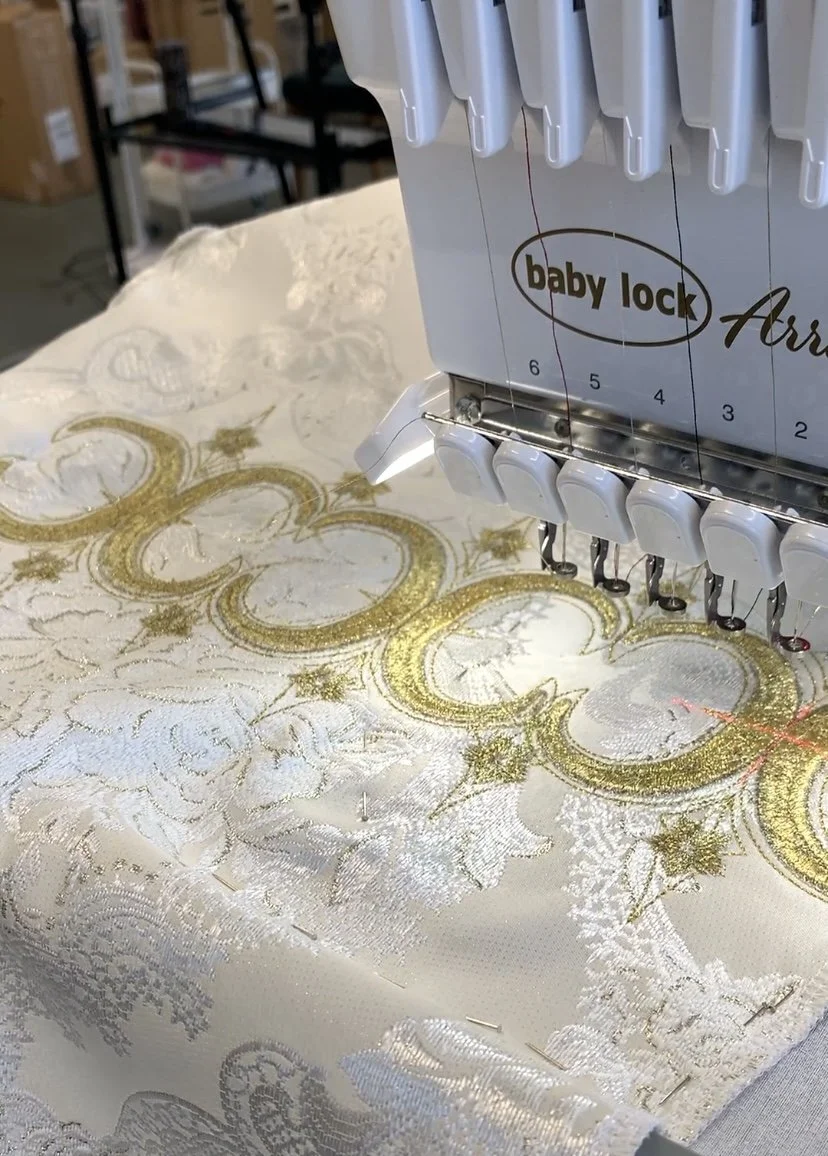
Process for lining up and embroidering directly to the fabric
I start by hooping some iron on interfacing and draw my grid directly to the interfacing. The grid gets me to pinpoint exactly where the embroidery will stich based off my Embroidery file. On the shell fabric I create this same grid for the exact placement of the embroidery. Then I lineup the the shell grid with my hooped interfacing grid, pin then iron so that the interfacing sticks to my fabric and hold it in perfect placement. At the machine - Babylock Array - I lineup the center to my Hooped center and it’s good to go! This is not without some tedious adjustments. I can’t even express how insanely thrilled I was to get that center back so perfectly aligned.
What I learned:
Make the grid on the digital file match with the grid of the hoop and placement so I don’t have to make a million micro adjustments at the machine for a match. Most importantly, lining up center of the design with center of the hoop. I had this off center so I had to make a lot of adjustments to get it lined up.
Consider starting and stopping points of the digital file so I can test with a single stich if my spacing is correct or if my alignment it off
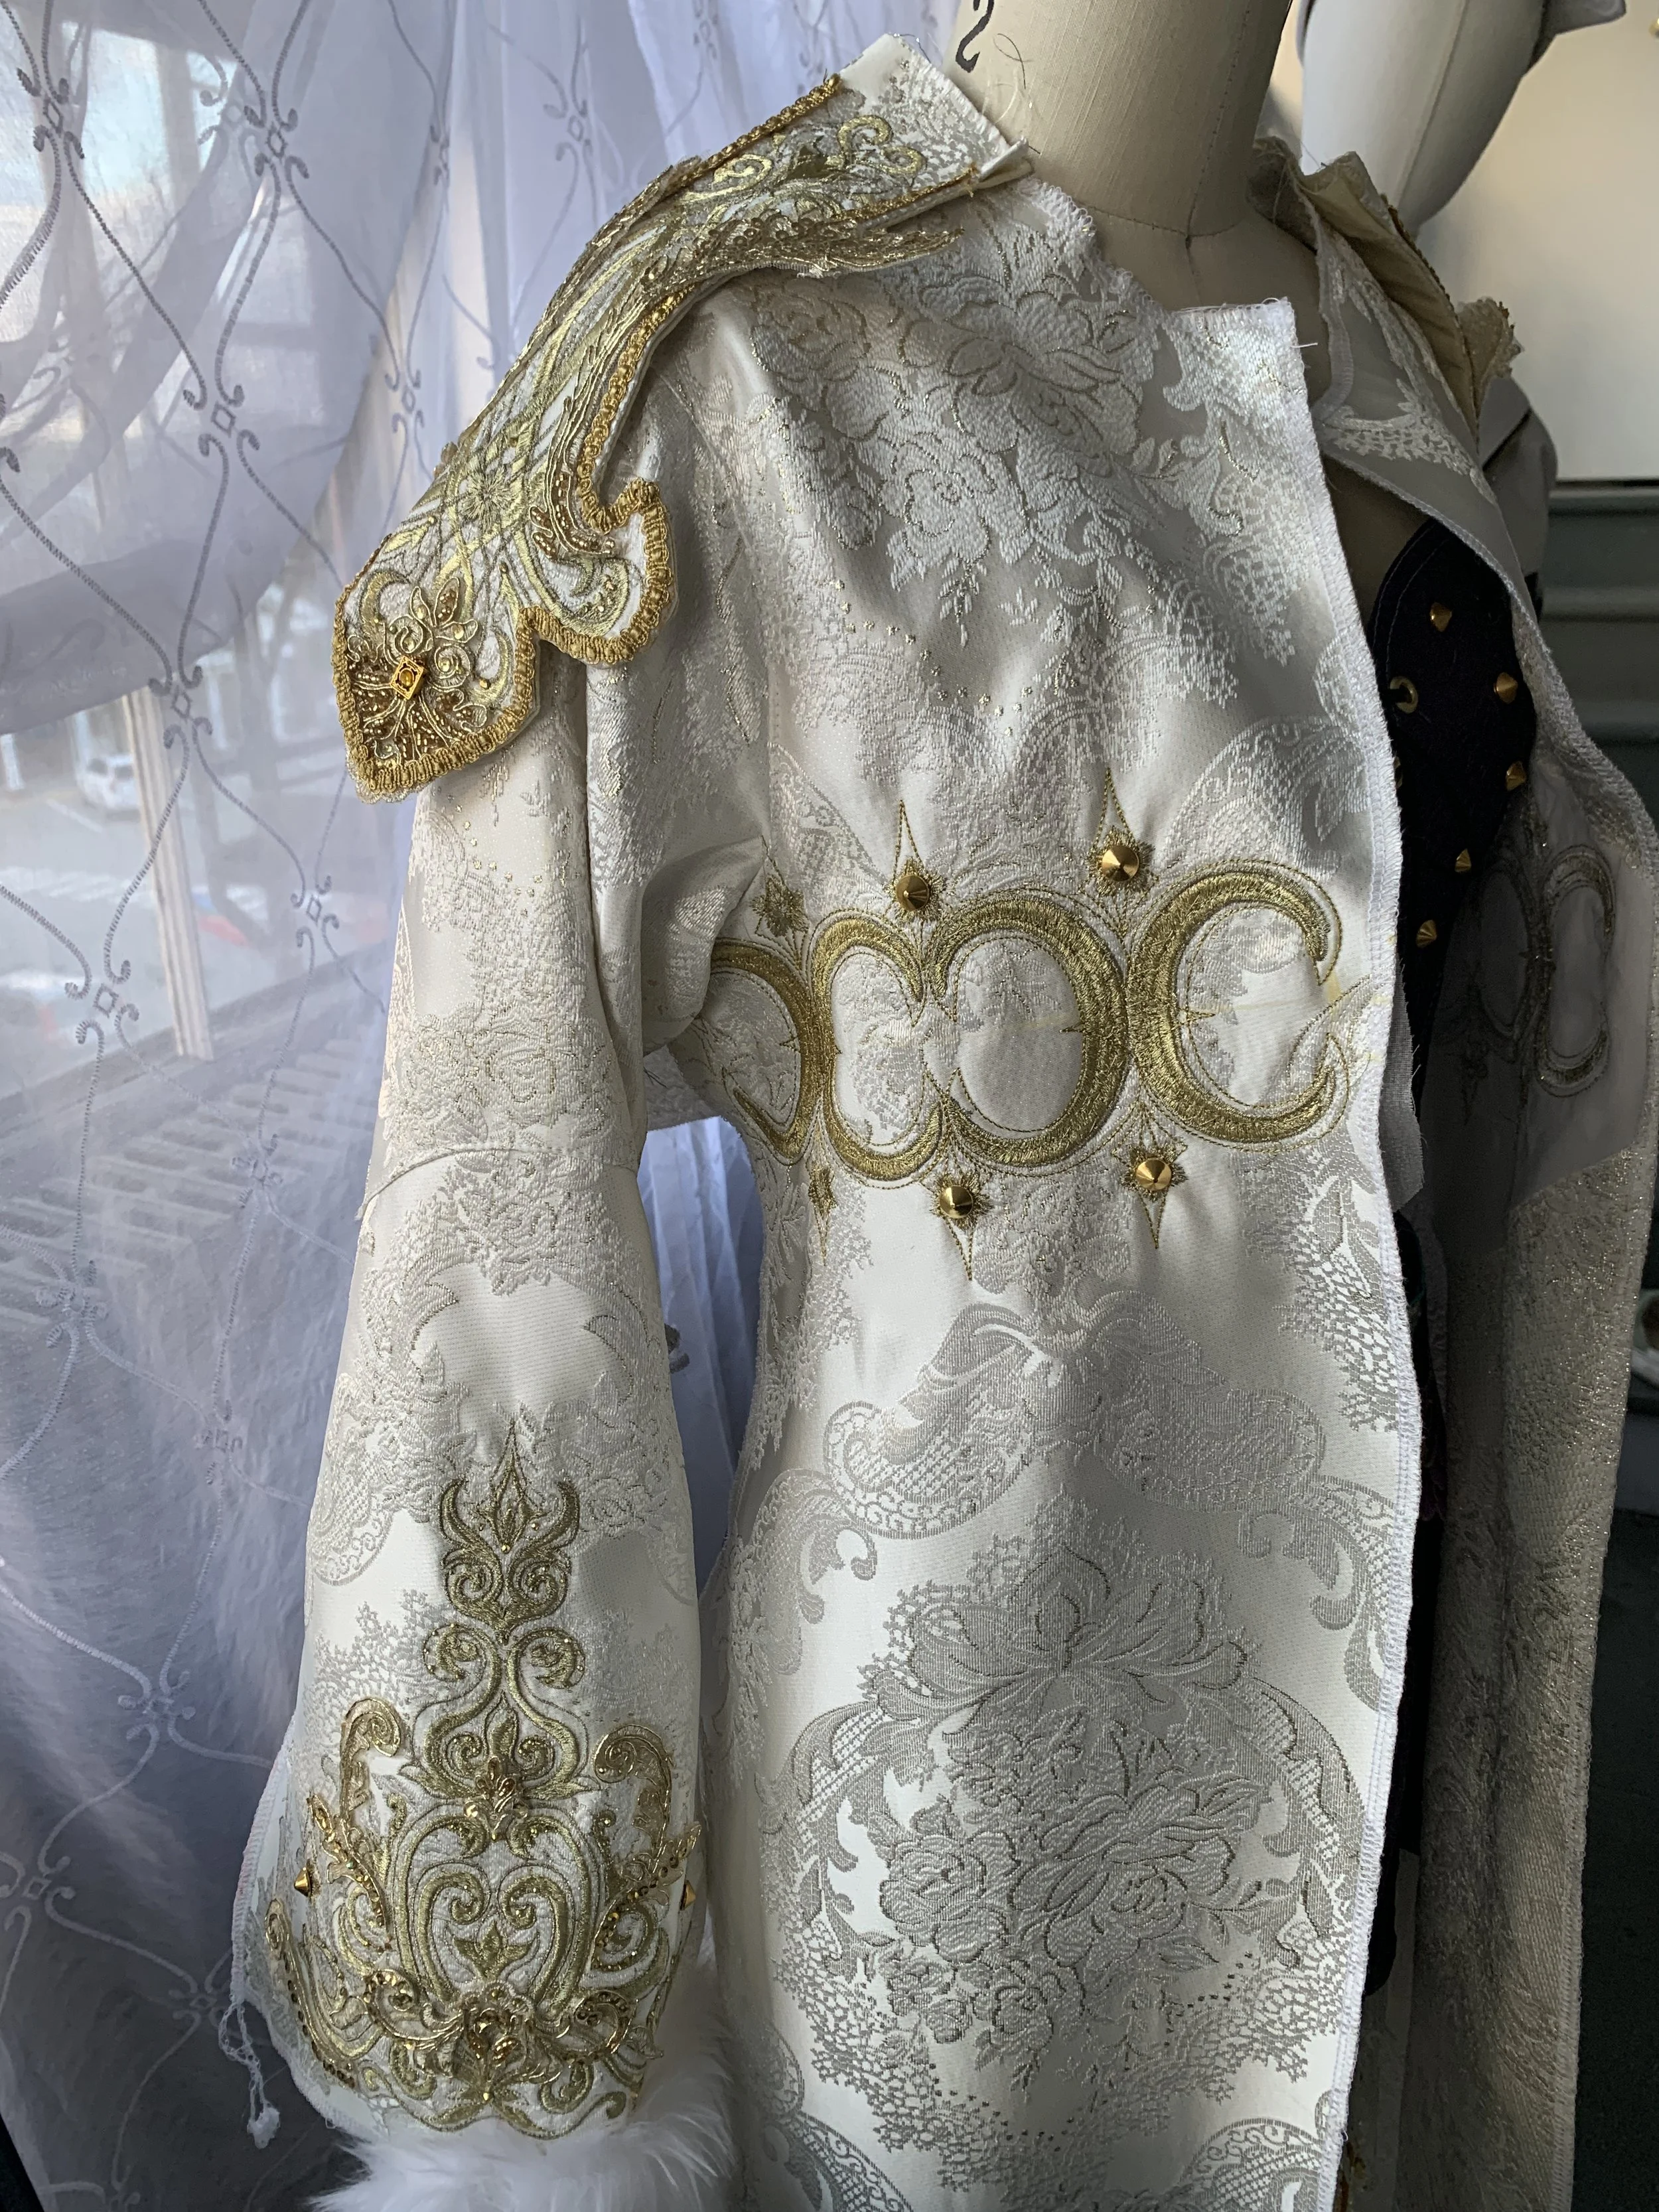
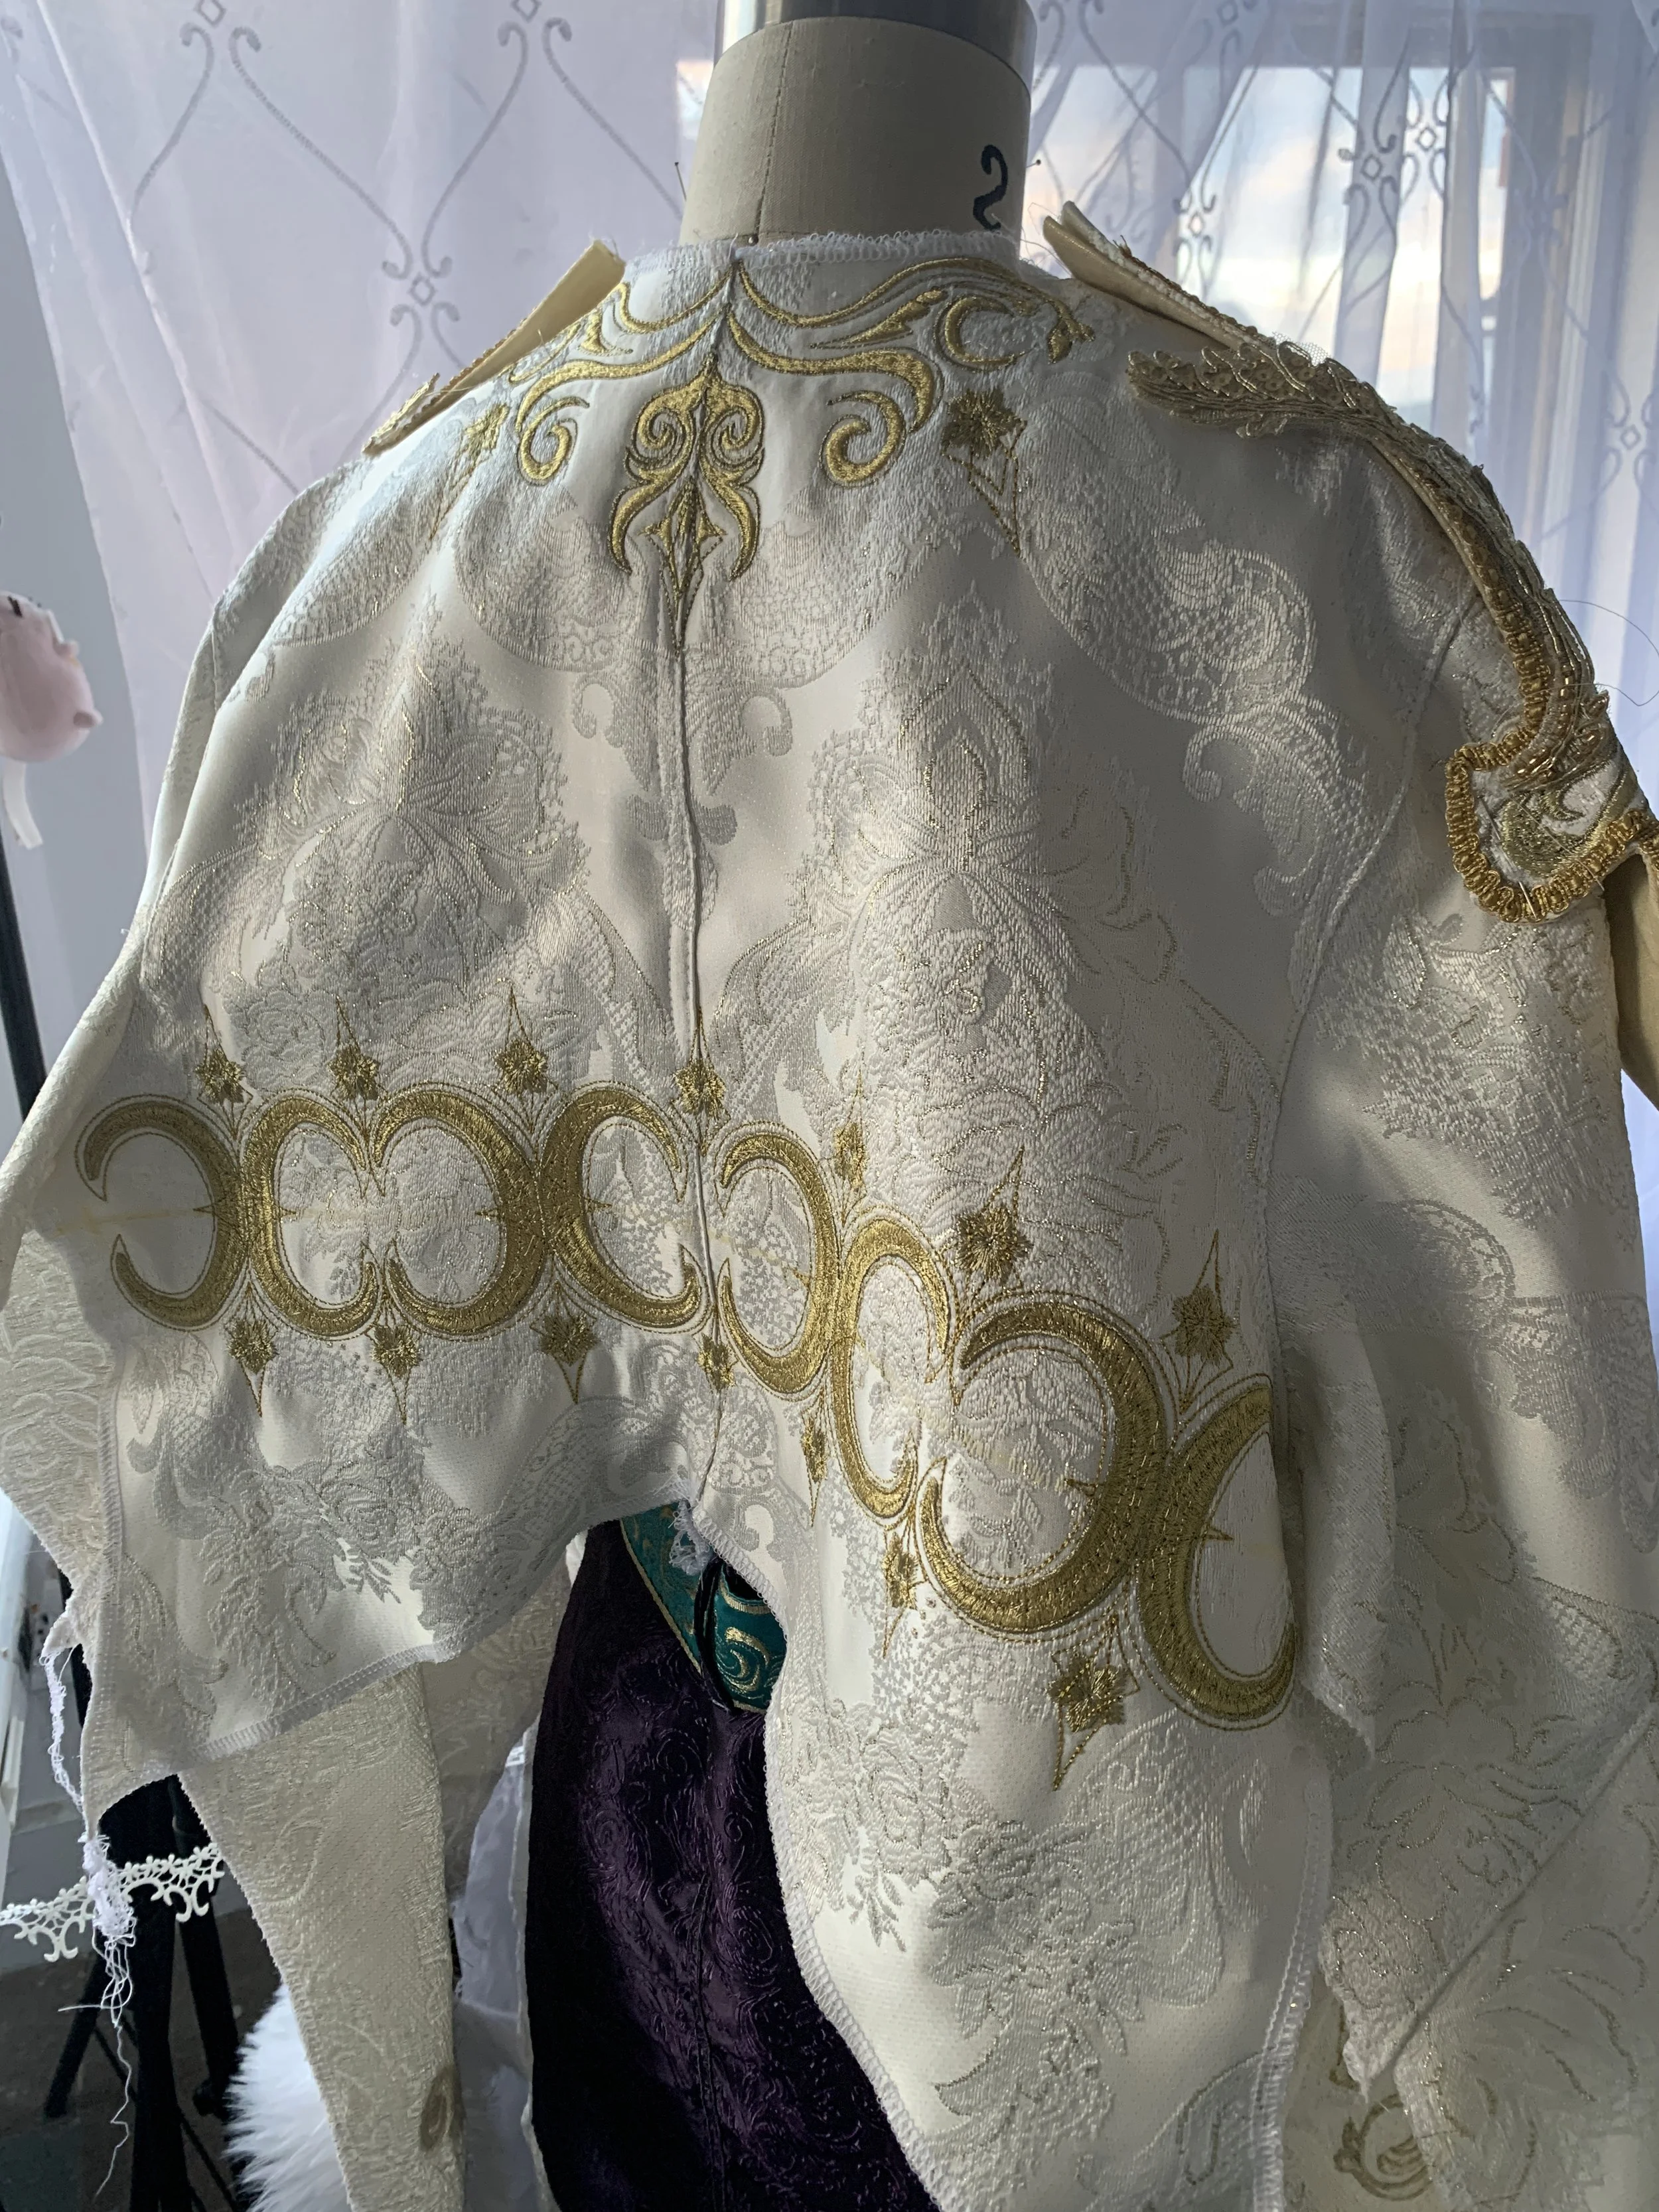
Original Designs Arms
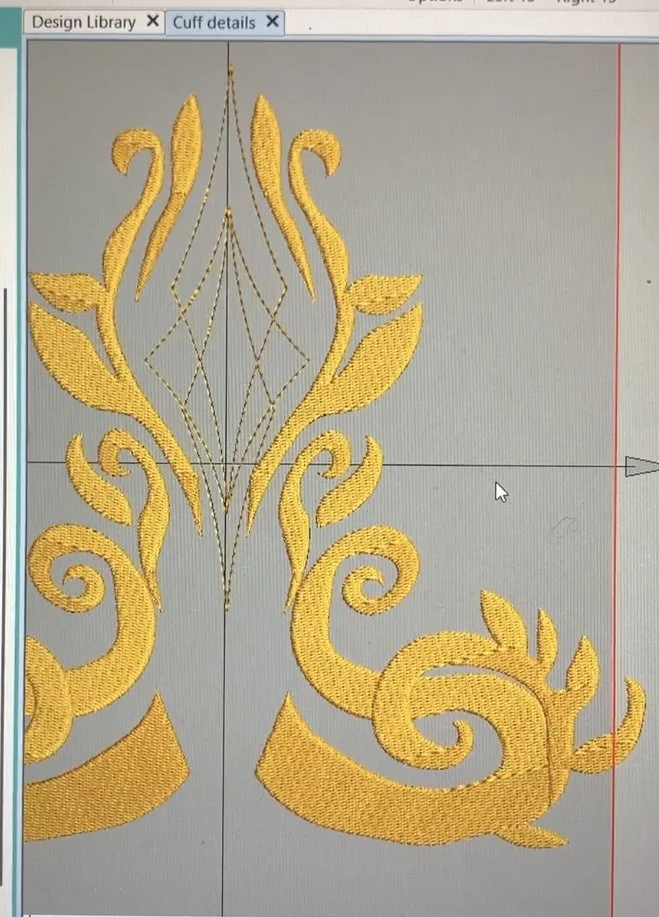
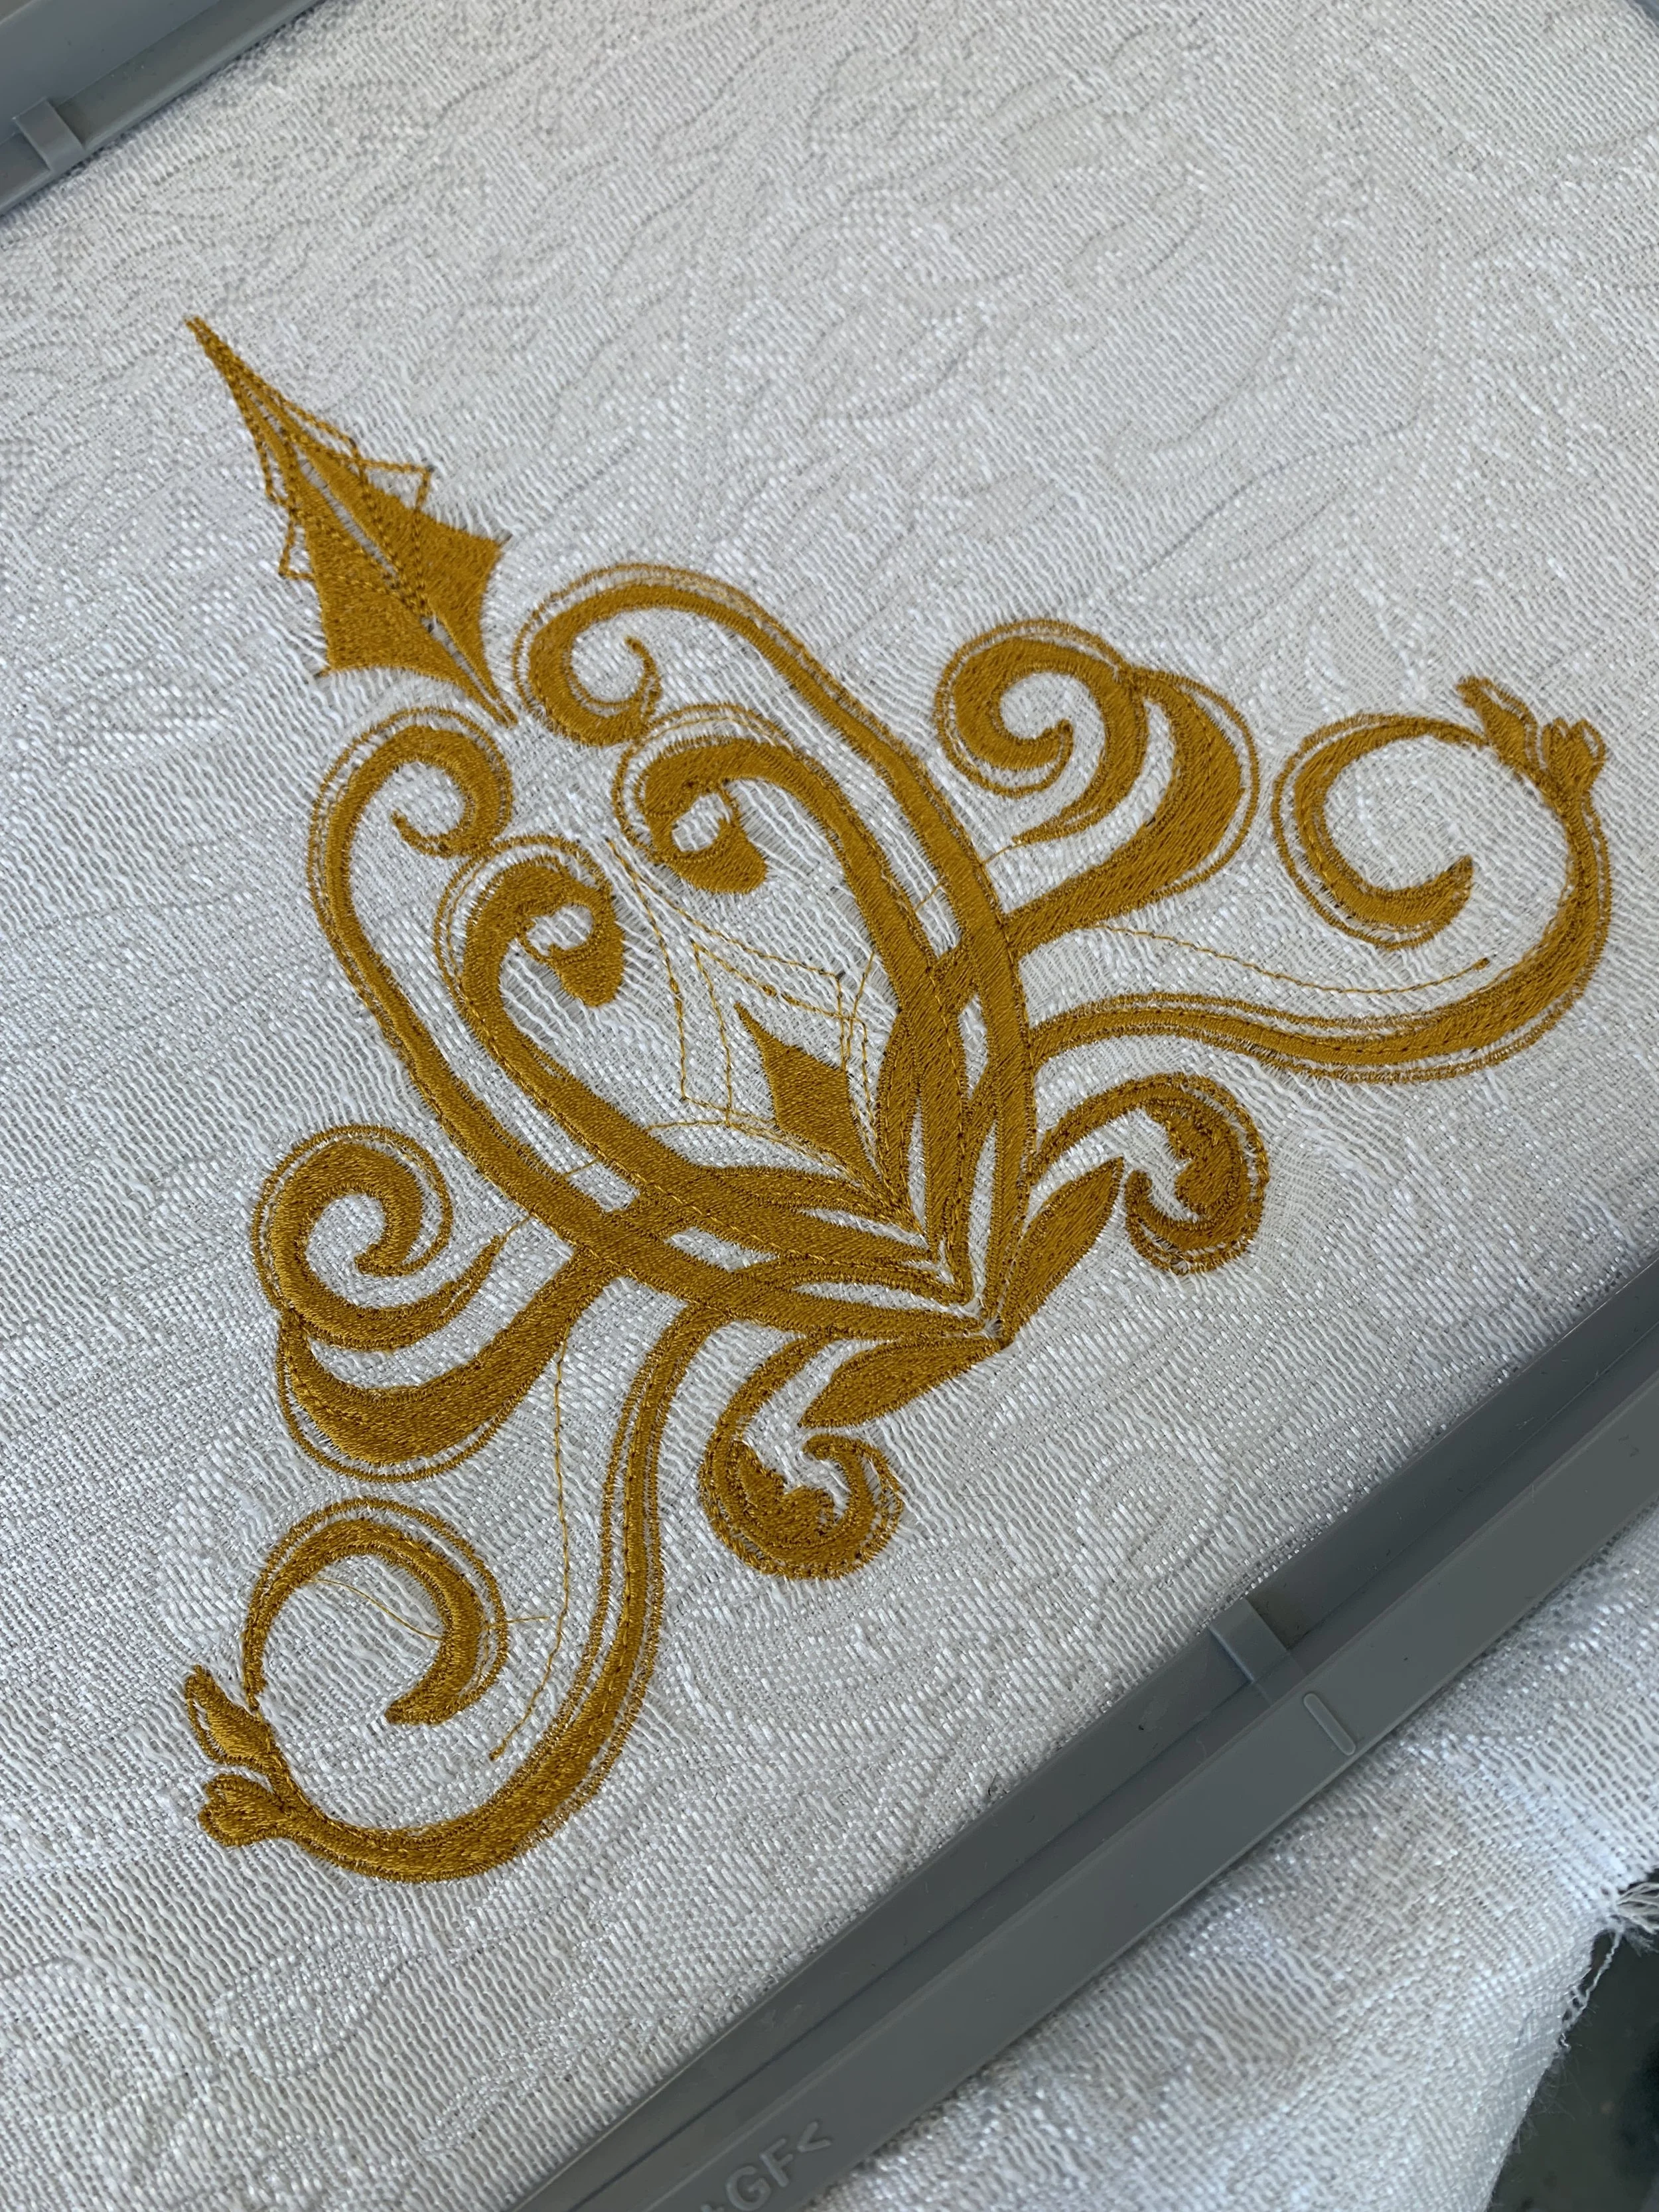
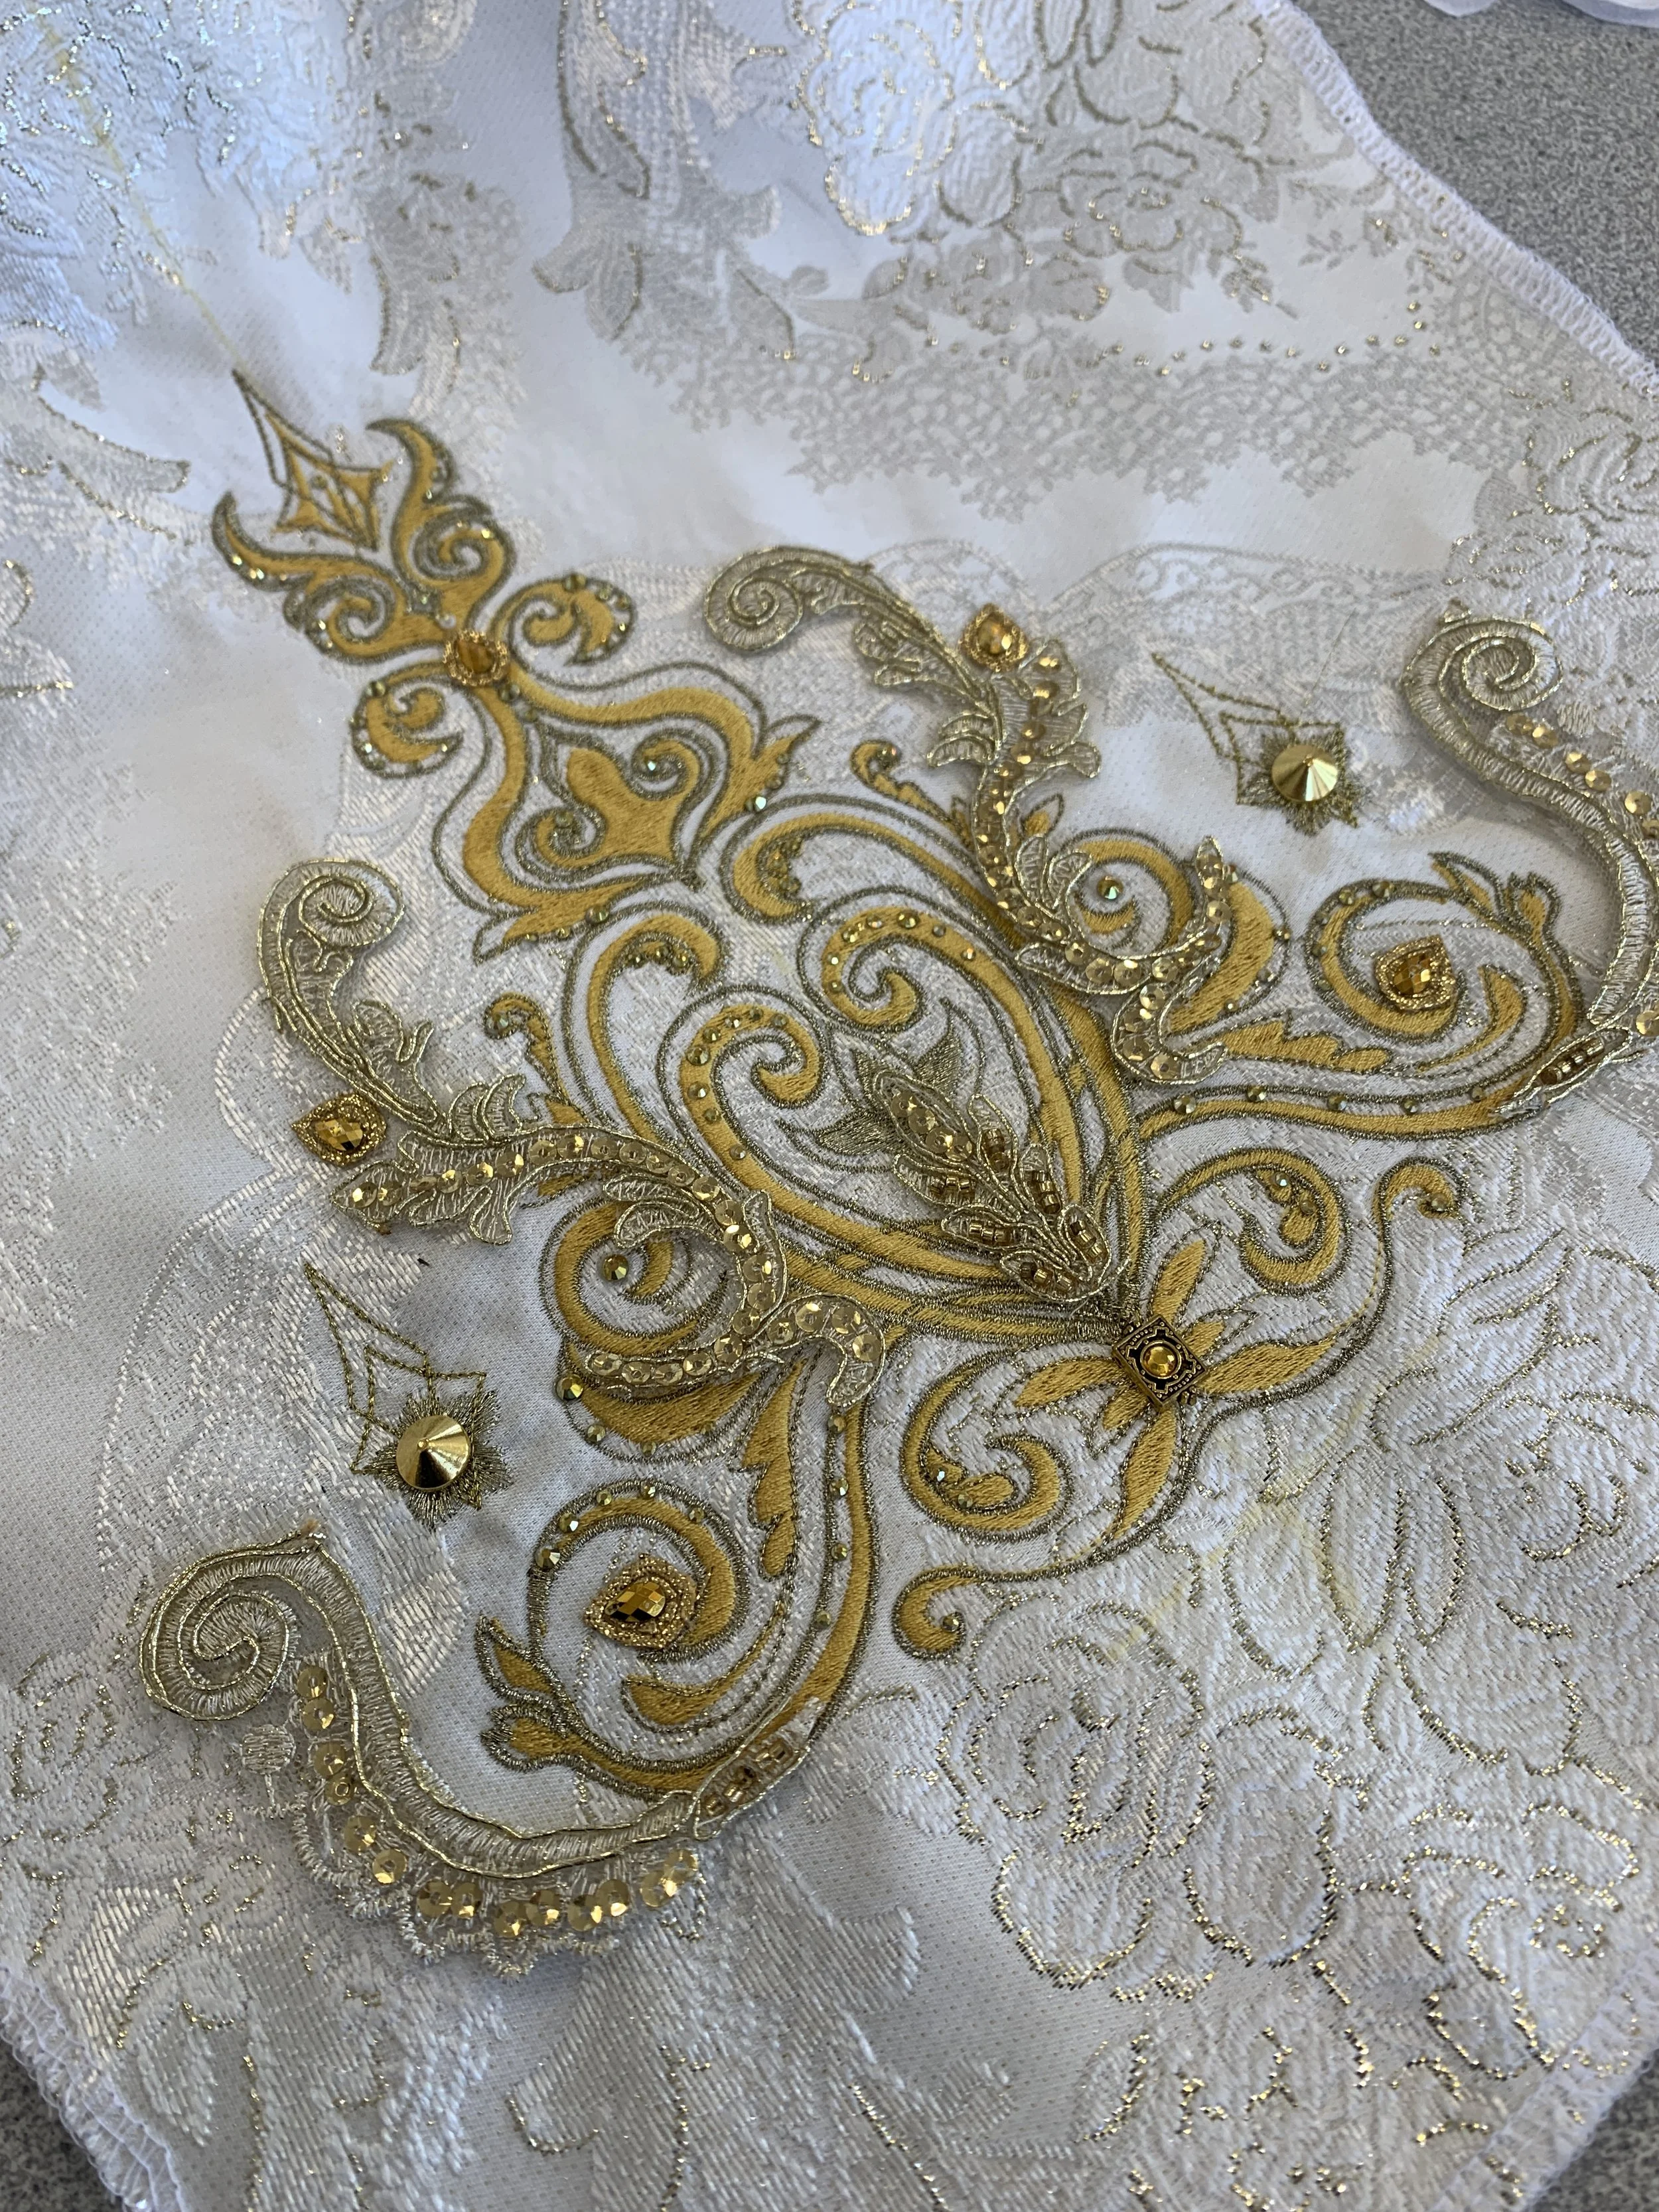
In my process pre embroidery machine I developed my ability to see trims, applique and lace fabrics for their potential to work together. Going into designing my own embroidery I had the full confidence that this would be easy. Instead of having to search paged and pages of materials and settling sometimes I get to make exactly what I had in mind. Easier thought than done. I found that how I sketch, my style of illustration is very loose and fluid. I make use of many lines to draw the eye into the art. For embroidery though my lines needed to be clear and crisp. It took a lot of practice and refining to get my sketch there, I am very proud of my end result.
Hand drawing/sketching
Digitizing via Hatch Embroidery studio
Test printing
The images show my process. Starting with the first sketch, to the first digital version and first test print. I found my design changed quite a lot from the first sketch. As I was working out the design I decided I wanted to add some of the 3d embroider materials that I already had from past projects, so I let those designs inform my embroidery file so I could return to my roots of layering multiple materials together.
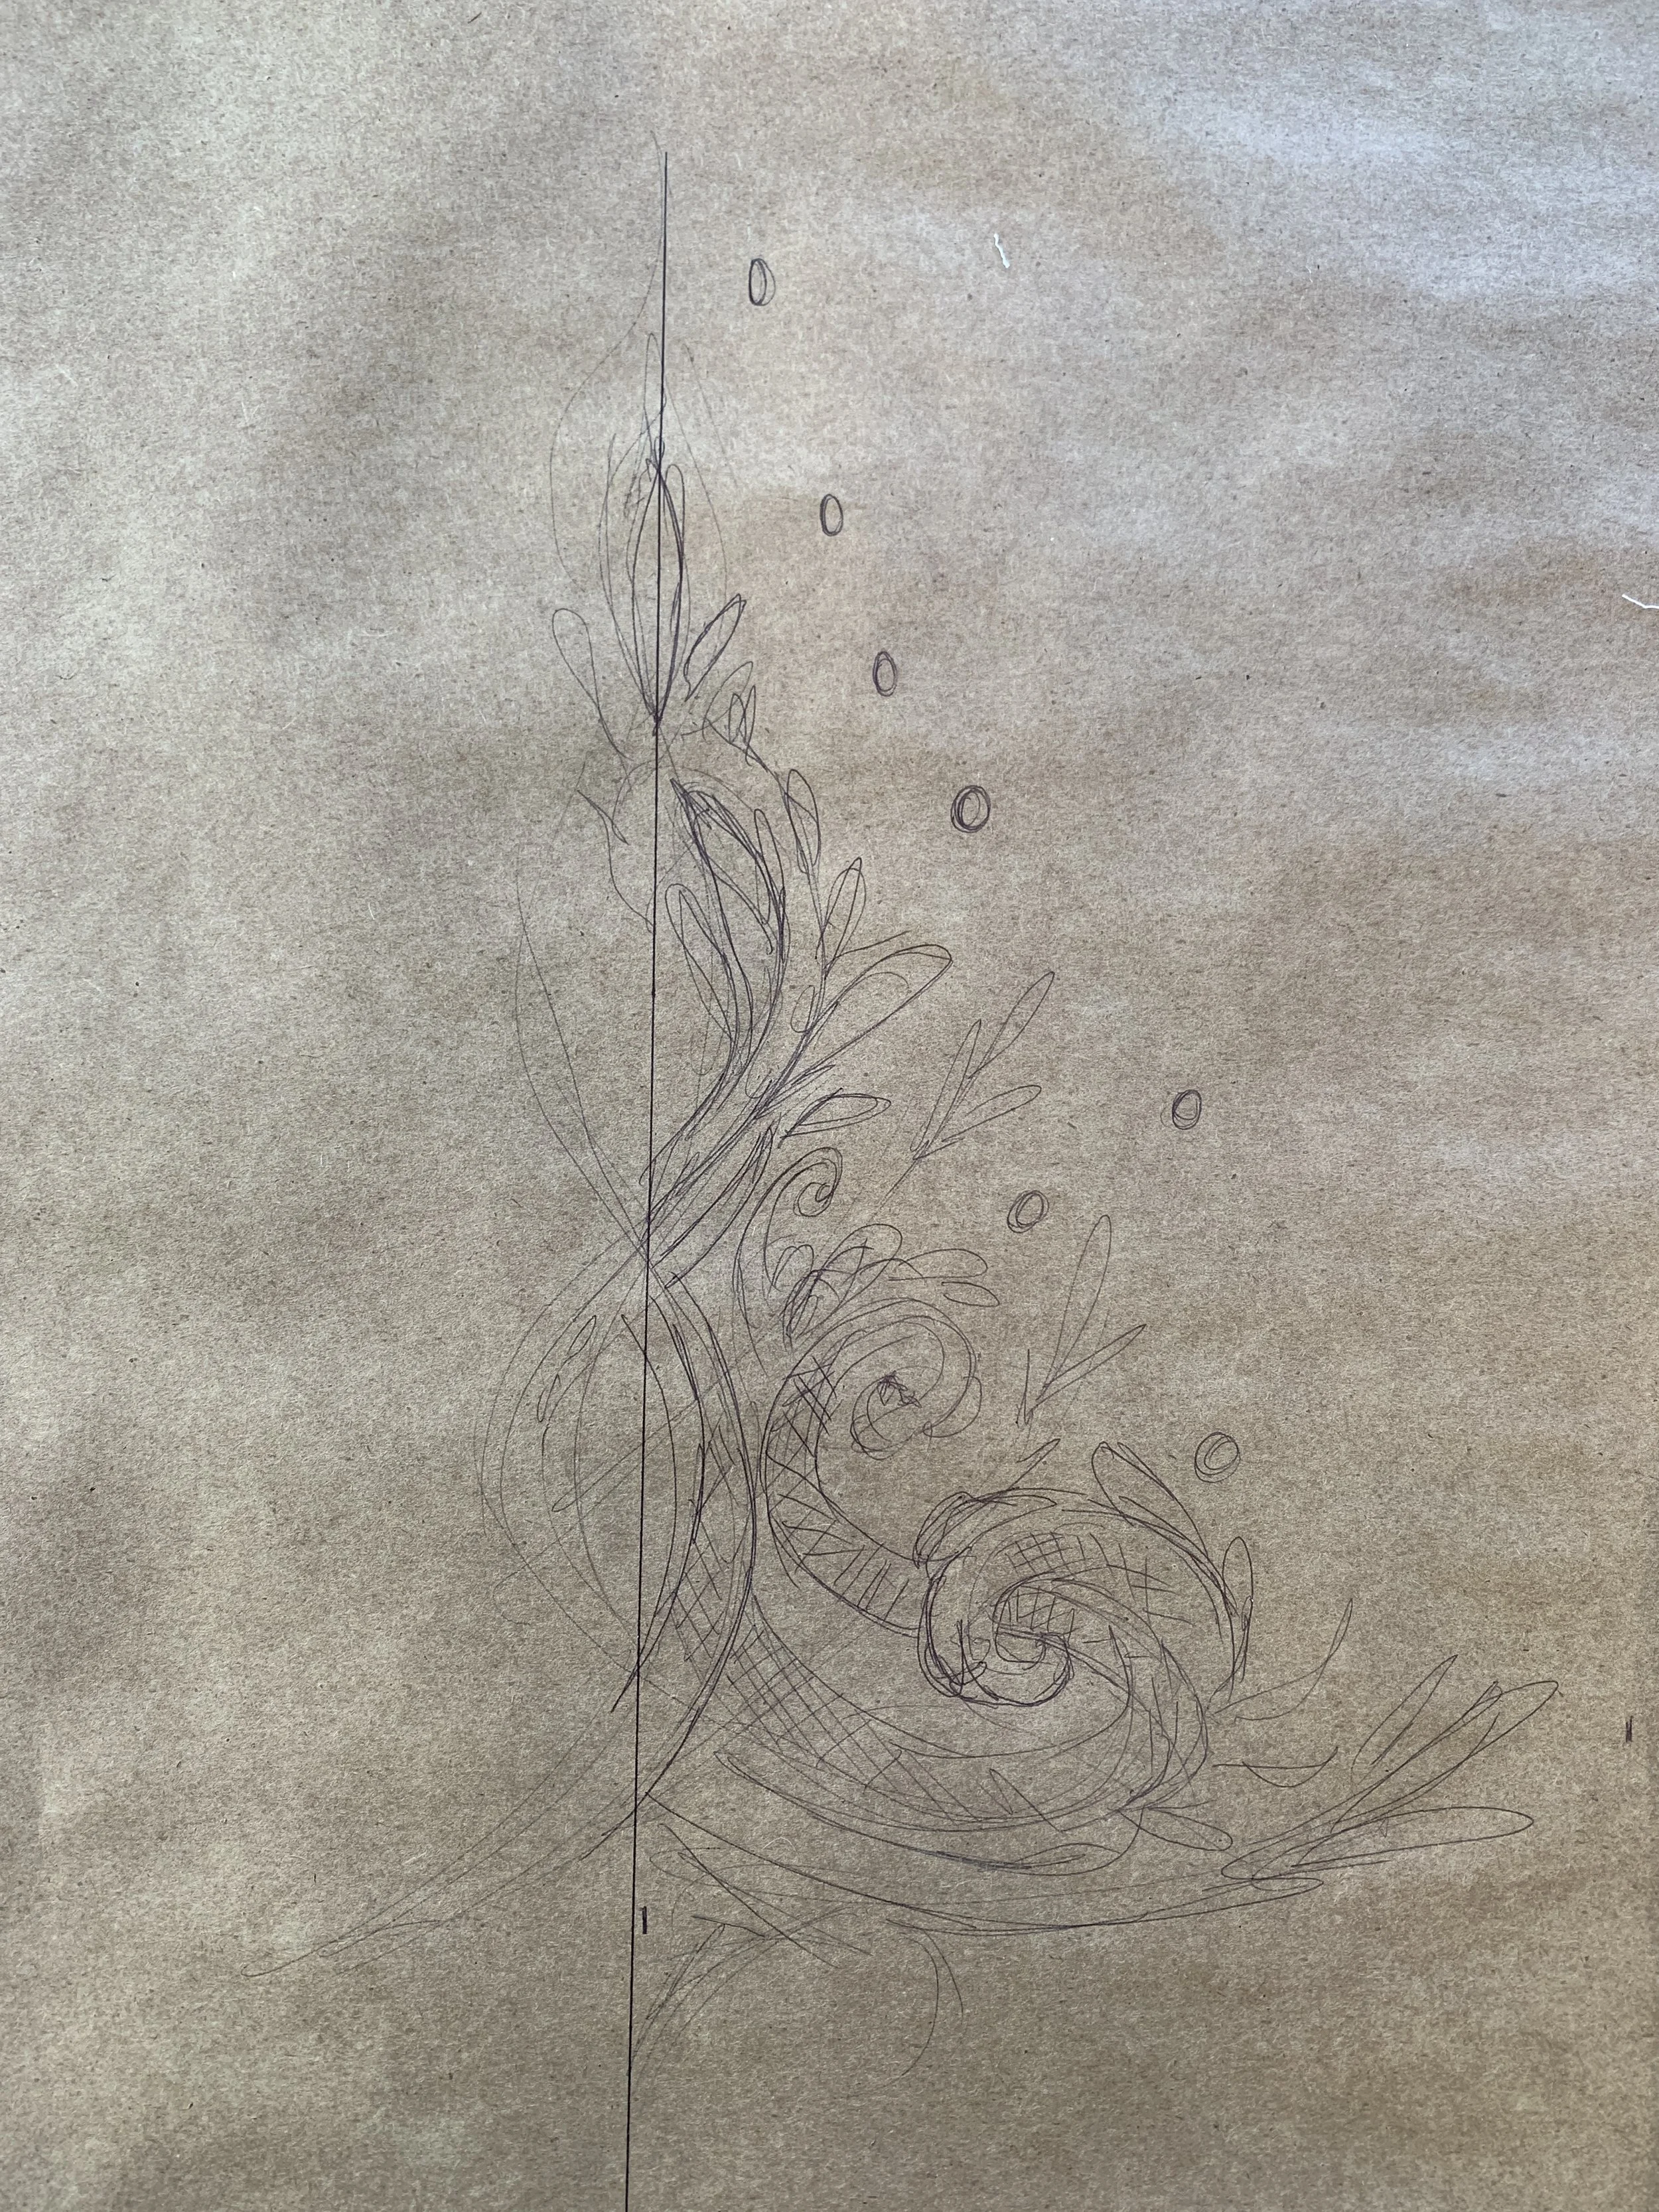
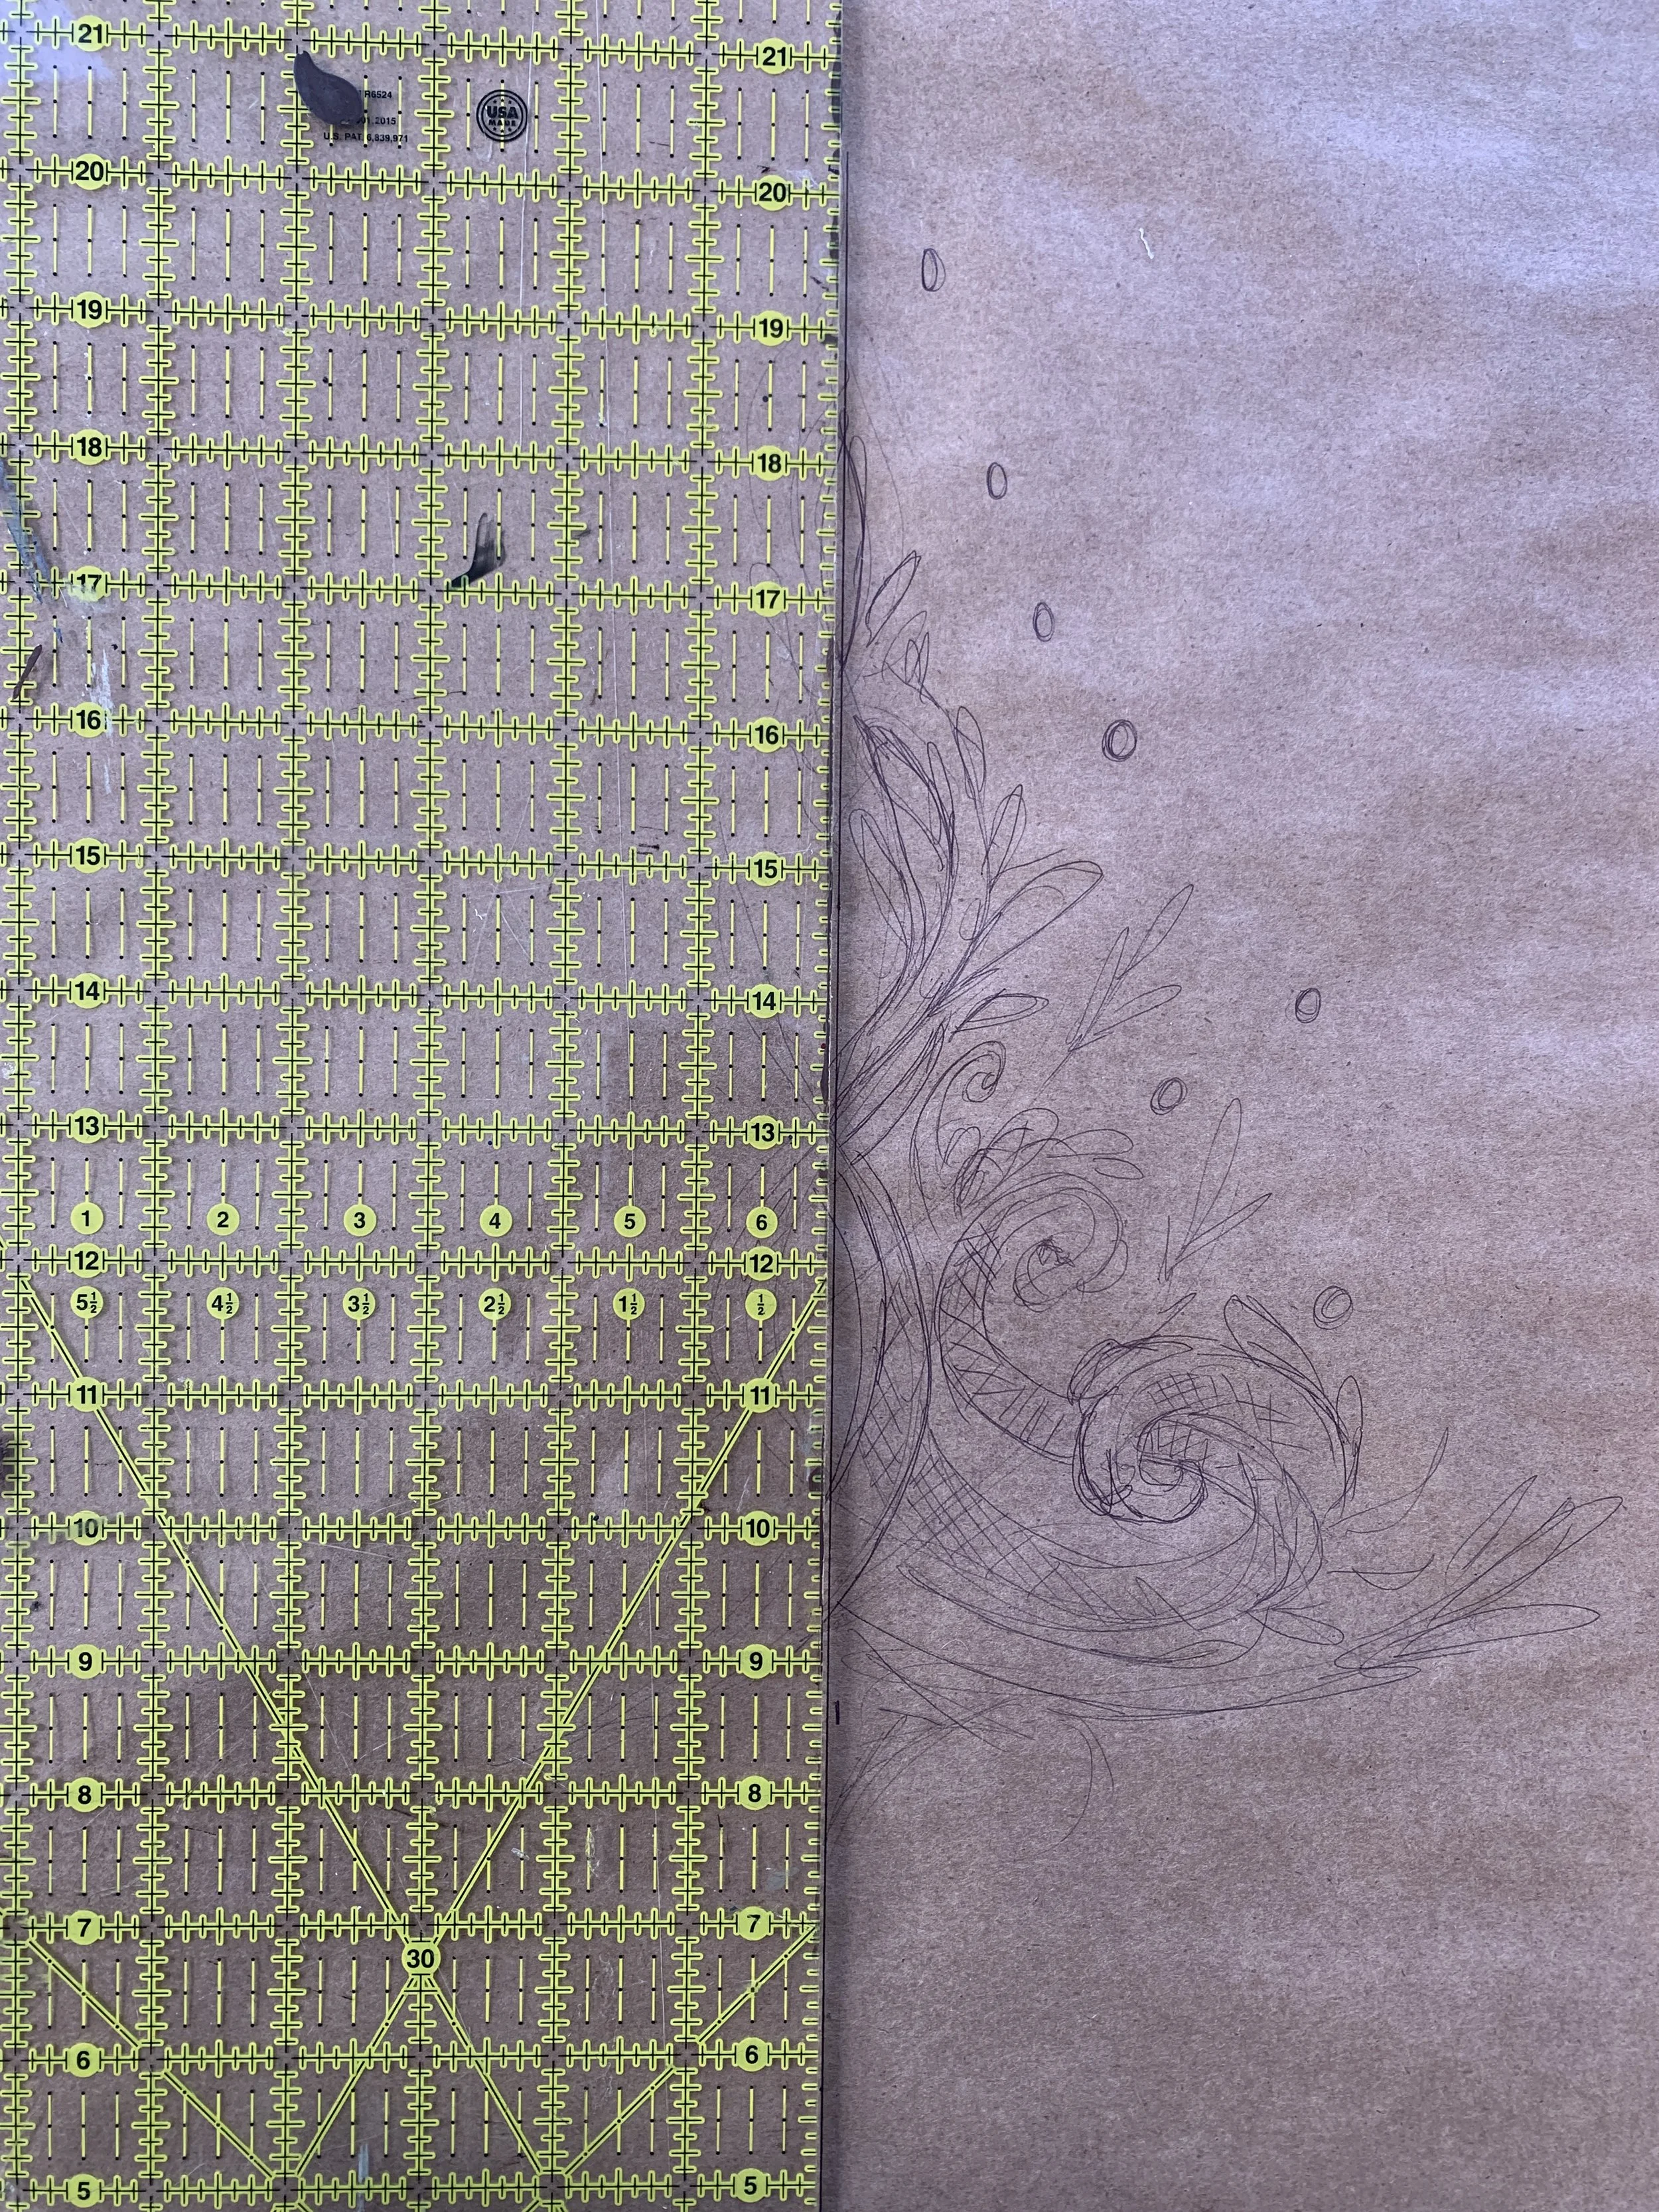
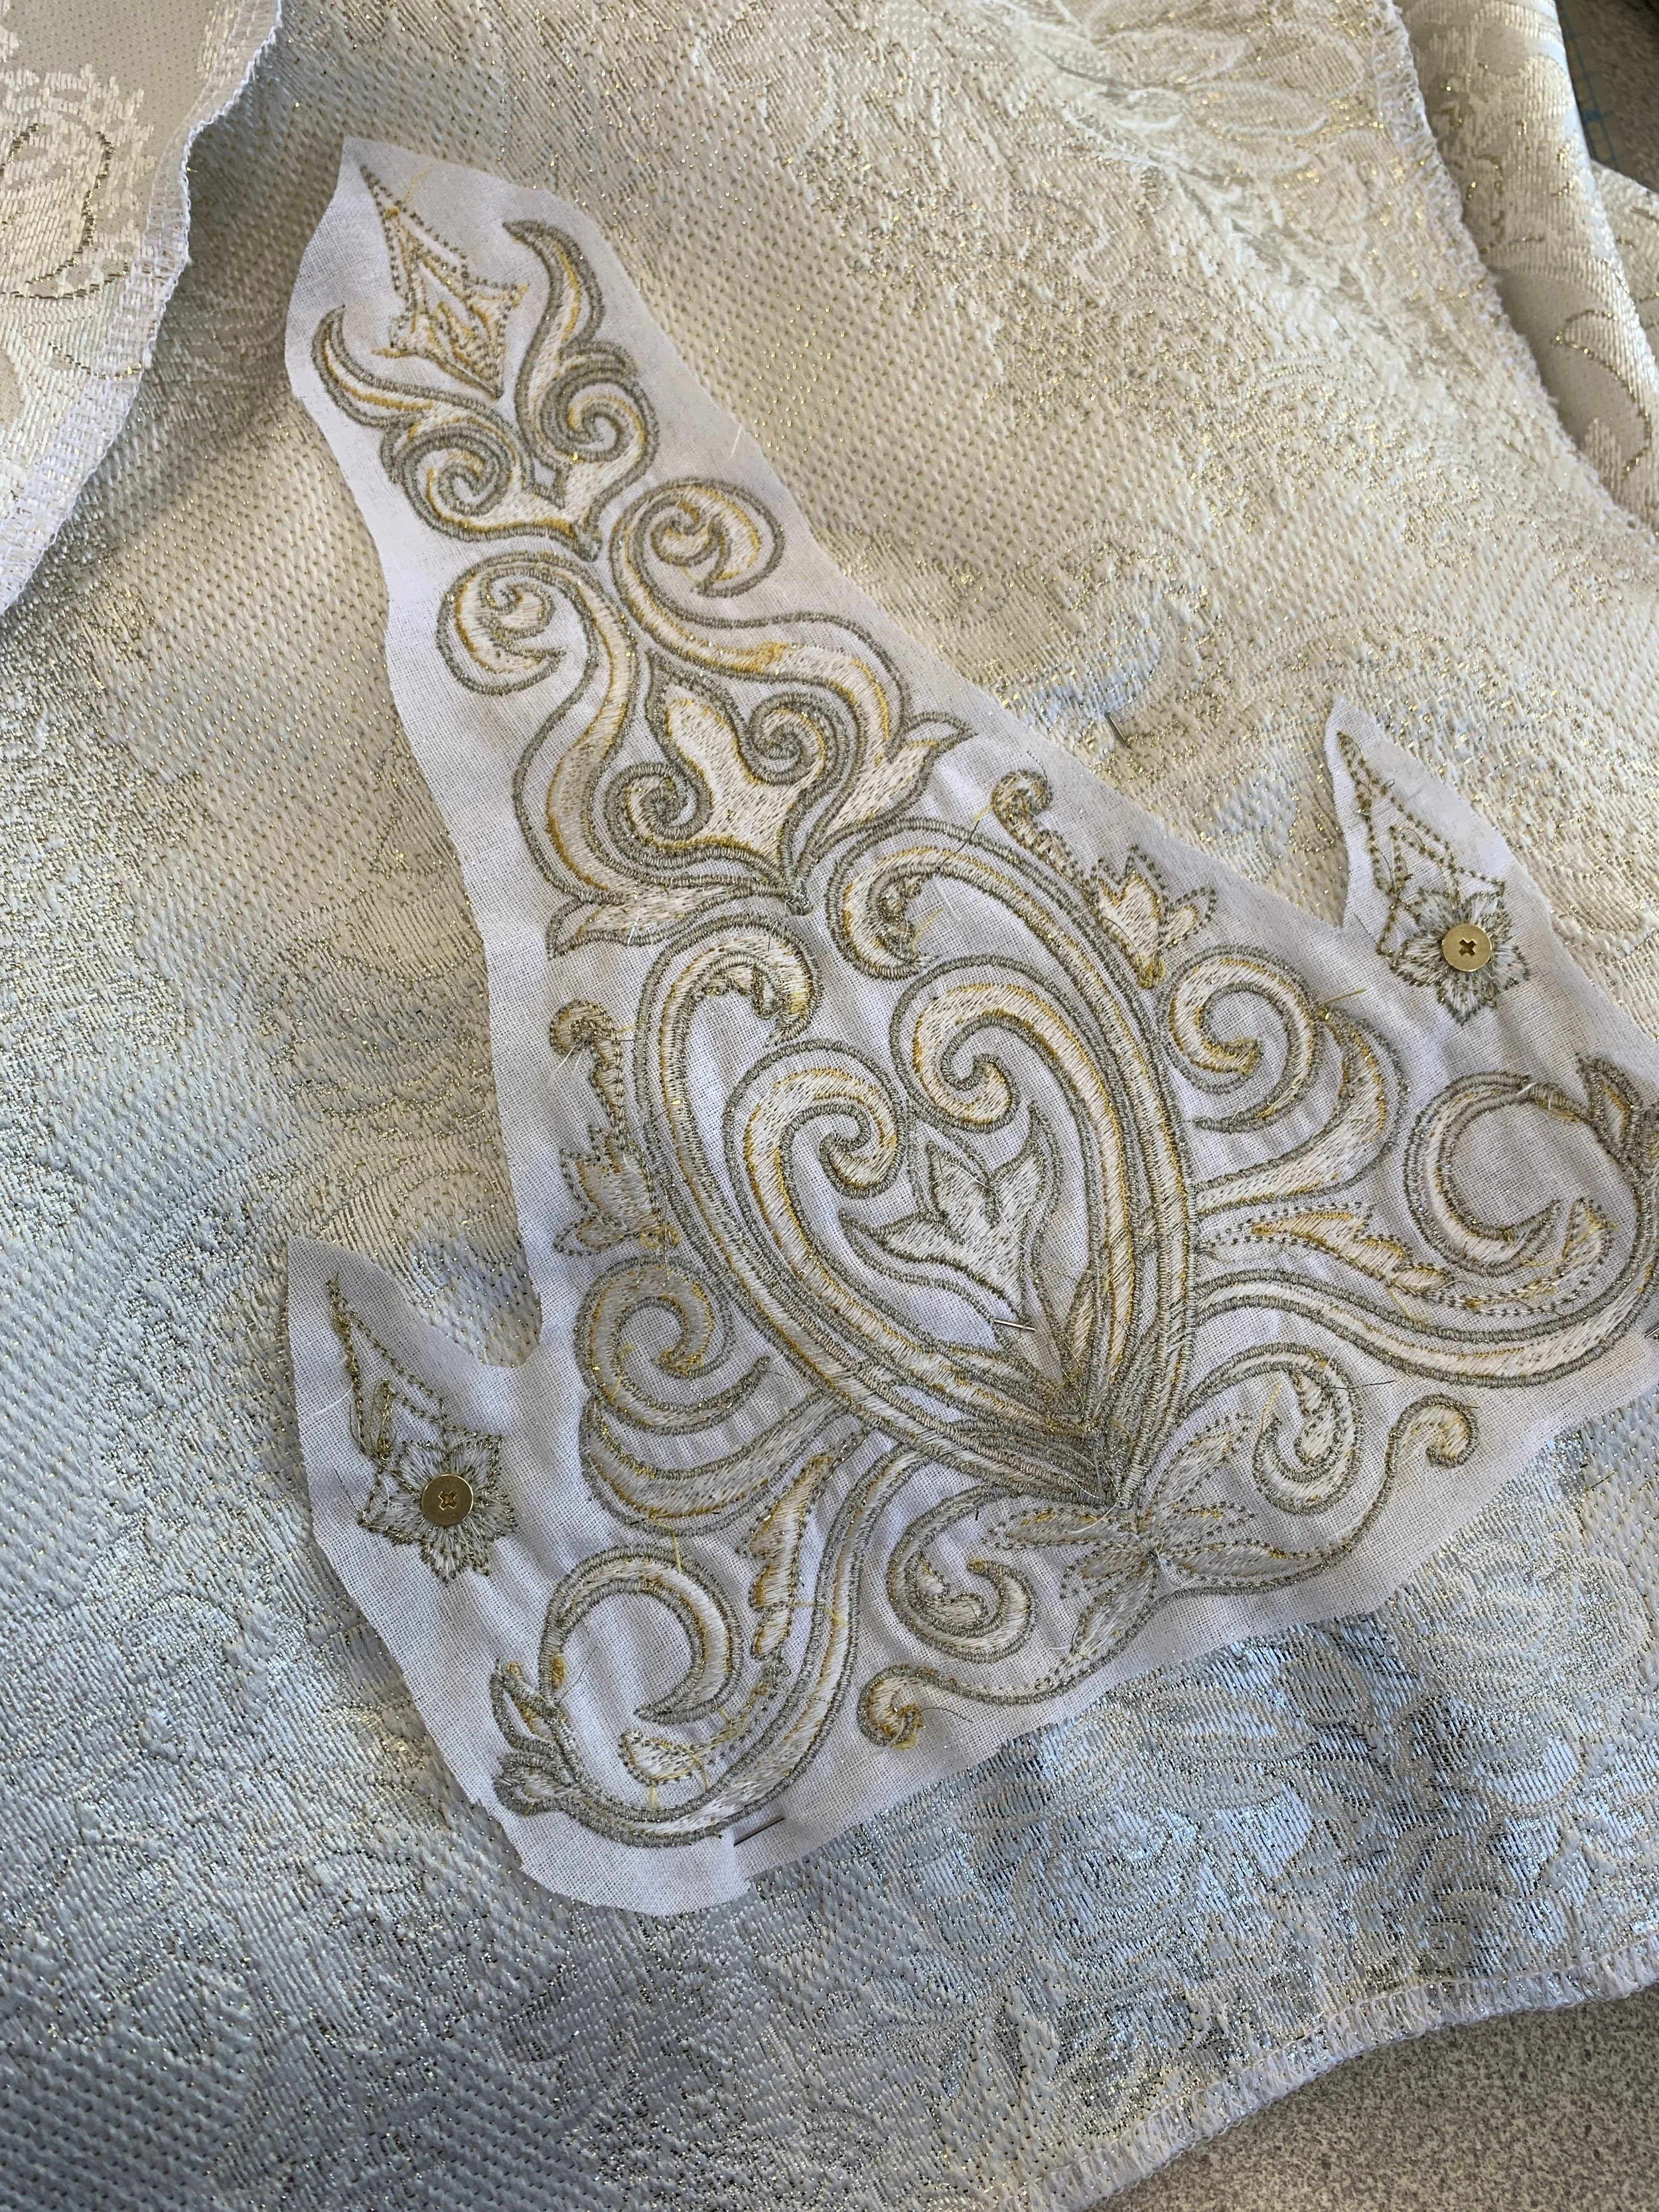
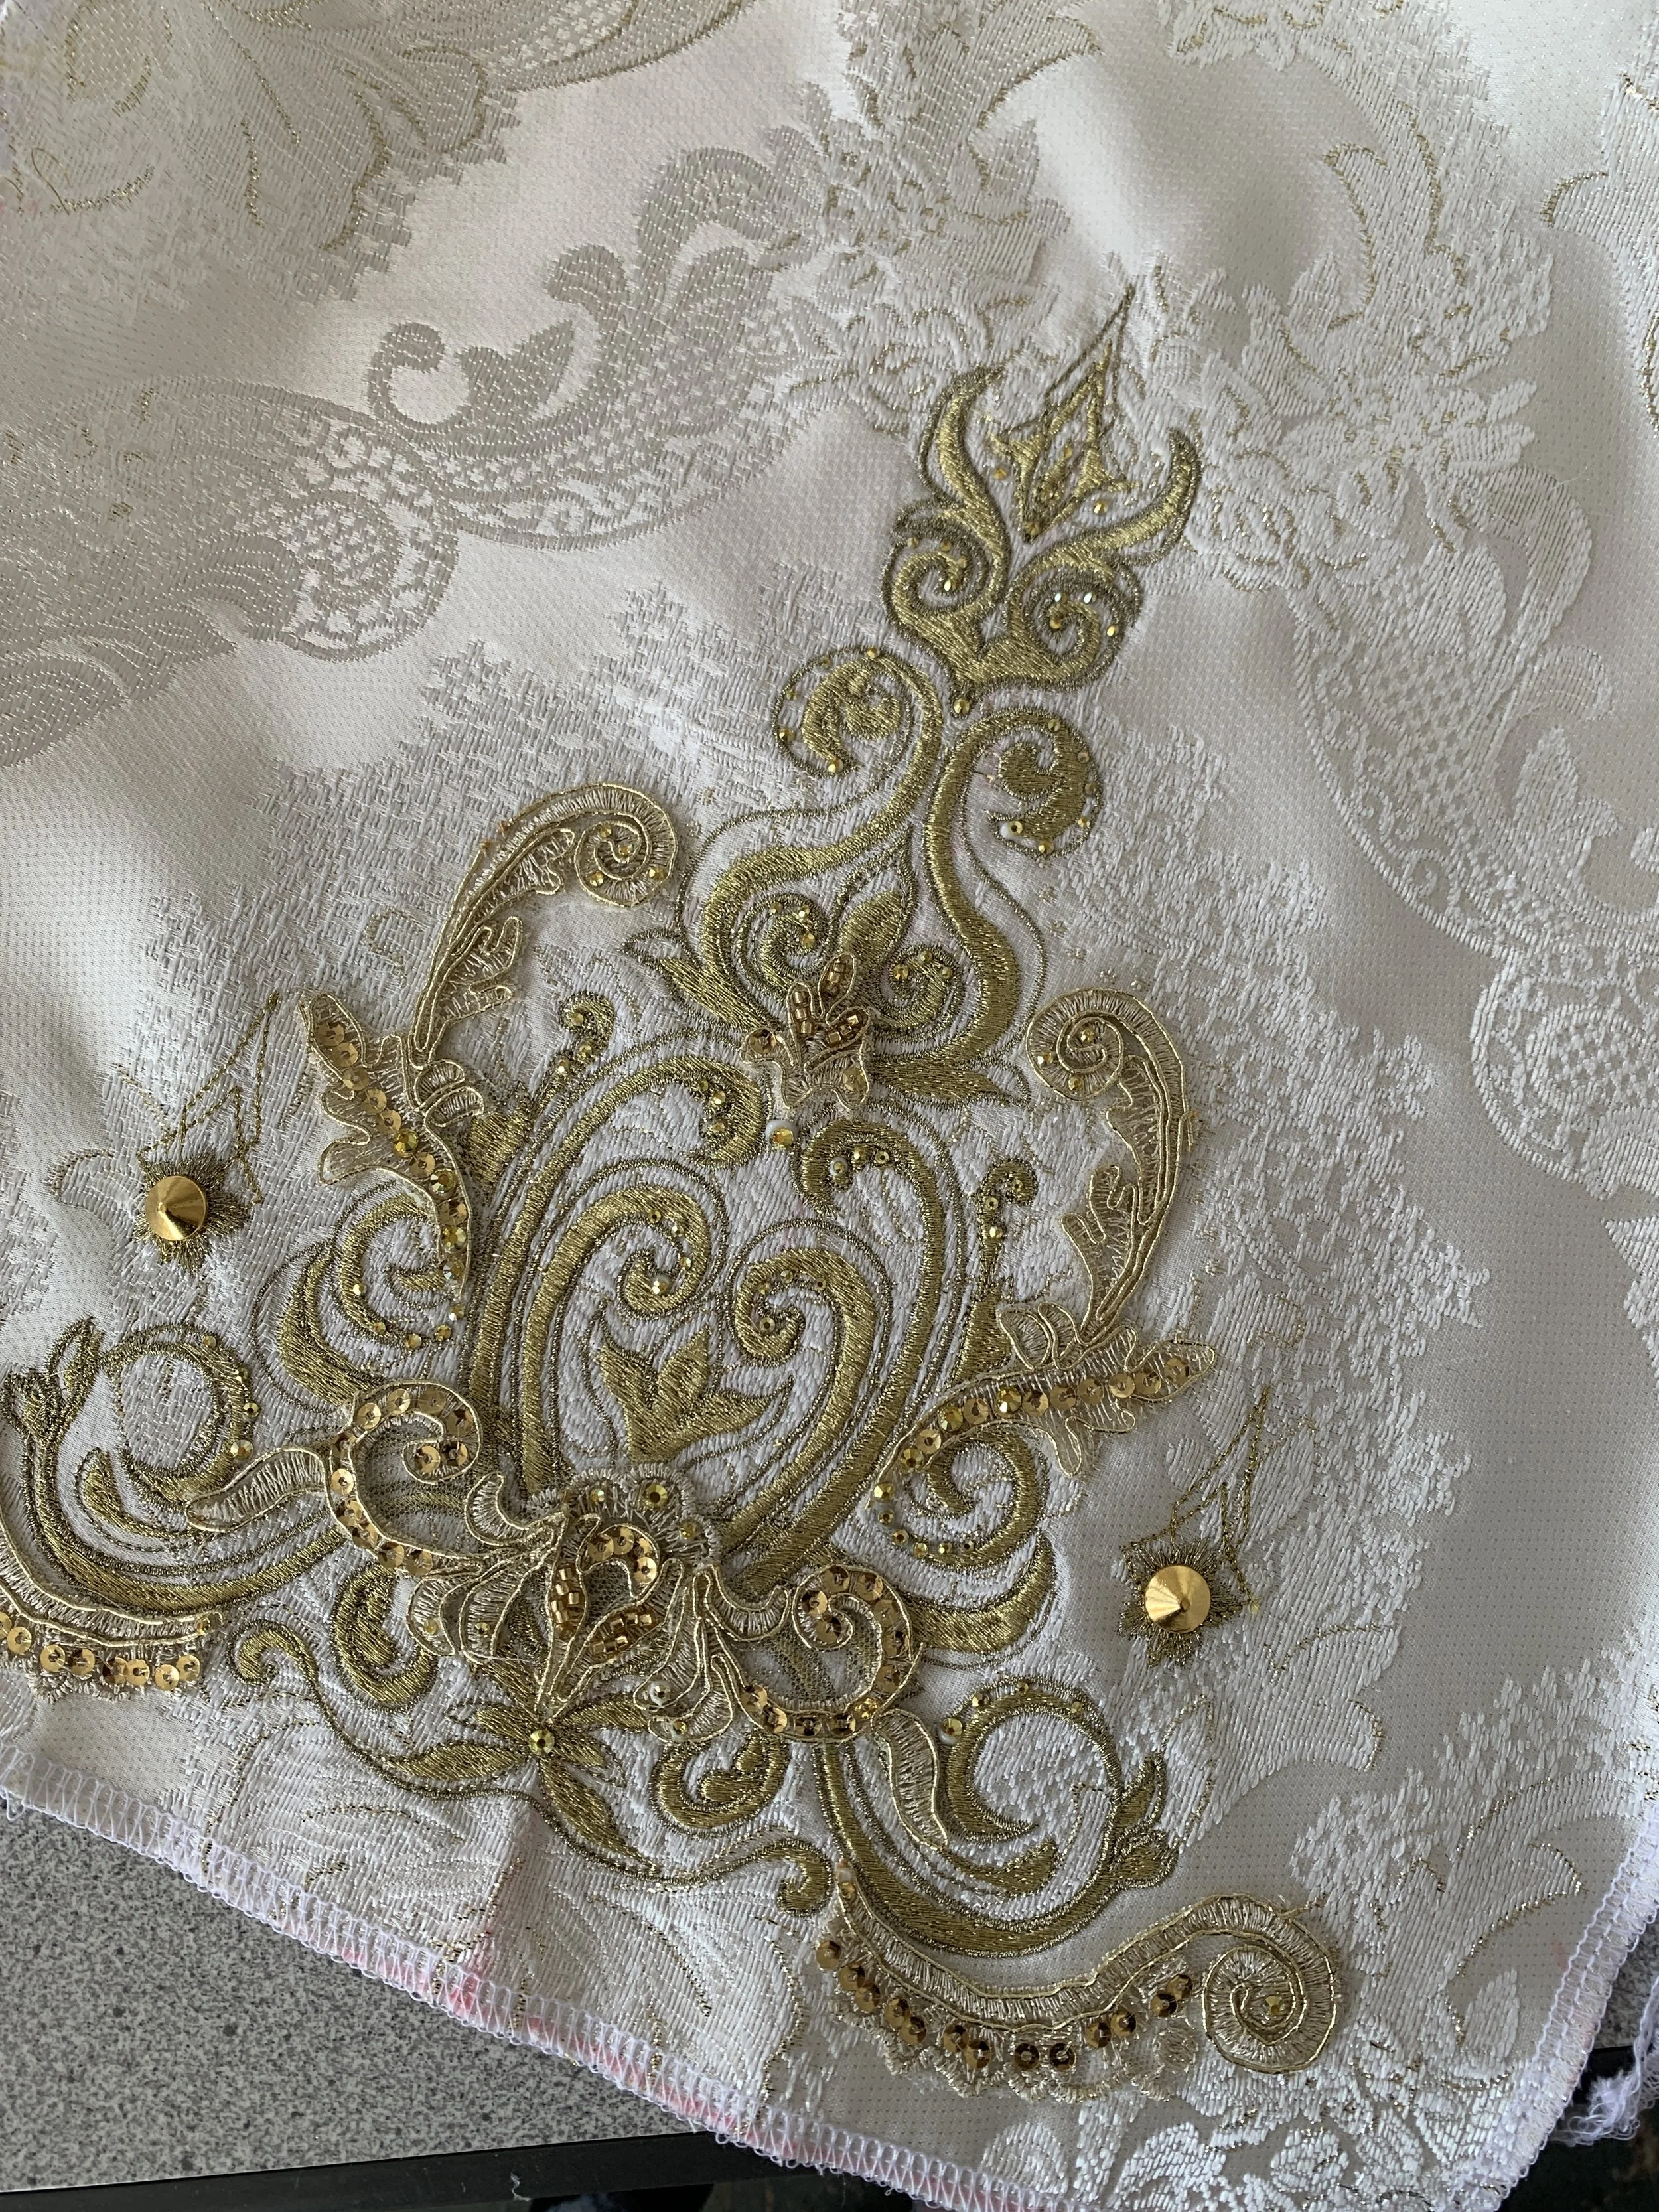
Original Designs epaulettes
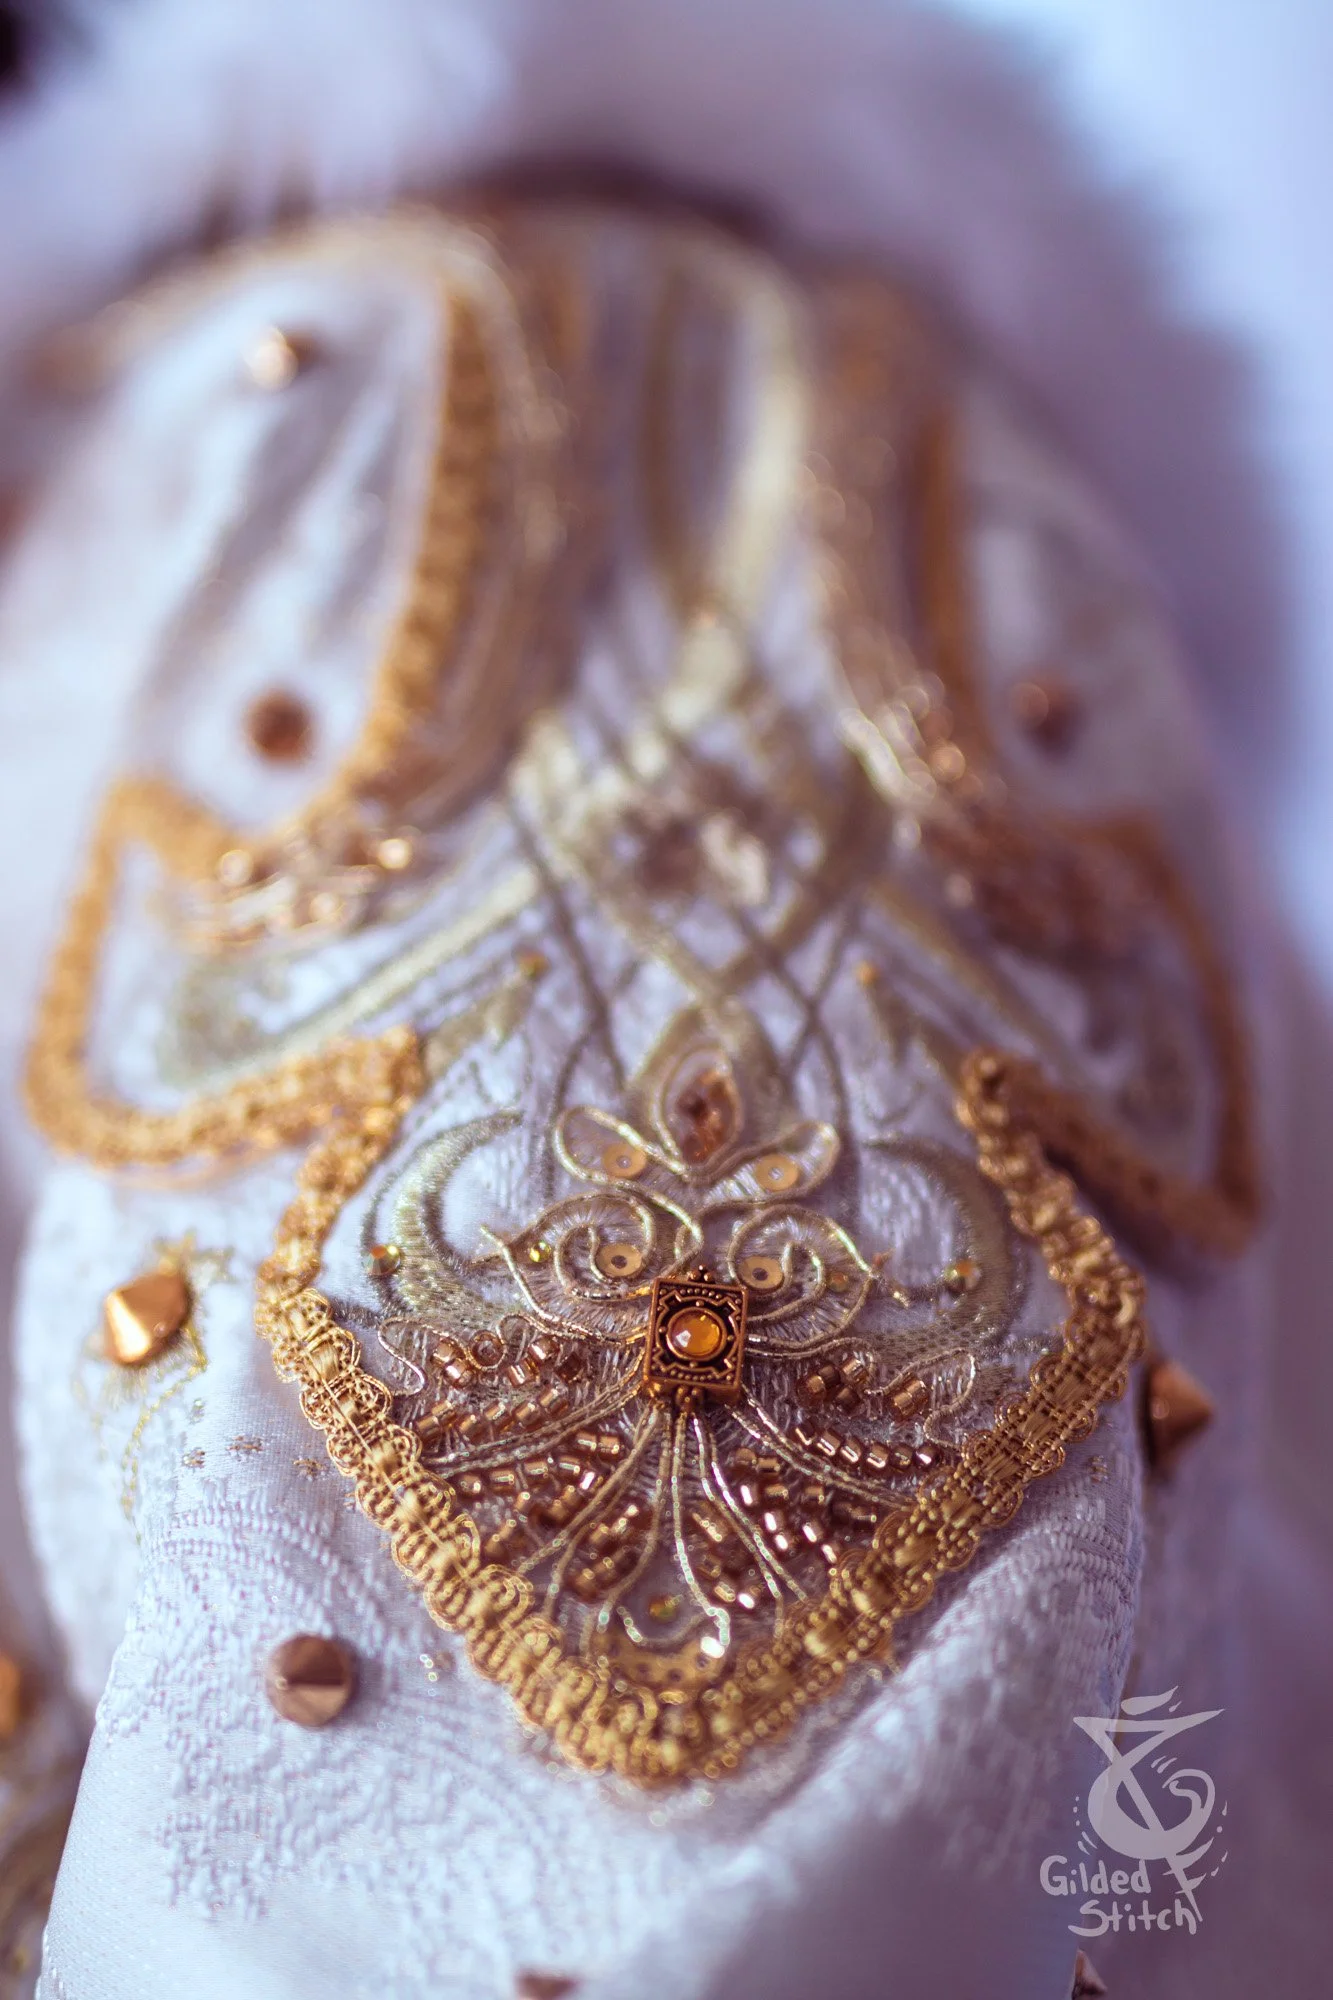
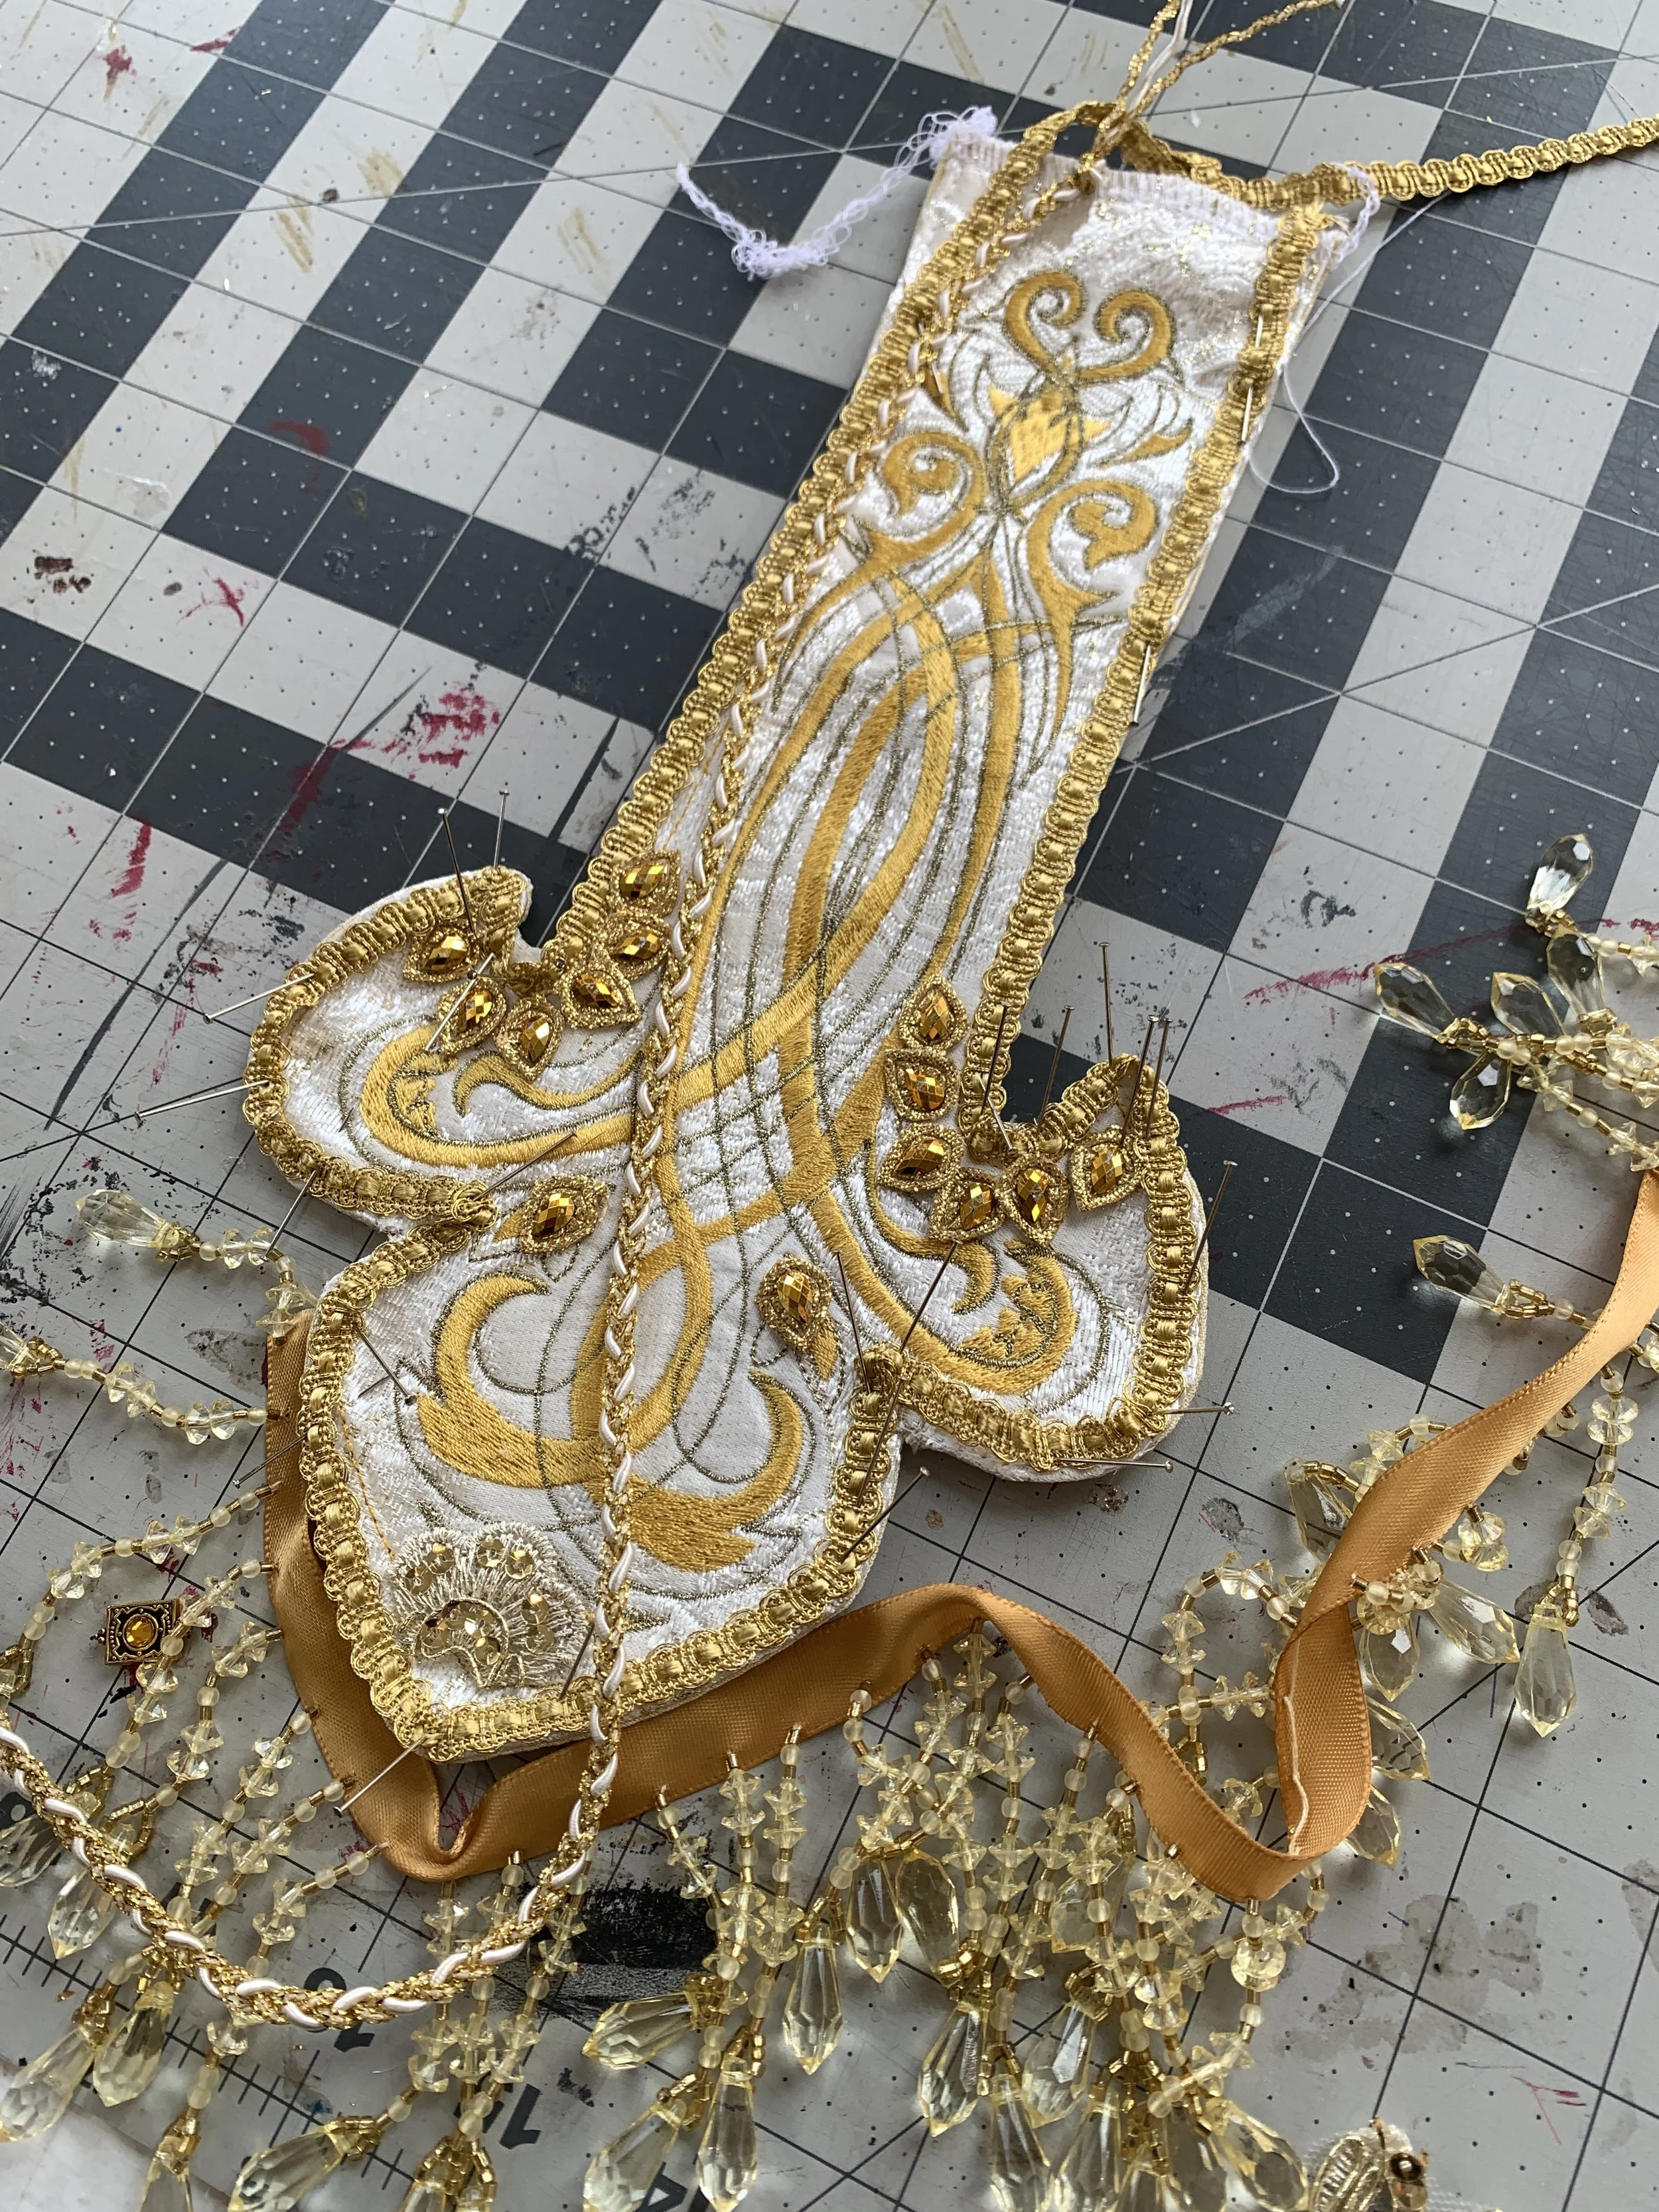
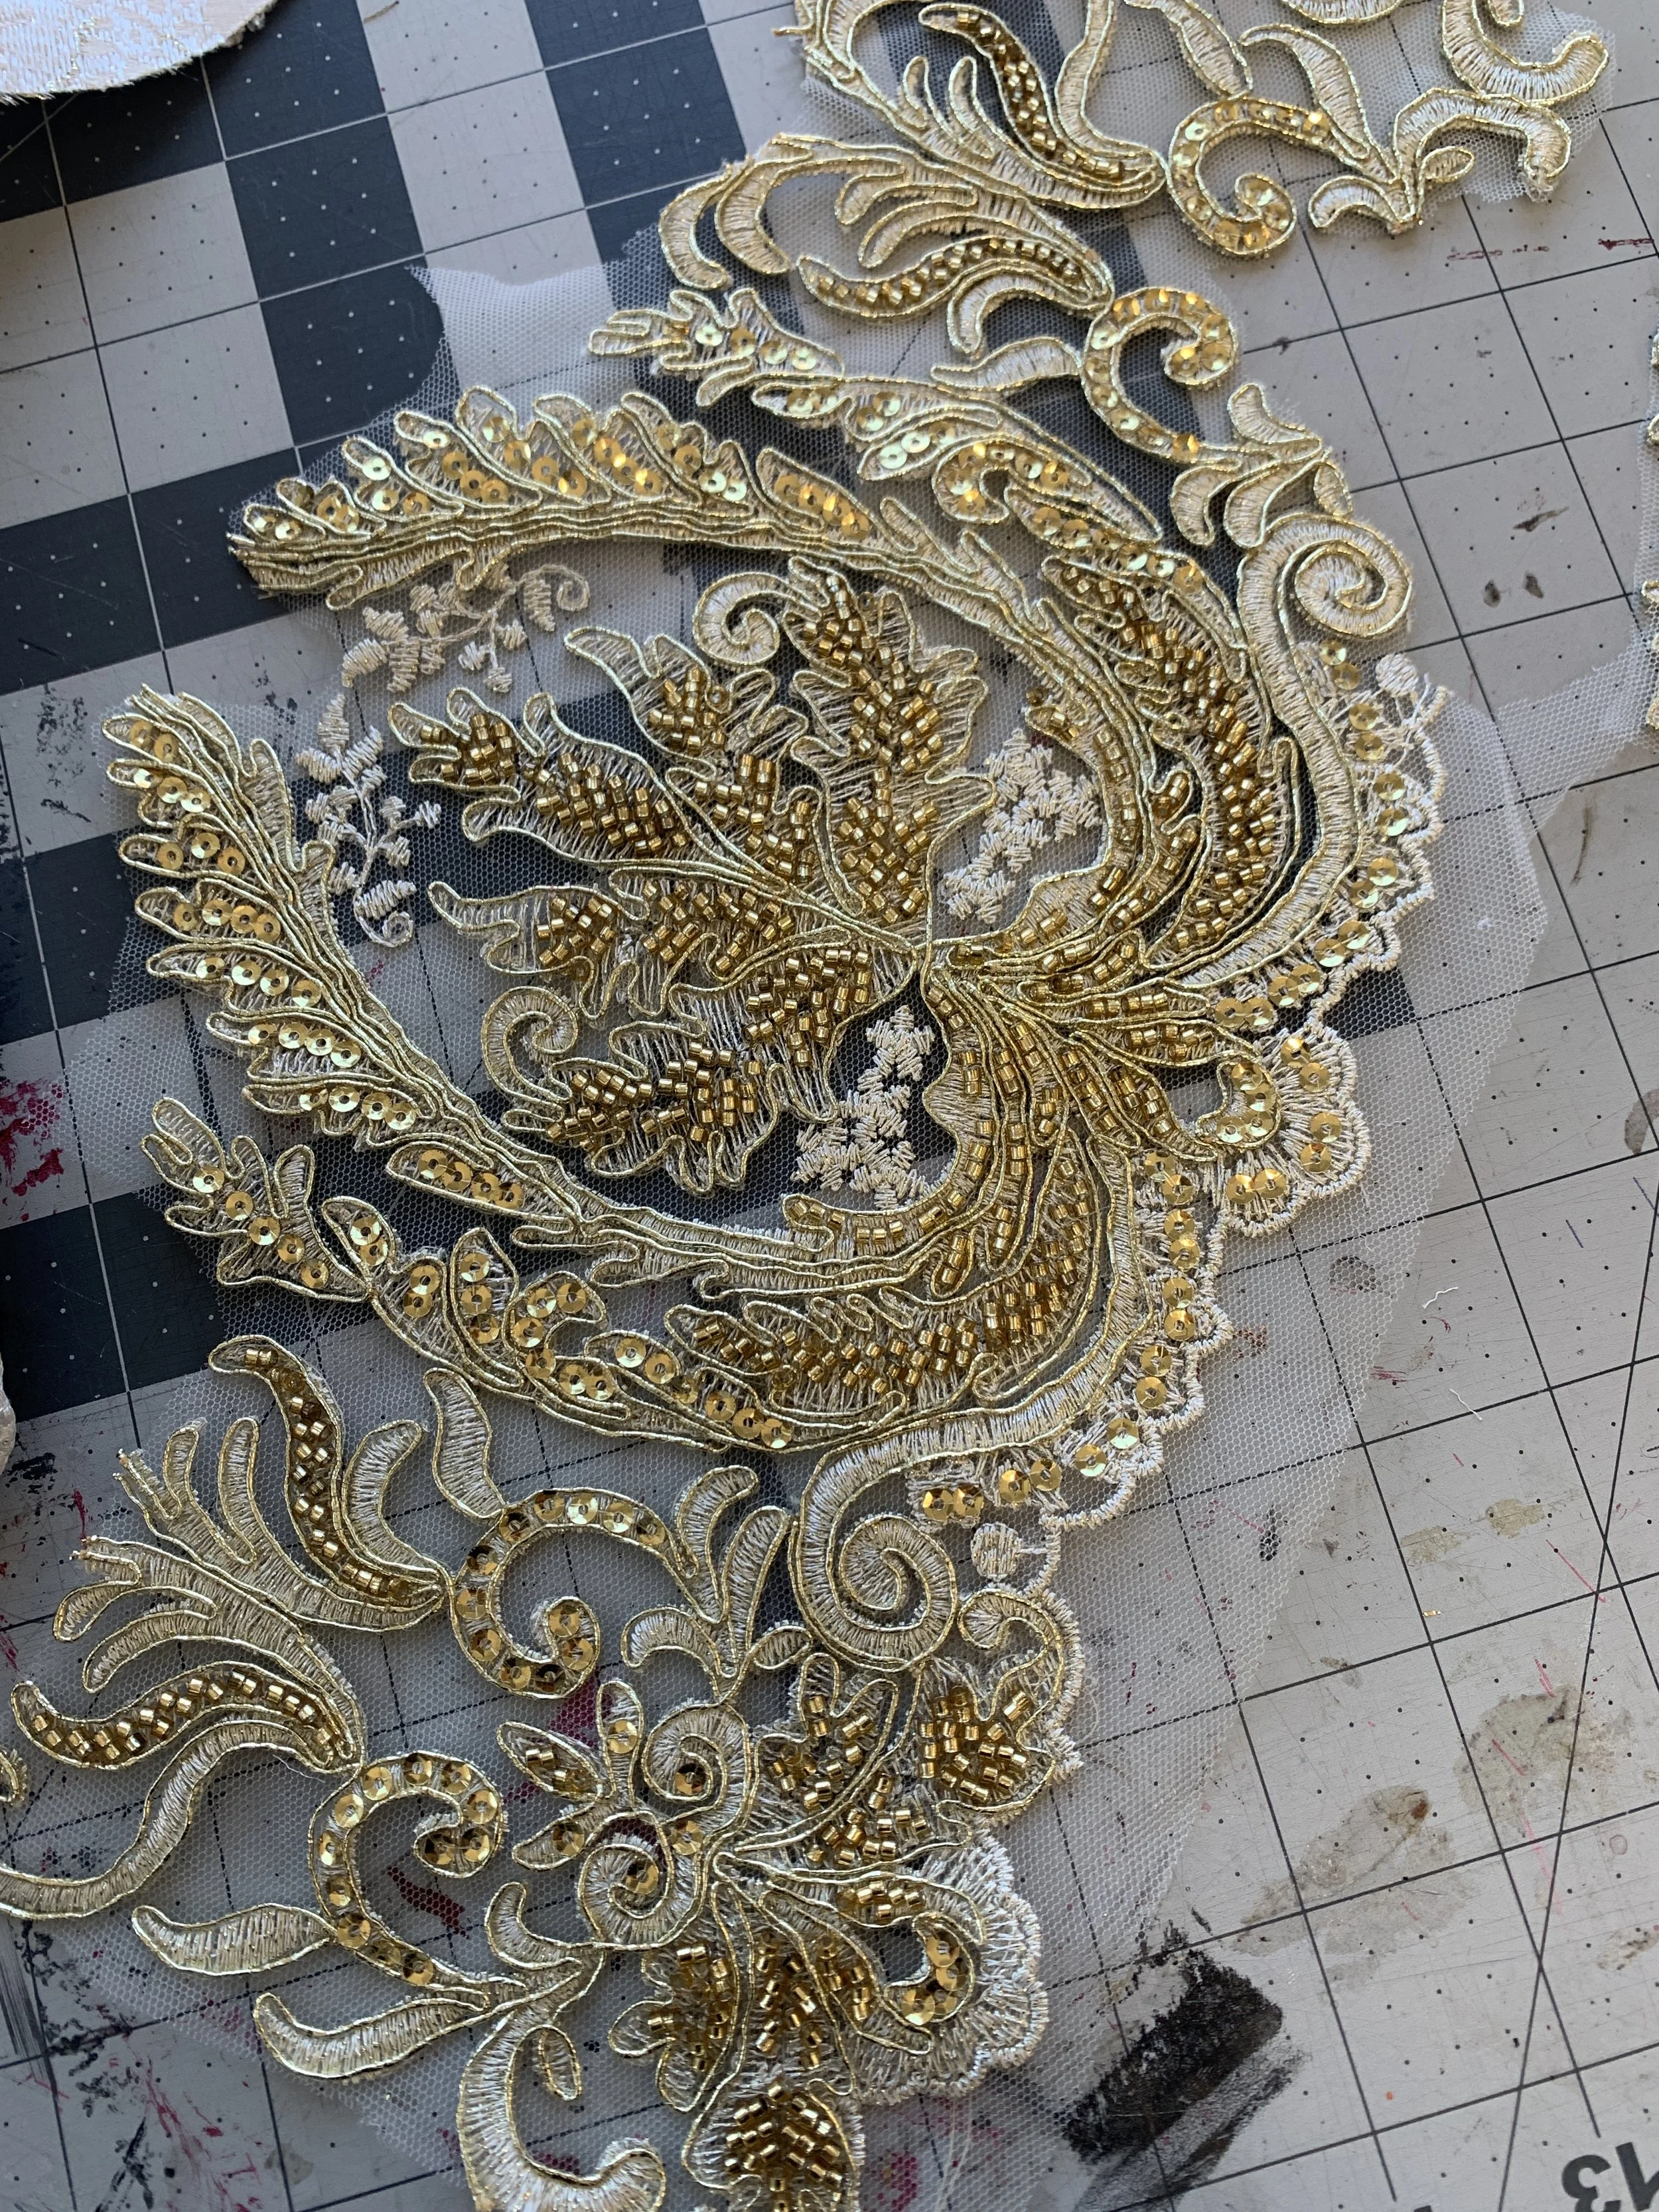
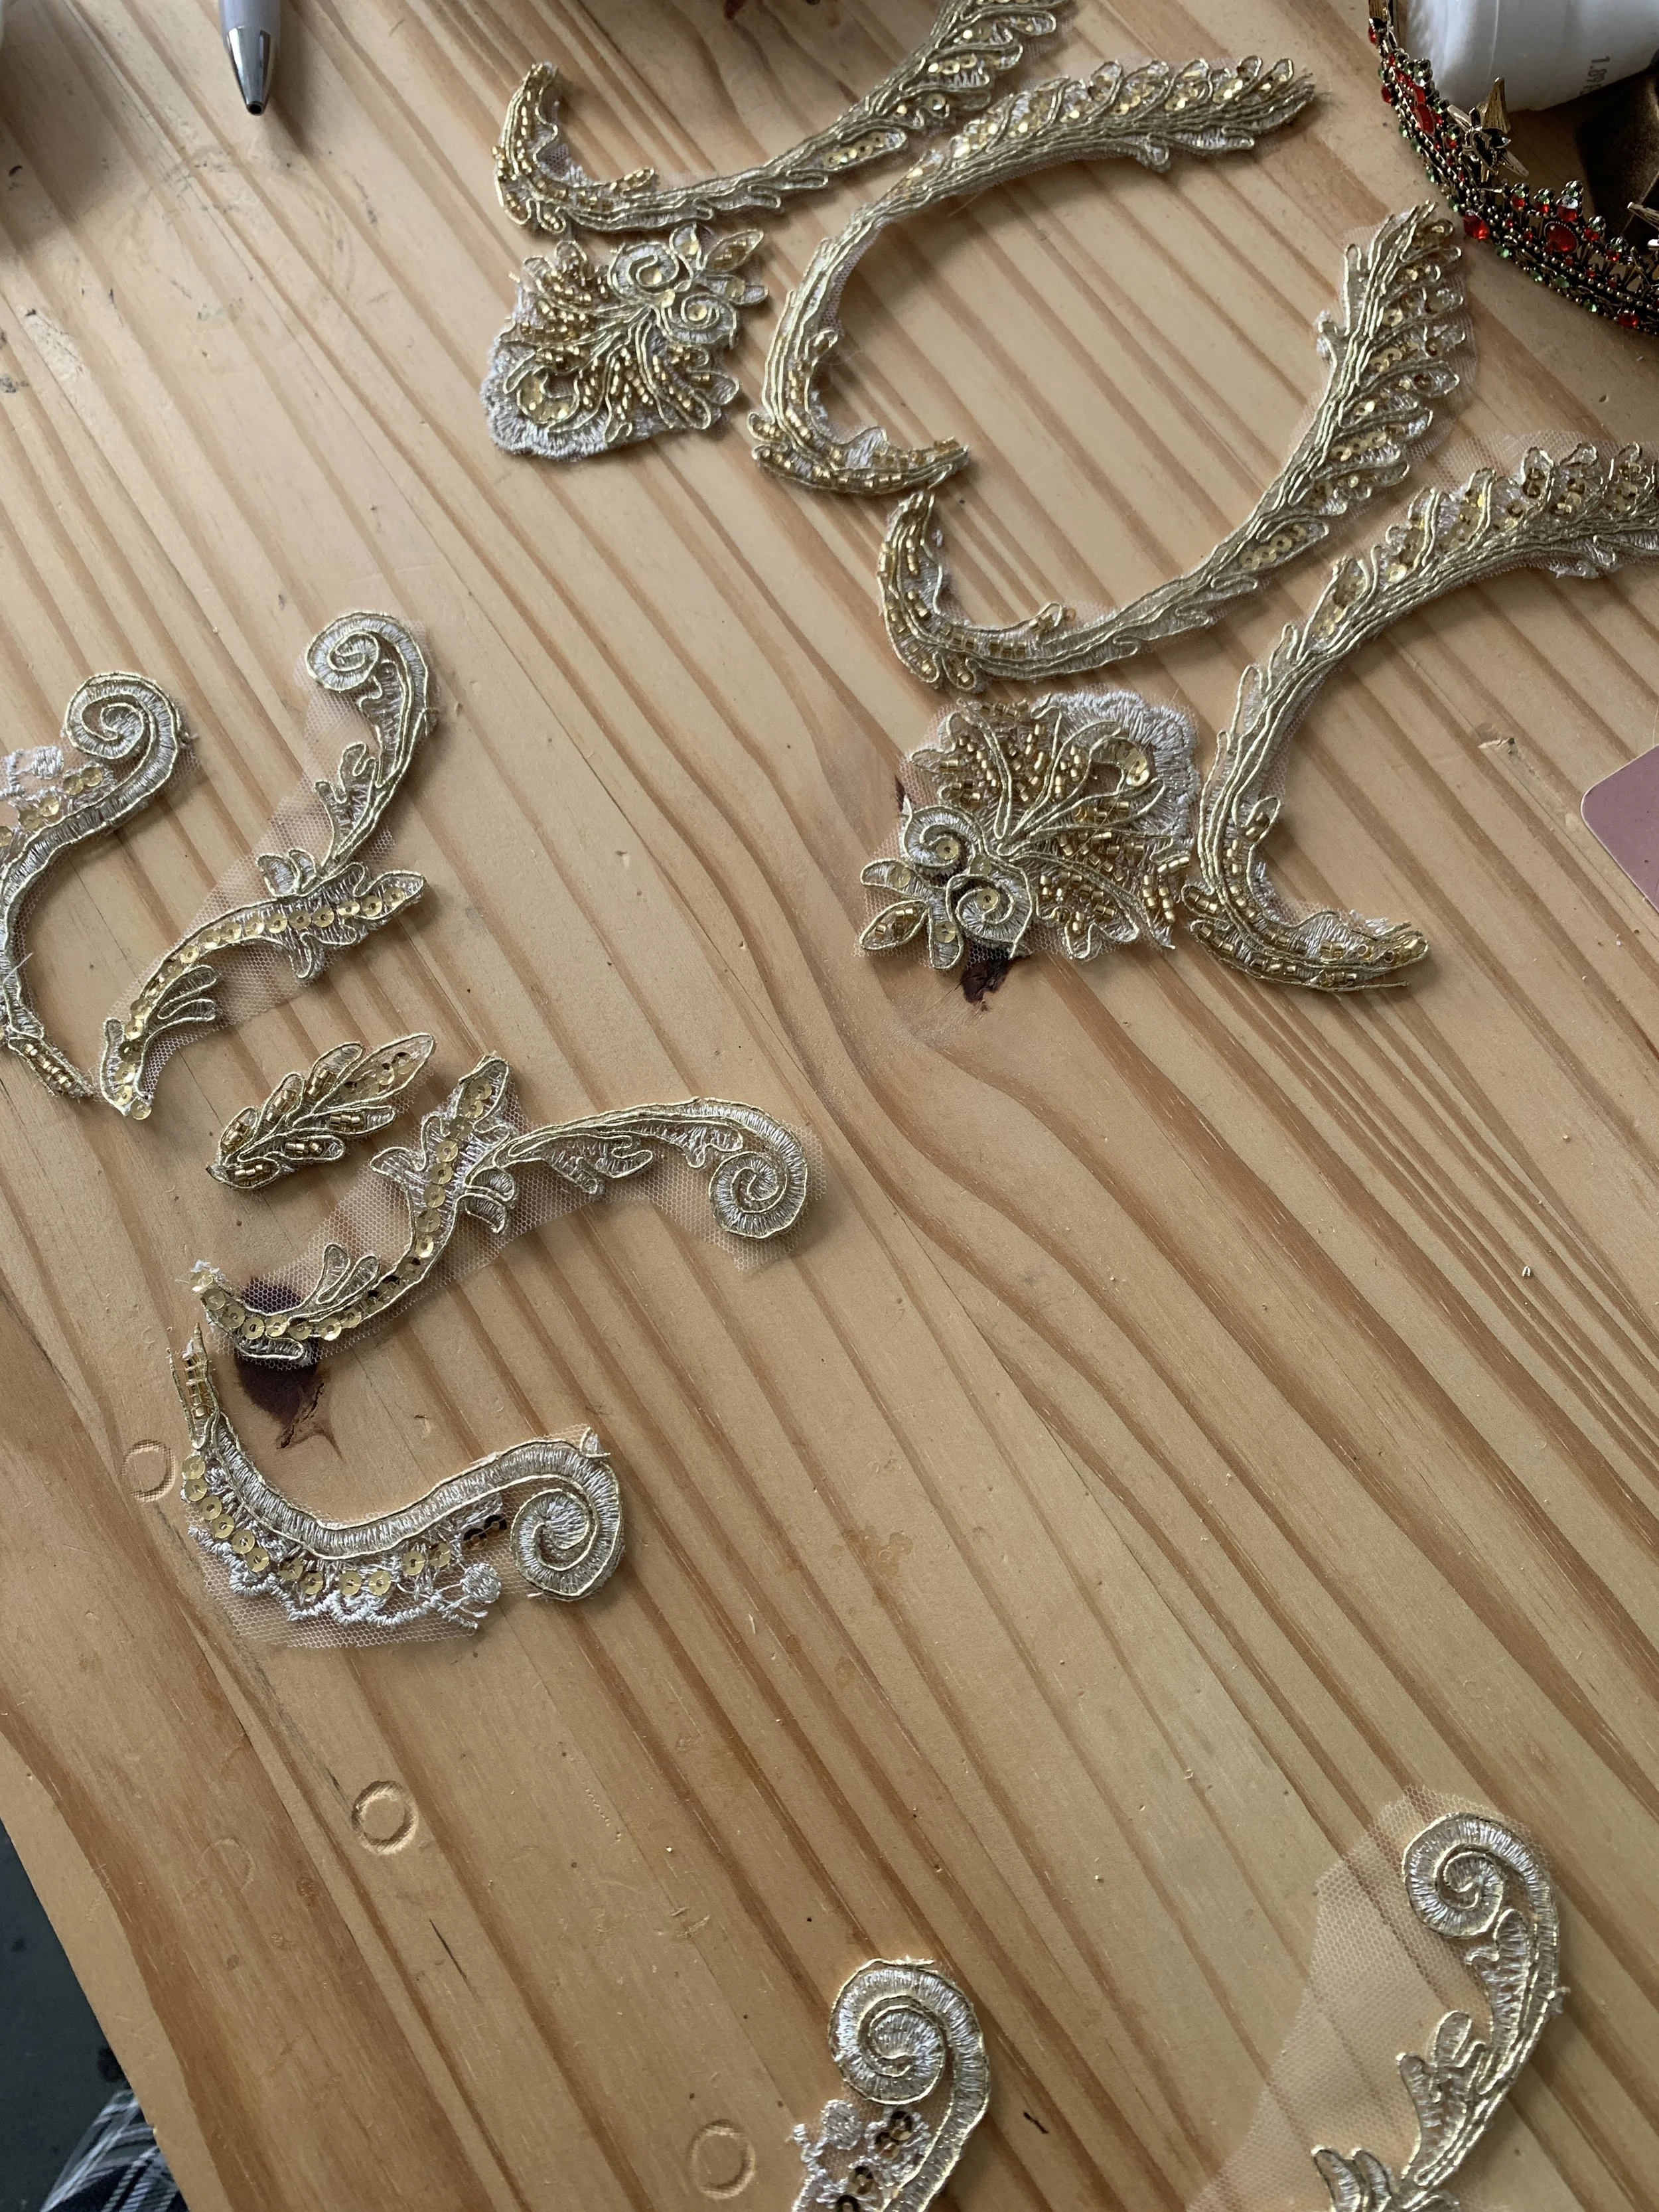
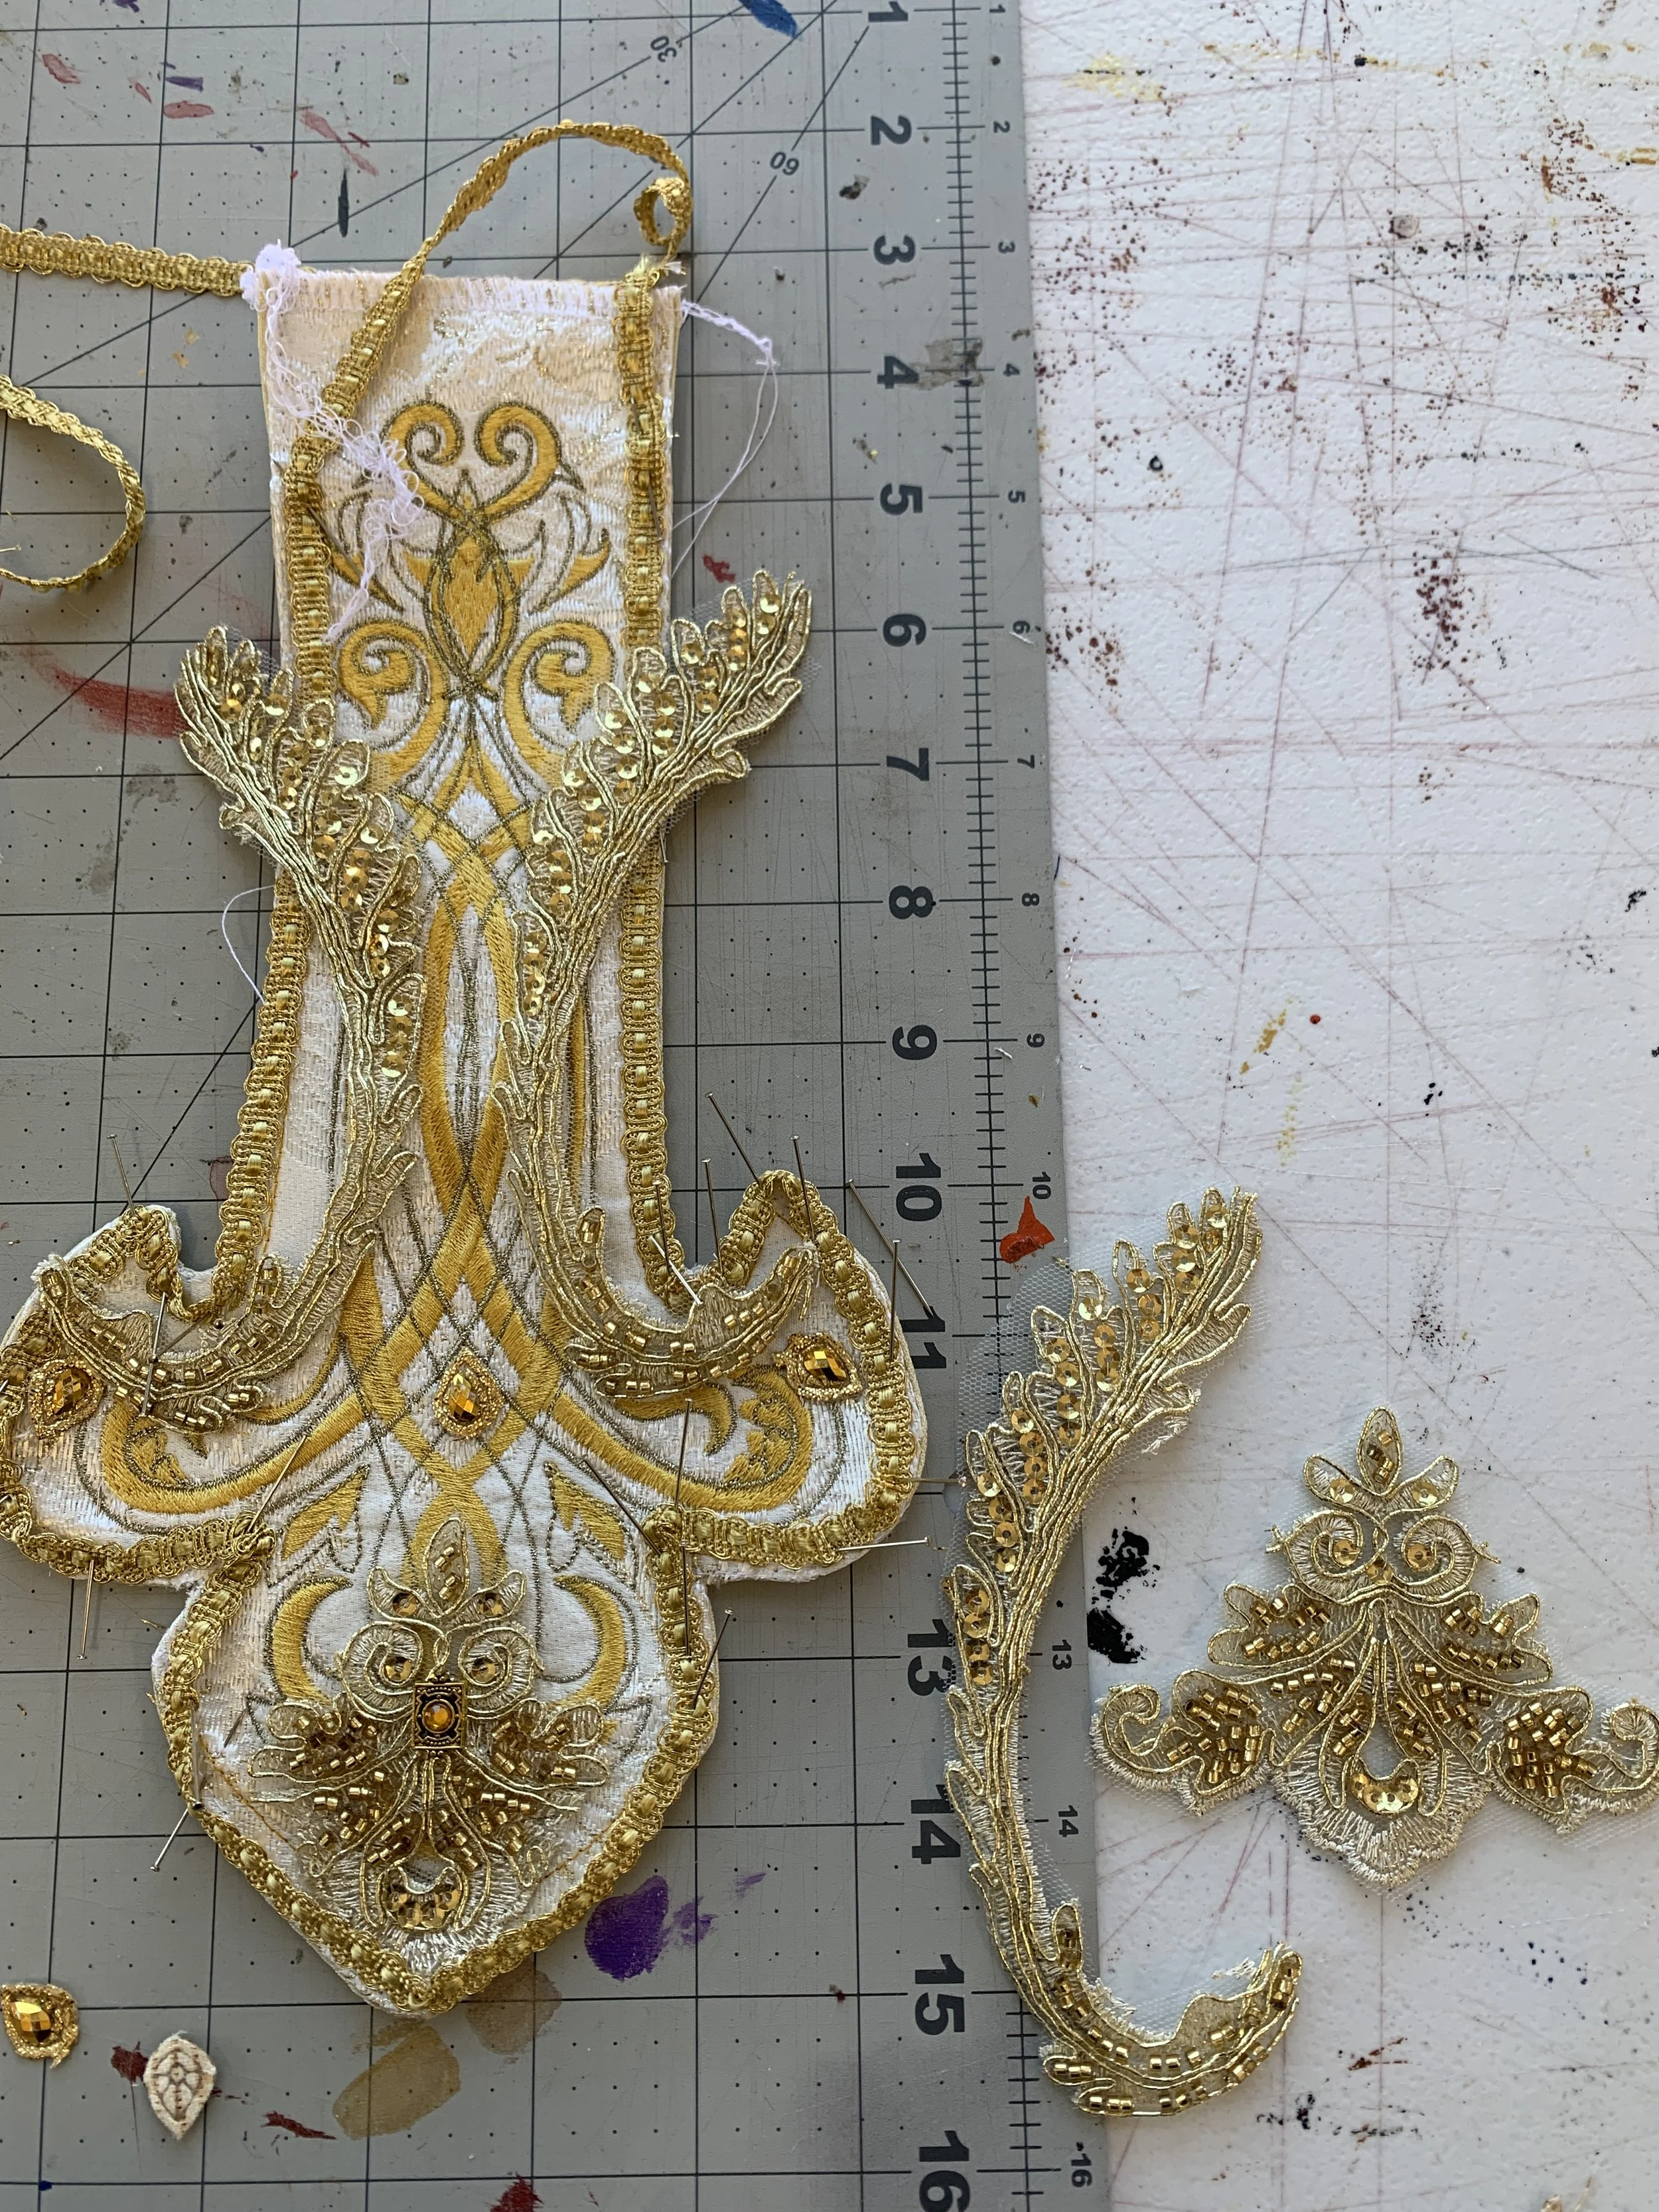
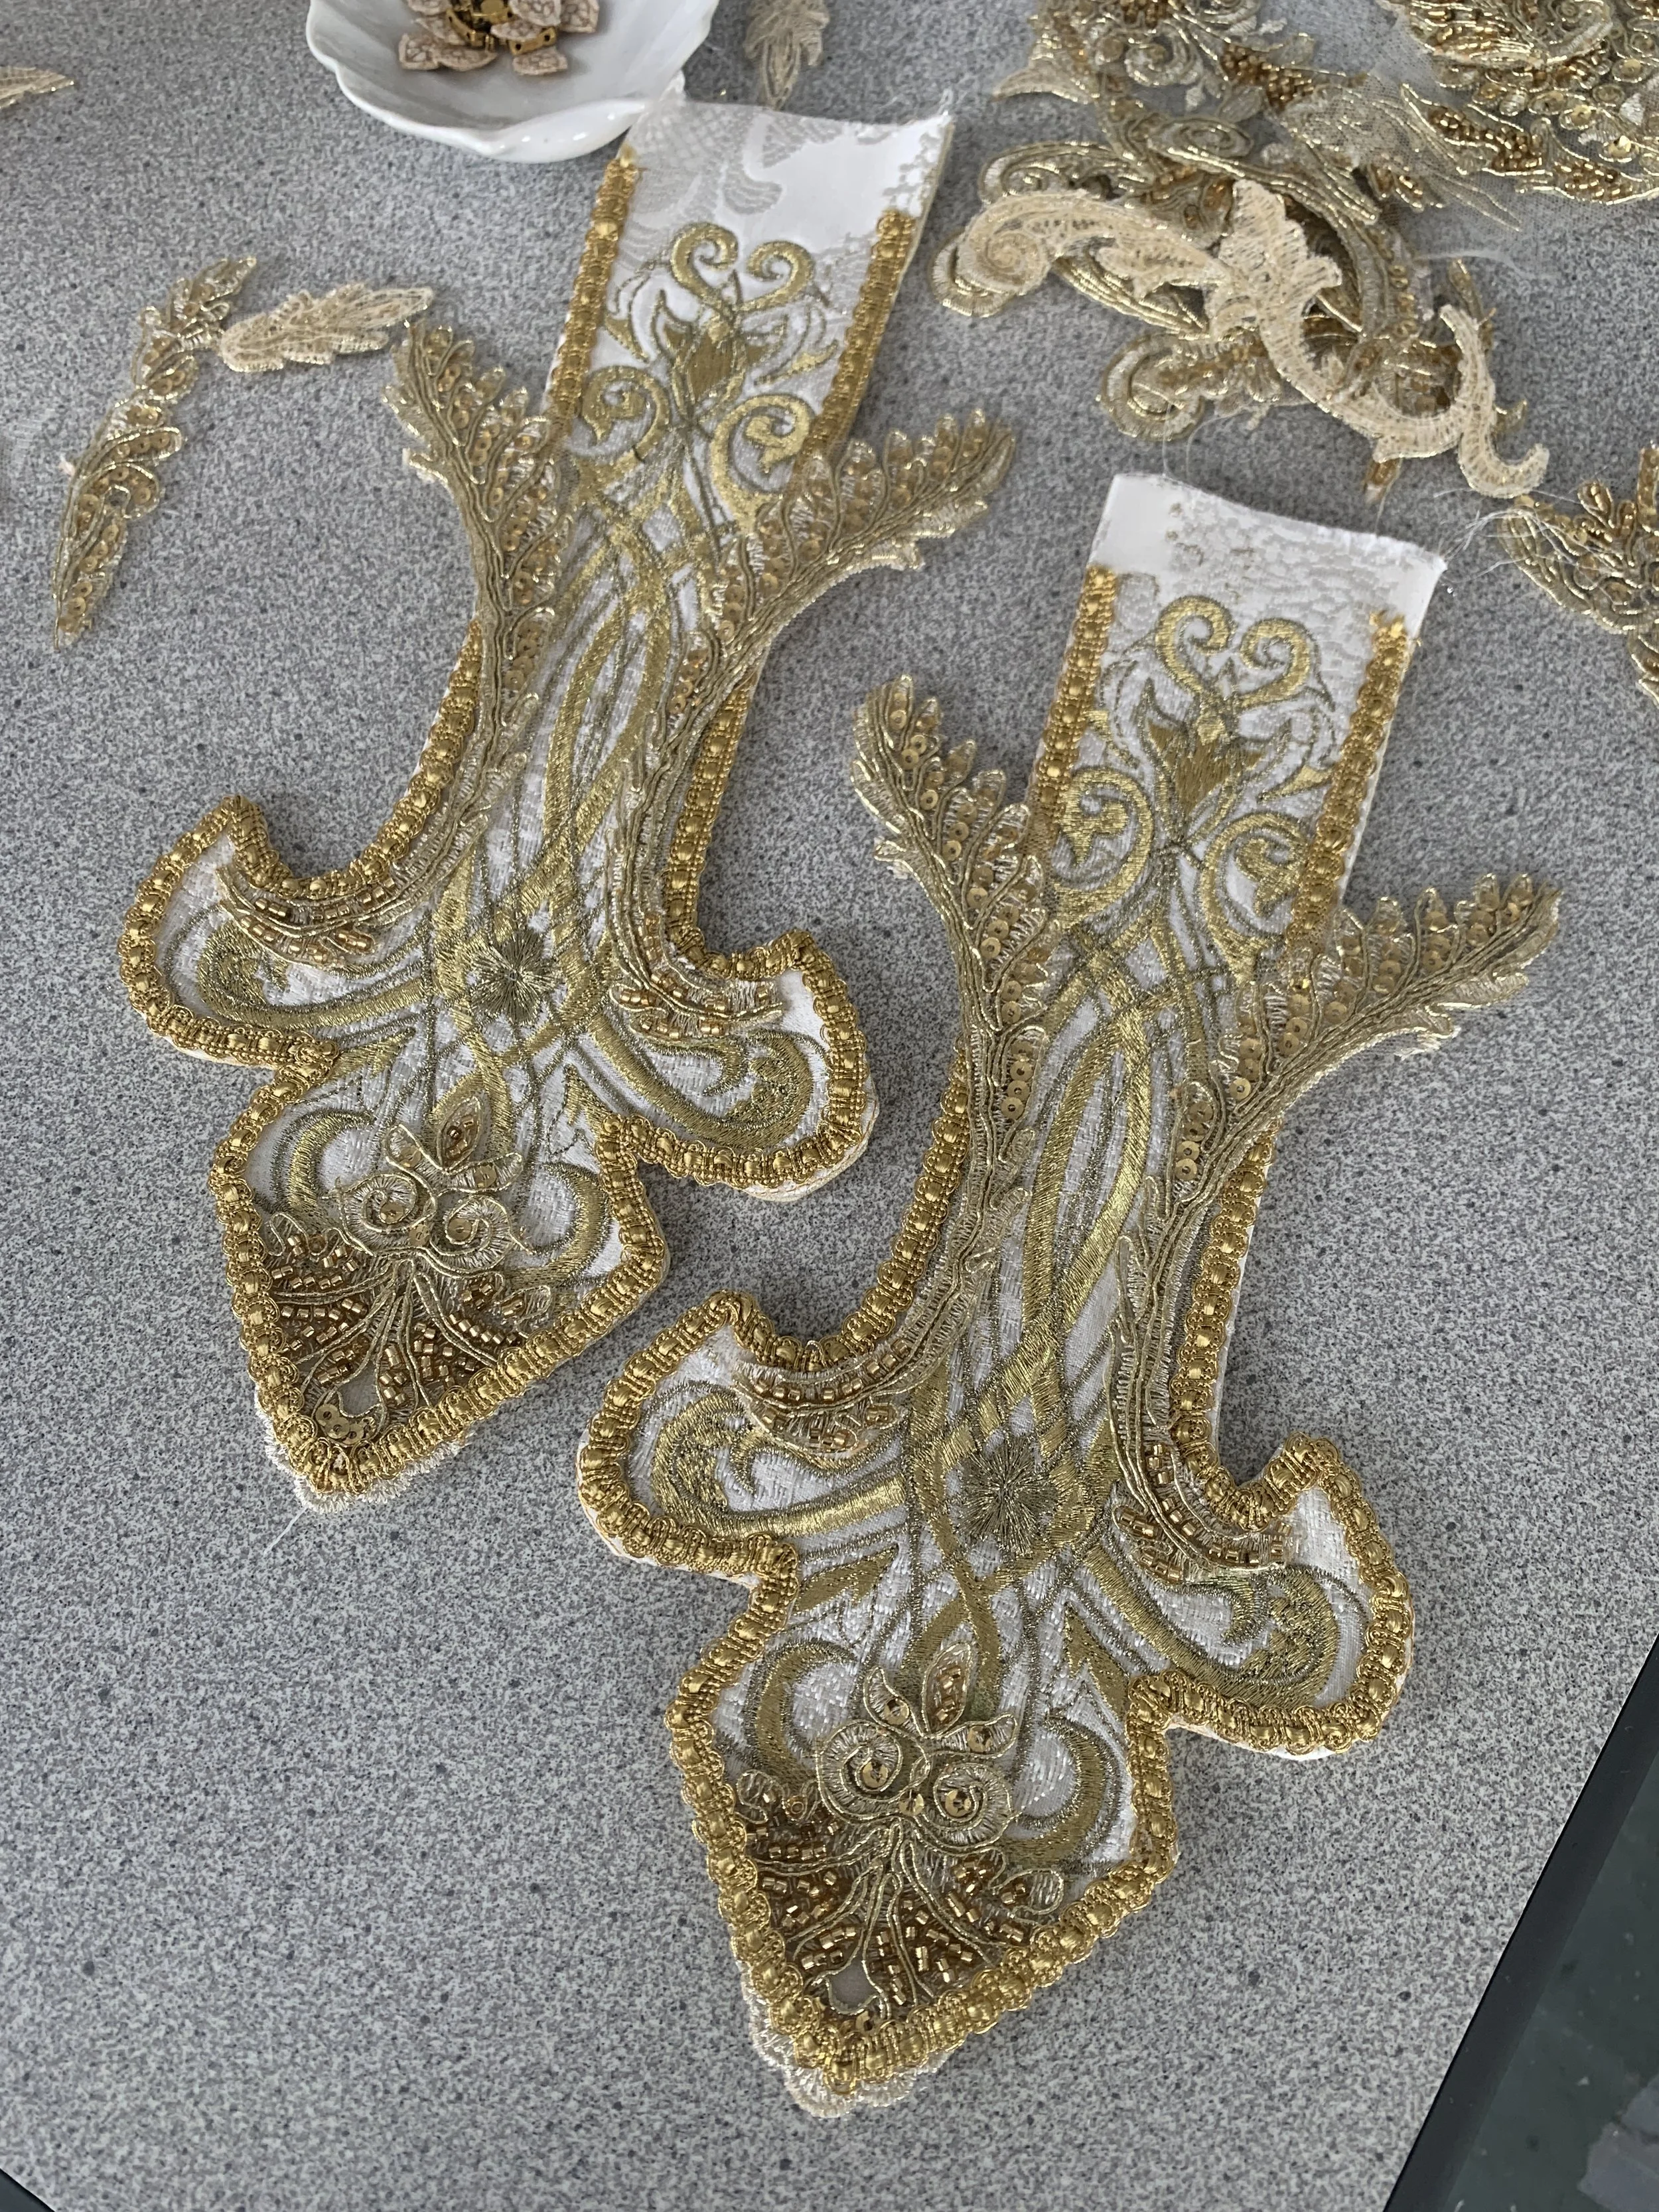
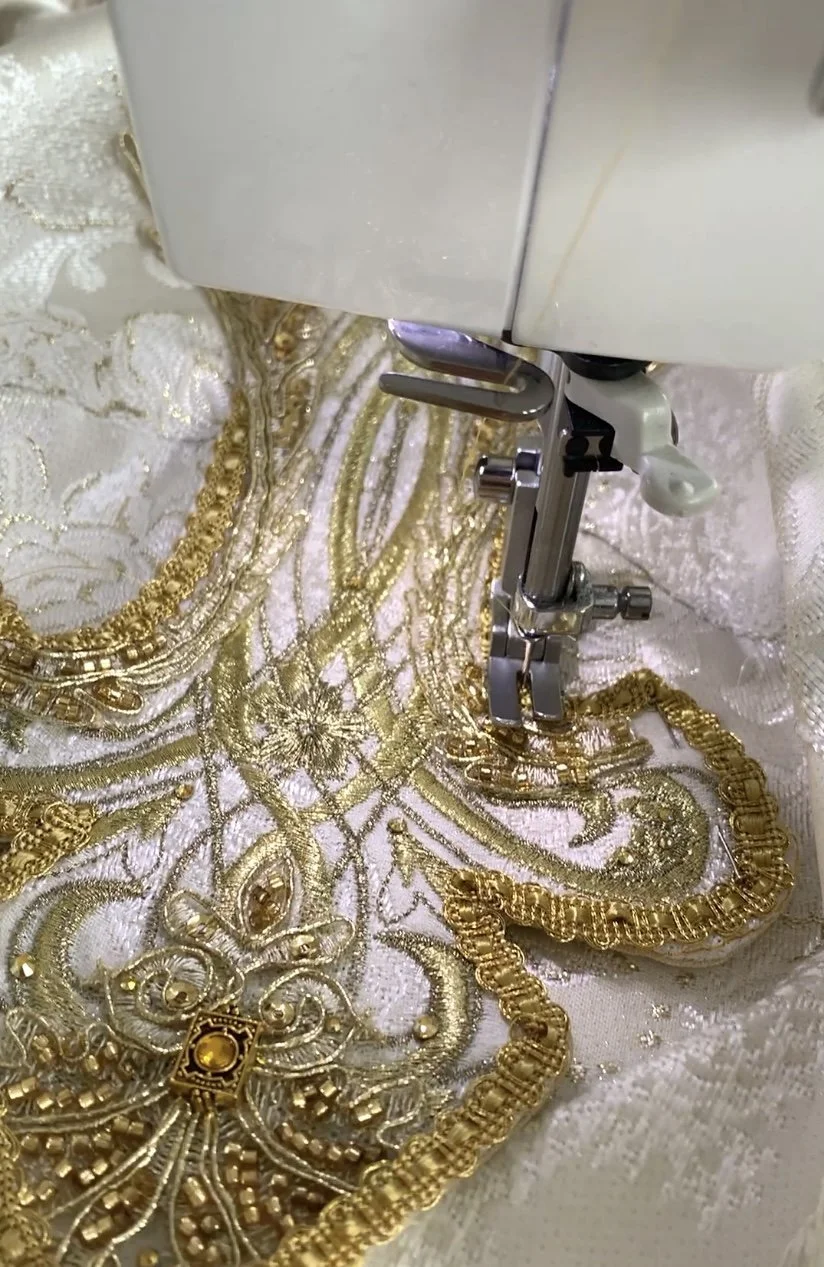
Designing the Epaulettes, now that the arms were finished felt so easy! I knew exactly what I wanted them to look like and I was able to take some swirls from my previous designs to incorporate. I felt it also brough the arms and the epaulettes together.
Pattern drafting epaulettes to fall off the shoulder
Embroidery digitizing
hand sewing additional applique details
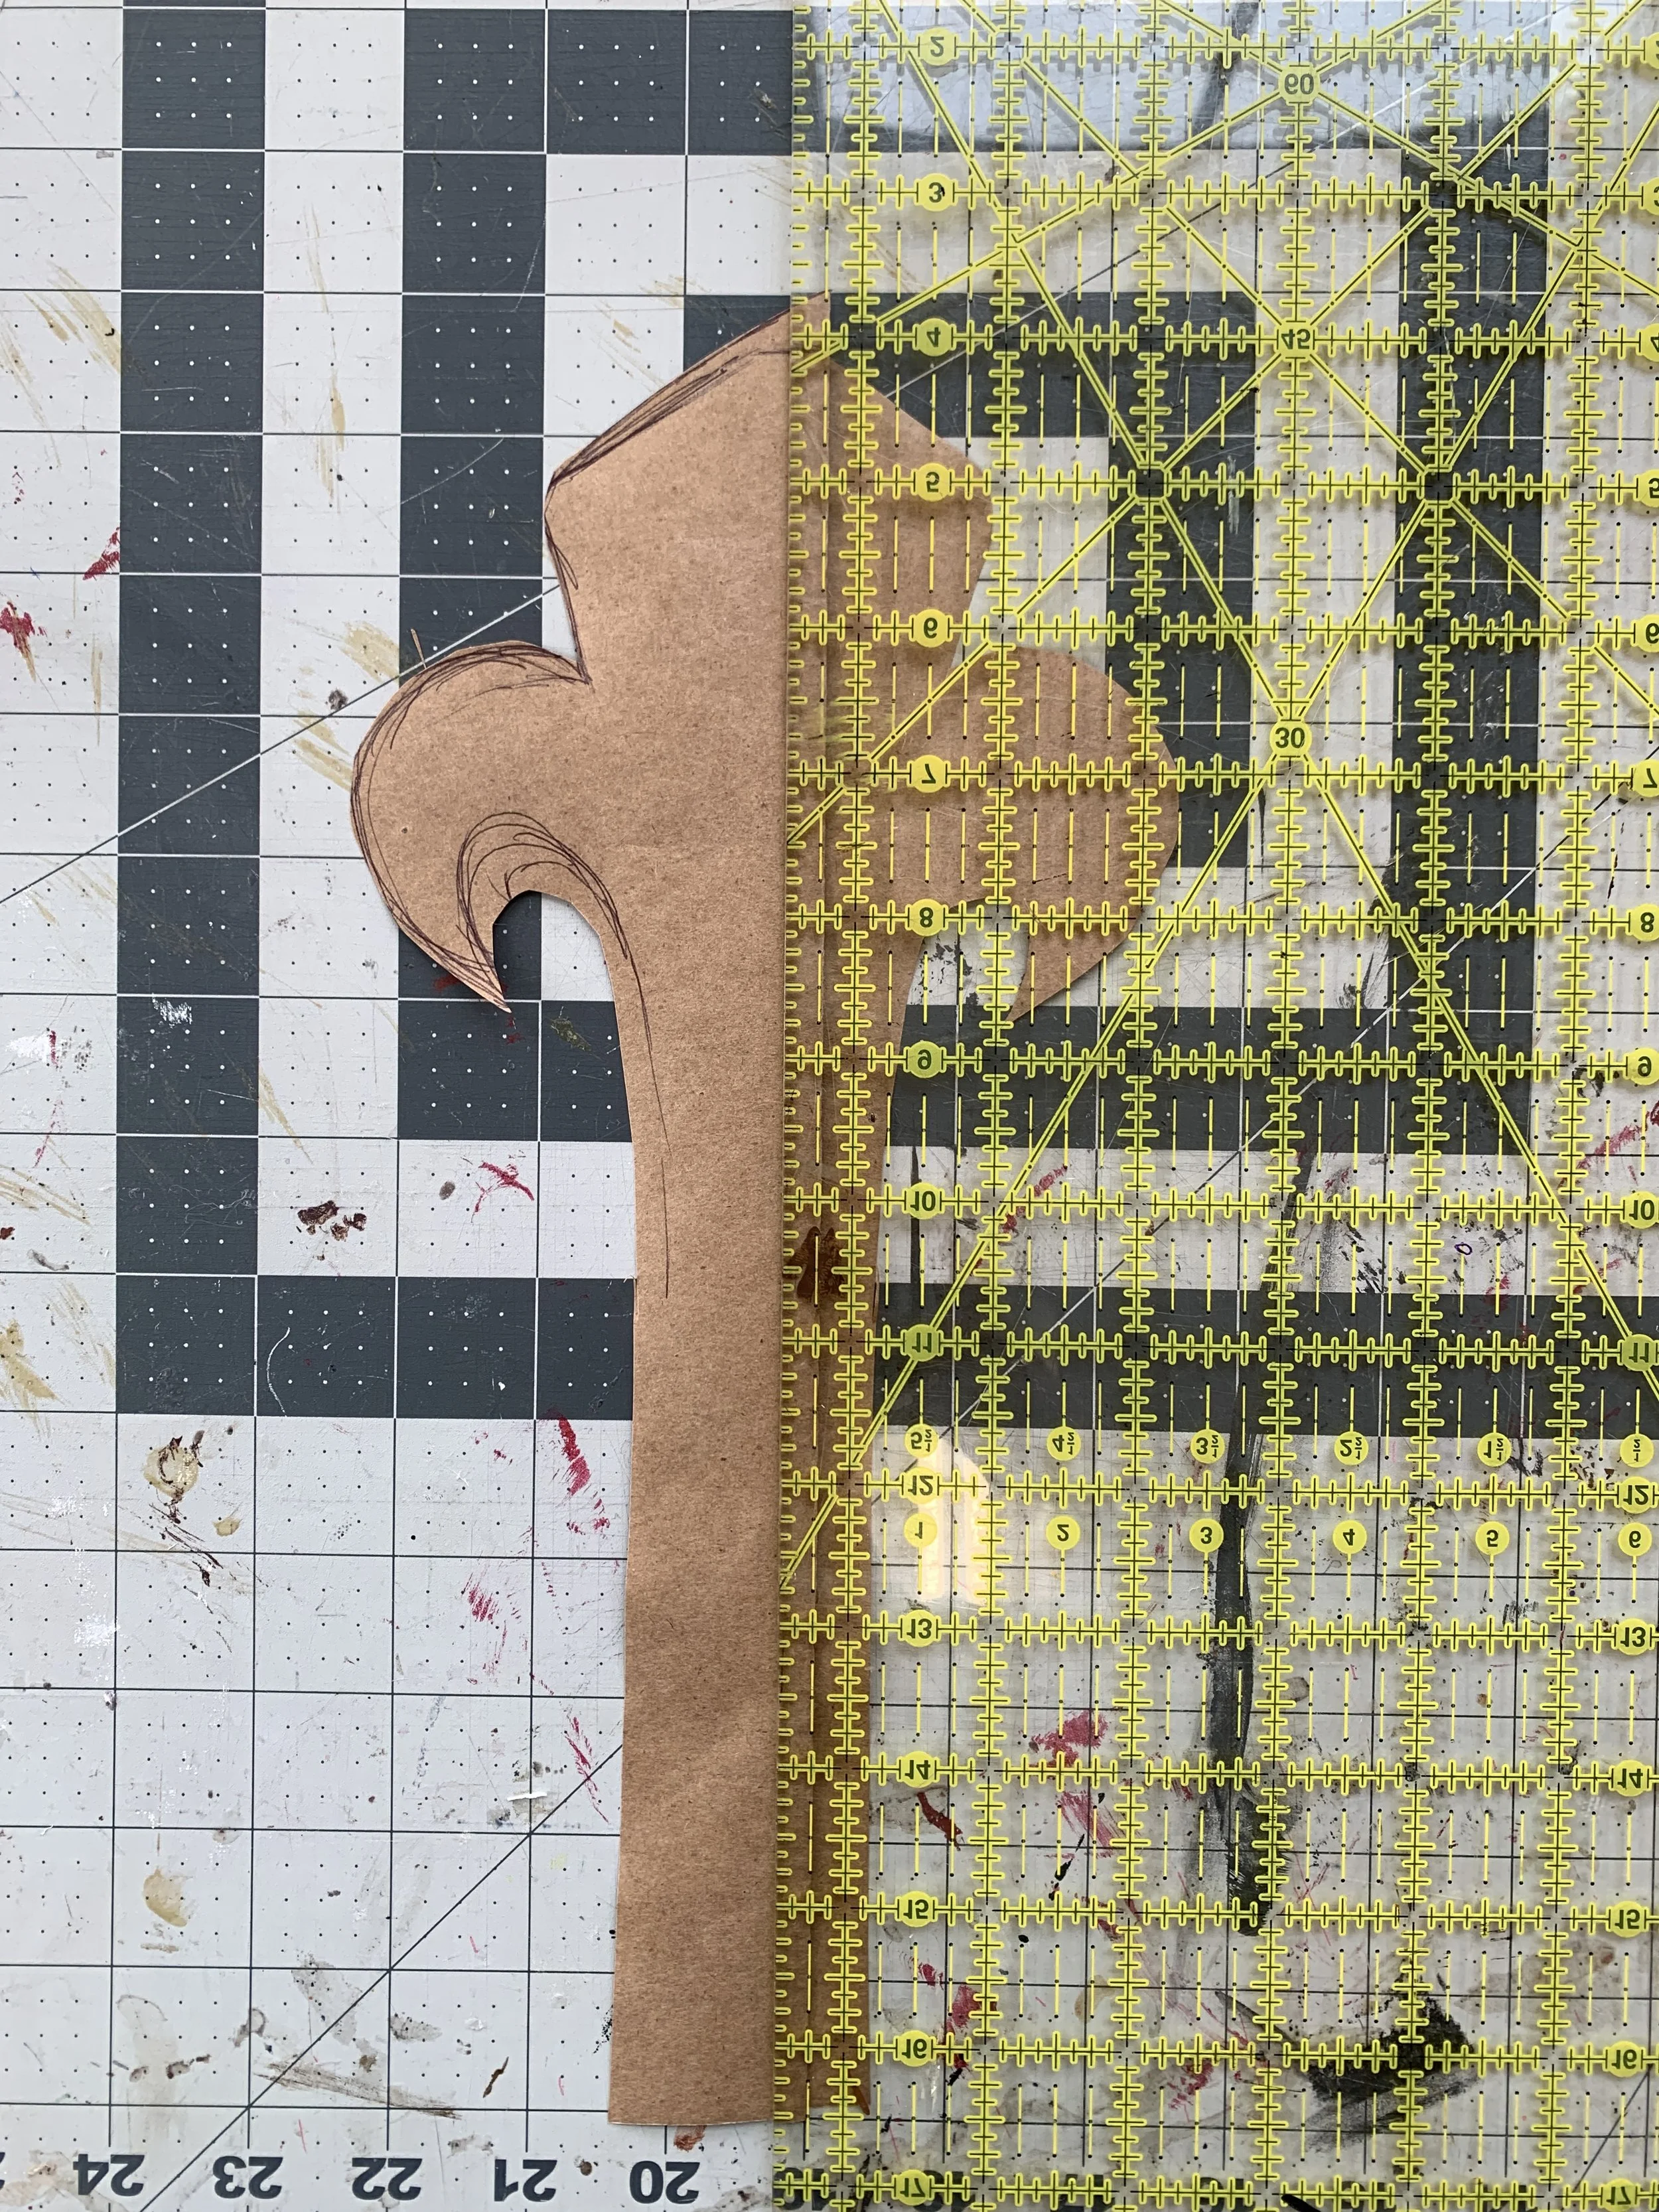
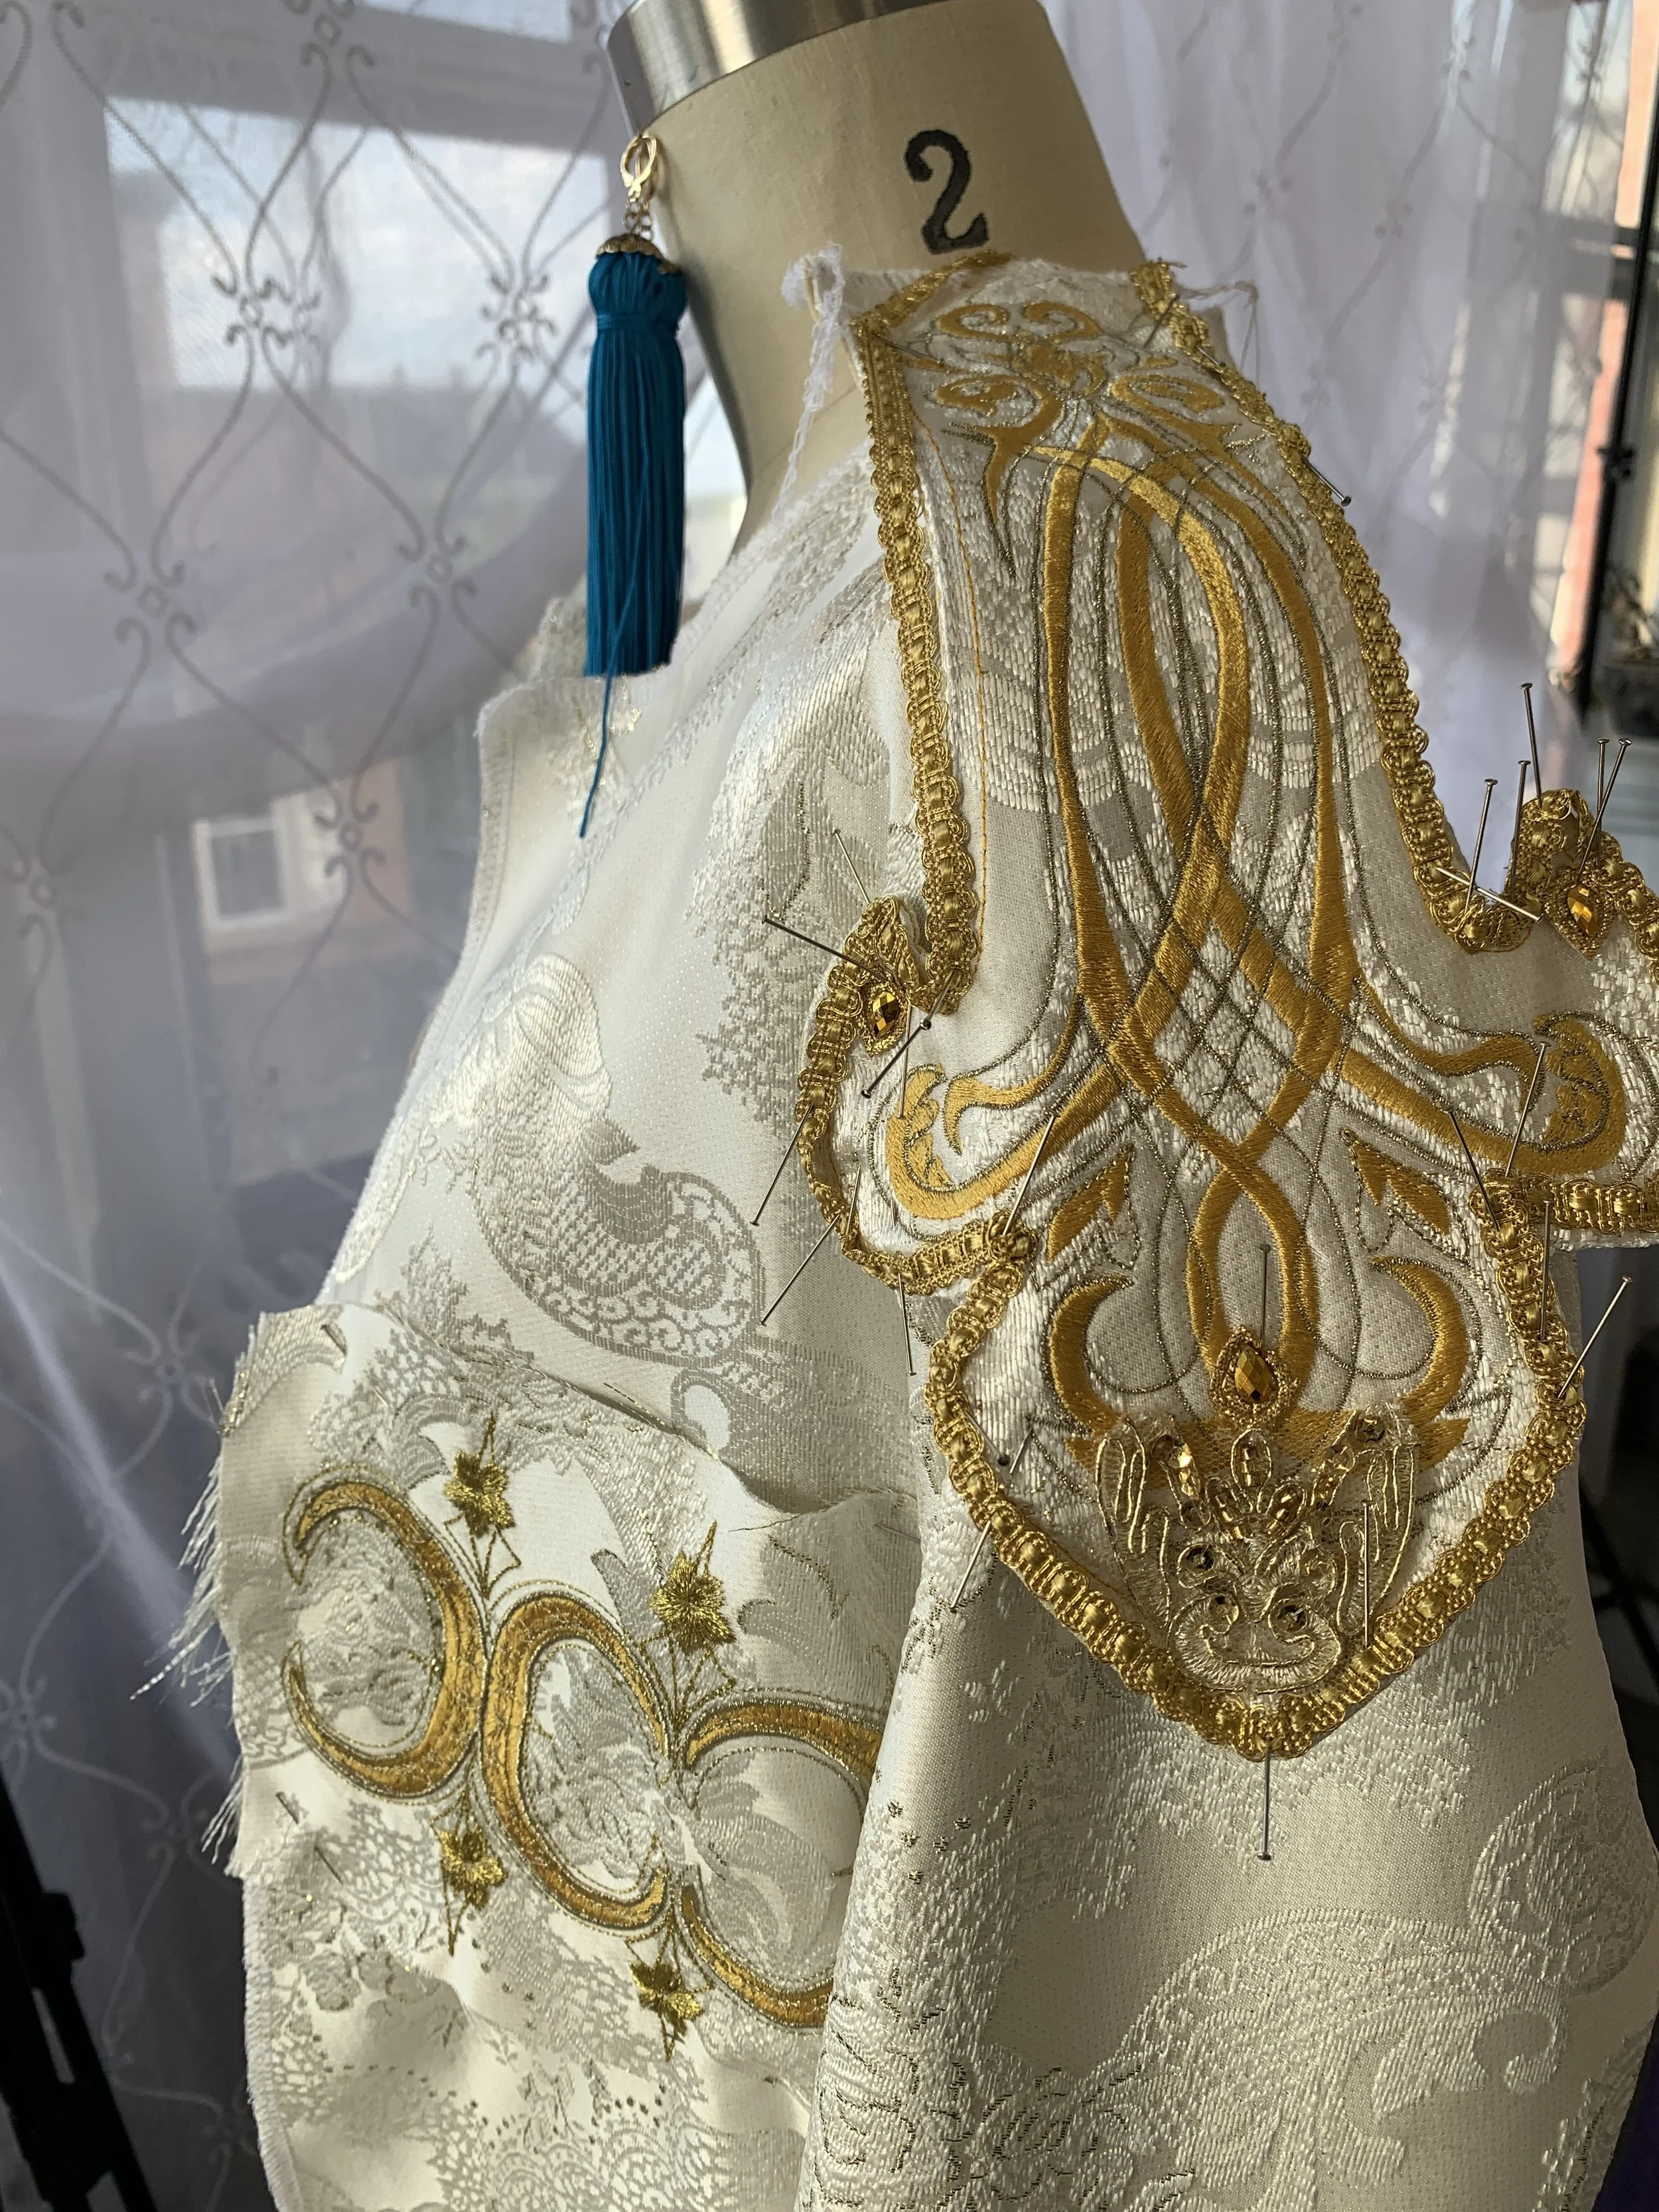
Finishing the jacket
With the details all added to the jacket it was time to bring it all together. I used a satin to line the full jacket and added that signature fur collar. I did made a slight design adjustment to the collar from the original.
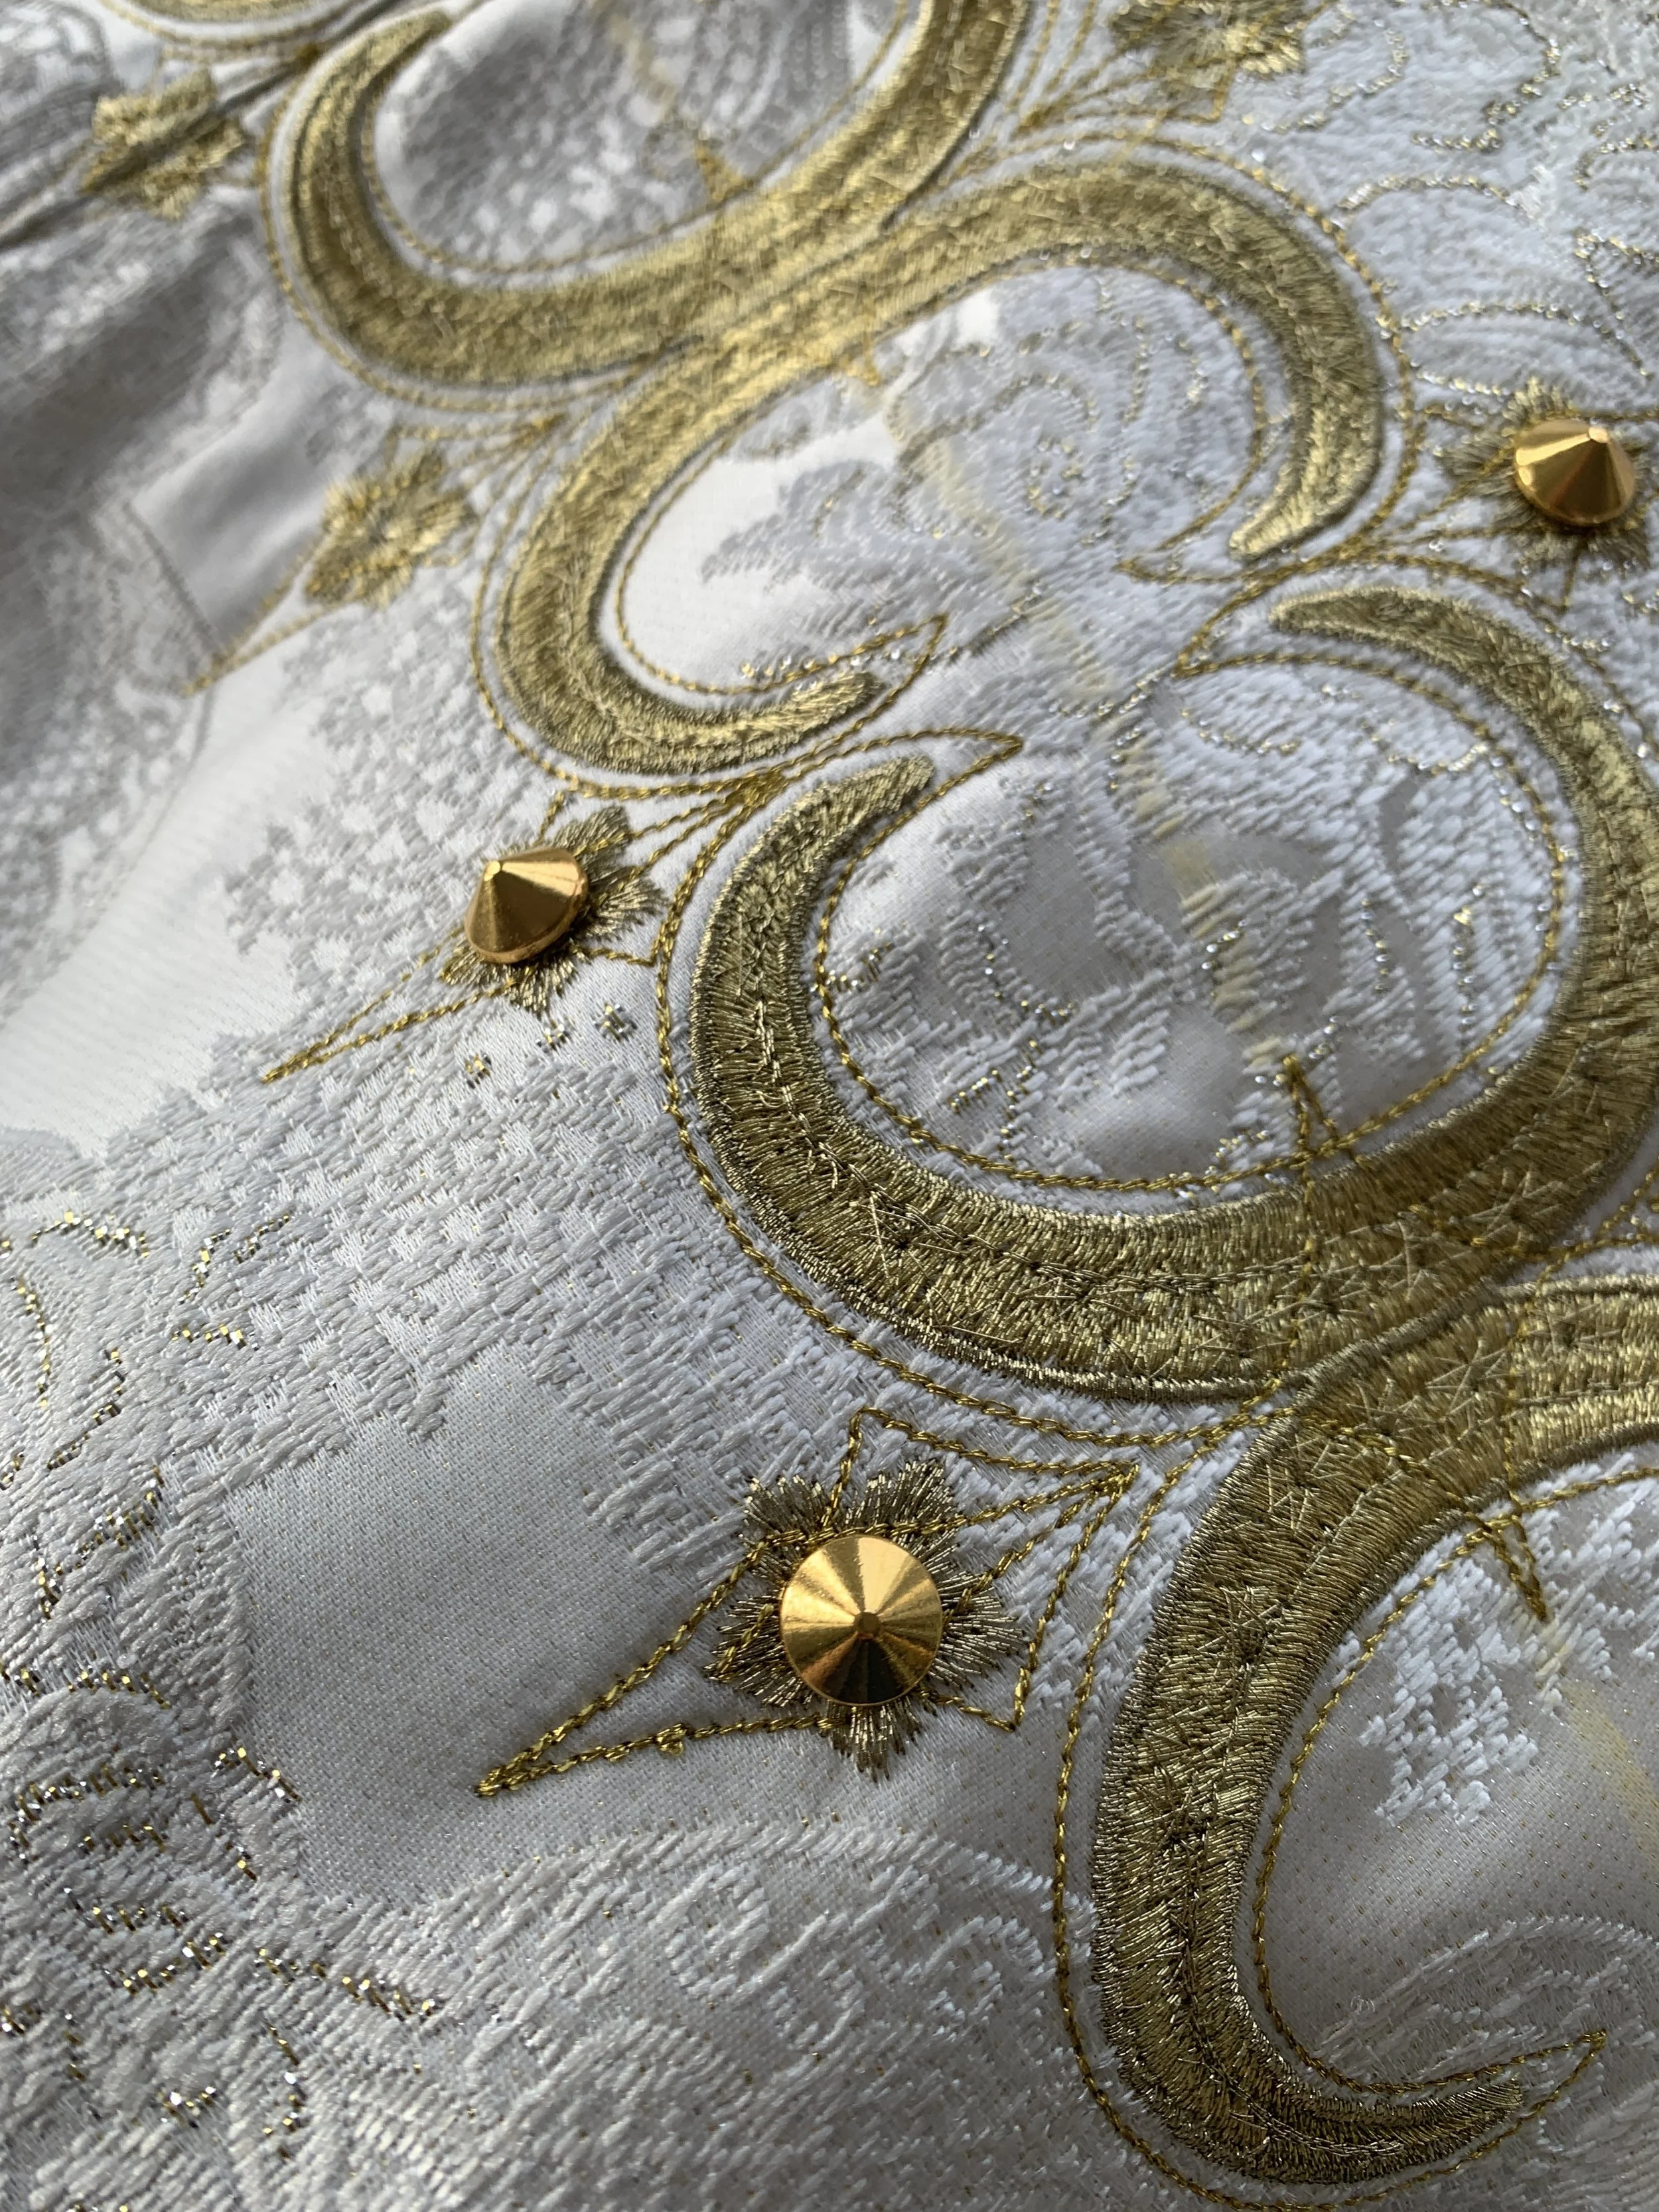
Screw on rivets
Glue on rivets
500 rhinestones were added filling in the moon and all over the arm and shoulder embroidery.
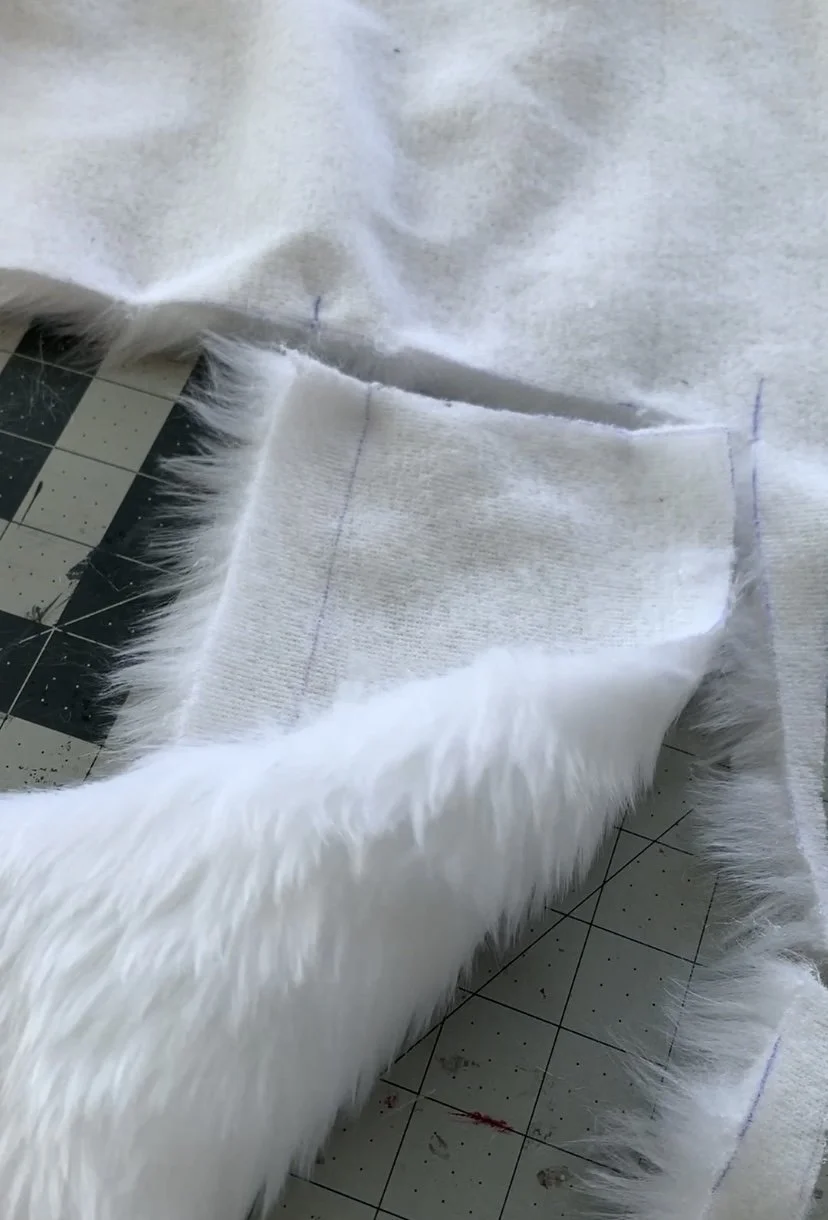
Addition of a fur collar, finishing the front edge
Lining - intentionally cutting on bias so it would stretch a little with the fur.
Finished bottom hem in the lining.
What I learned:
Never match fur and satin together for a lining, you will regret it because of how much the natural way of both fabrics are. Fur crawls when sewn and satin… well it never likes to hold any structure. Getting these two to cooperate took a lot of pins.
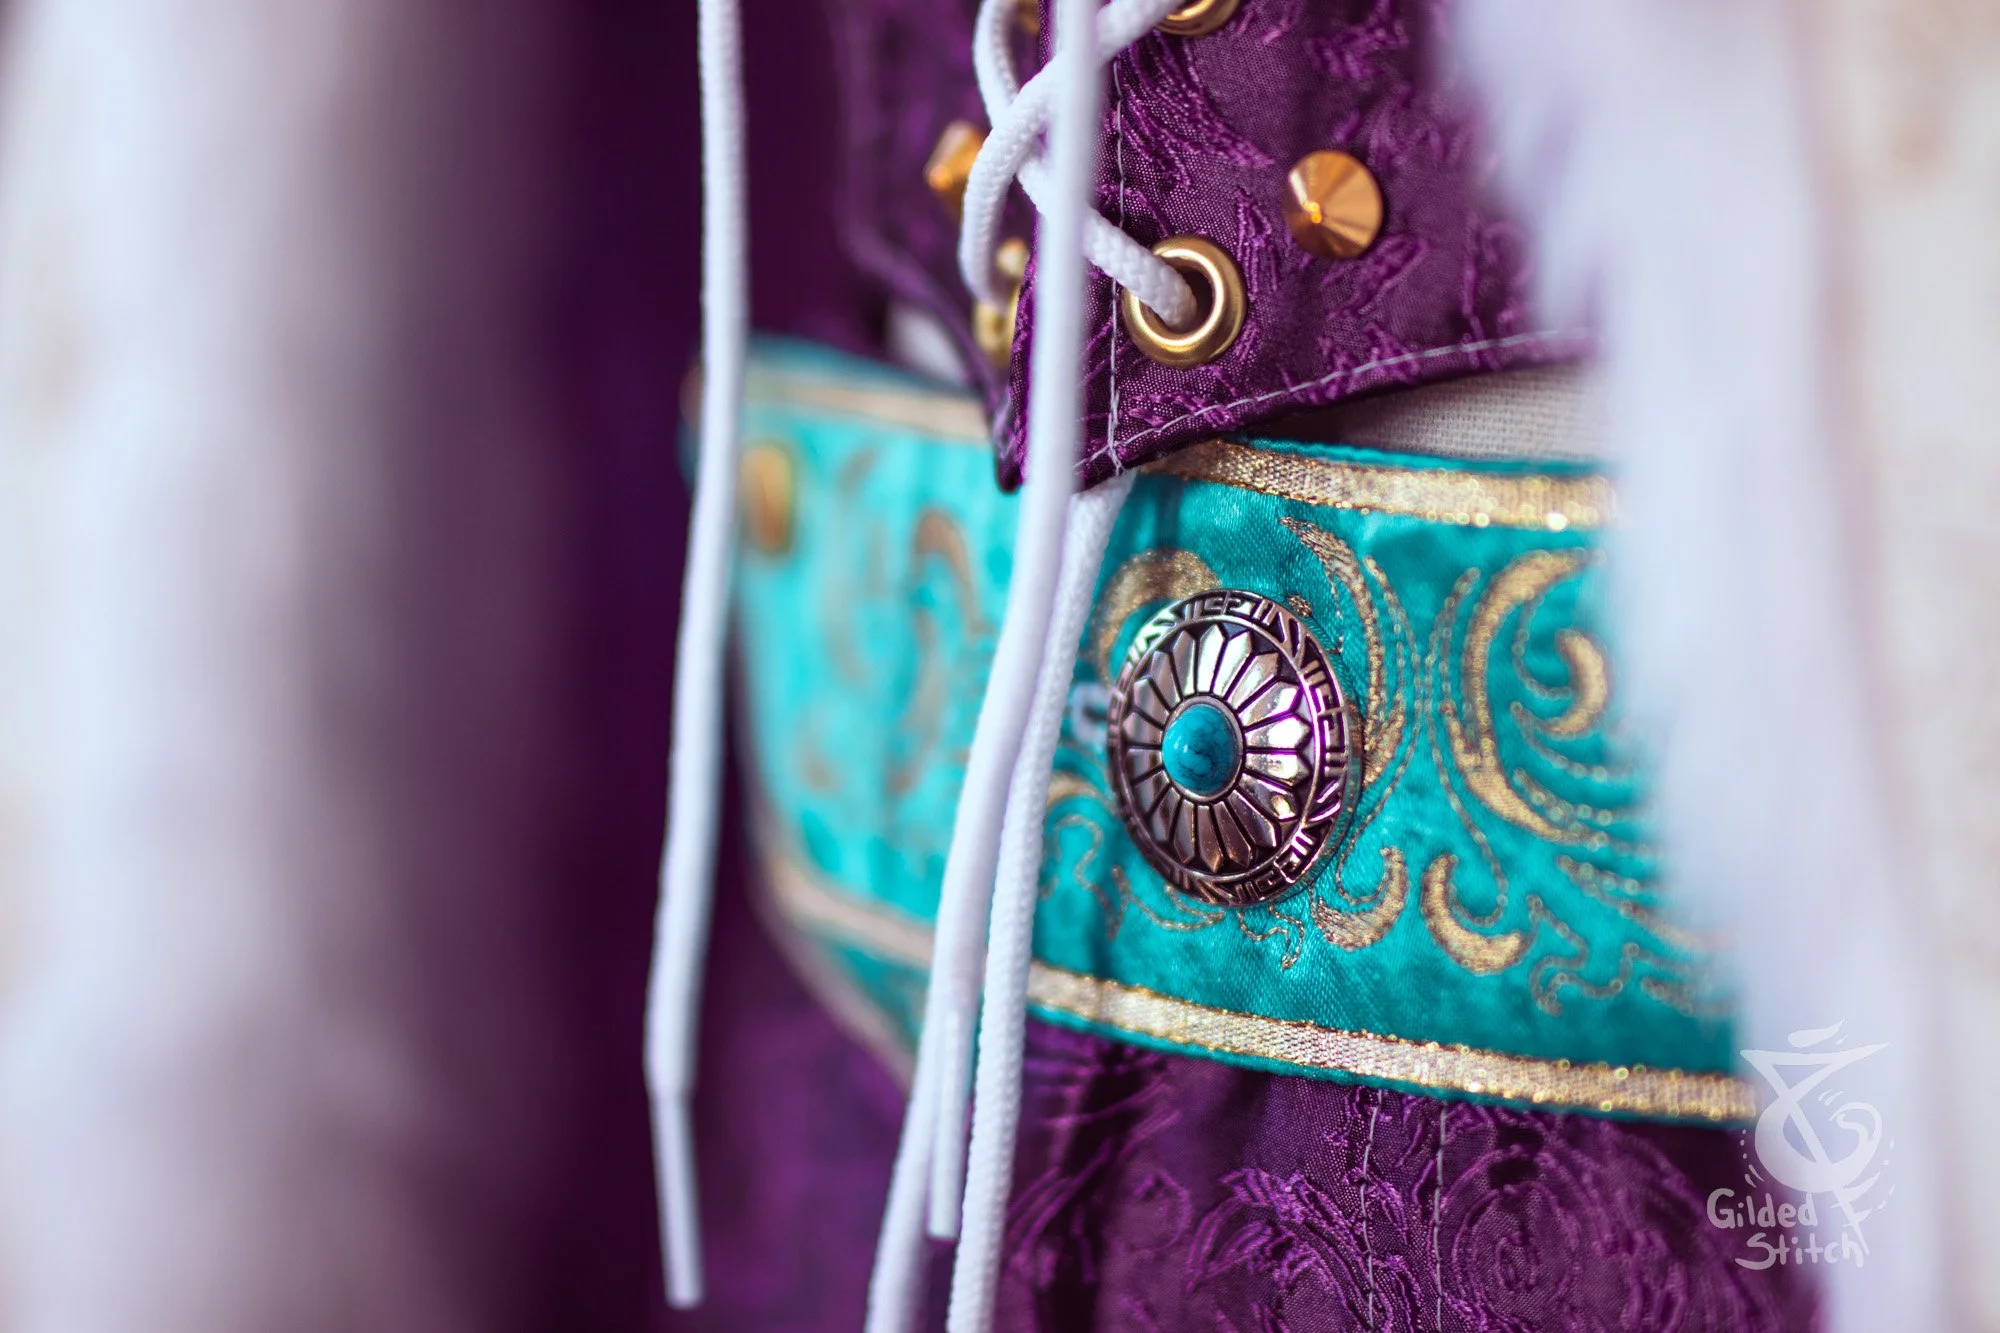
Belt
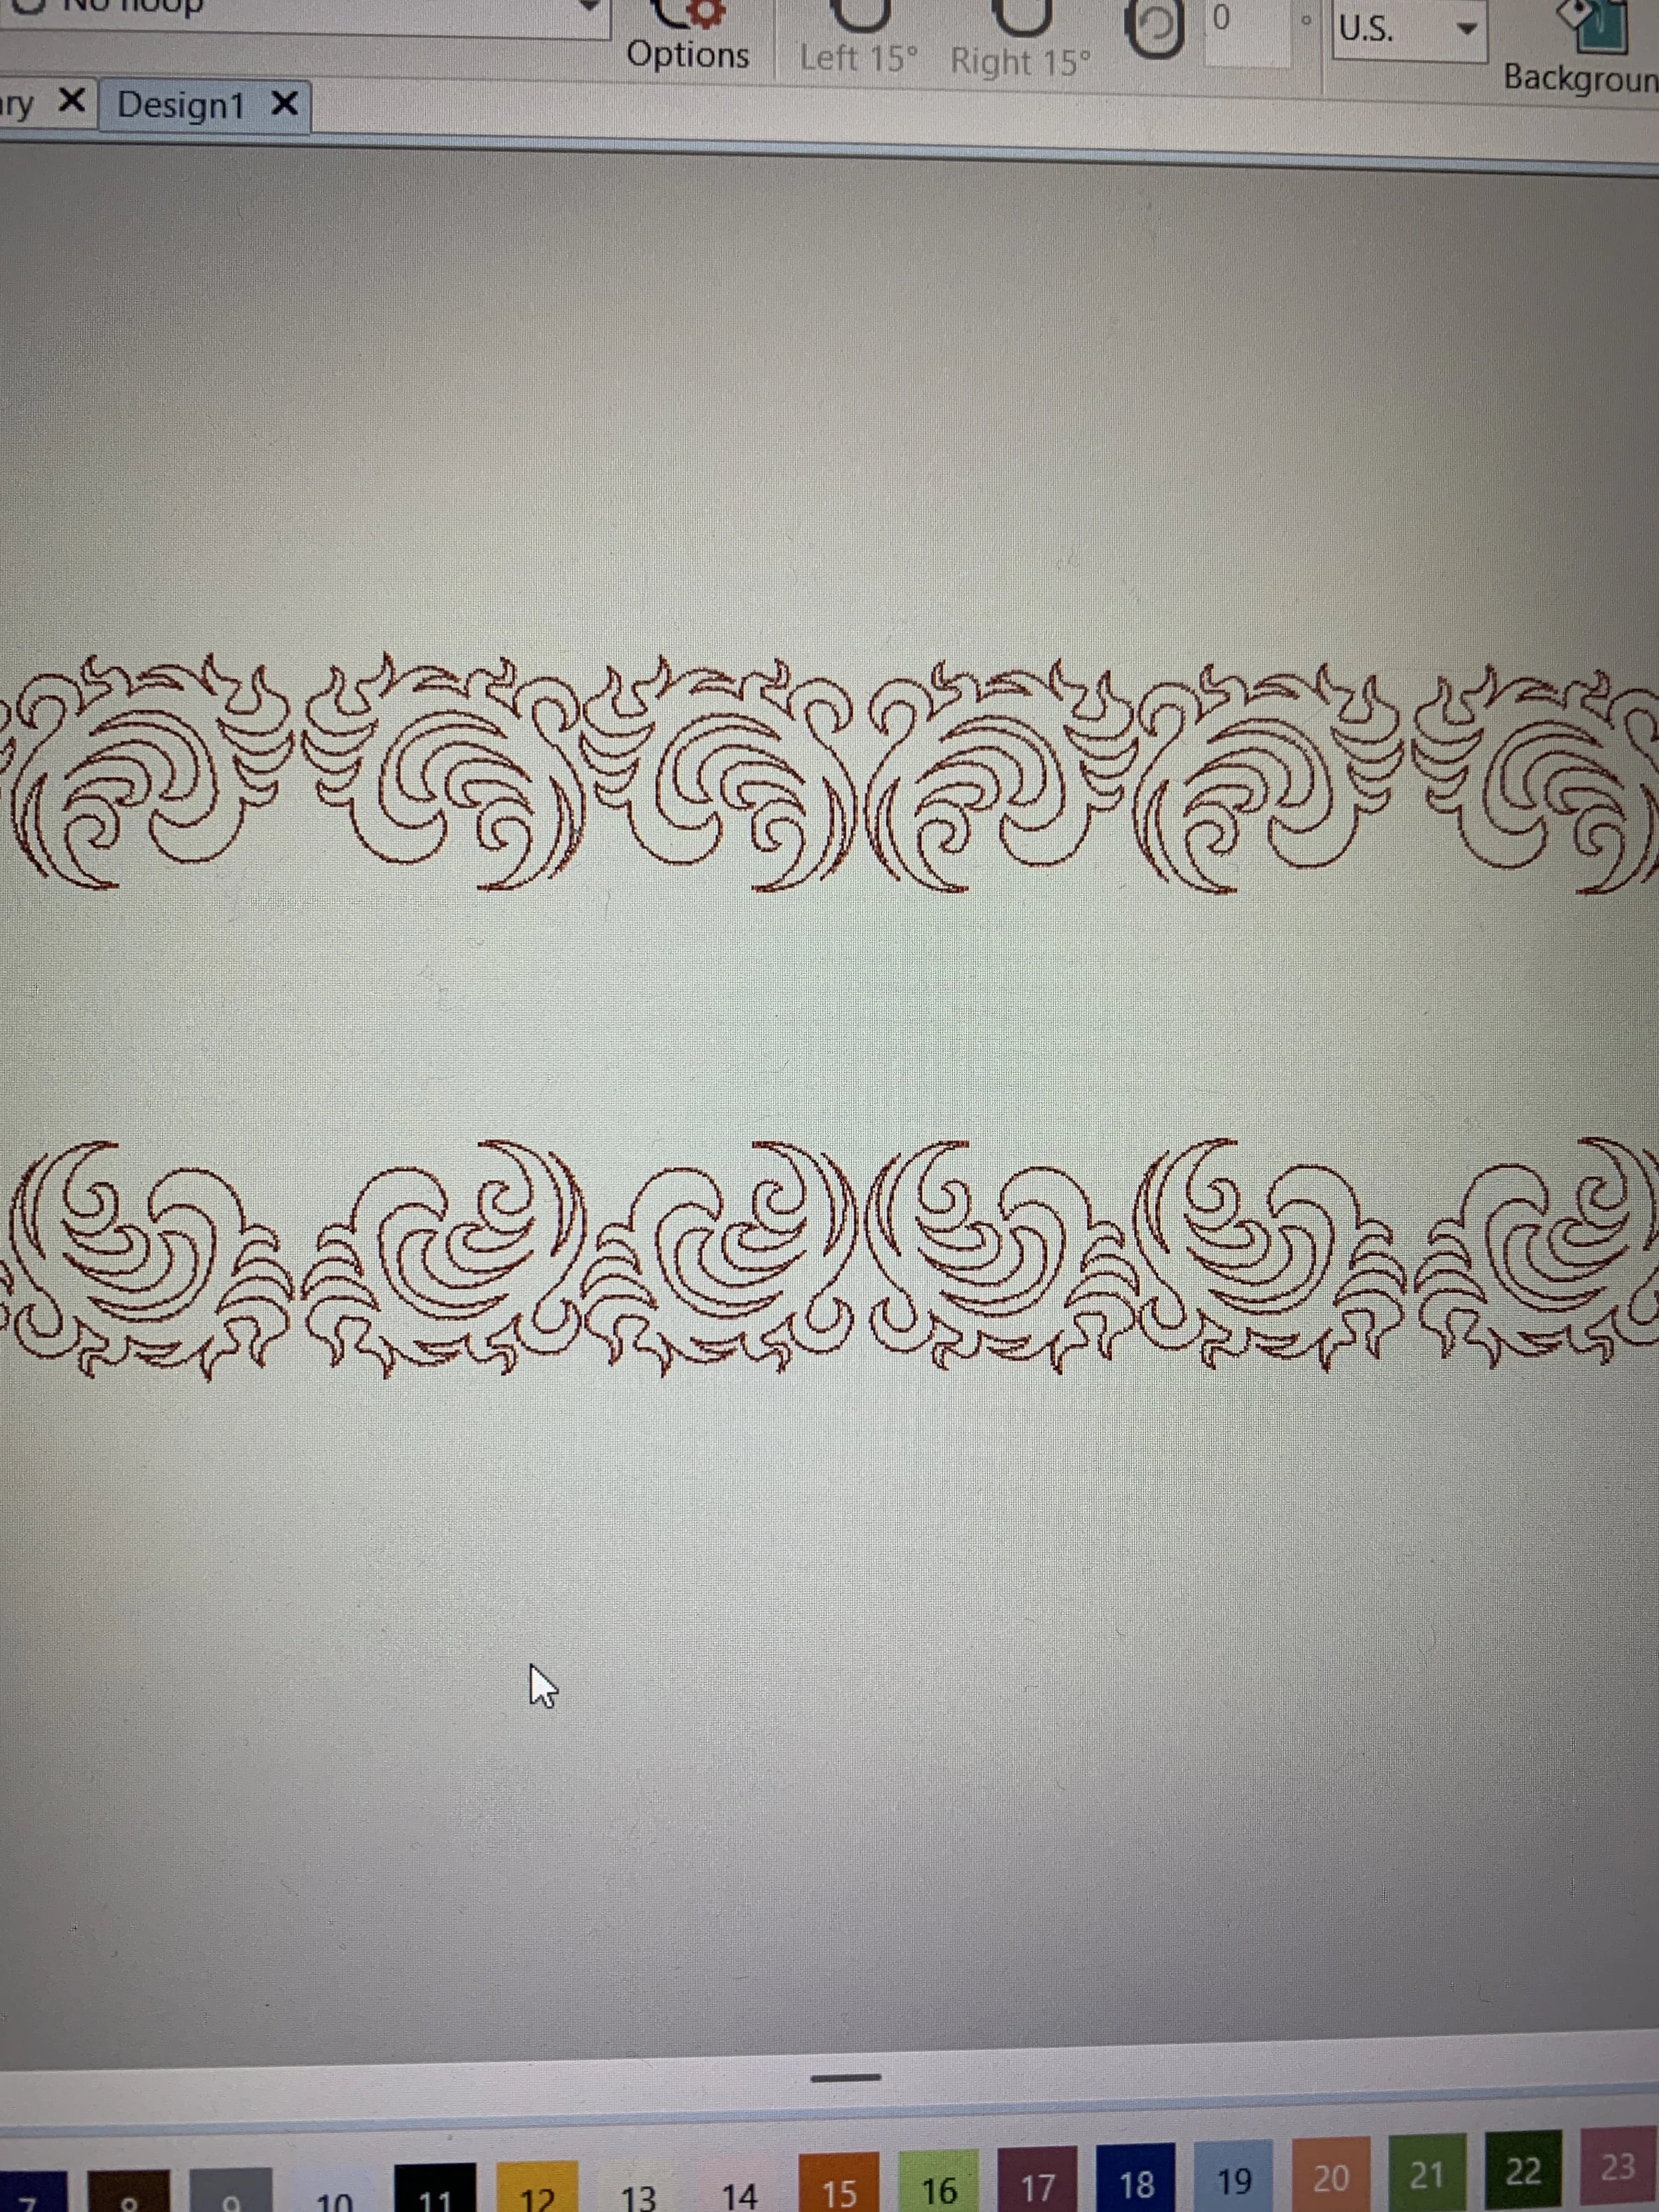
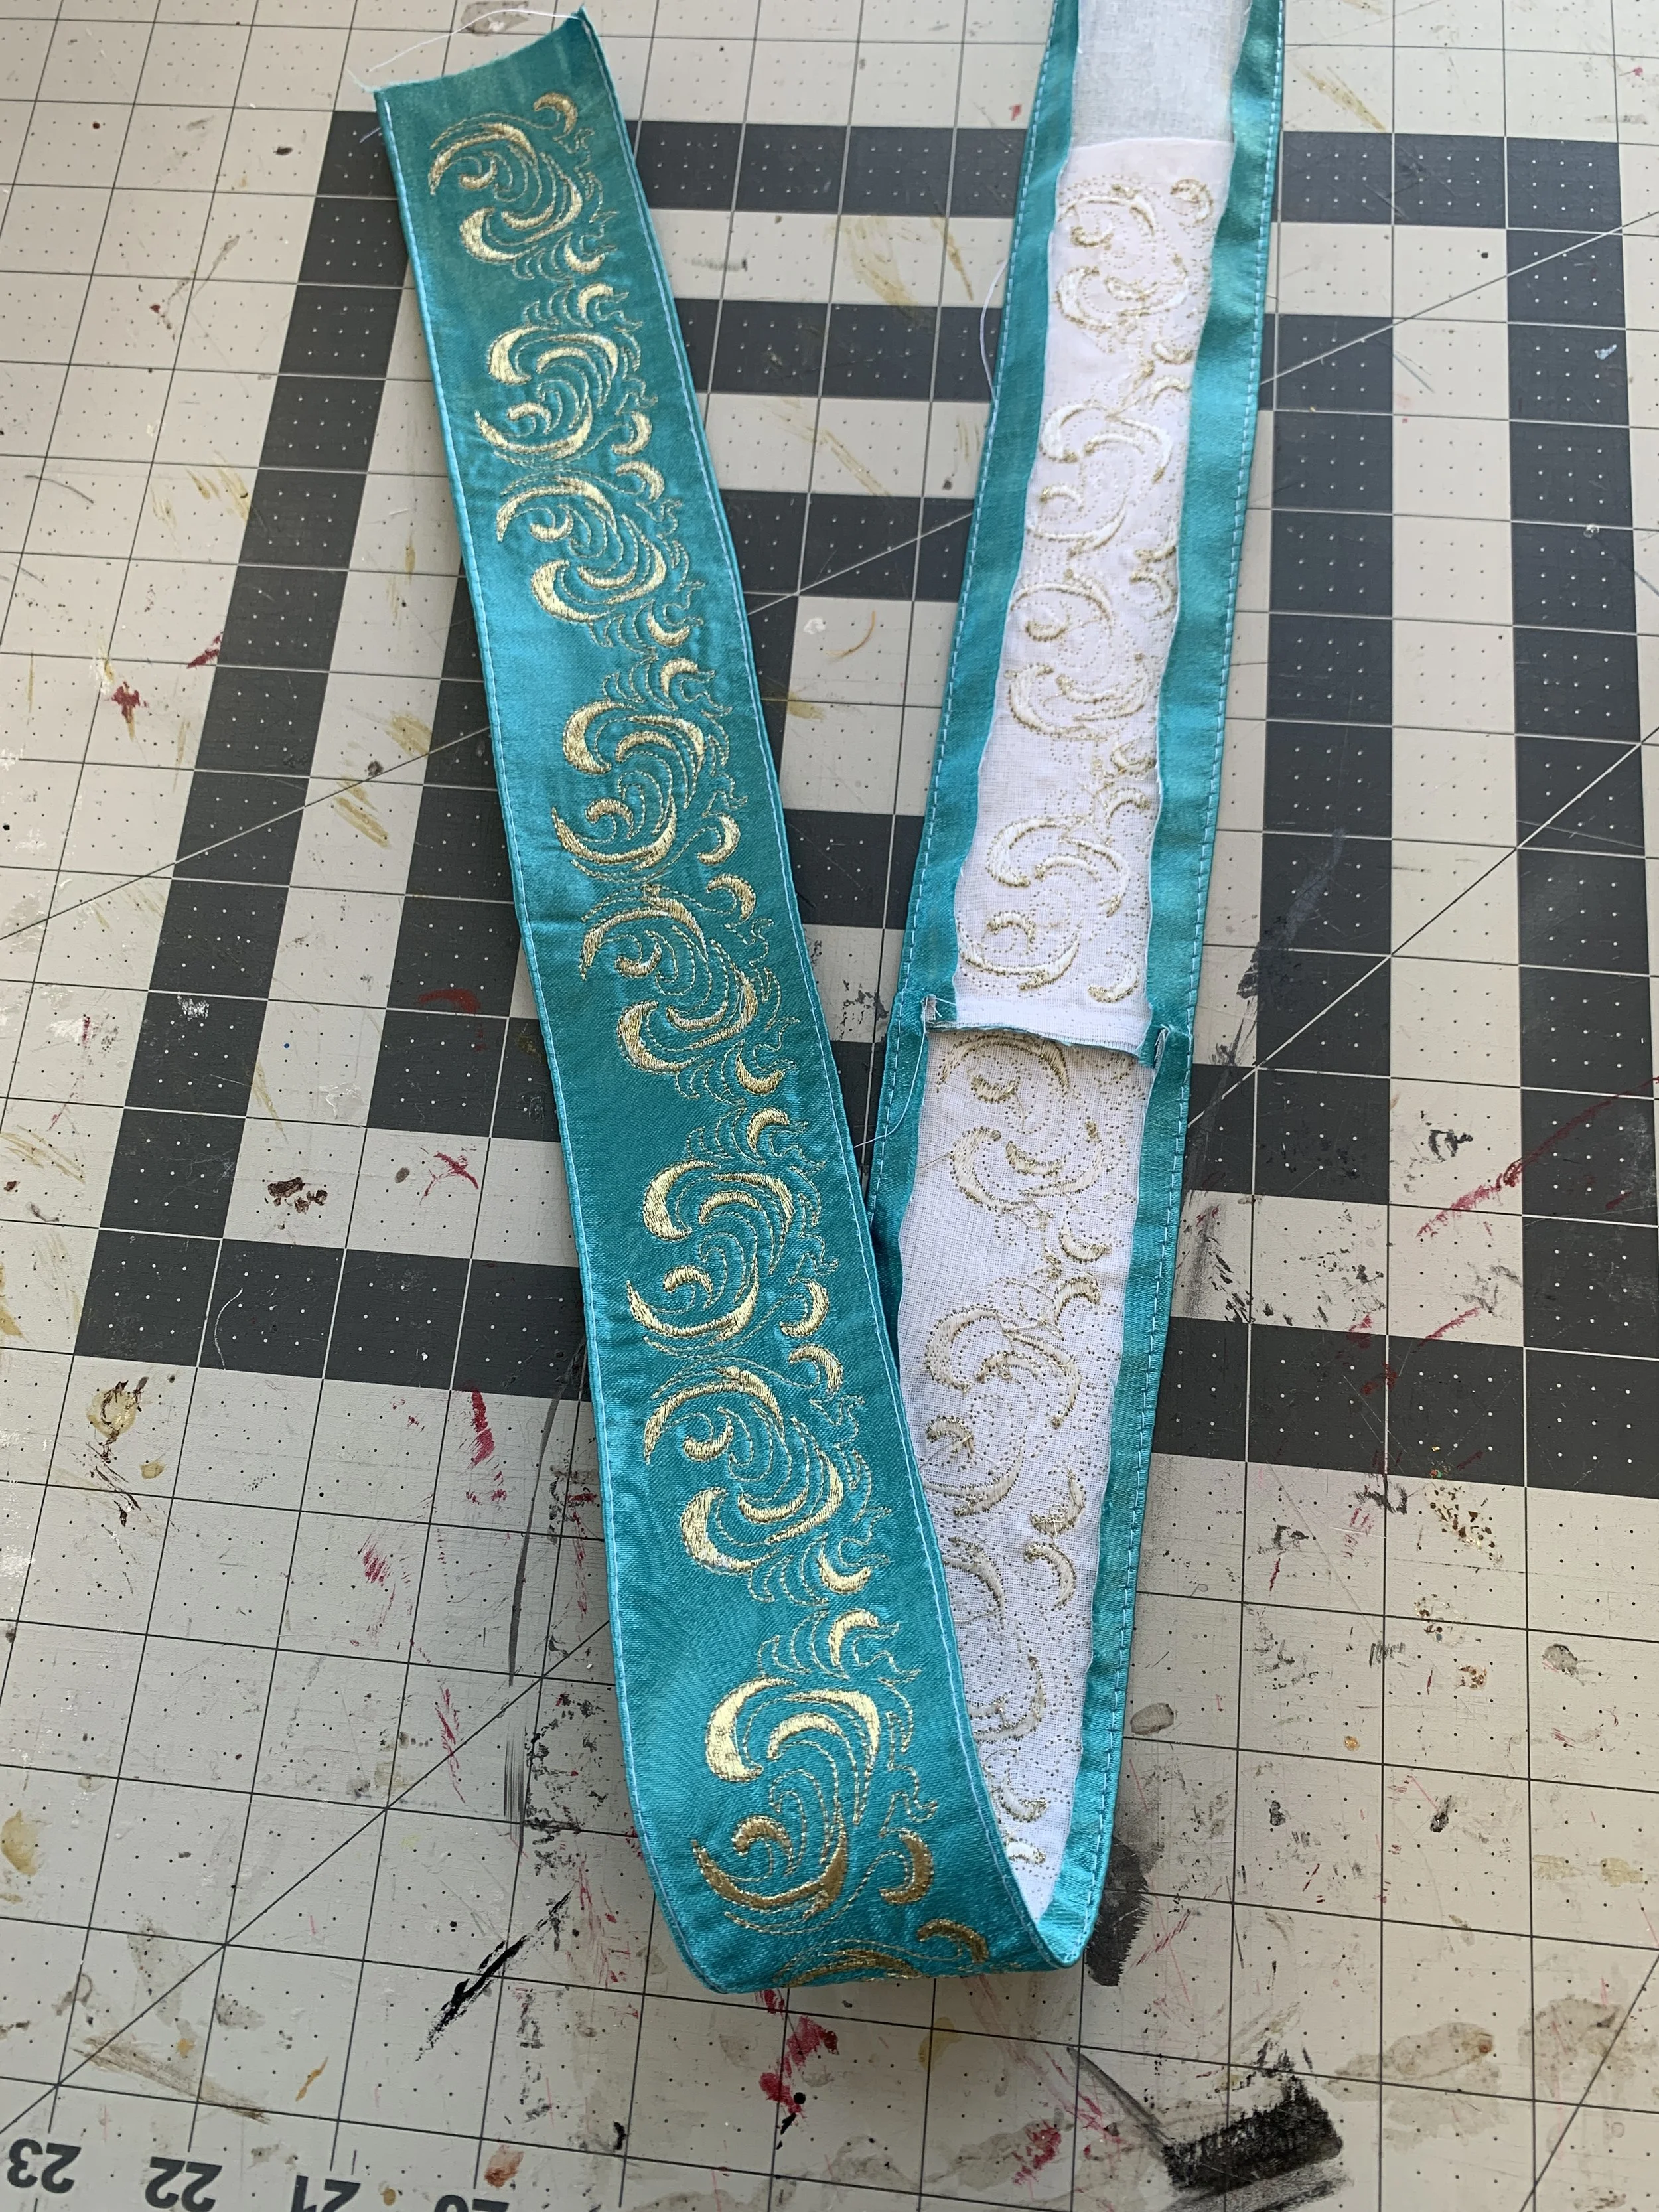
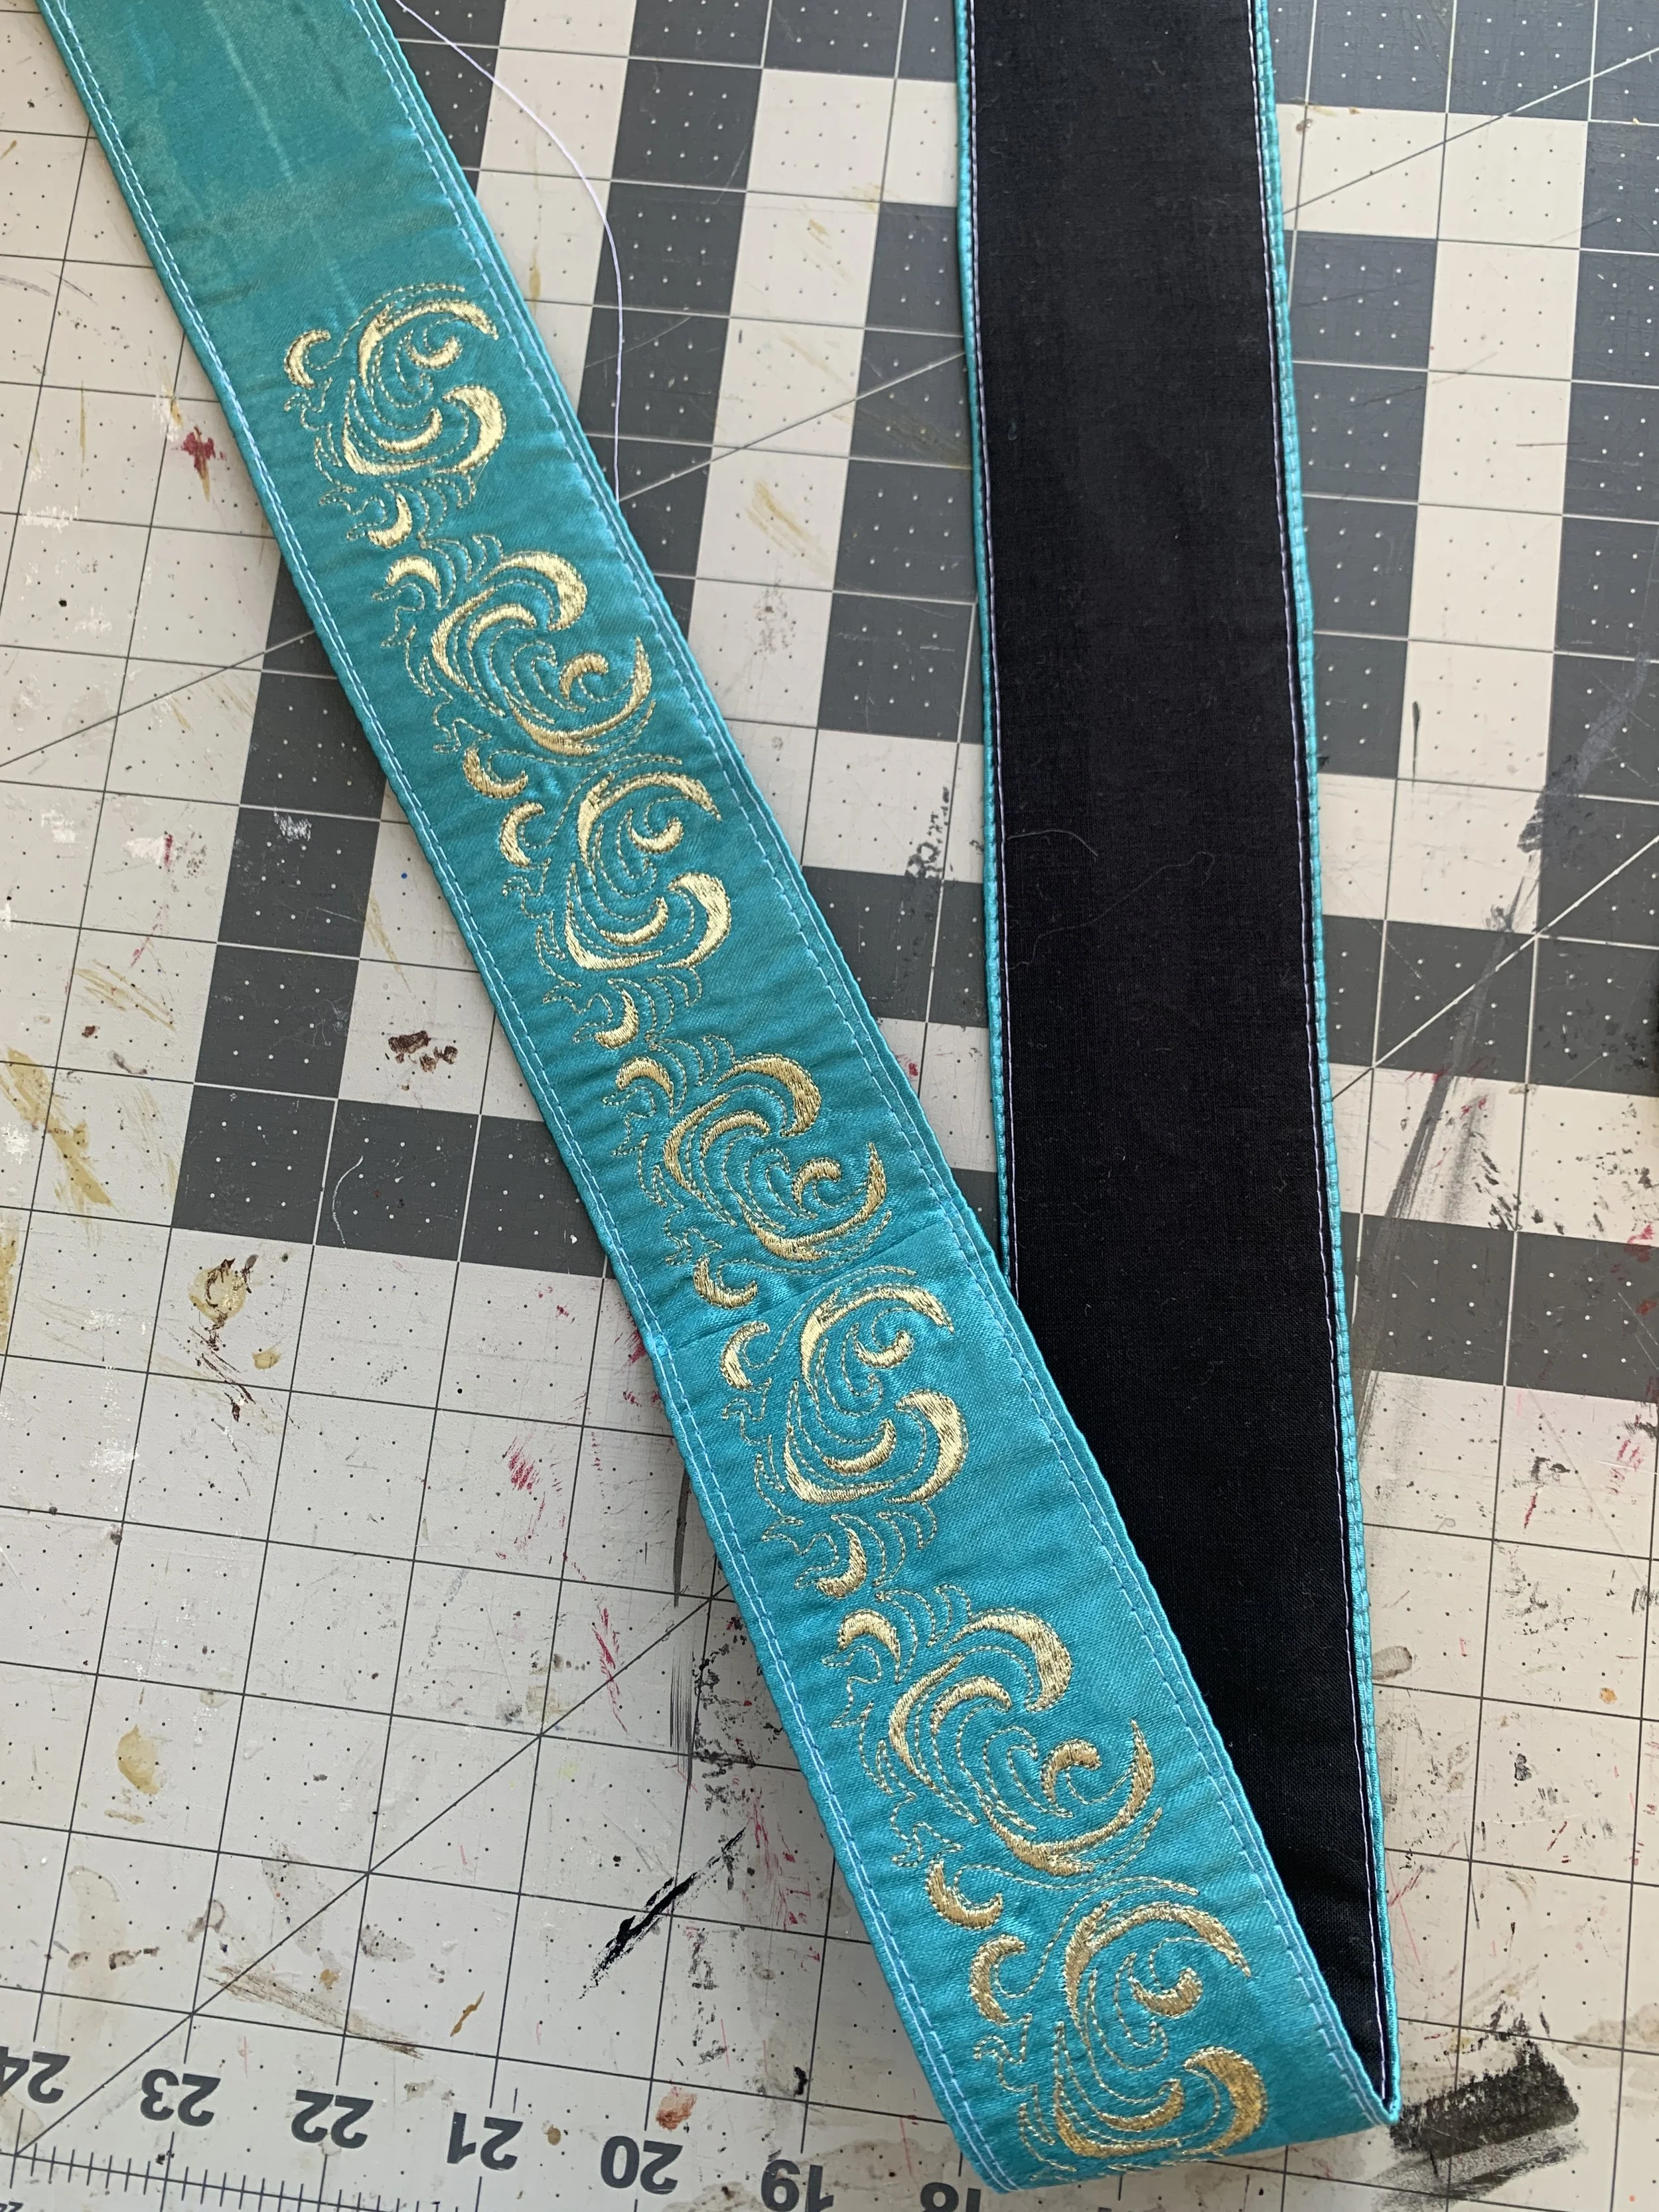
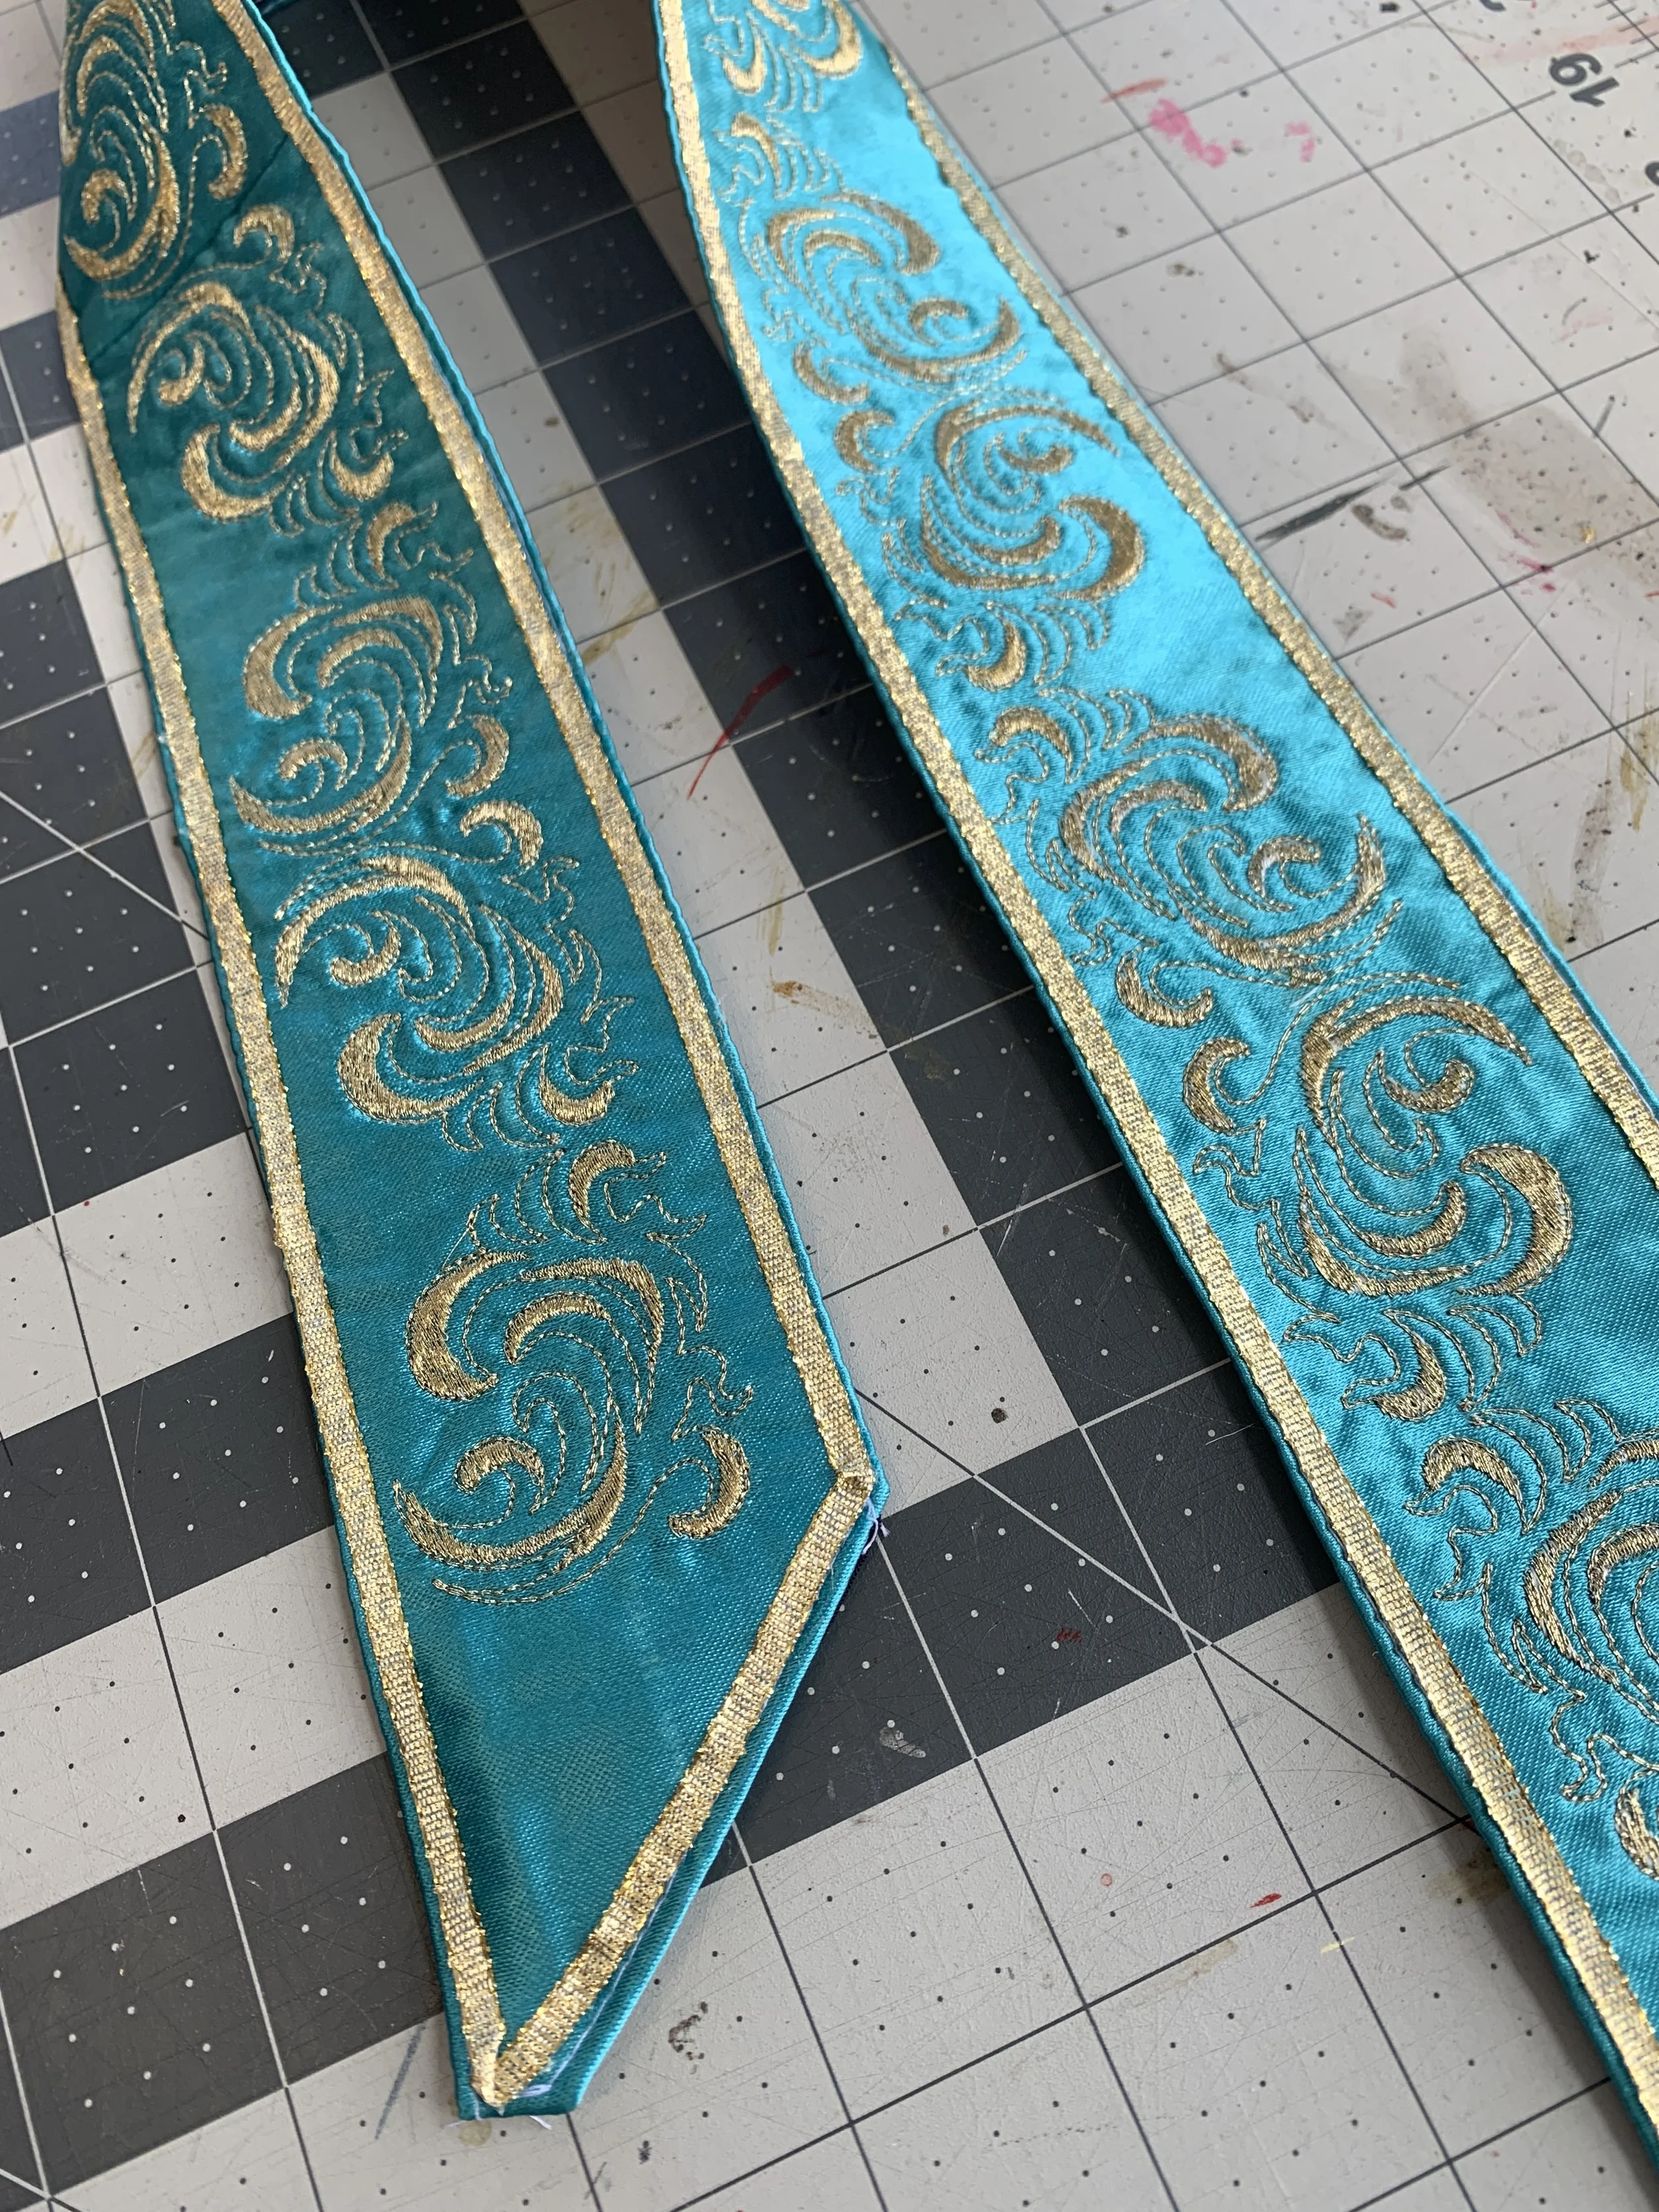
I designed the embroider for the belt as well. The references for her belt are all so different so I opted for a design that resembled fire. Though if you look at it just the right way it kind of looks like those wolves from Skypea howling to the moon.
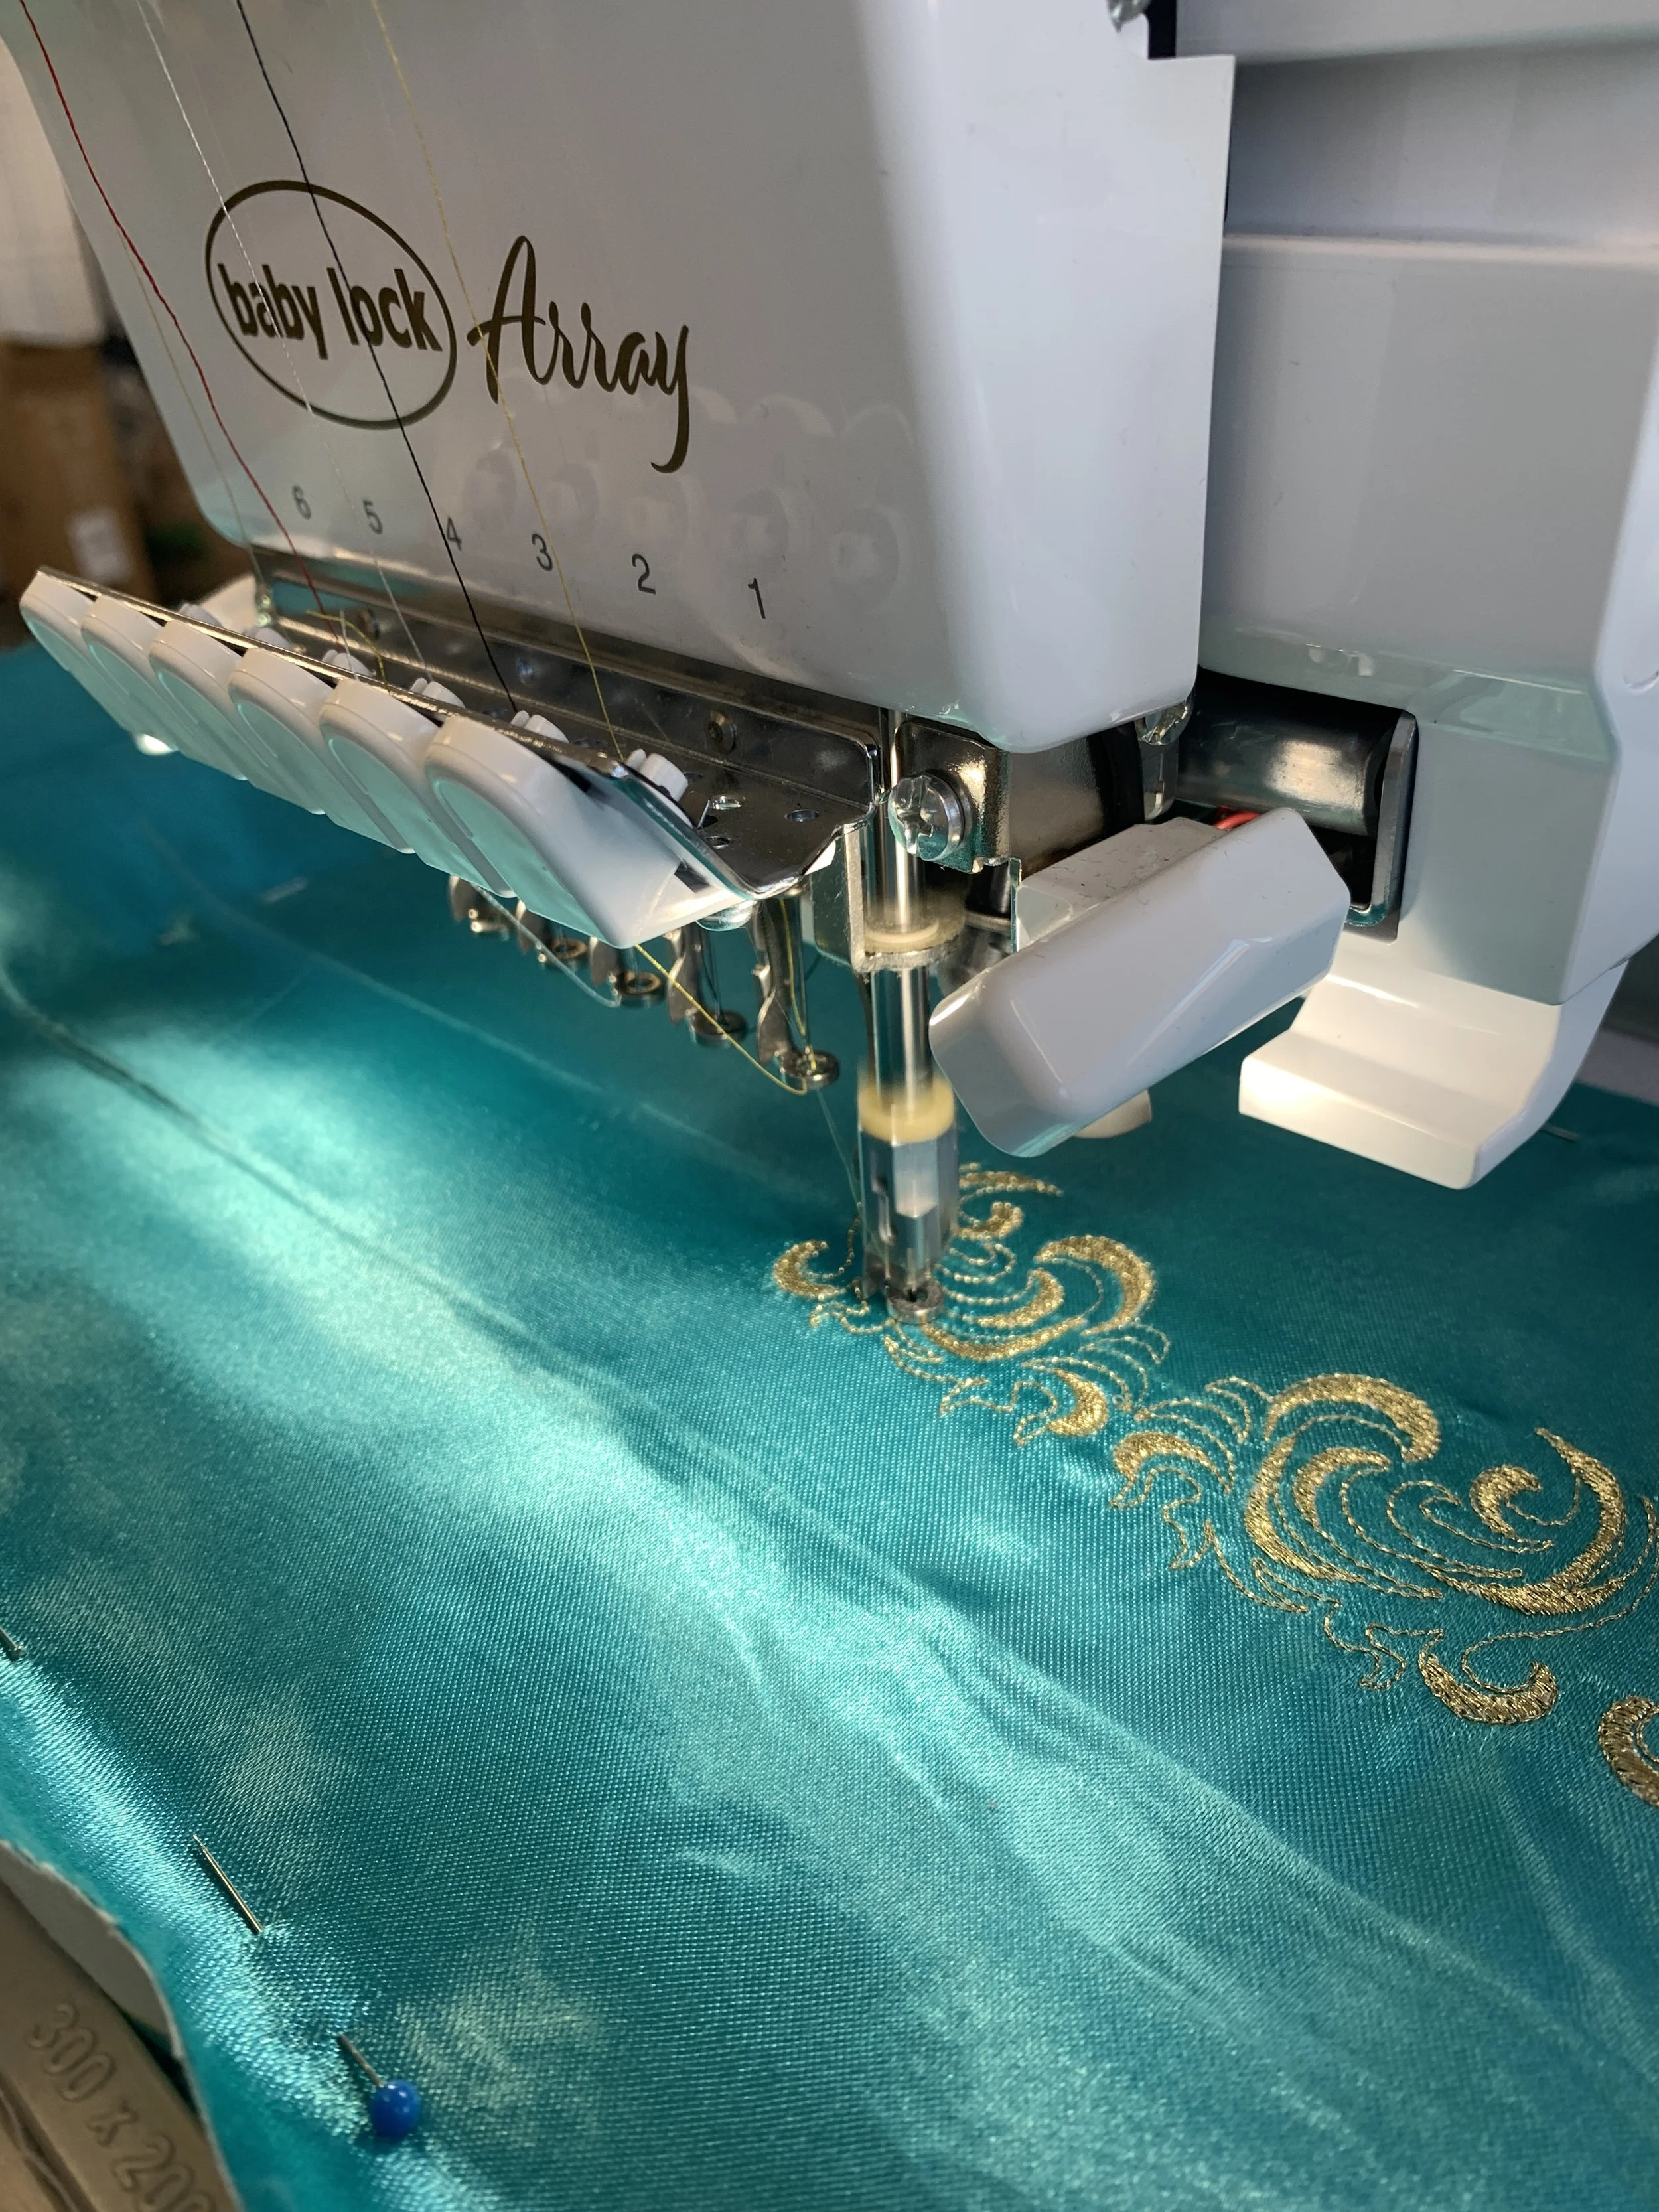
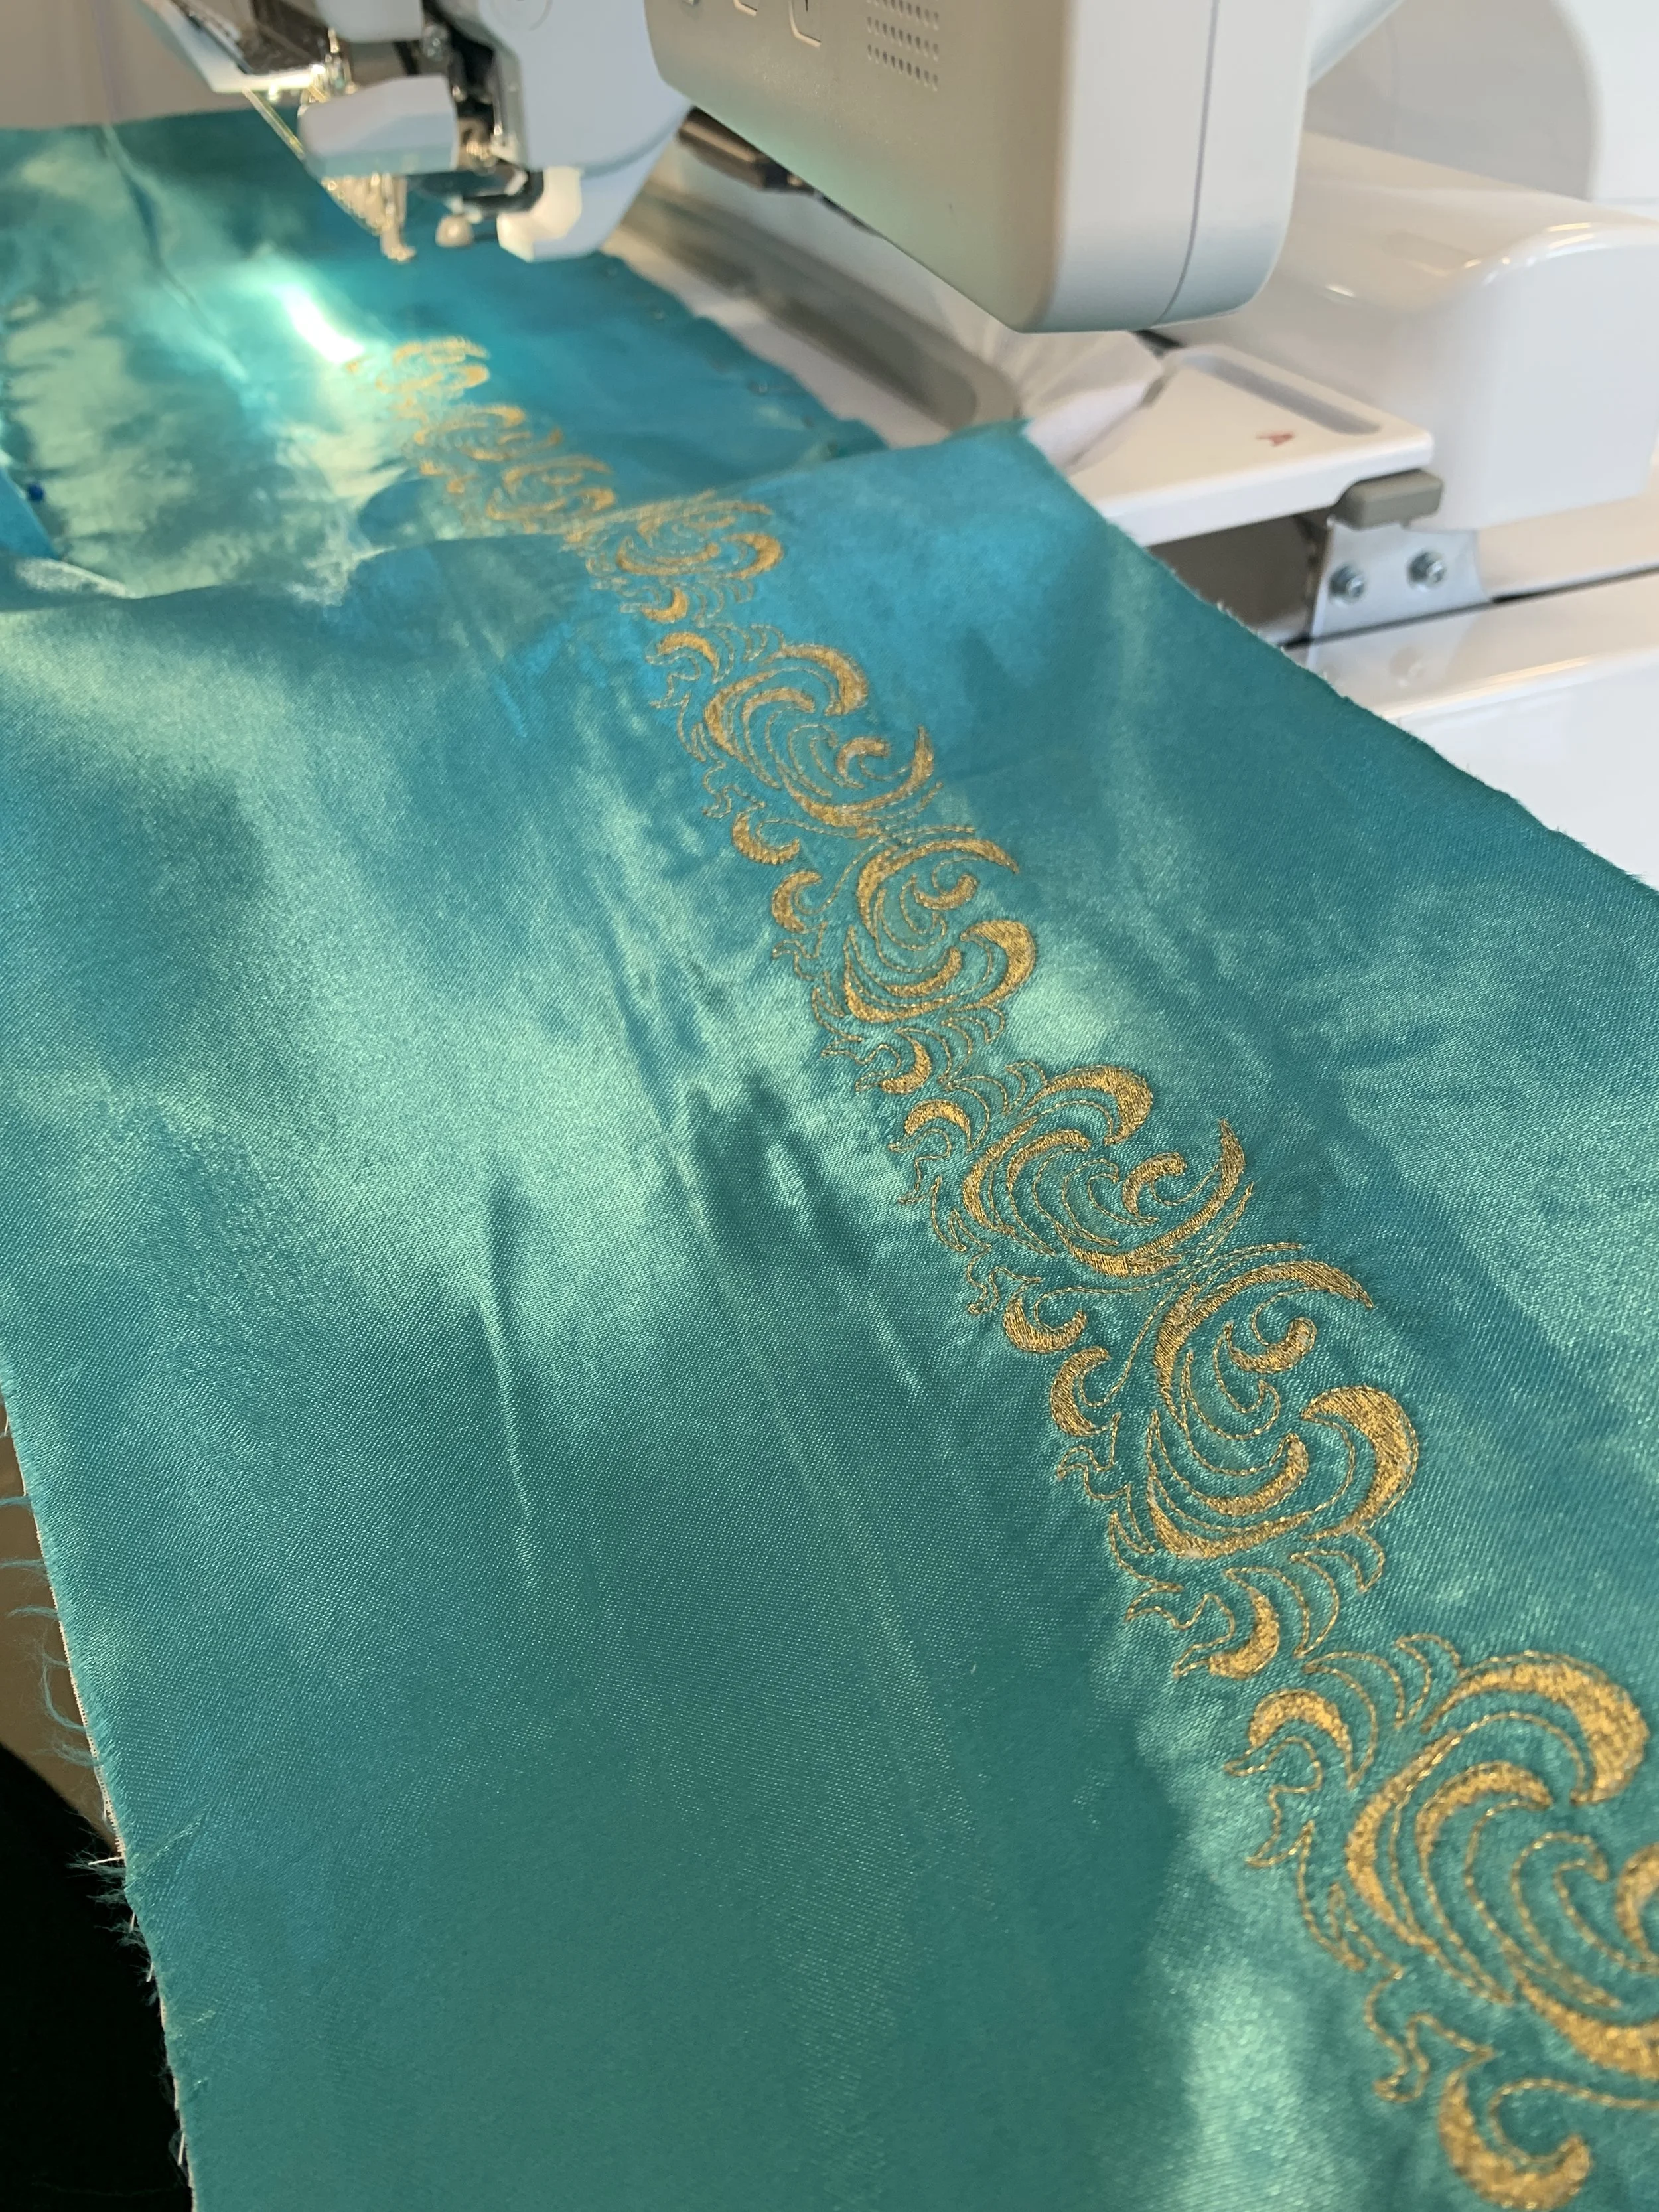
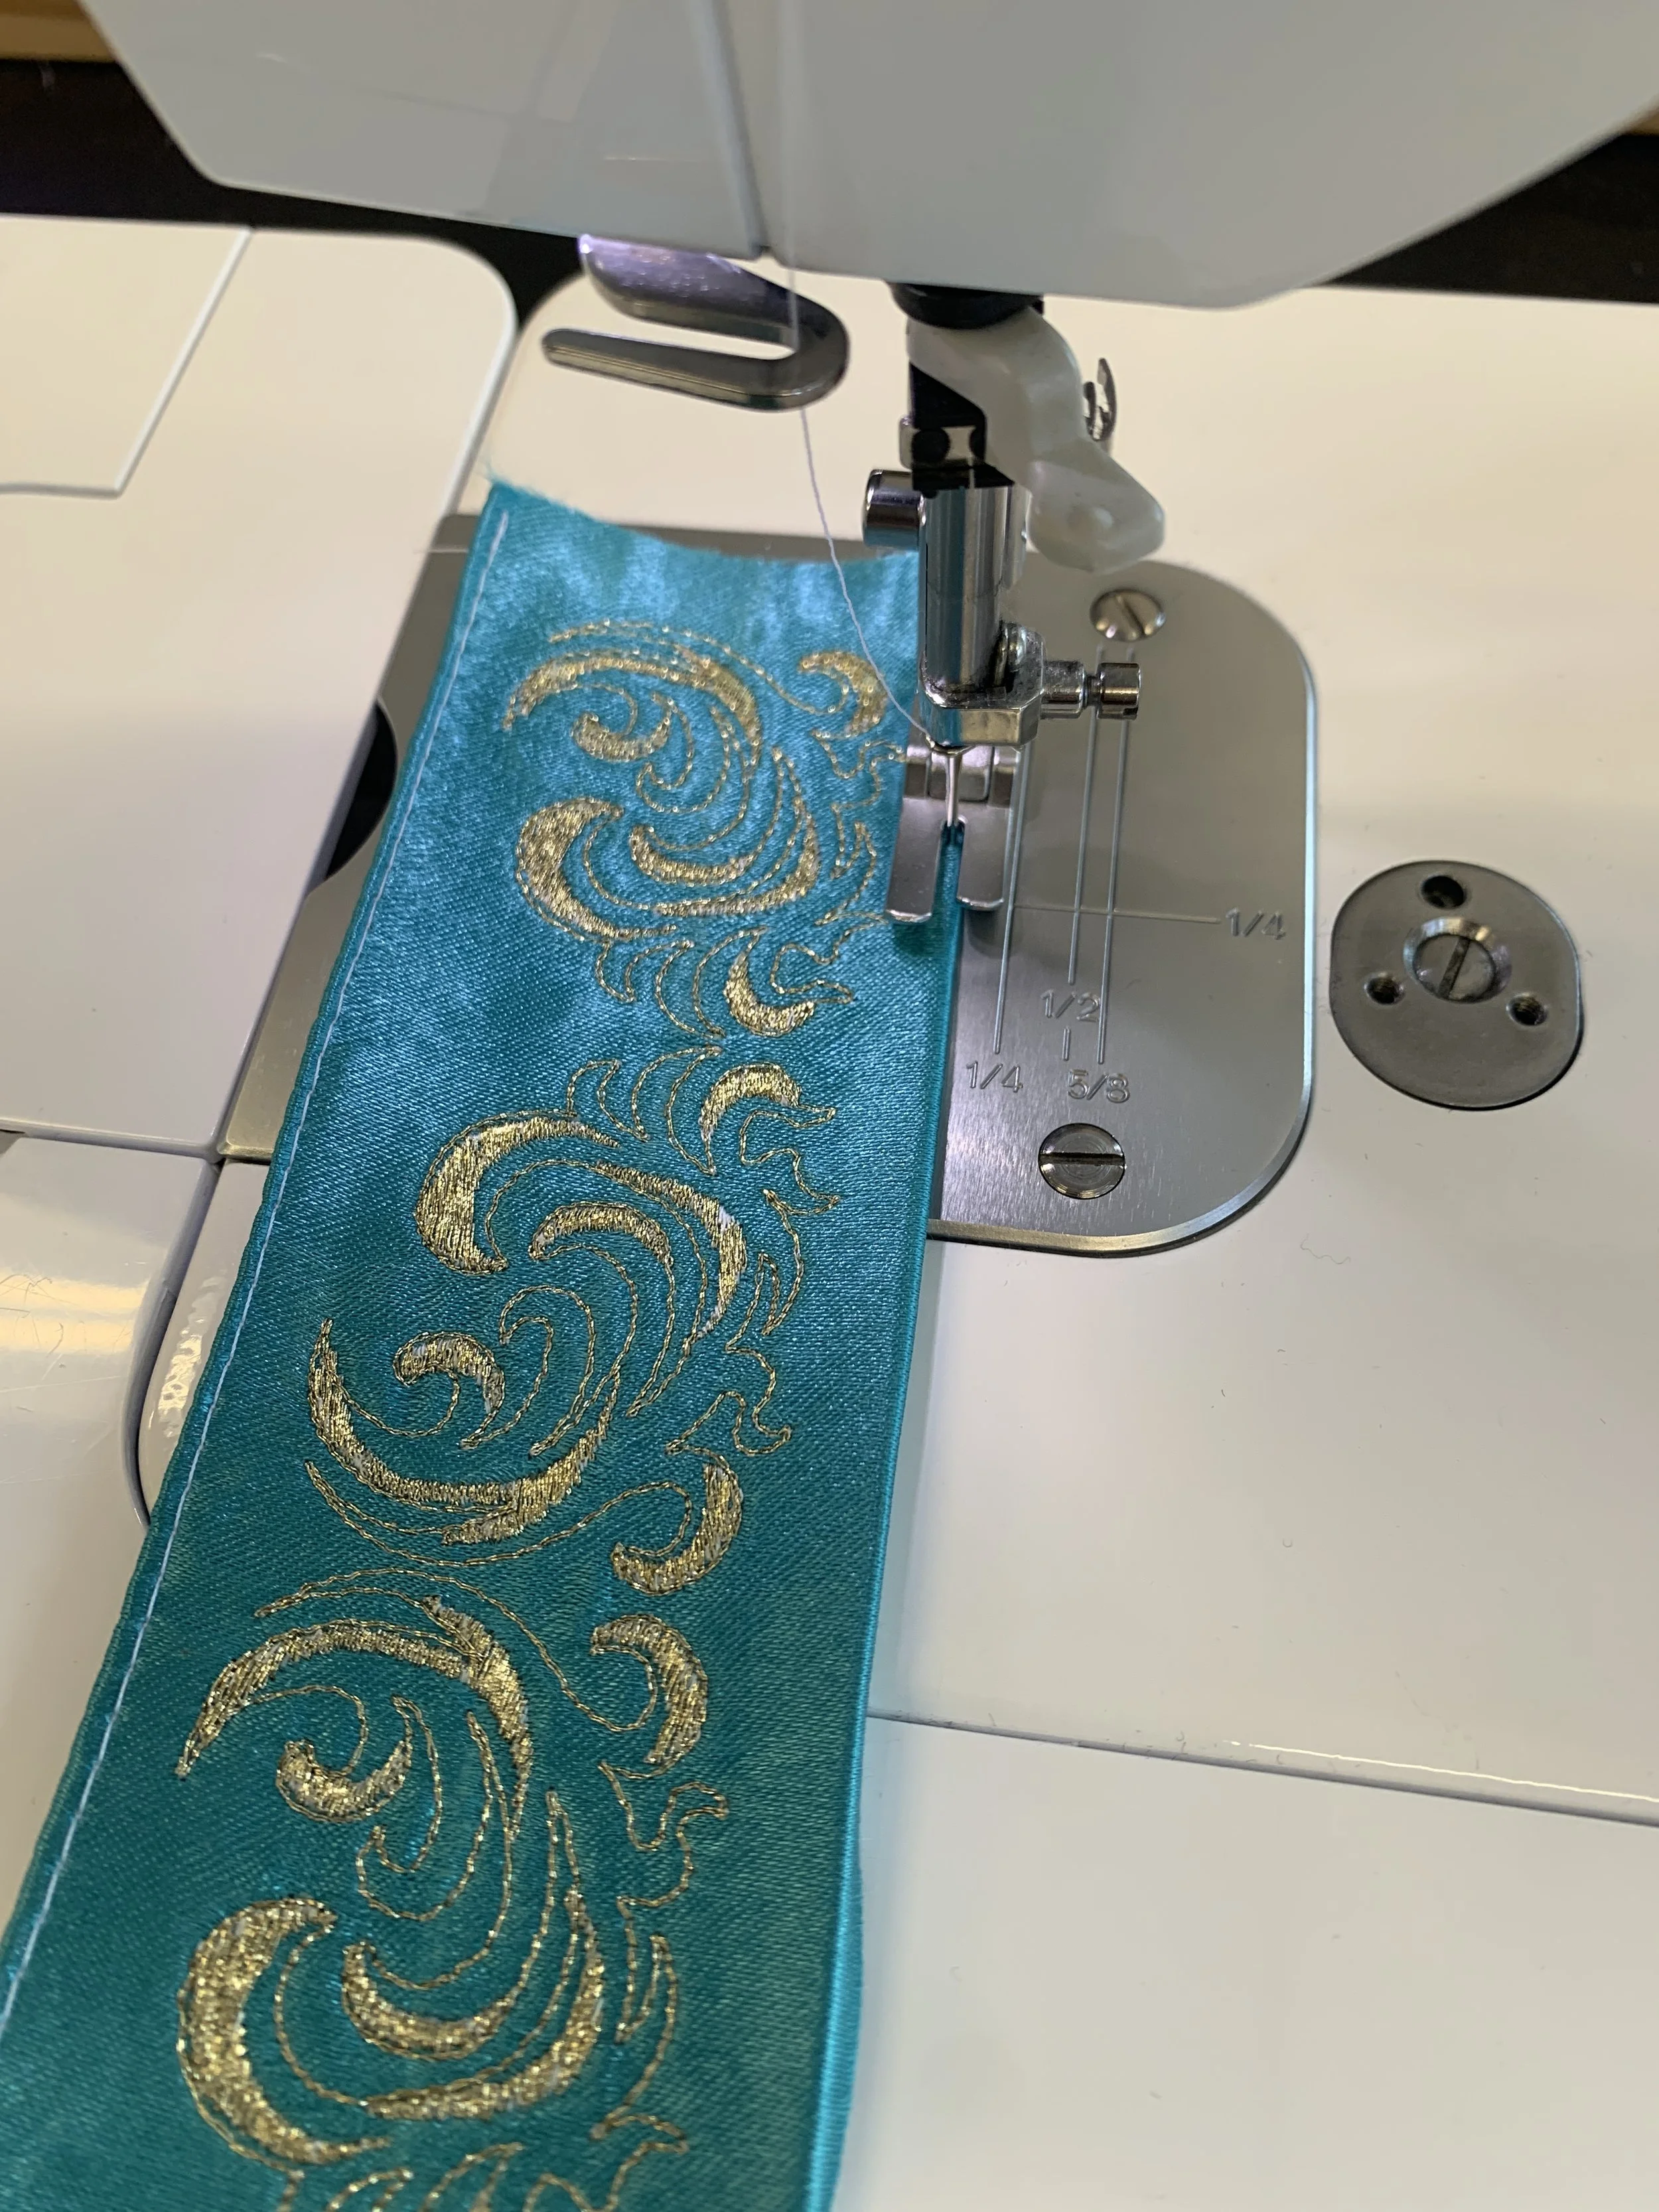
This followed similar steps to the previous, however I didn’t make any sketch this time I freehanded it on the digitizing software. I achieved the continuous print by hopping the stabilizer and pinning the fabric to the stabilizer along a guideline. This way I was able to accomplish a perfectly straight line without fussing with hooping it over and over. I didn’t want the lining to show on the edges so I folded the allowance under, ironed and top stitched the edges nice and flat. Then with my lining I did the same but I folded it just a little smaller than the outside so it wouldn’t show. These two layers are then stitched together. You won’t see the stitching eighter because I added a little trim border.
Continuous embroider
Belt making
The Hat
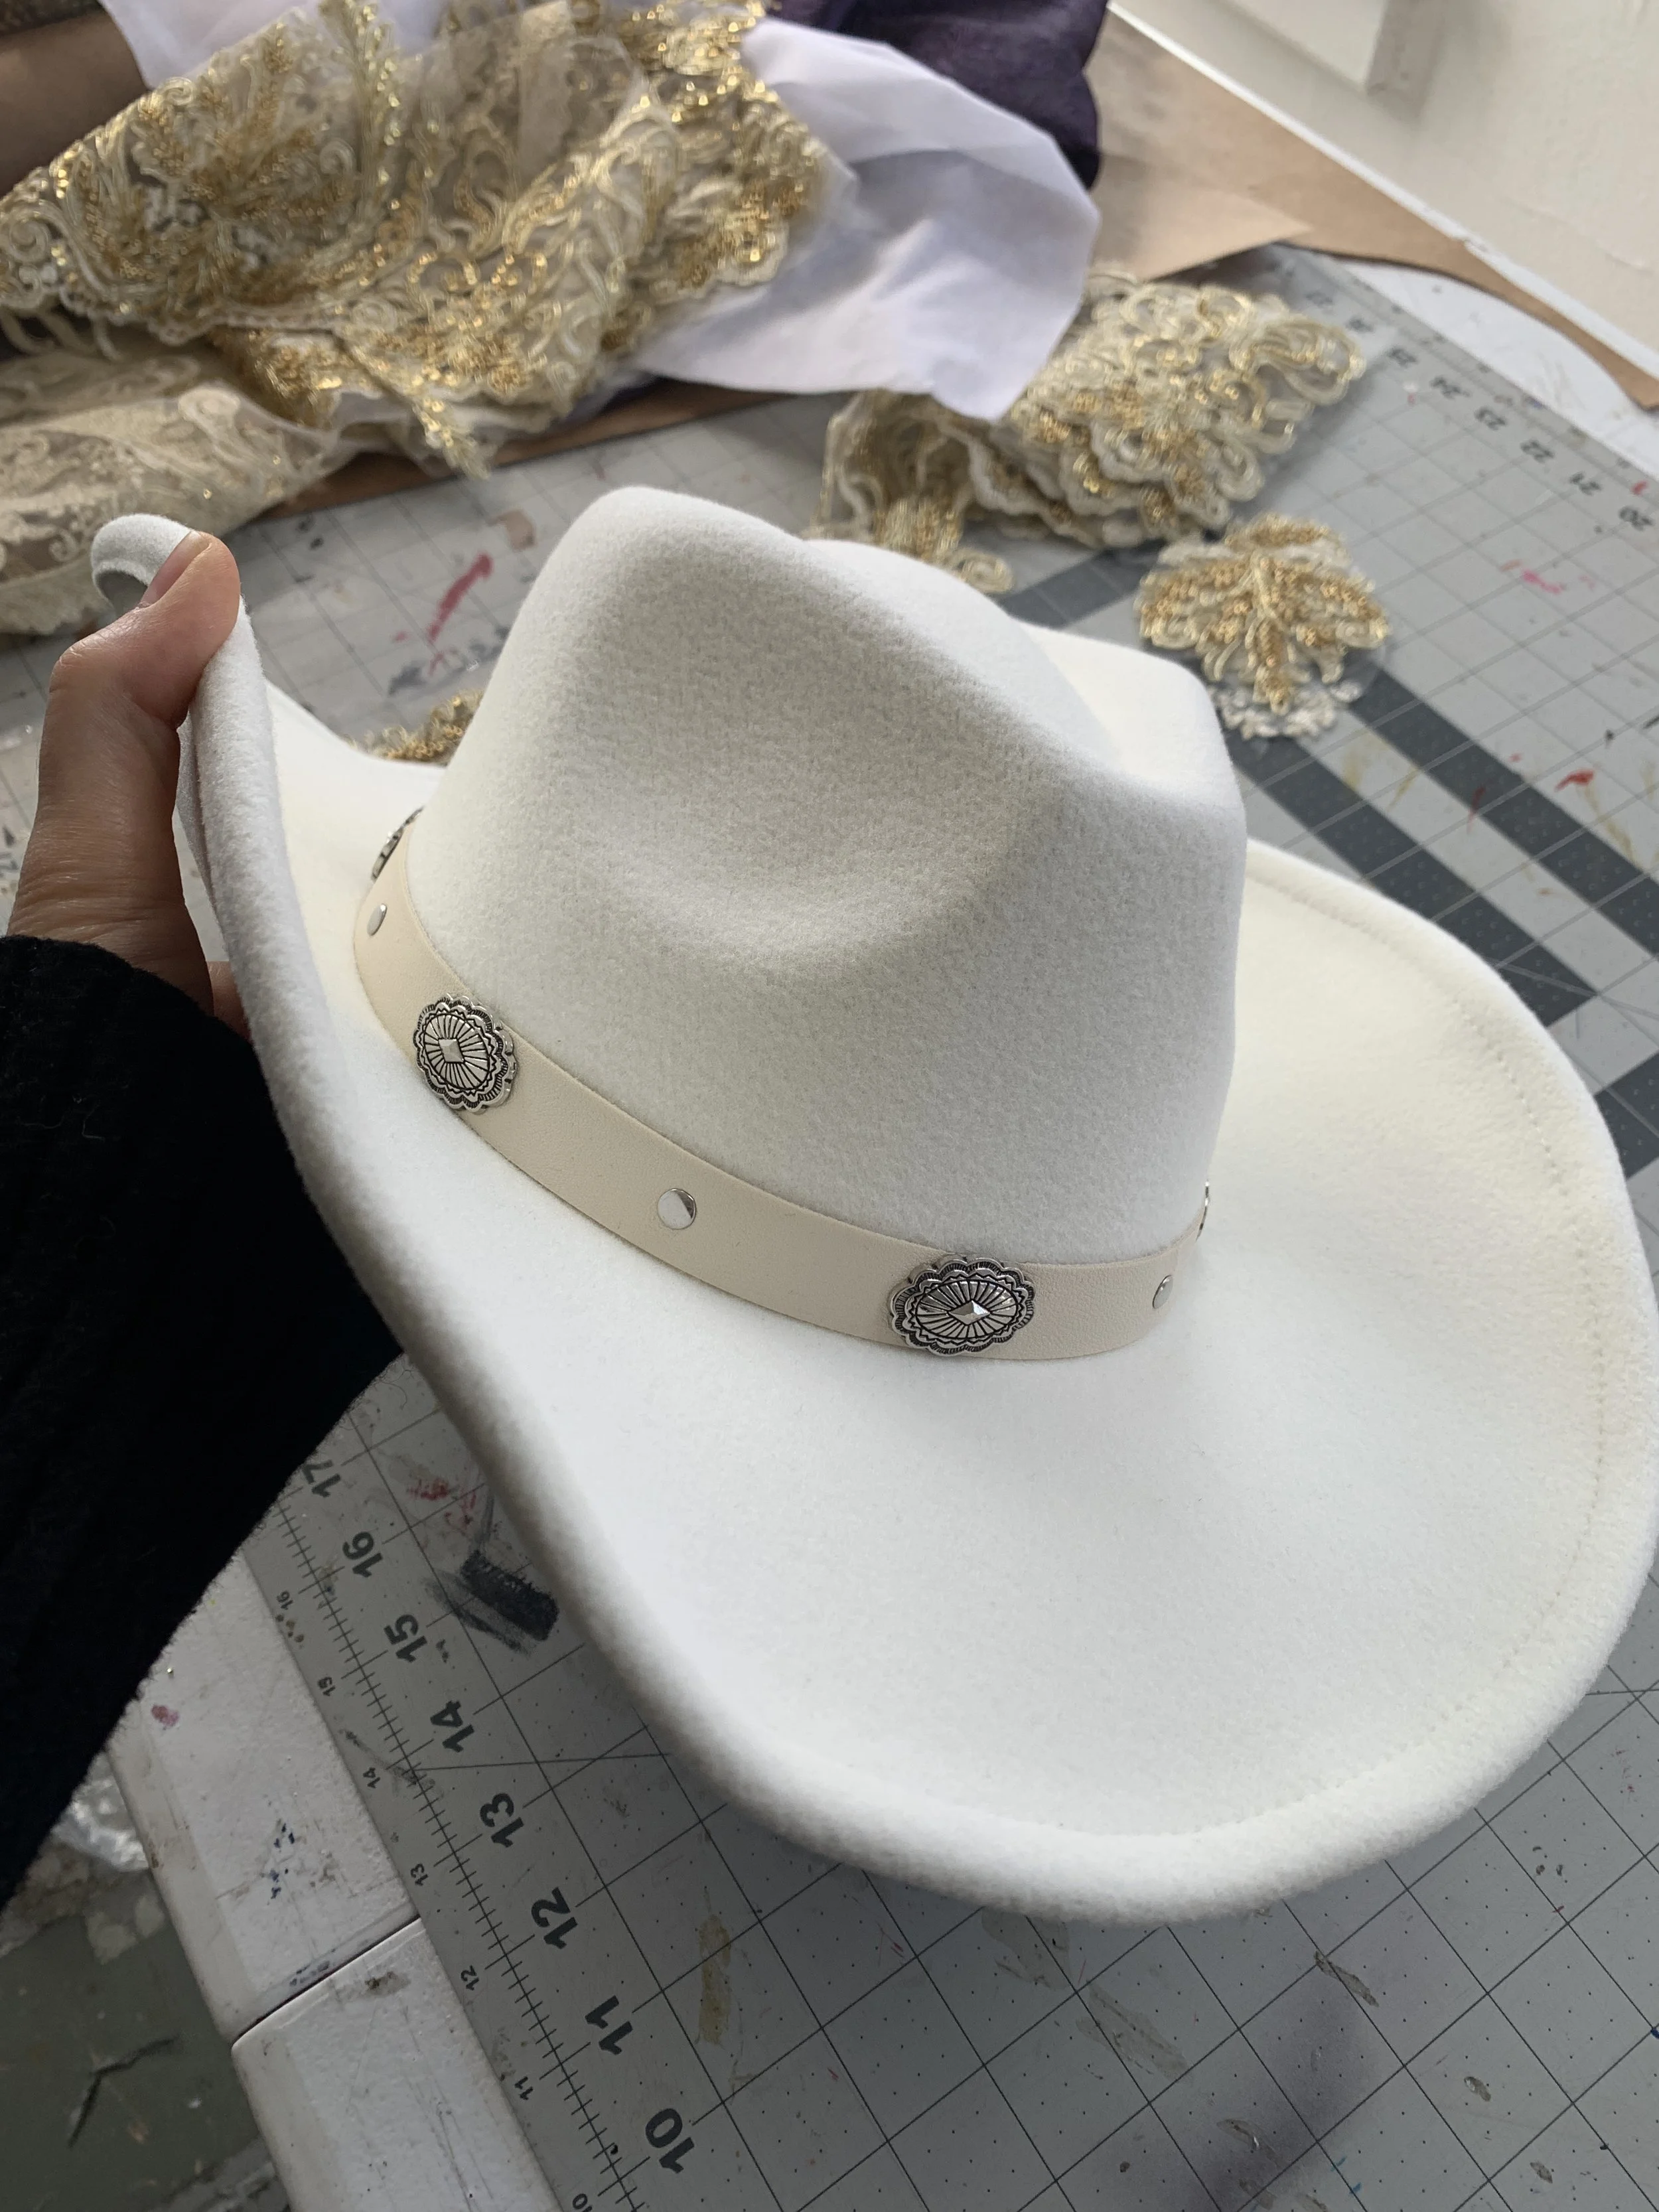
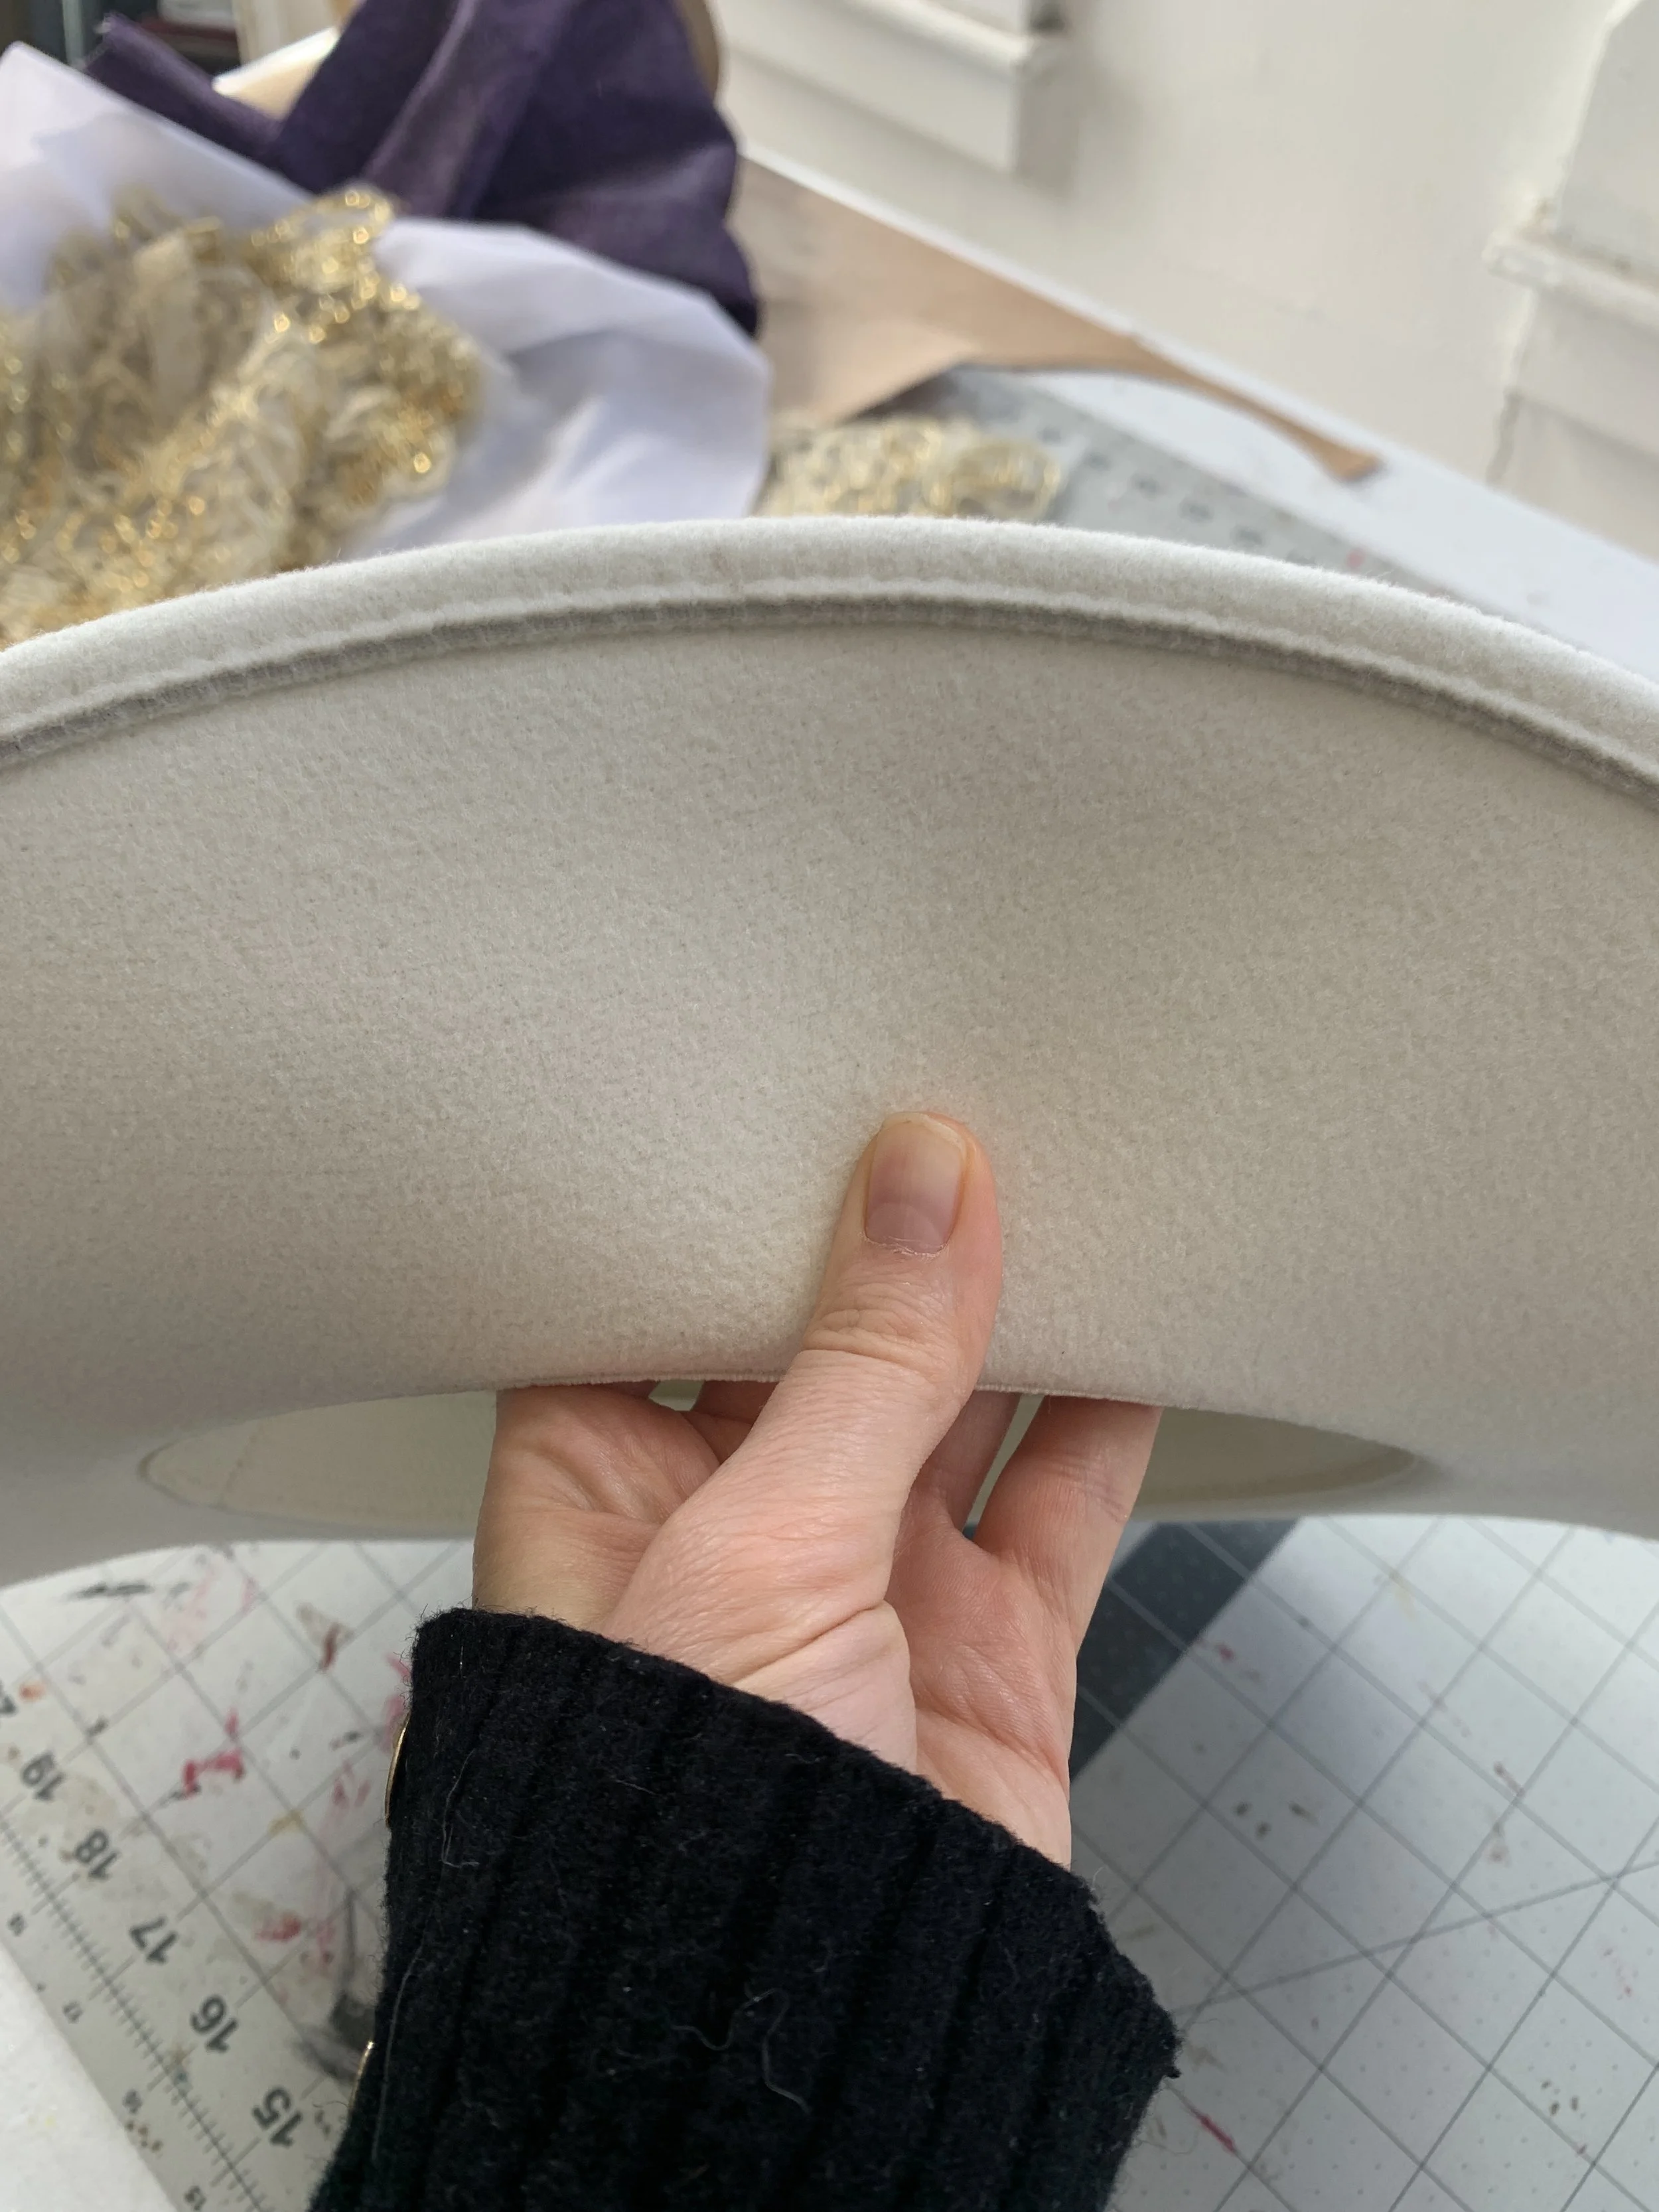
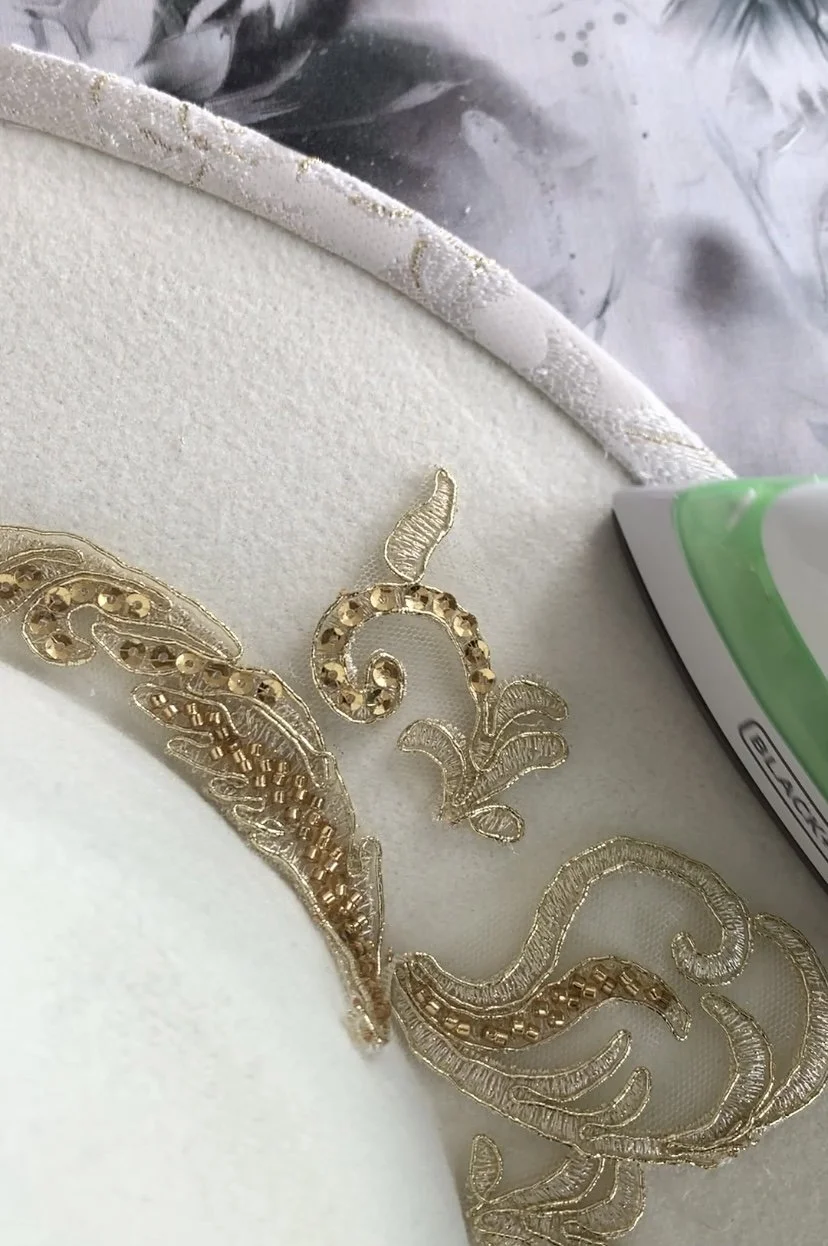
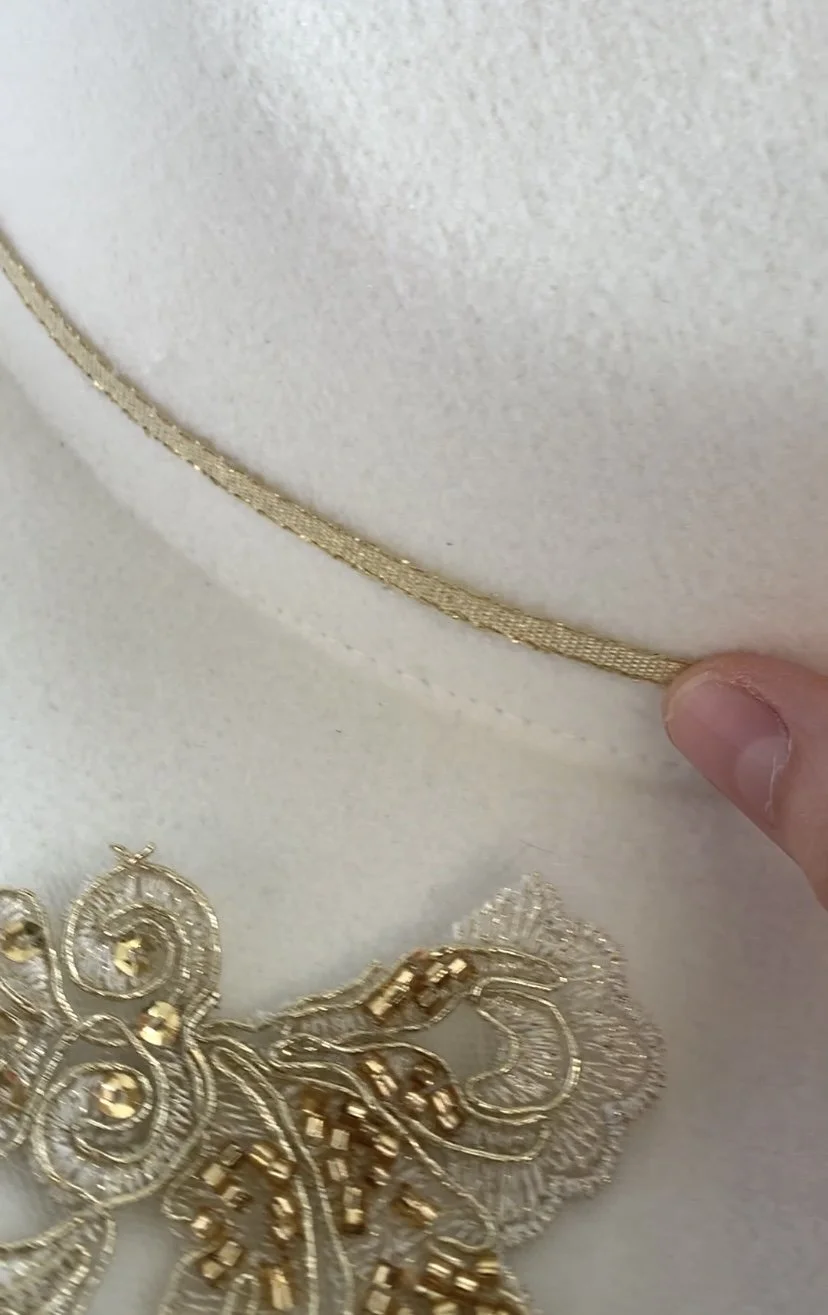
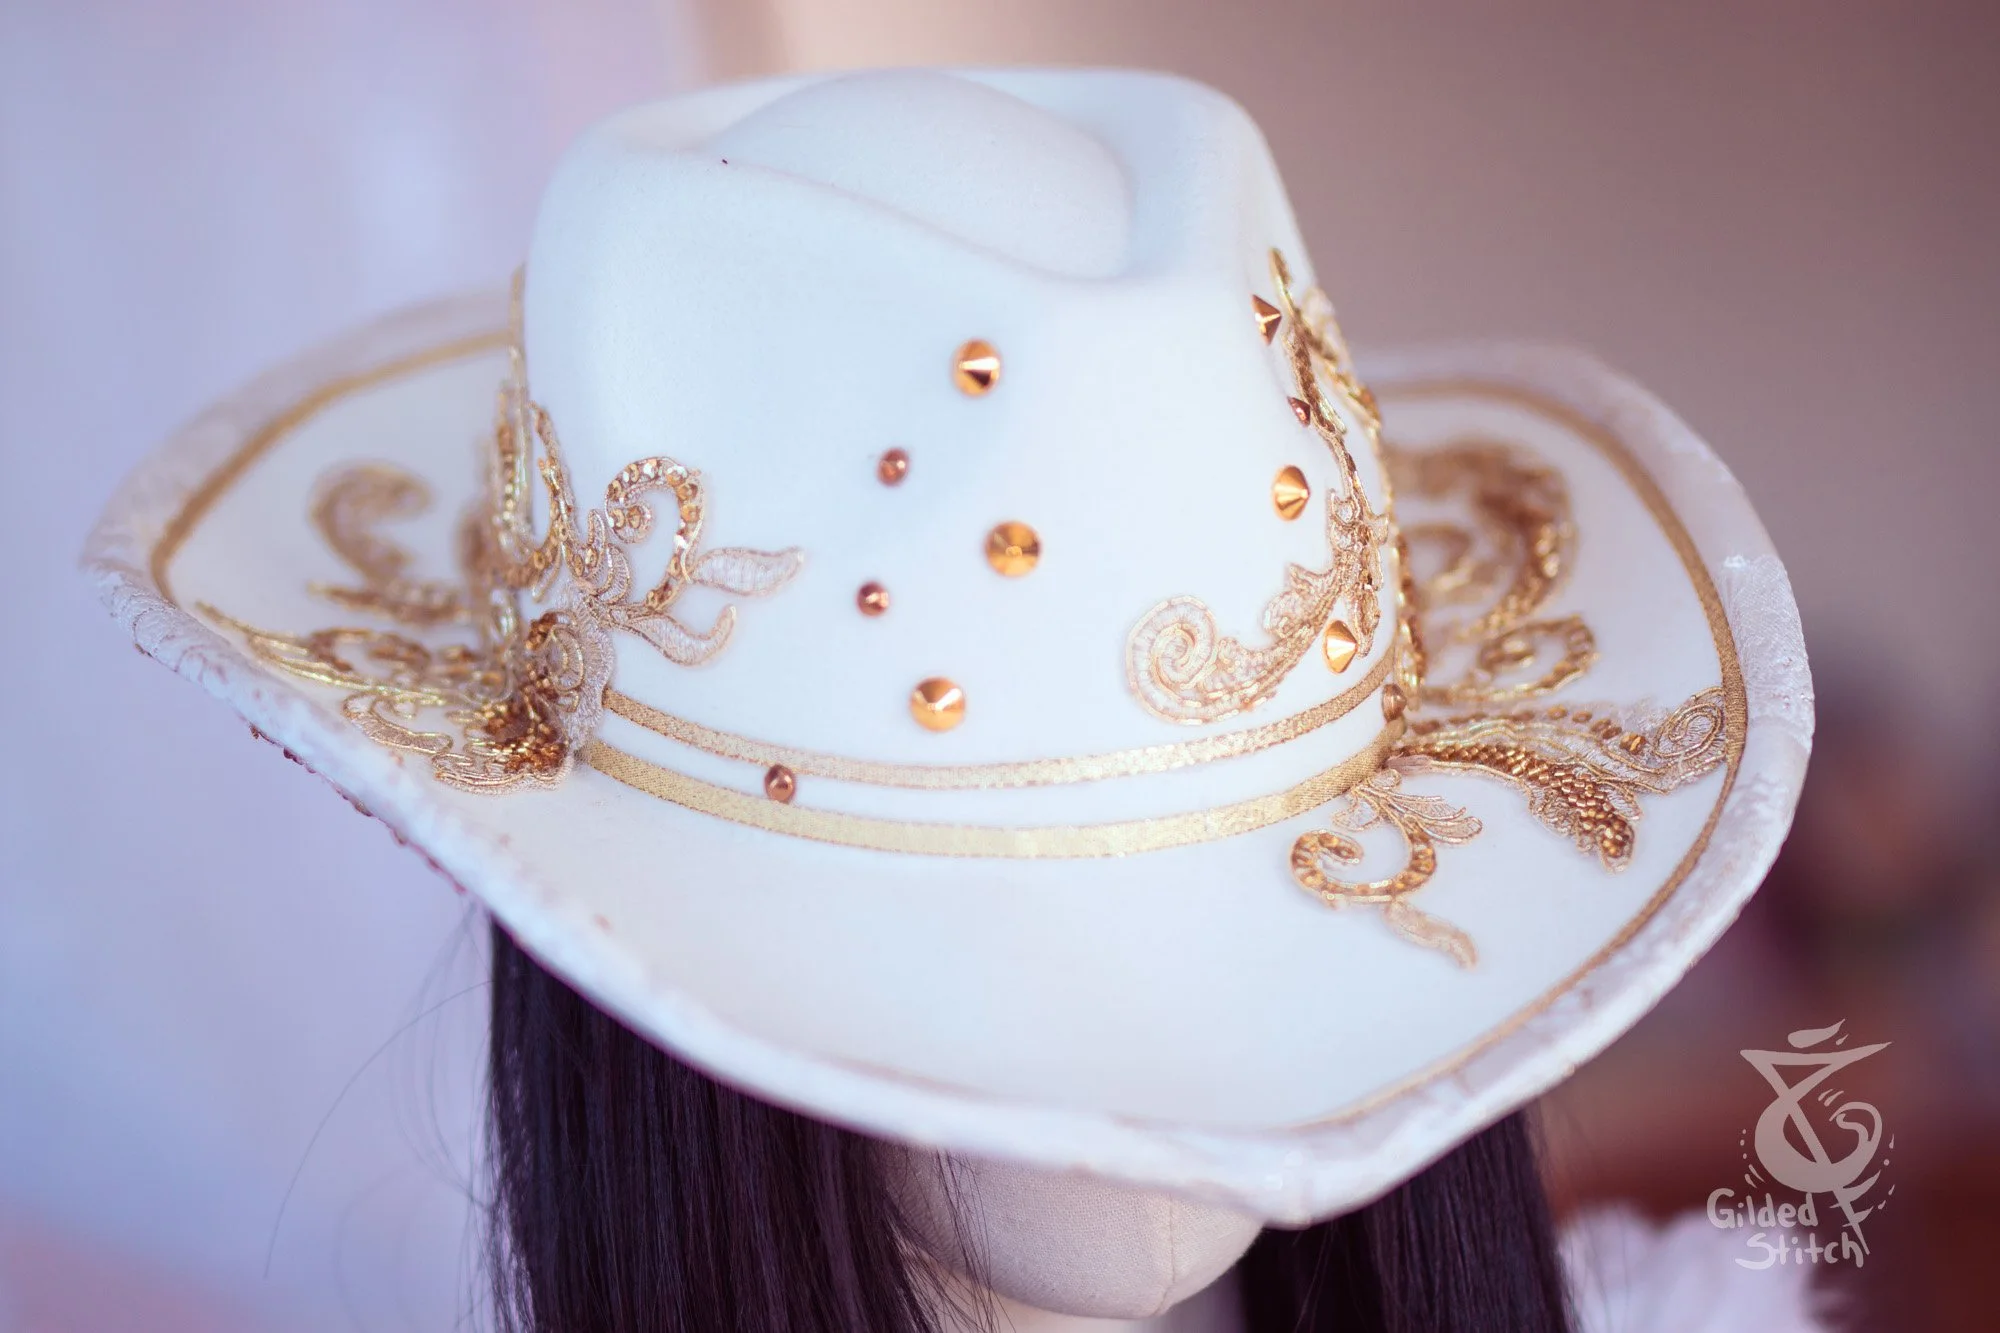
Hat base is a felt cowboy hat base I bought. I didn’t like how large the brim was so I cut the brim down - honestly could have cut it even smaller. with the use of a steam iron, I molded brim into a shape I liked more and added a millinery wire inside the bias tape. Bias tape is machine stitched, and to cover the seam I glued down some ribbon trim. To match with the outfit vibe, I cut out and arranged all the applique, each one is individually glued down with E6000
Steam molded base
Use of Millinery wire in the brim
Made bias tape, machine installed
Trims cut, arranged and glued into place.