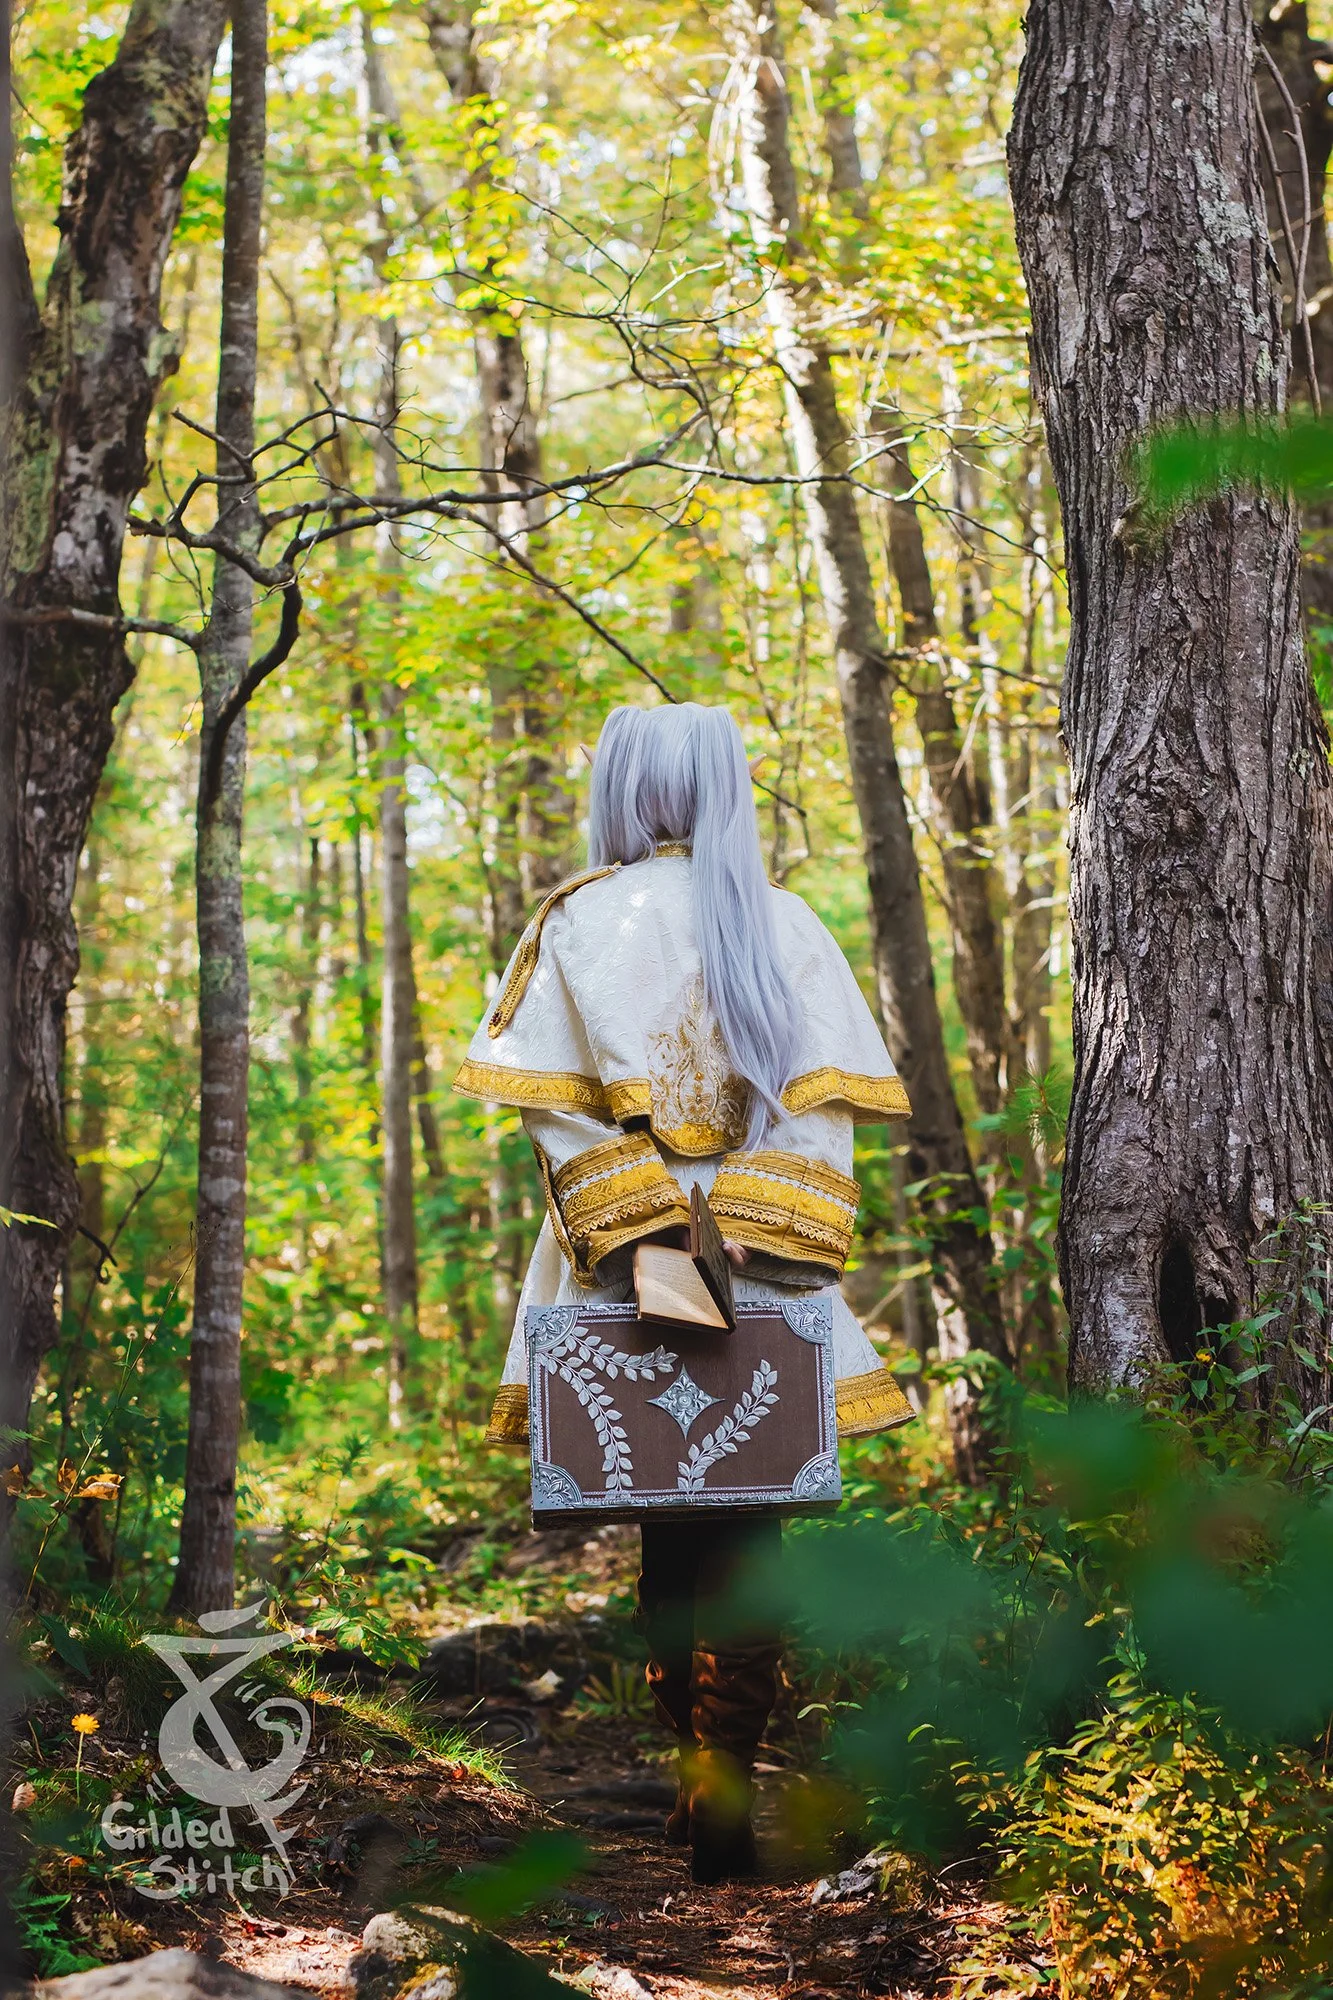
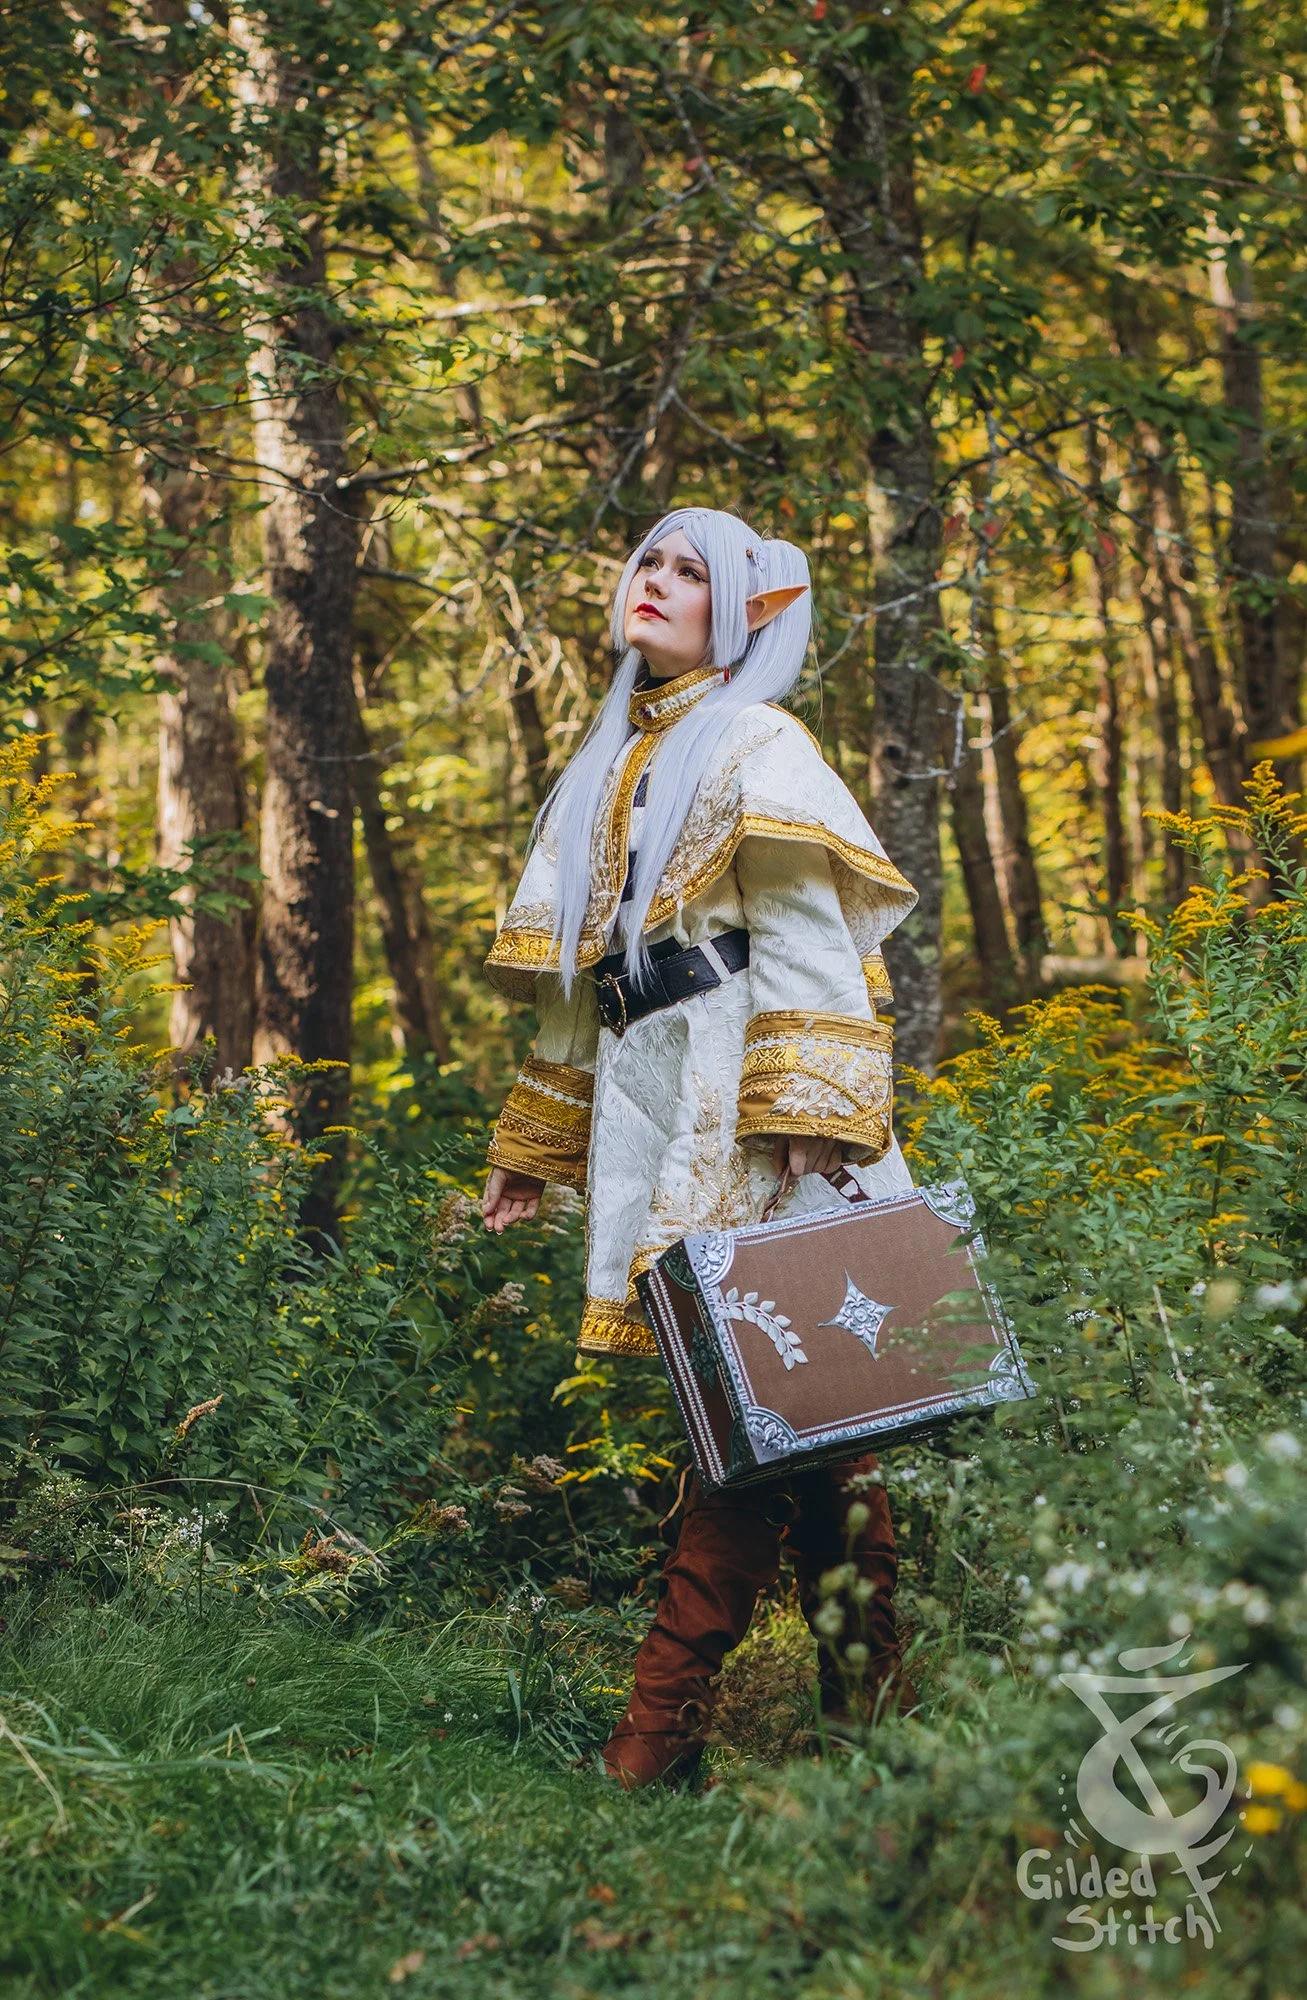
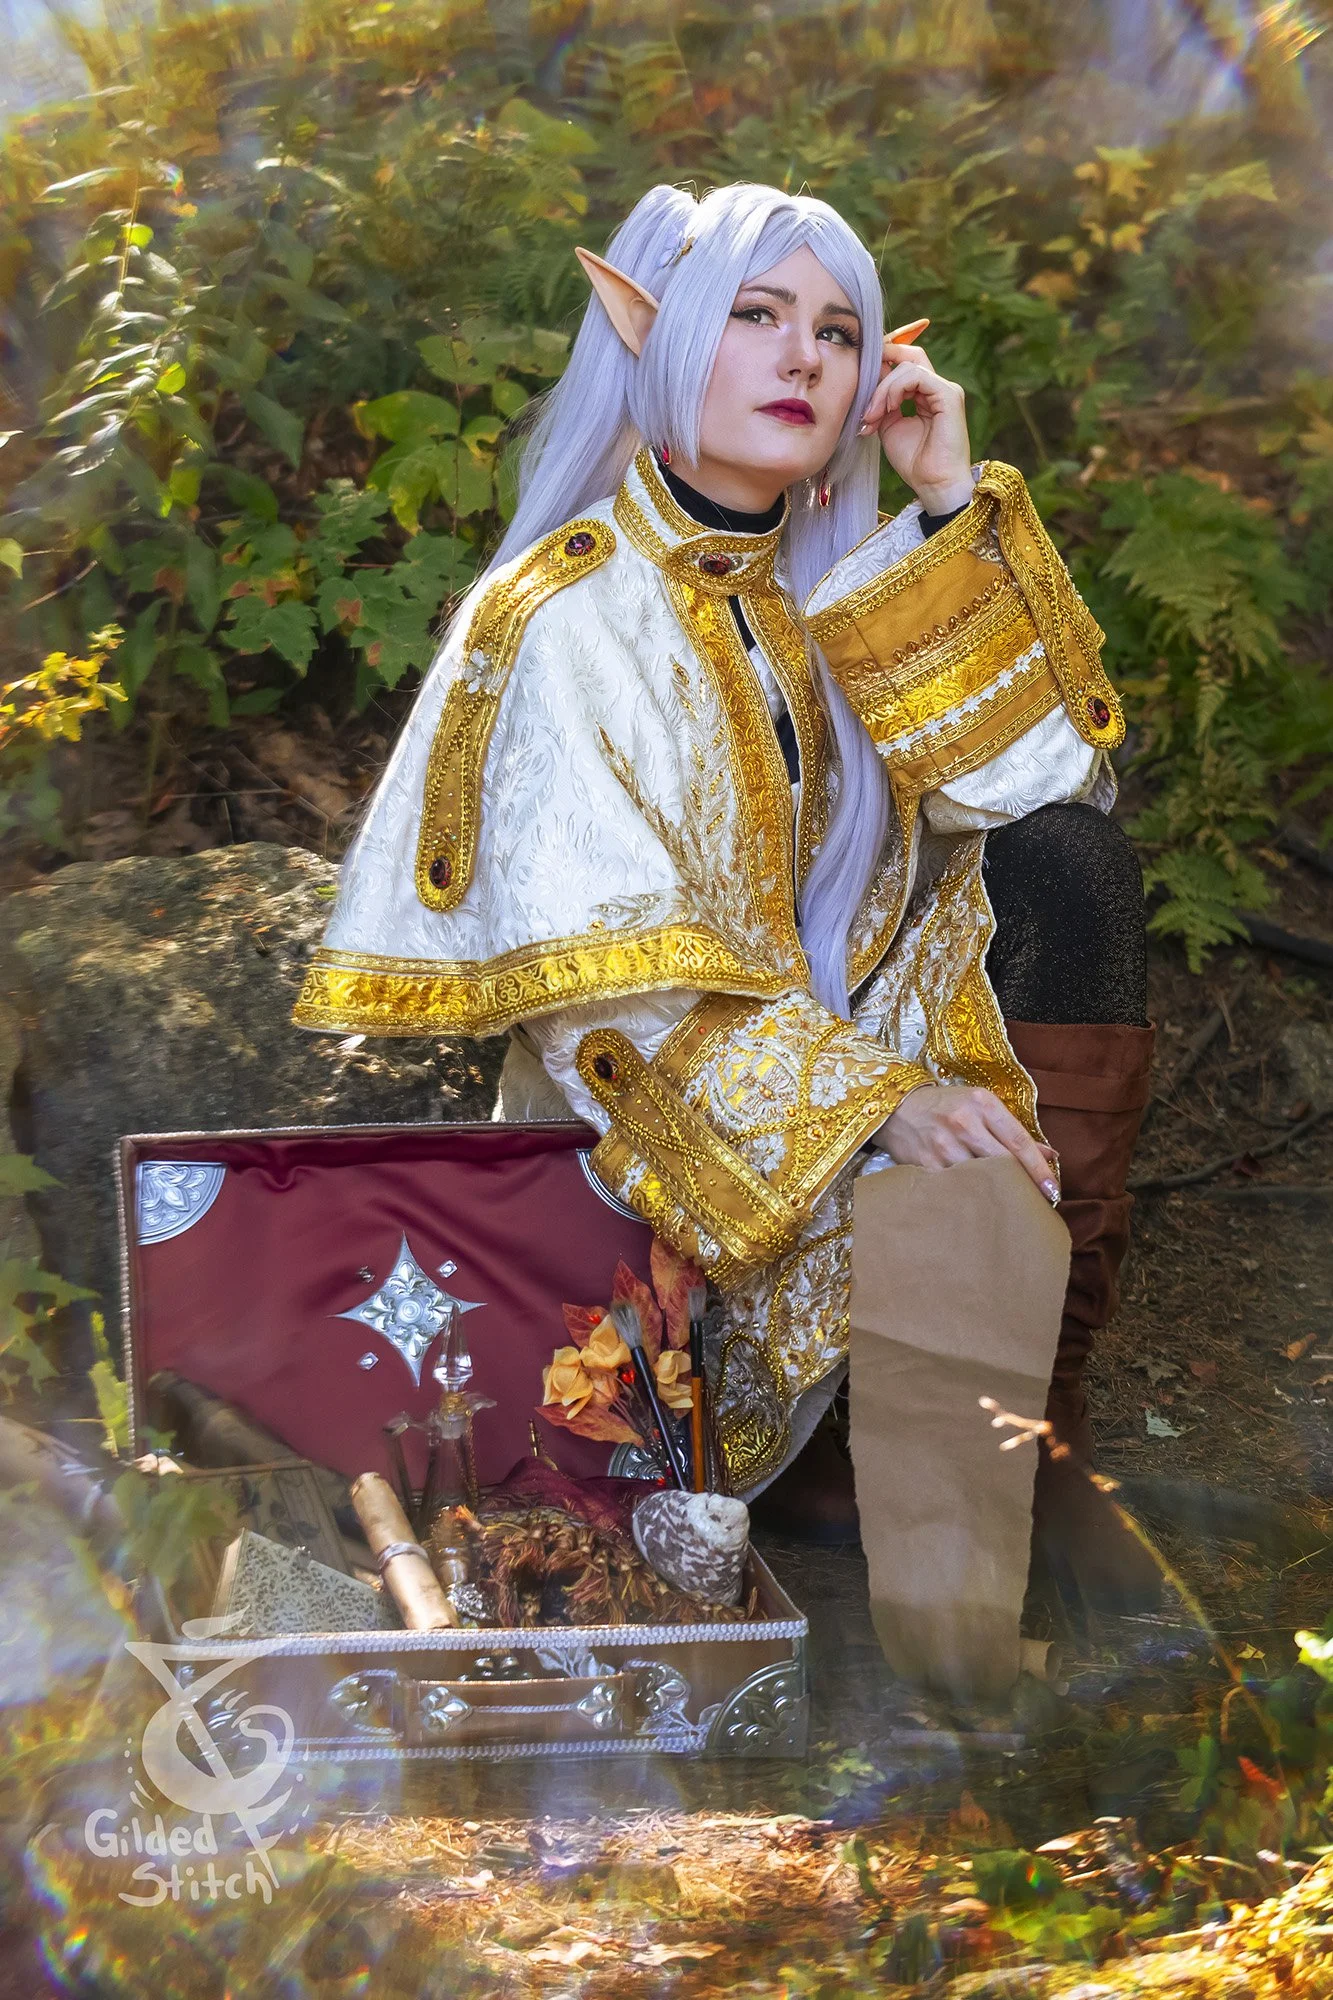
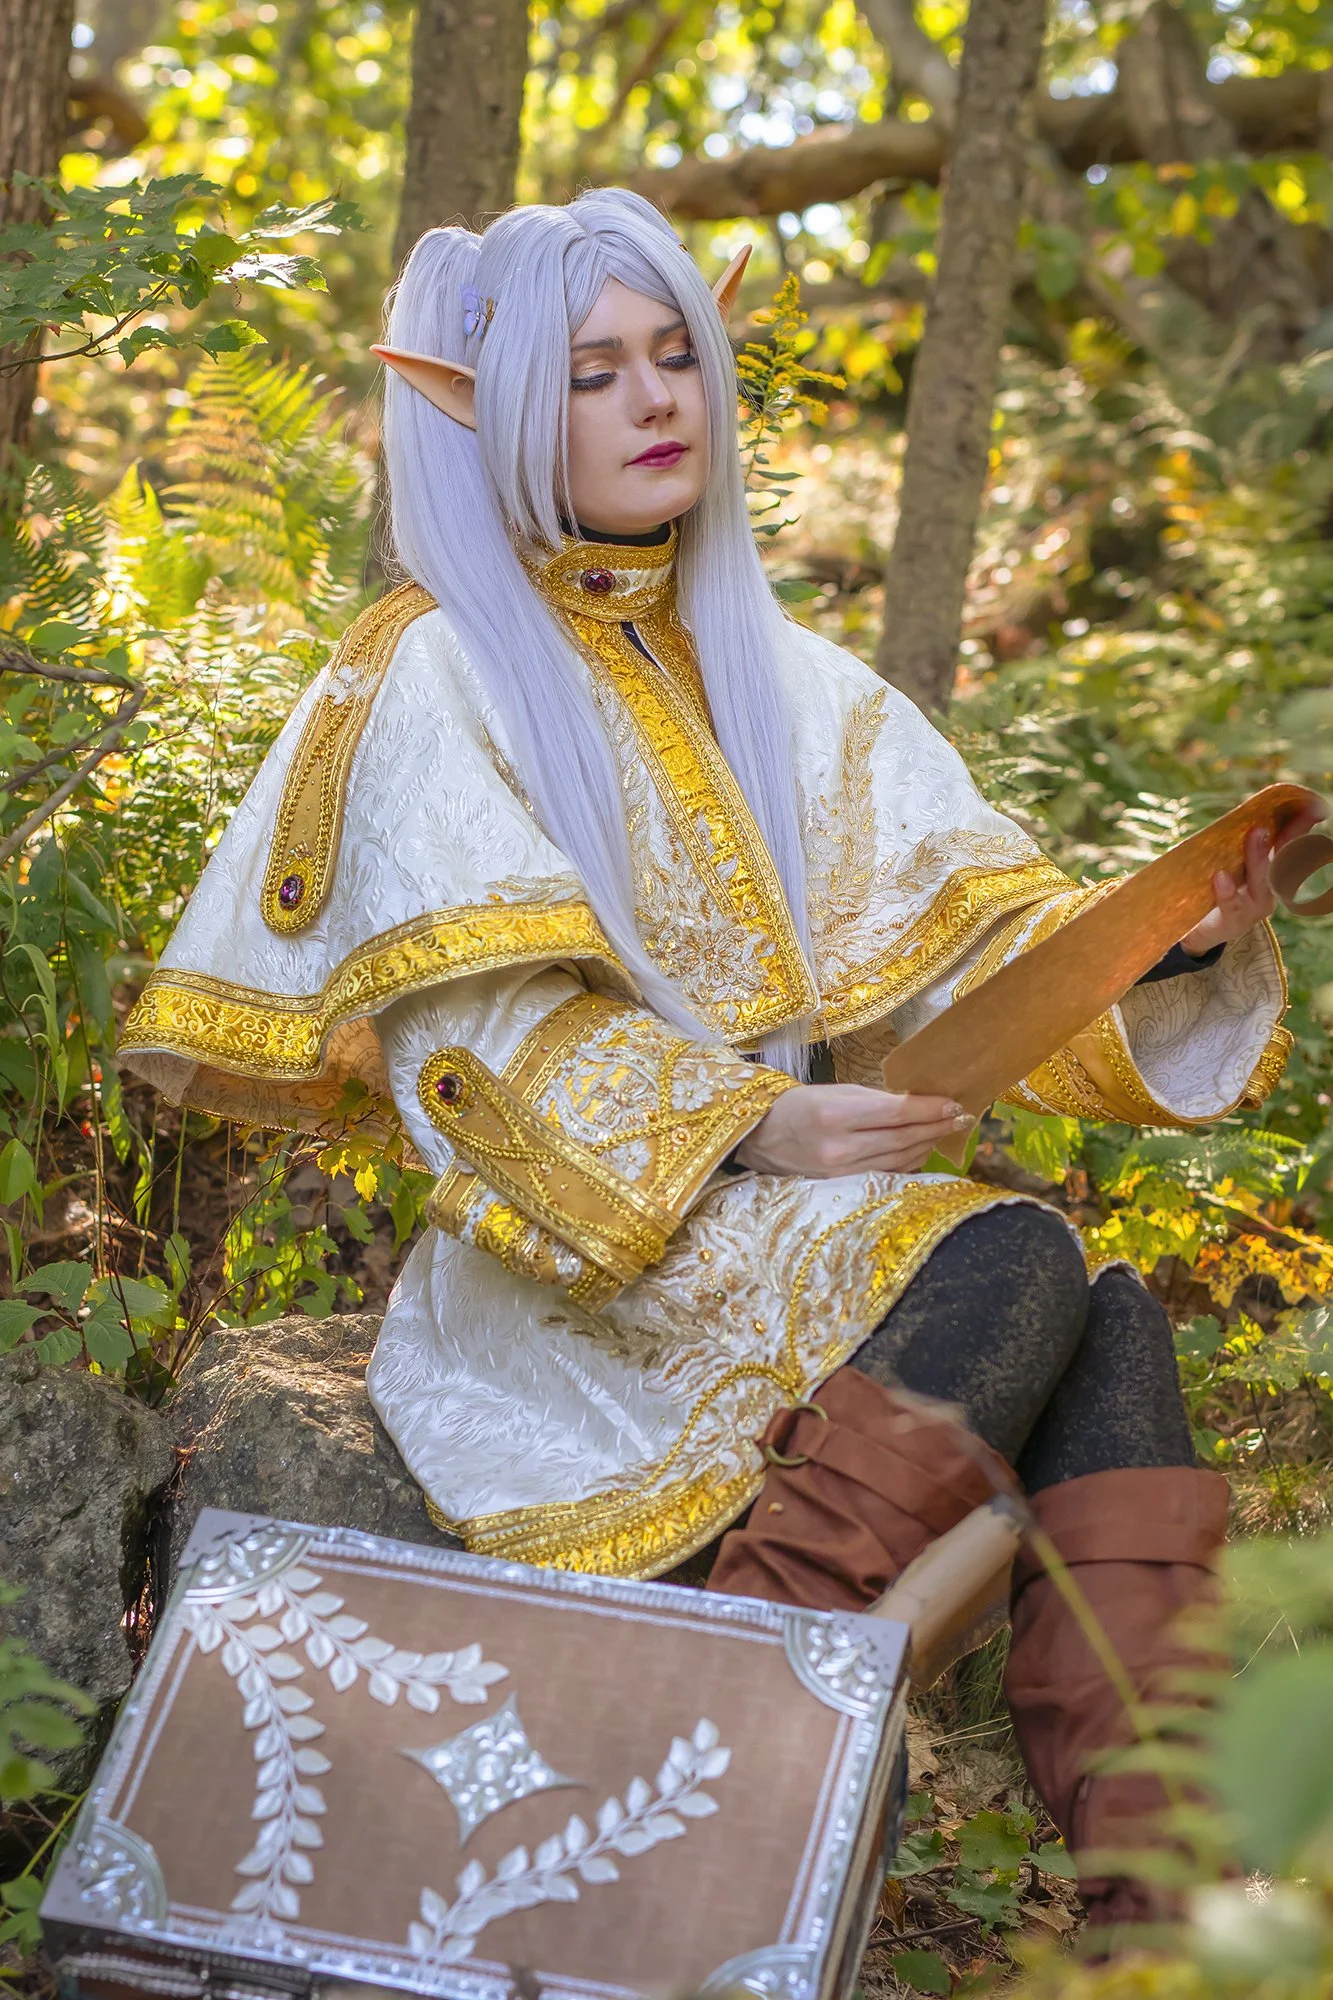
Behind the making prosses, Frieren from Frieren beyond journeys end

Starting with the reference
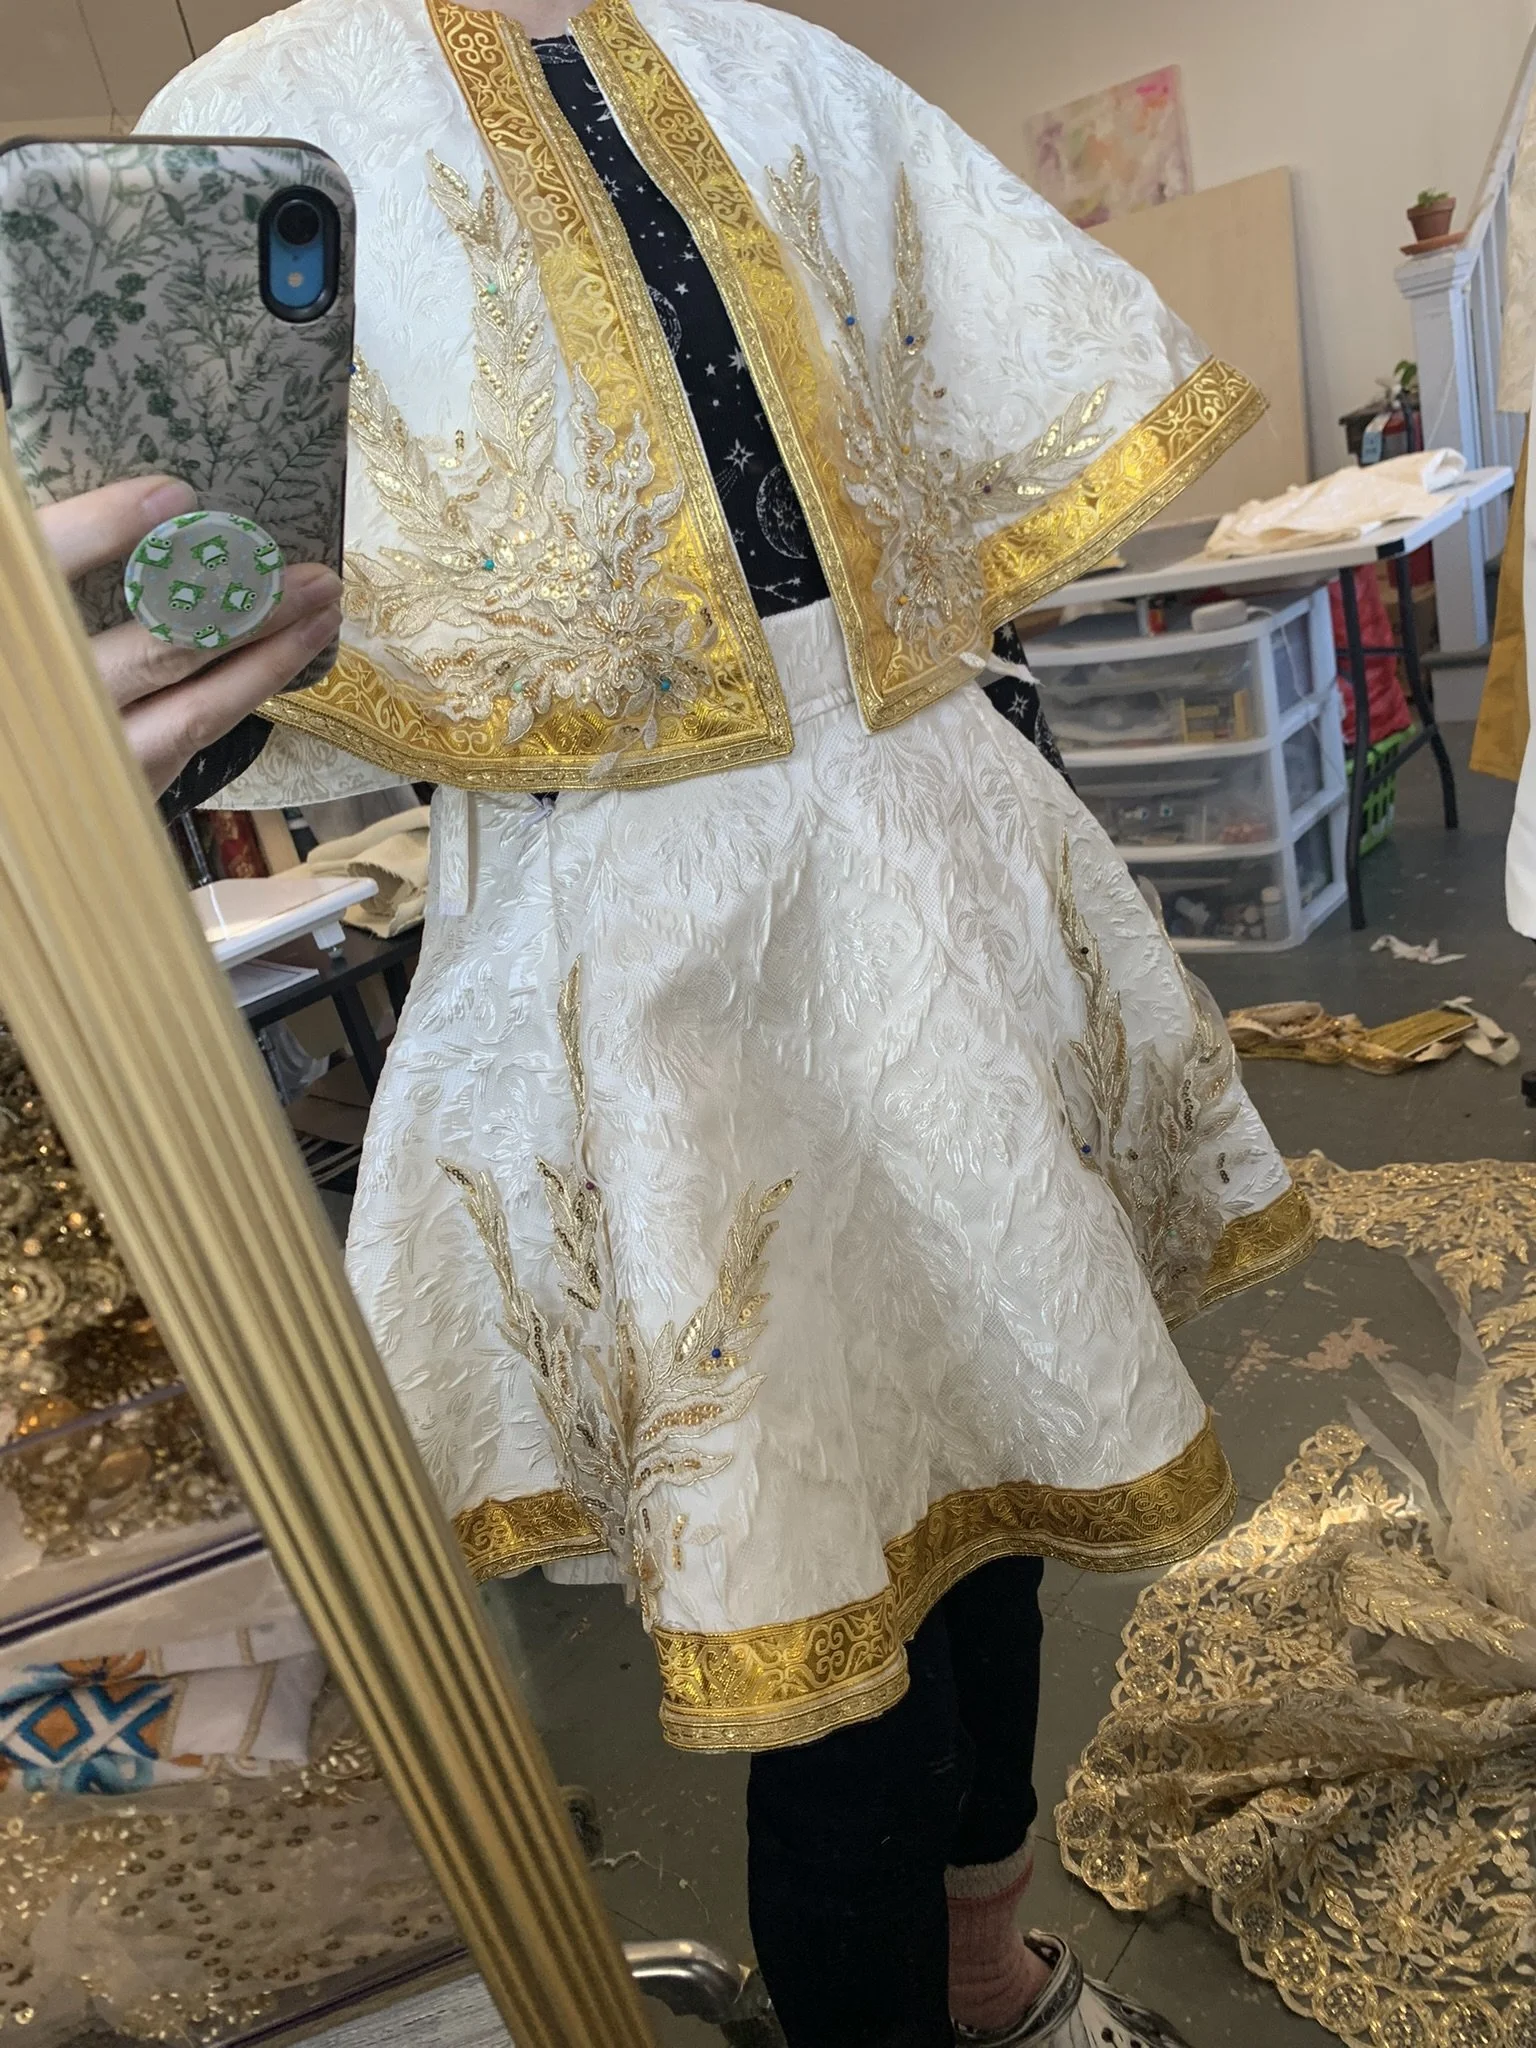
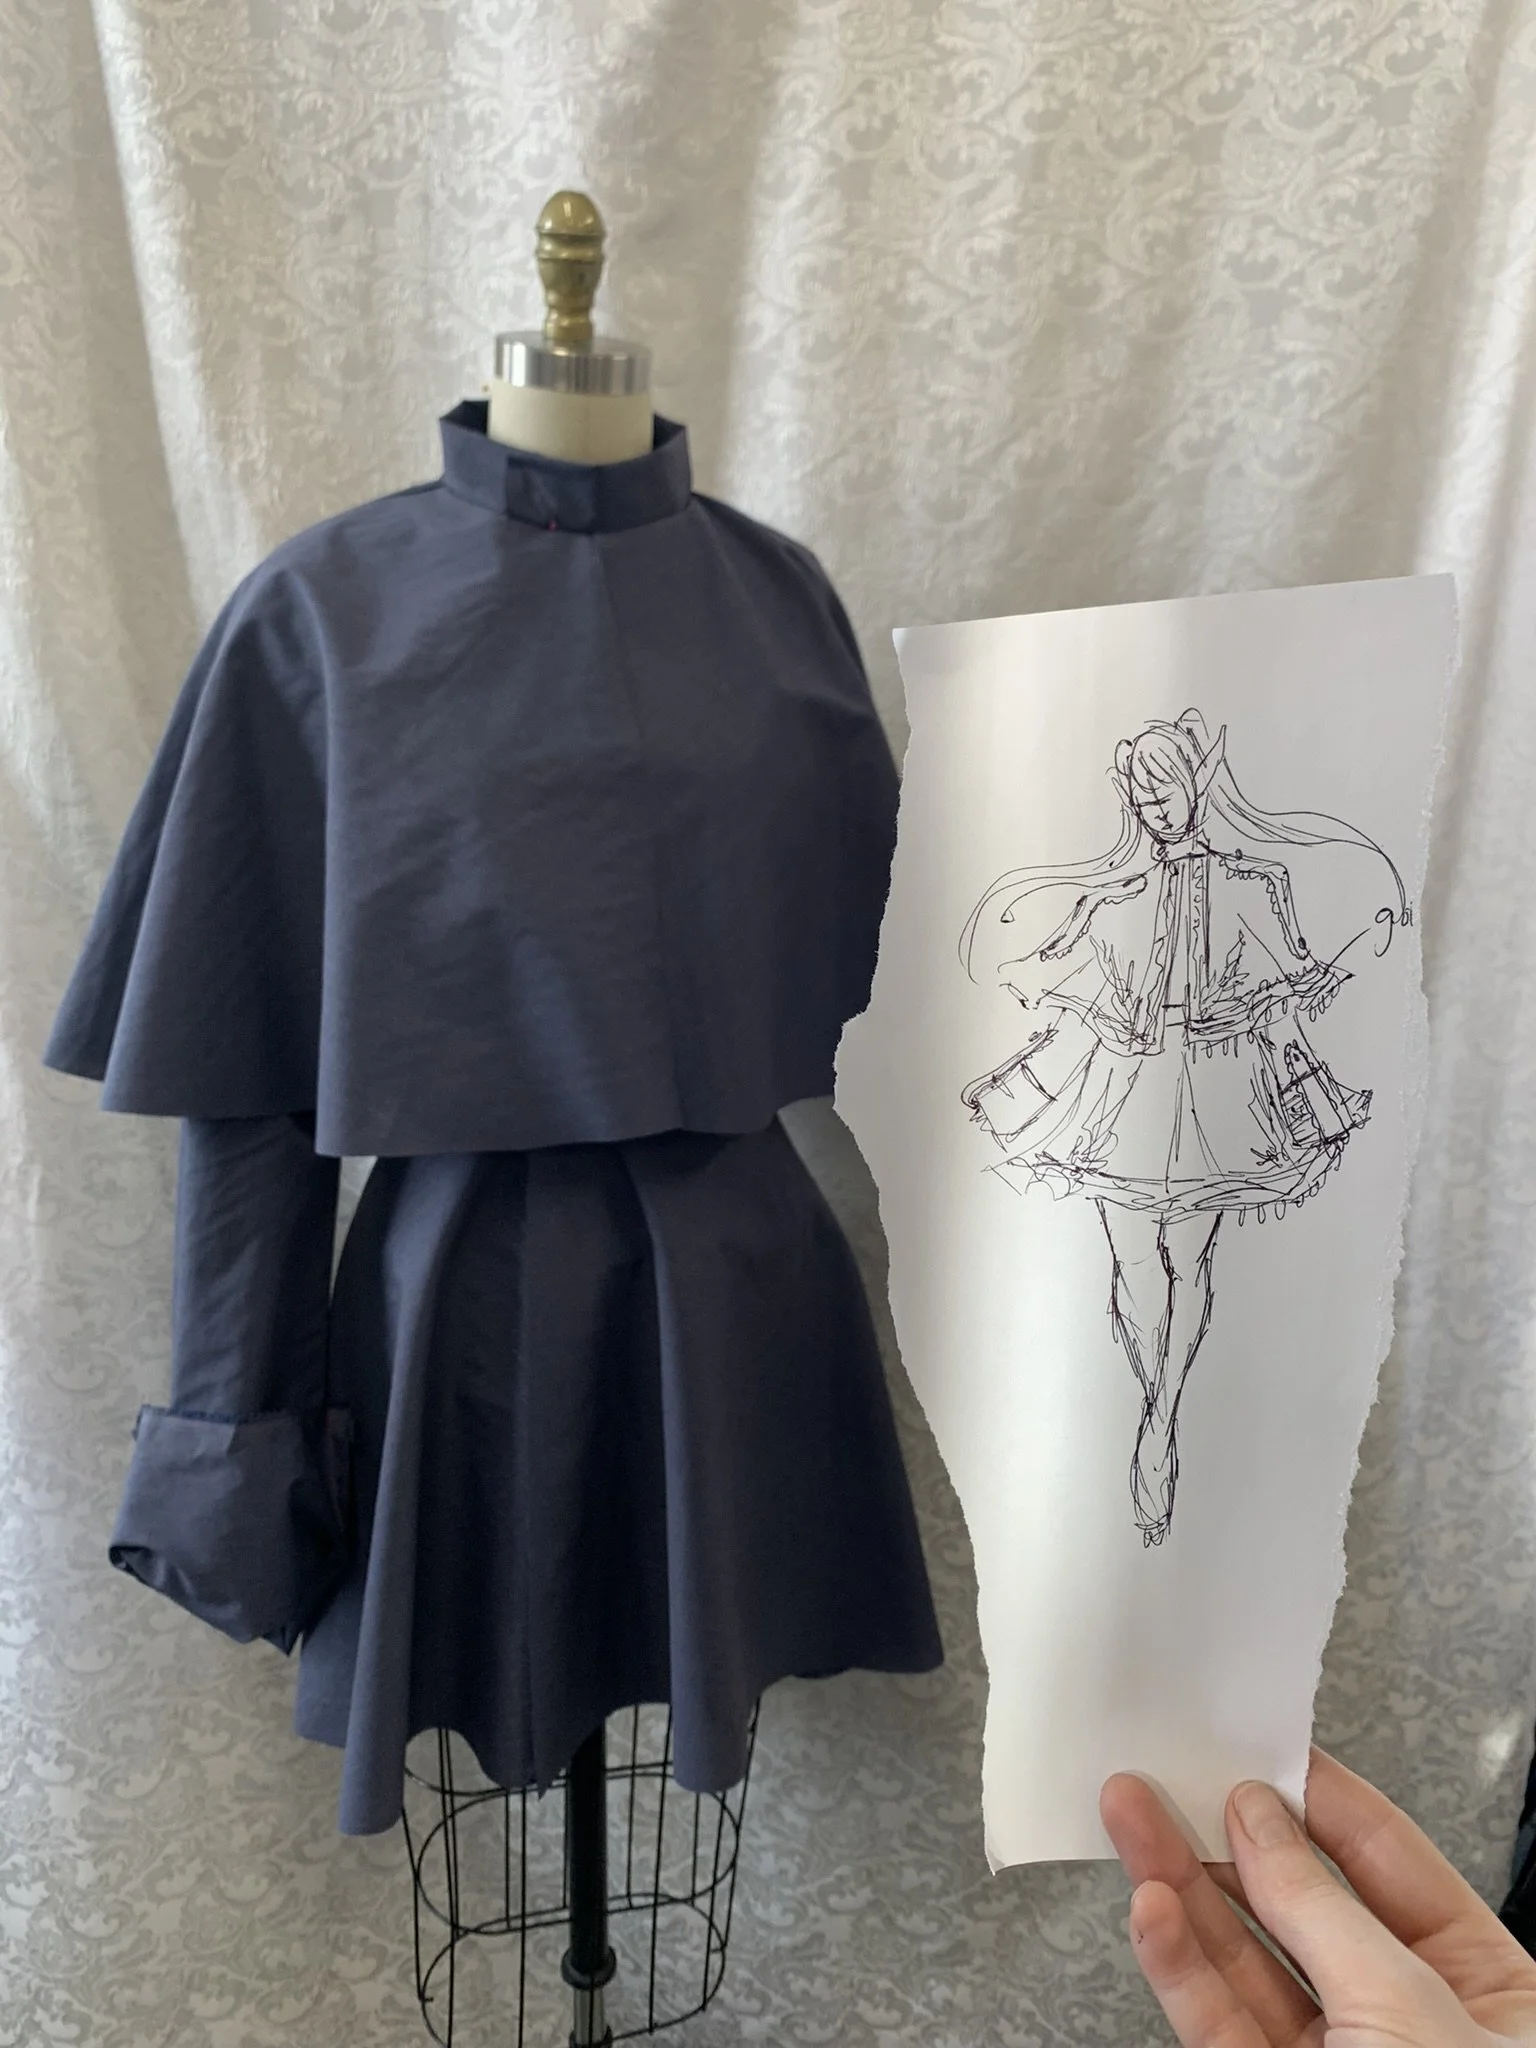
When I saw Frieren’s design I just knew I had to make it. I could imagine so many added details and places I could add my signature flair in designing. I started with sketching up a few ideas and played with different placement ideas for lace and trims. I settled with a pretty rough idea and began pattern drafting for my basic garment shapes.
Pattern Drafting
Frieren started with a basic circle skirt. After draping I reduced the circle into a half circle for both back and front and added two seam lines in the front panel for a hidden zipper.
I followed this same order for the shawl, and then for the undershirt, altering to exactly the shape a silhouette I desired. Once I love how it’s looking on the form I will transfer to a roll of craft paper and resize to my measurements, true up any pieces that need it and add seam allowance. For this build I went directly from that version into final fabrics. I did give my pieces a little extra space for adjustments should I need them.
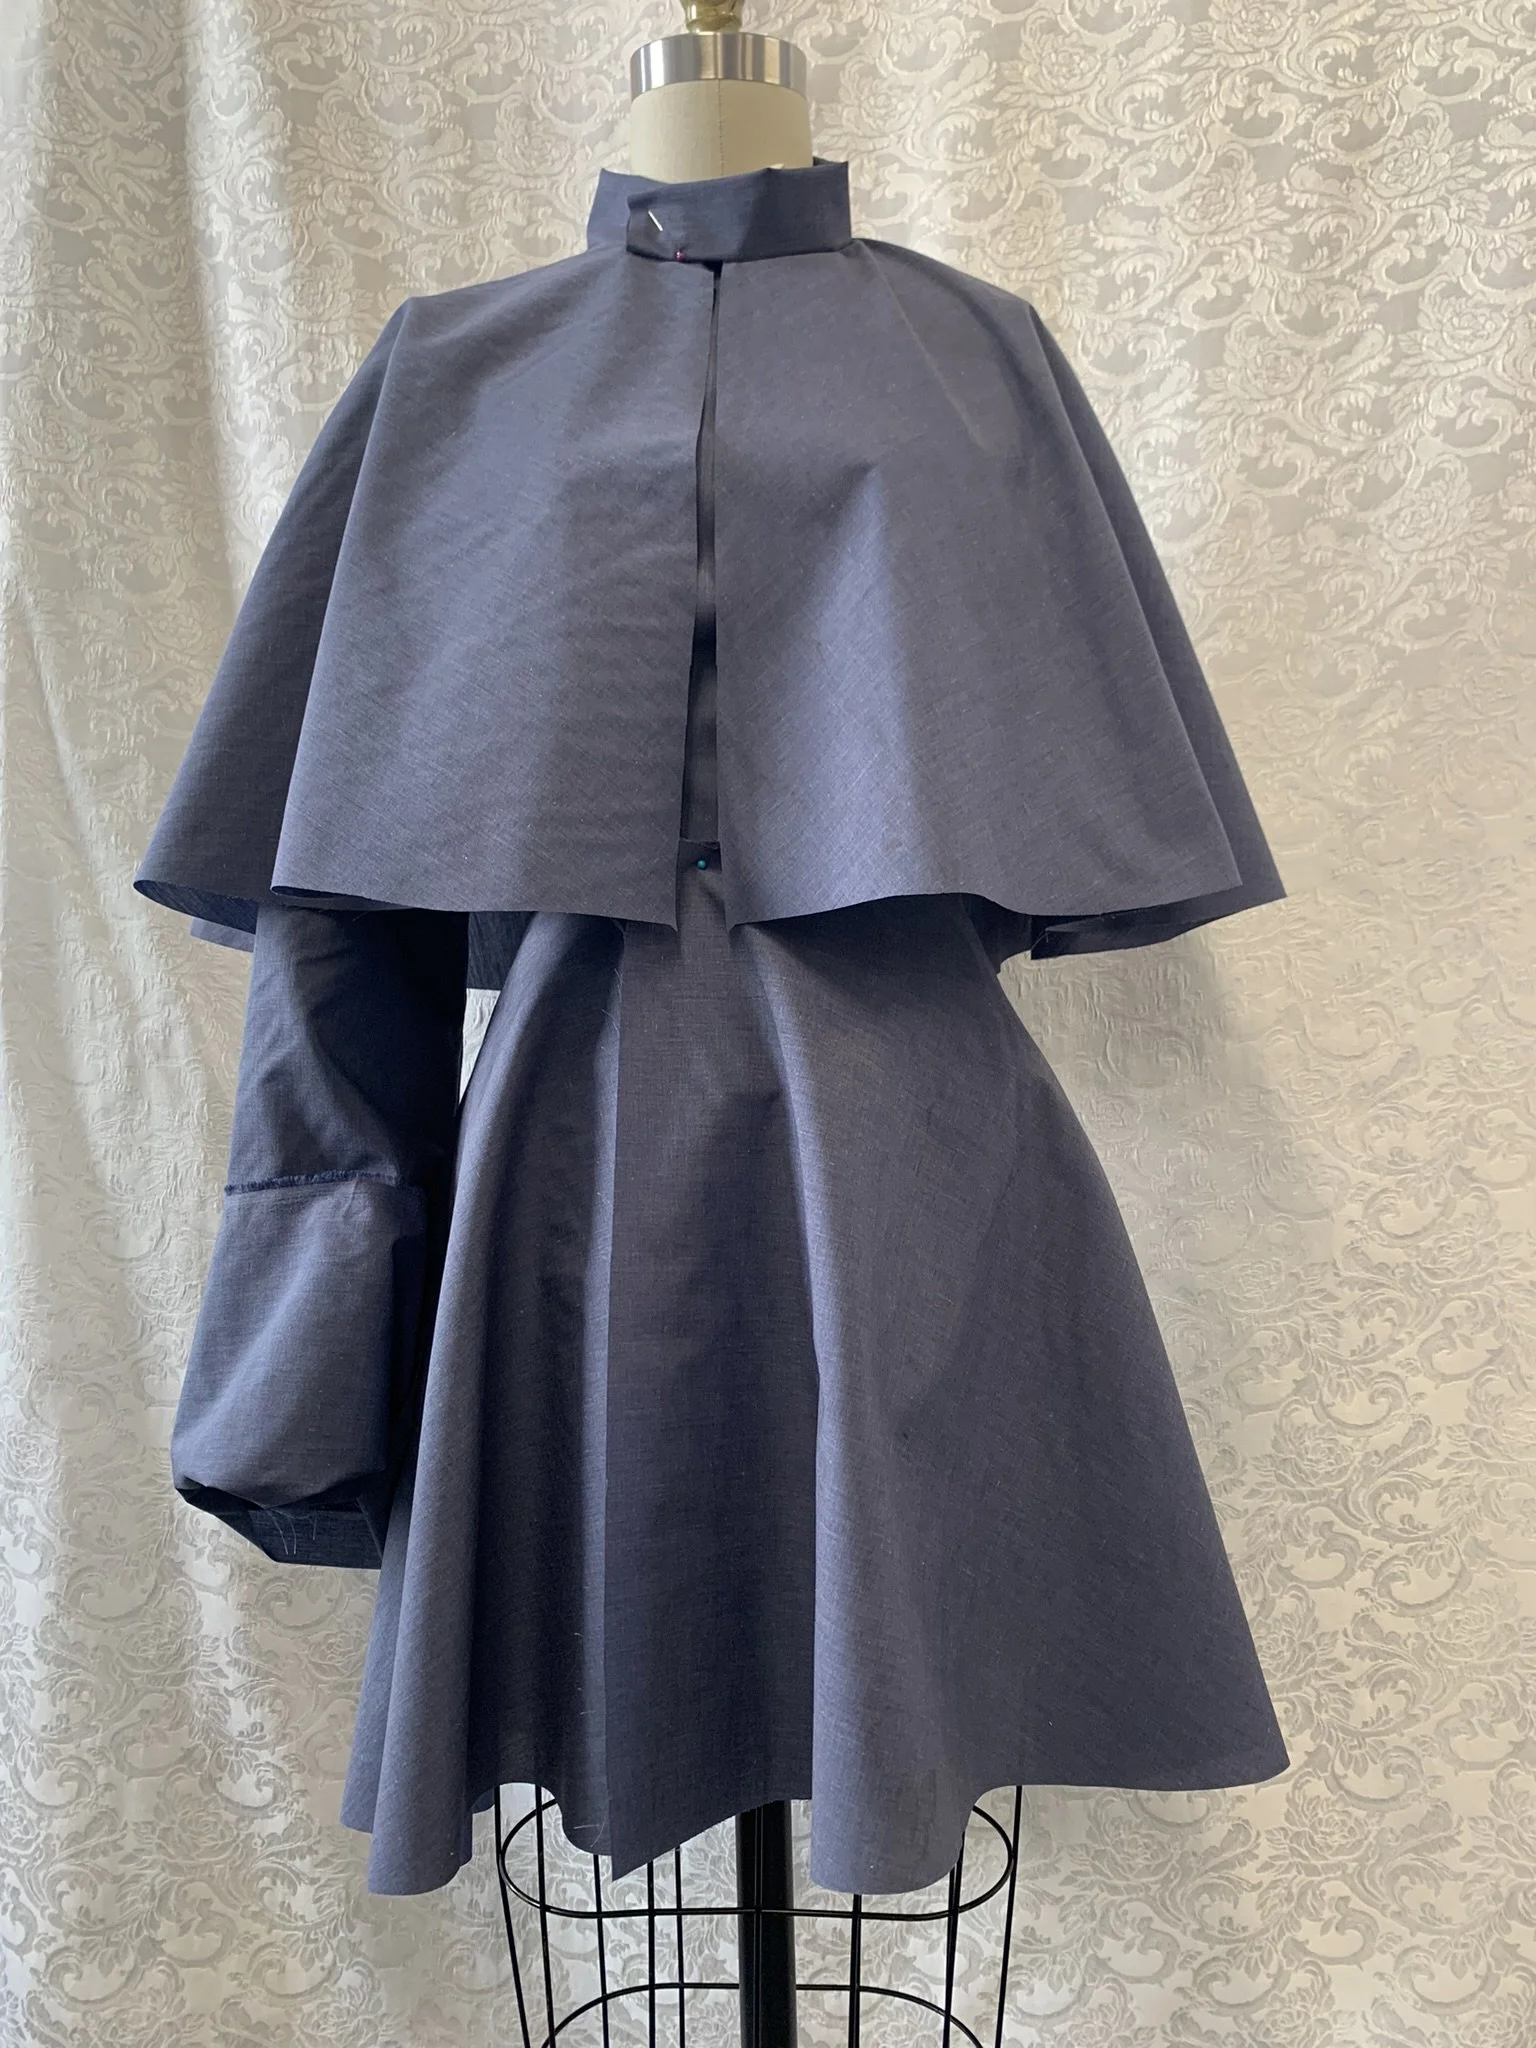
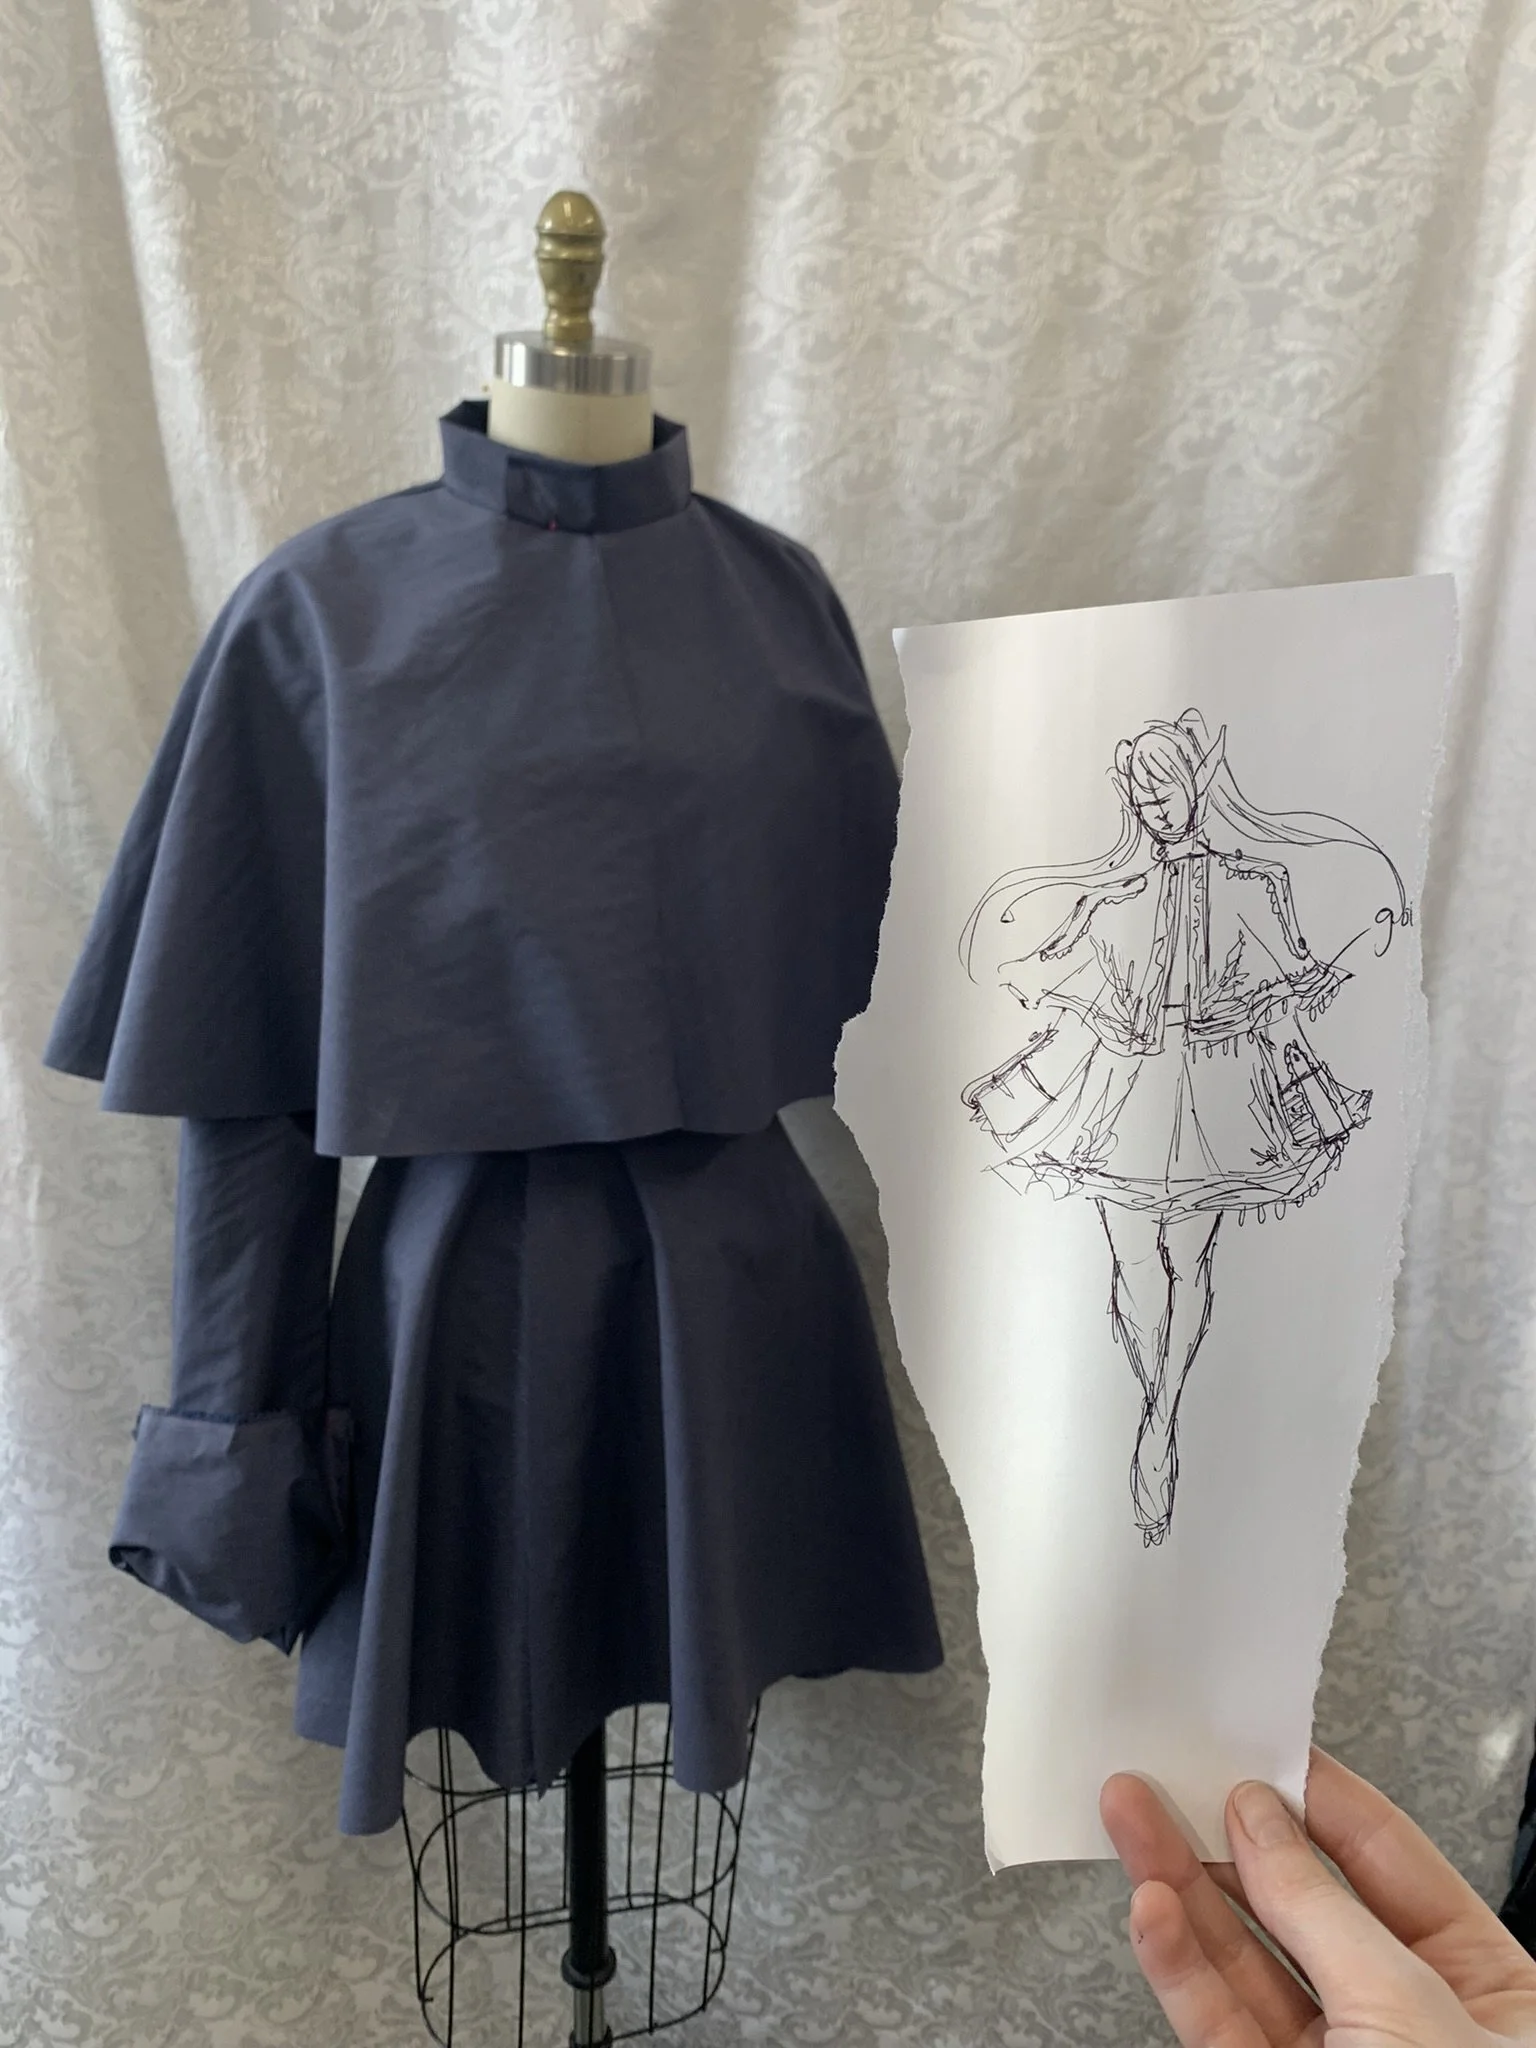
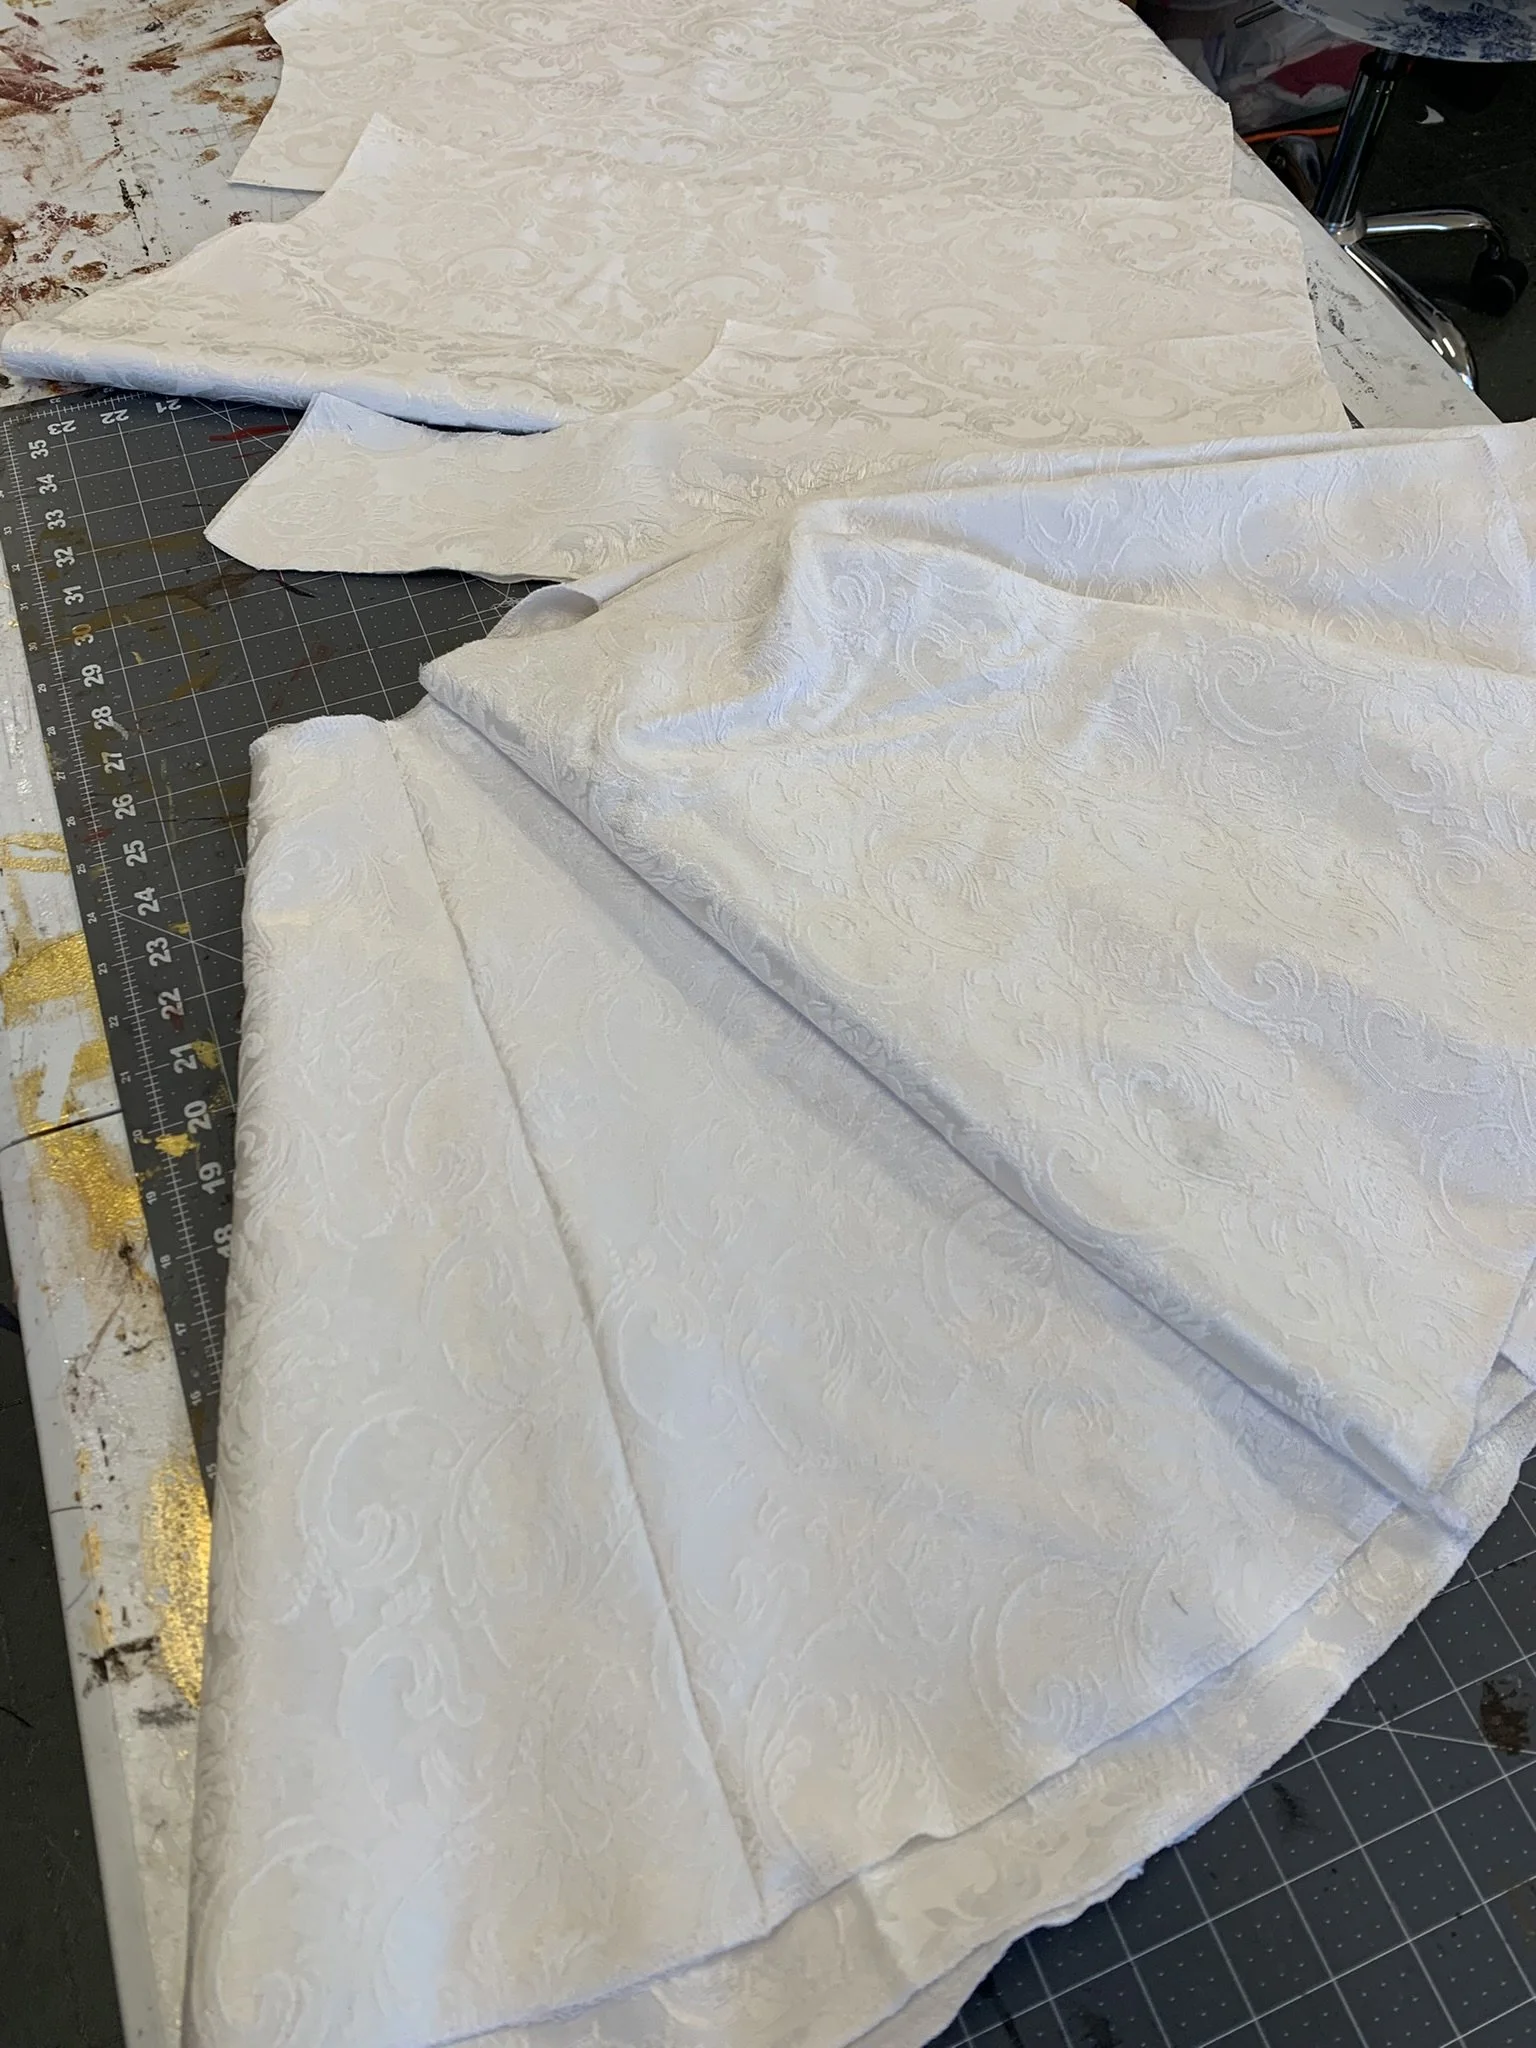
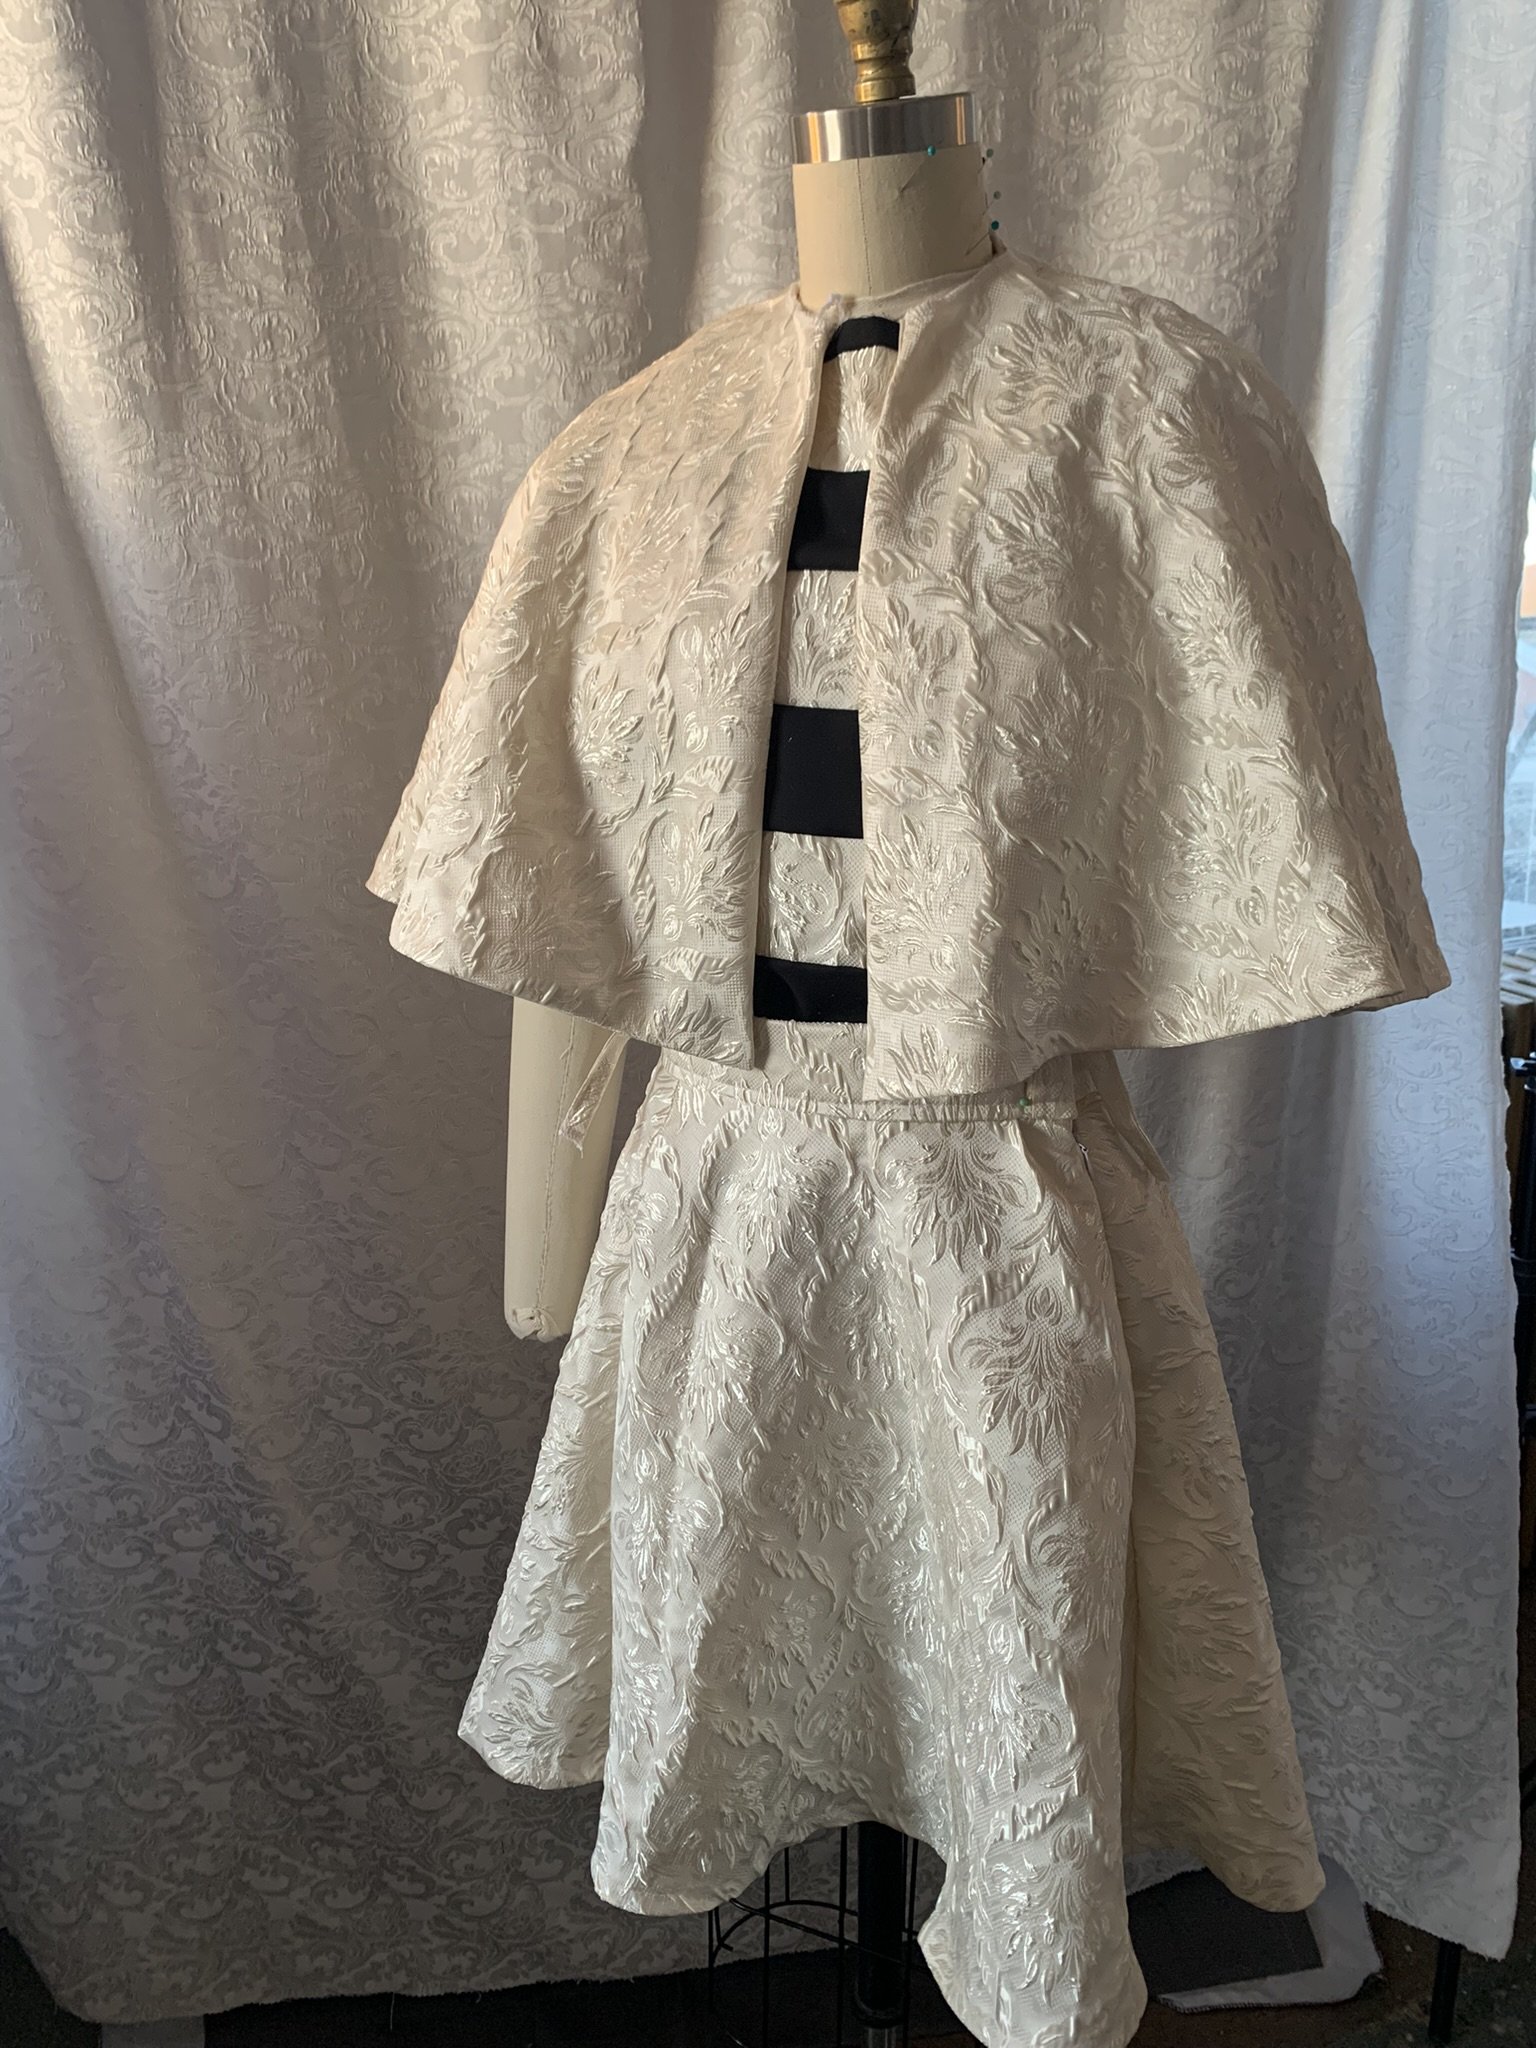
The basic garment roughly sewn together before any of the trims have been added. - At this stage I have the lining set in the skirt, and partly set in the shawl.
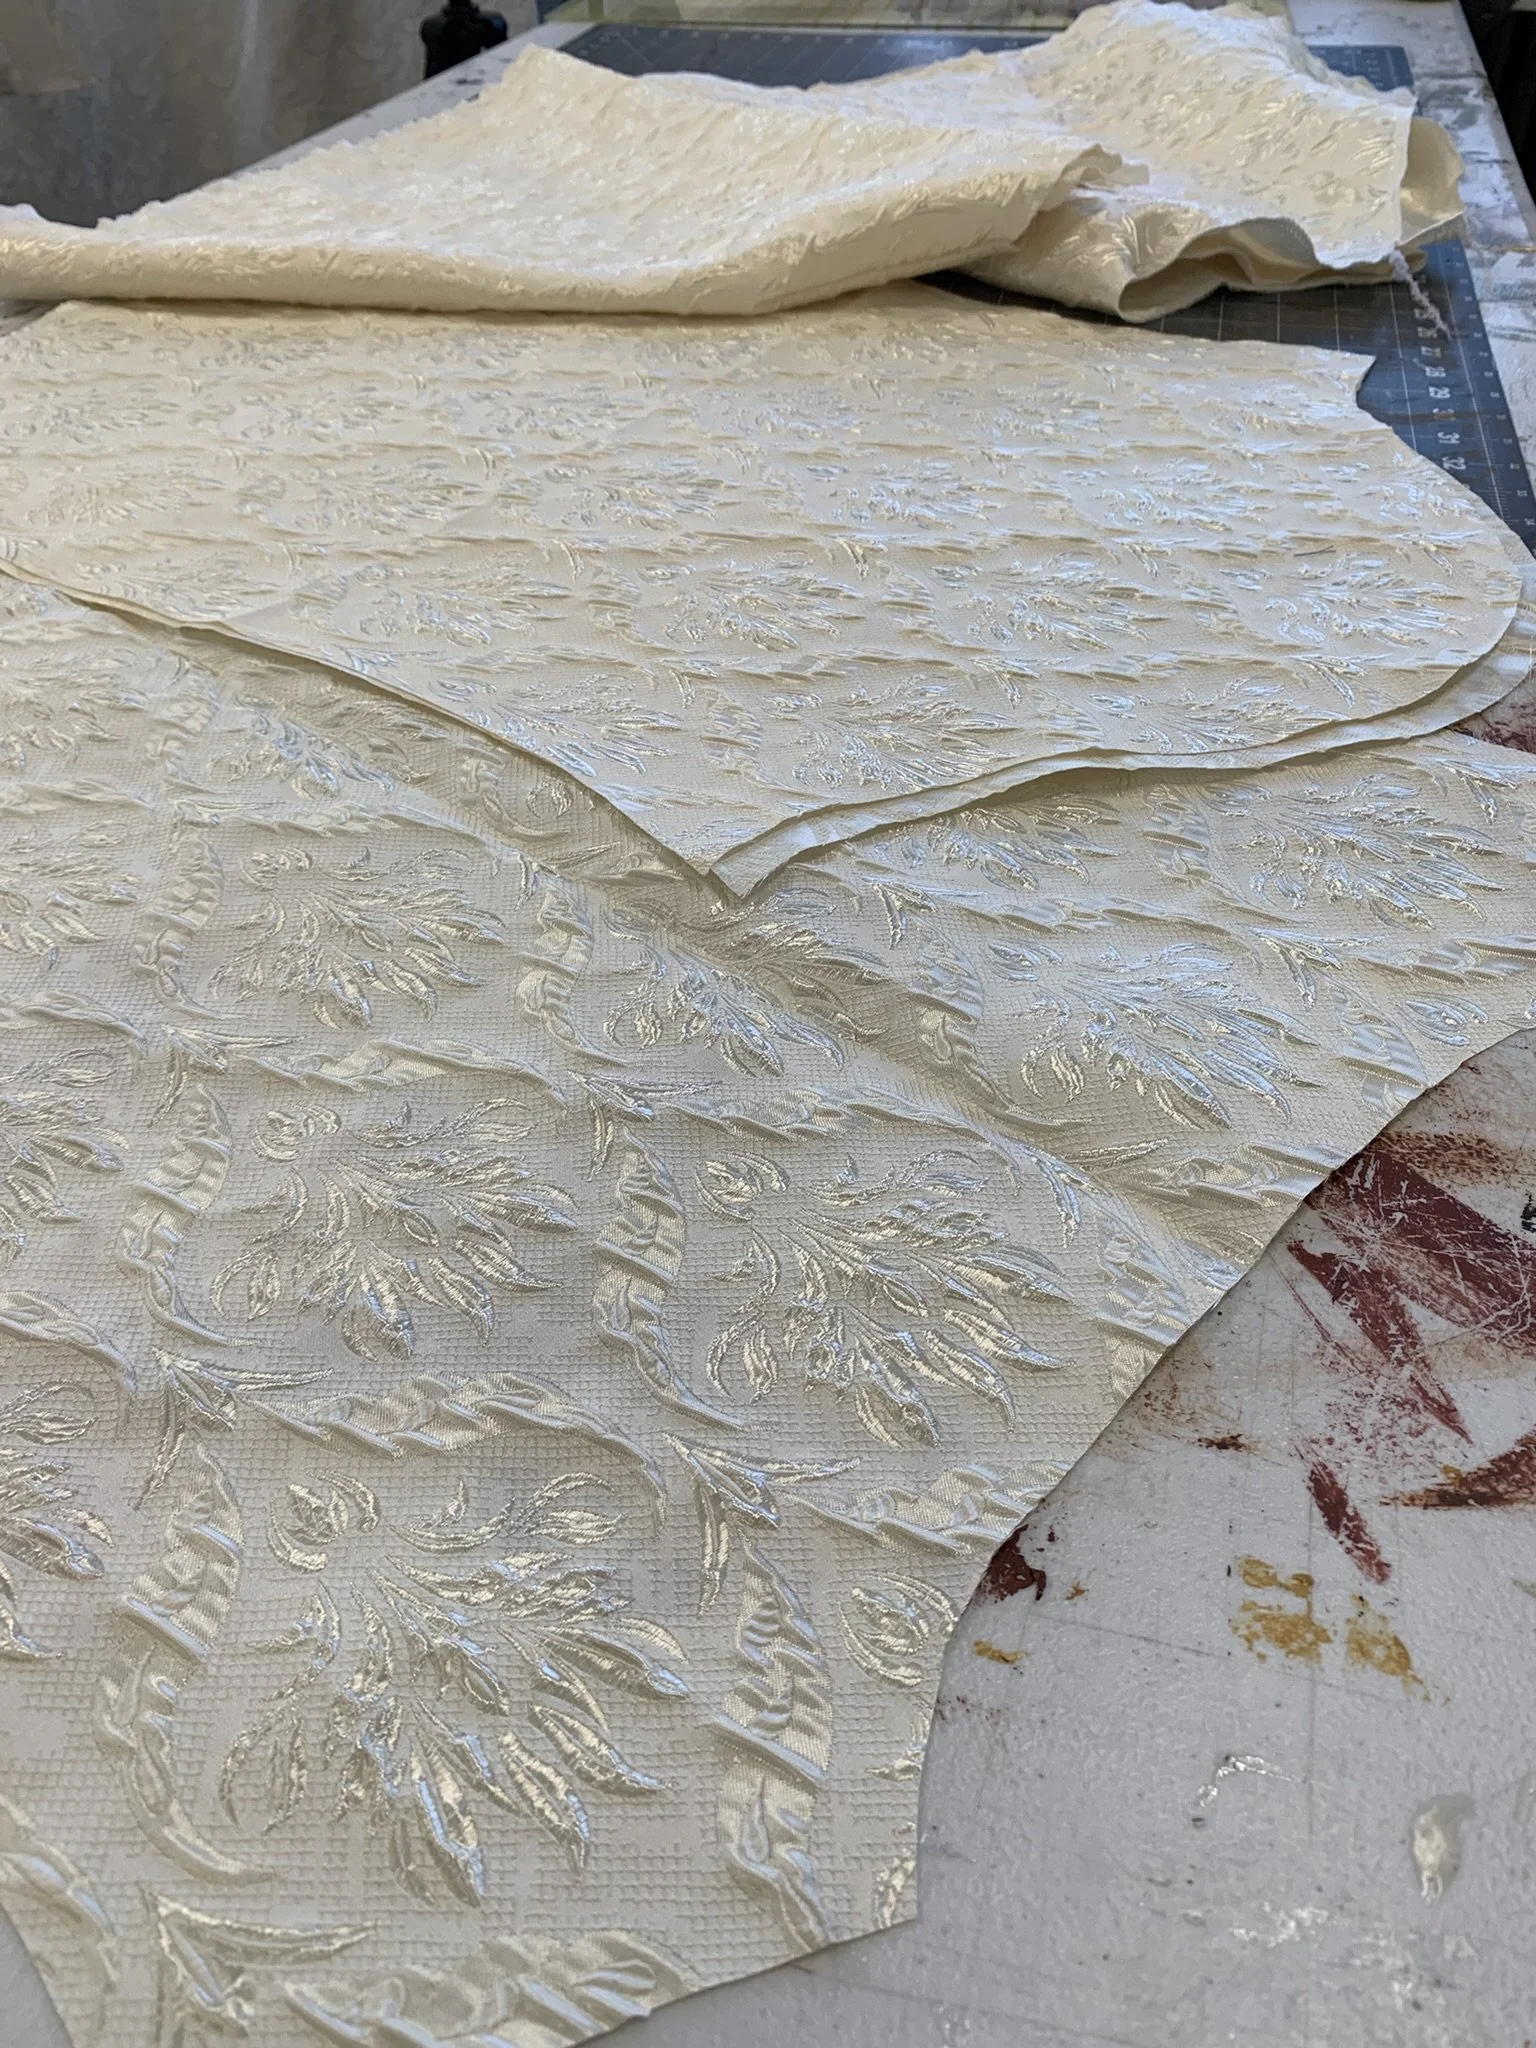
All individual pattern pieces are serged before sewn together to reduce fray on the Jacquard fabrics
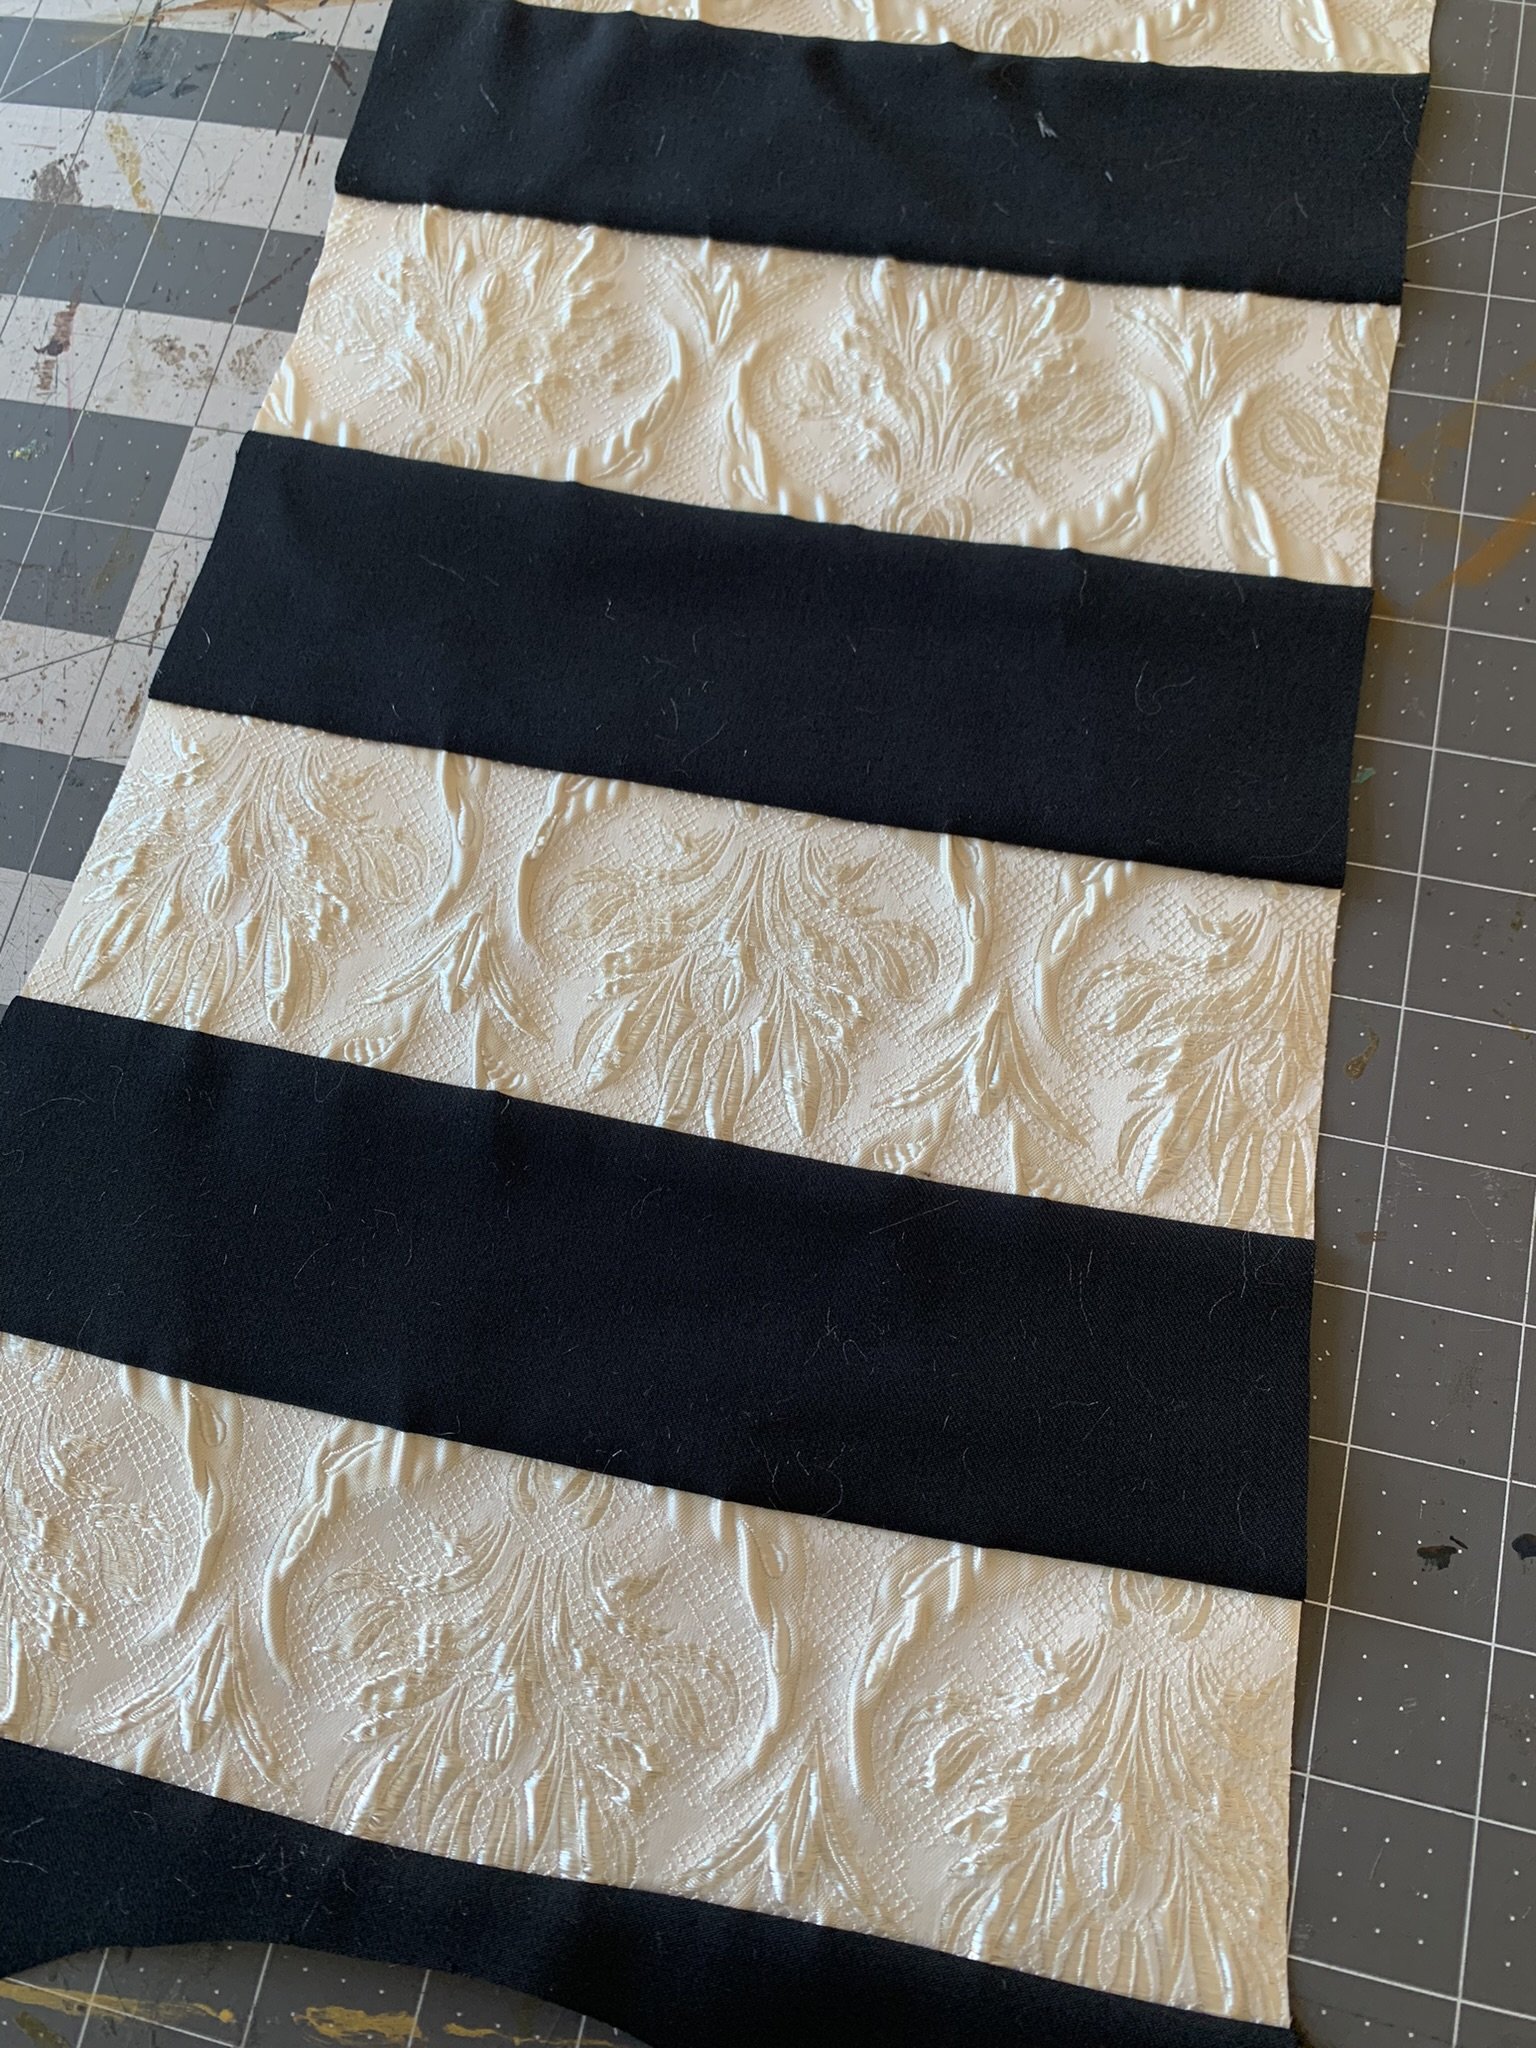
For the undershirt I used a quilting technique to create the black and white stripes. I cut measured out the total length of my front and divided that by the amount of strips I wanted to equal the width of each stripe. I measured, added seam allowance then cut my strips.
Each strip of fabric is sewn together, and pressed nice and flat, and then top stitched. This technique allowed me to keep this white jacquard fabric throughout my entire build.
Adding Details
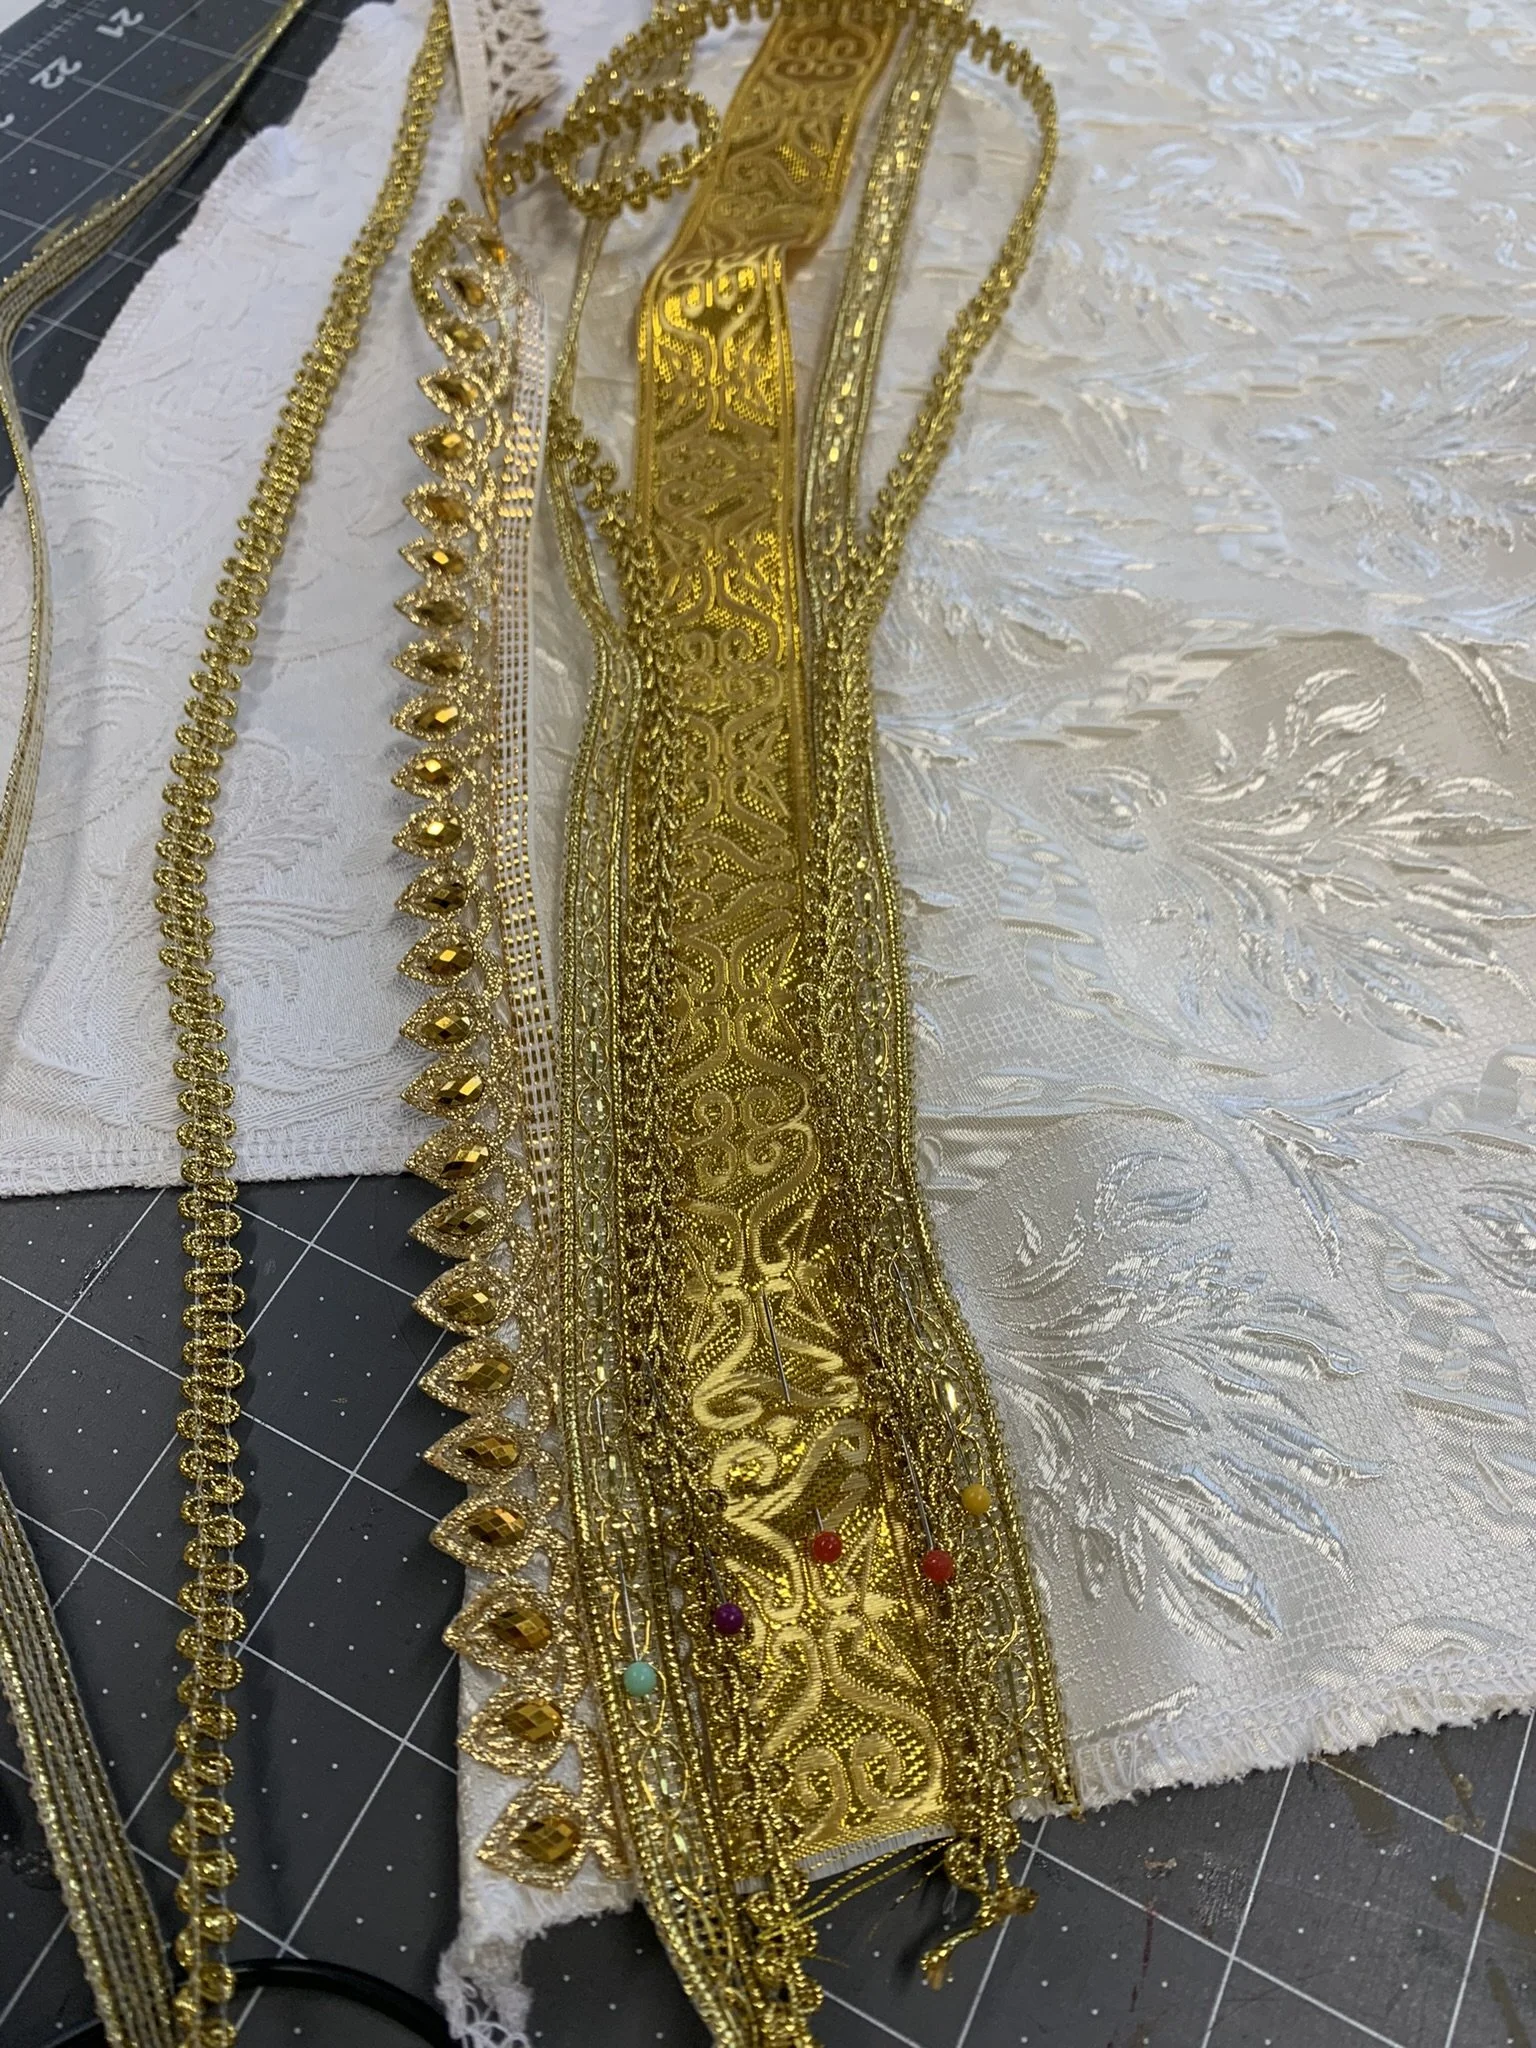
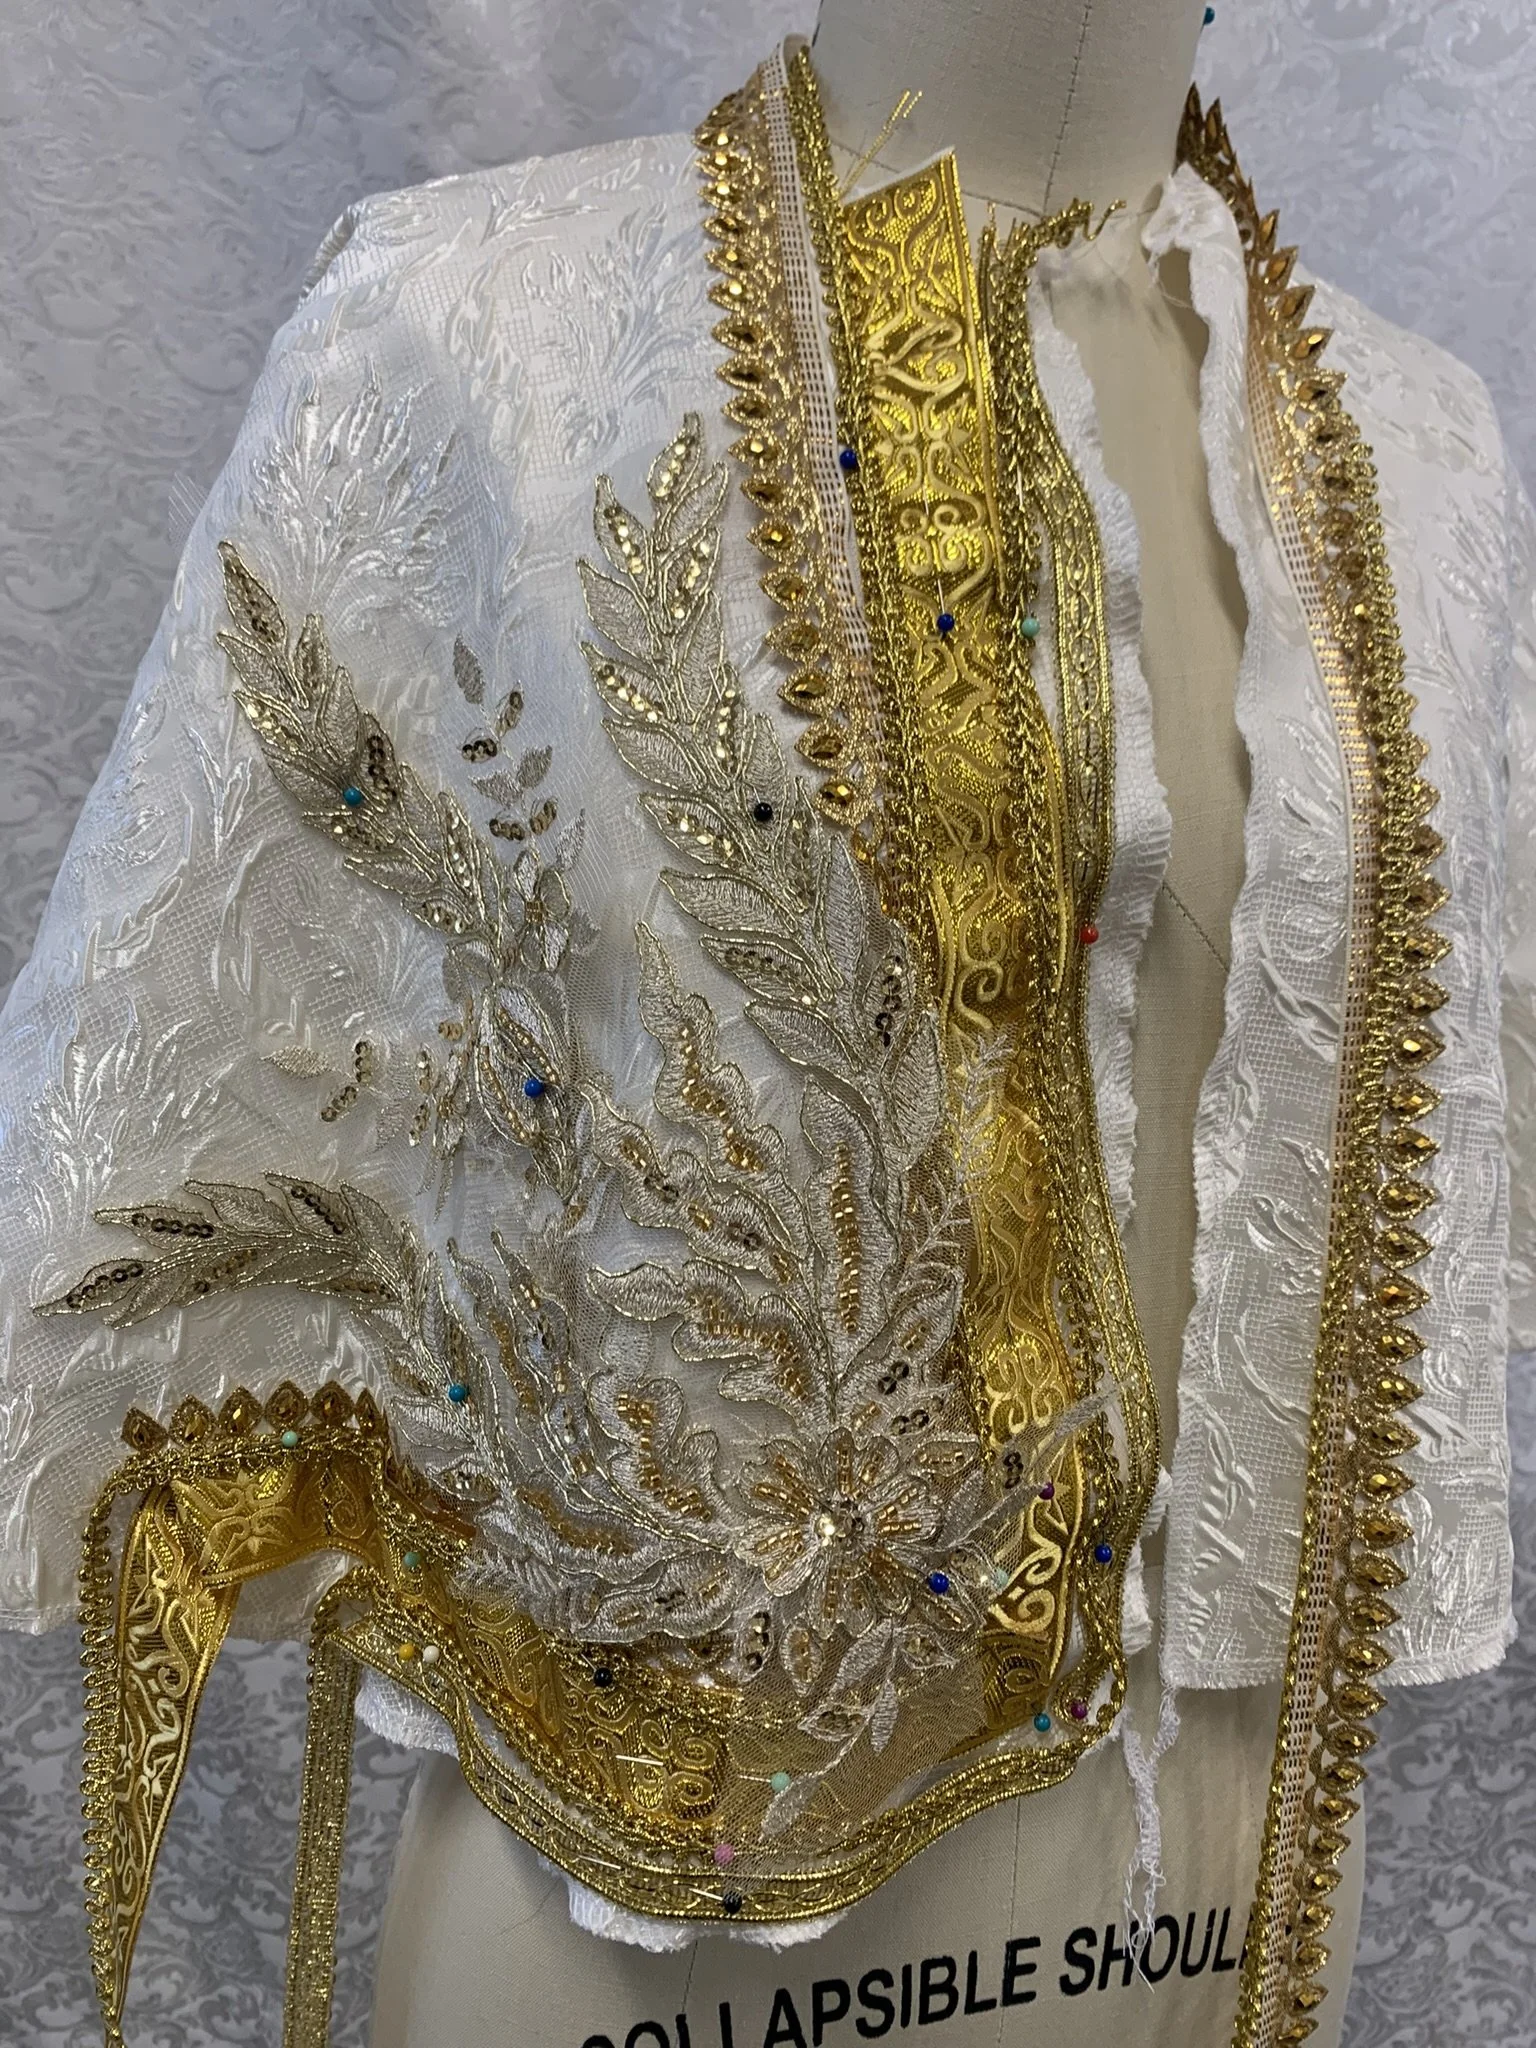
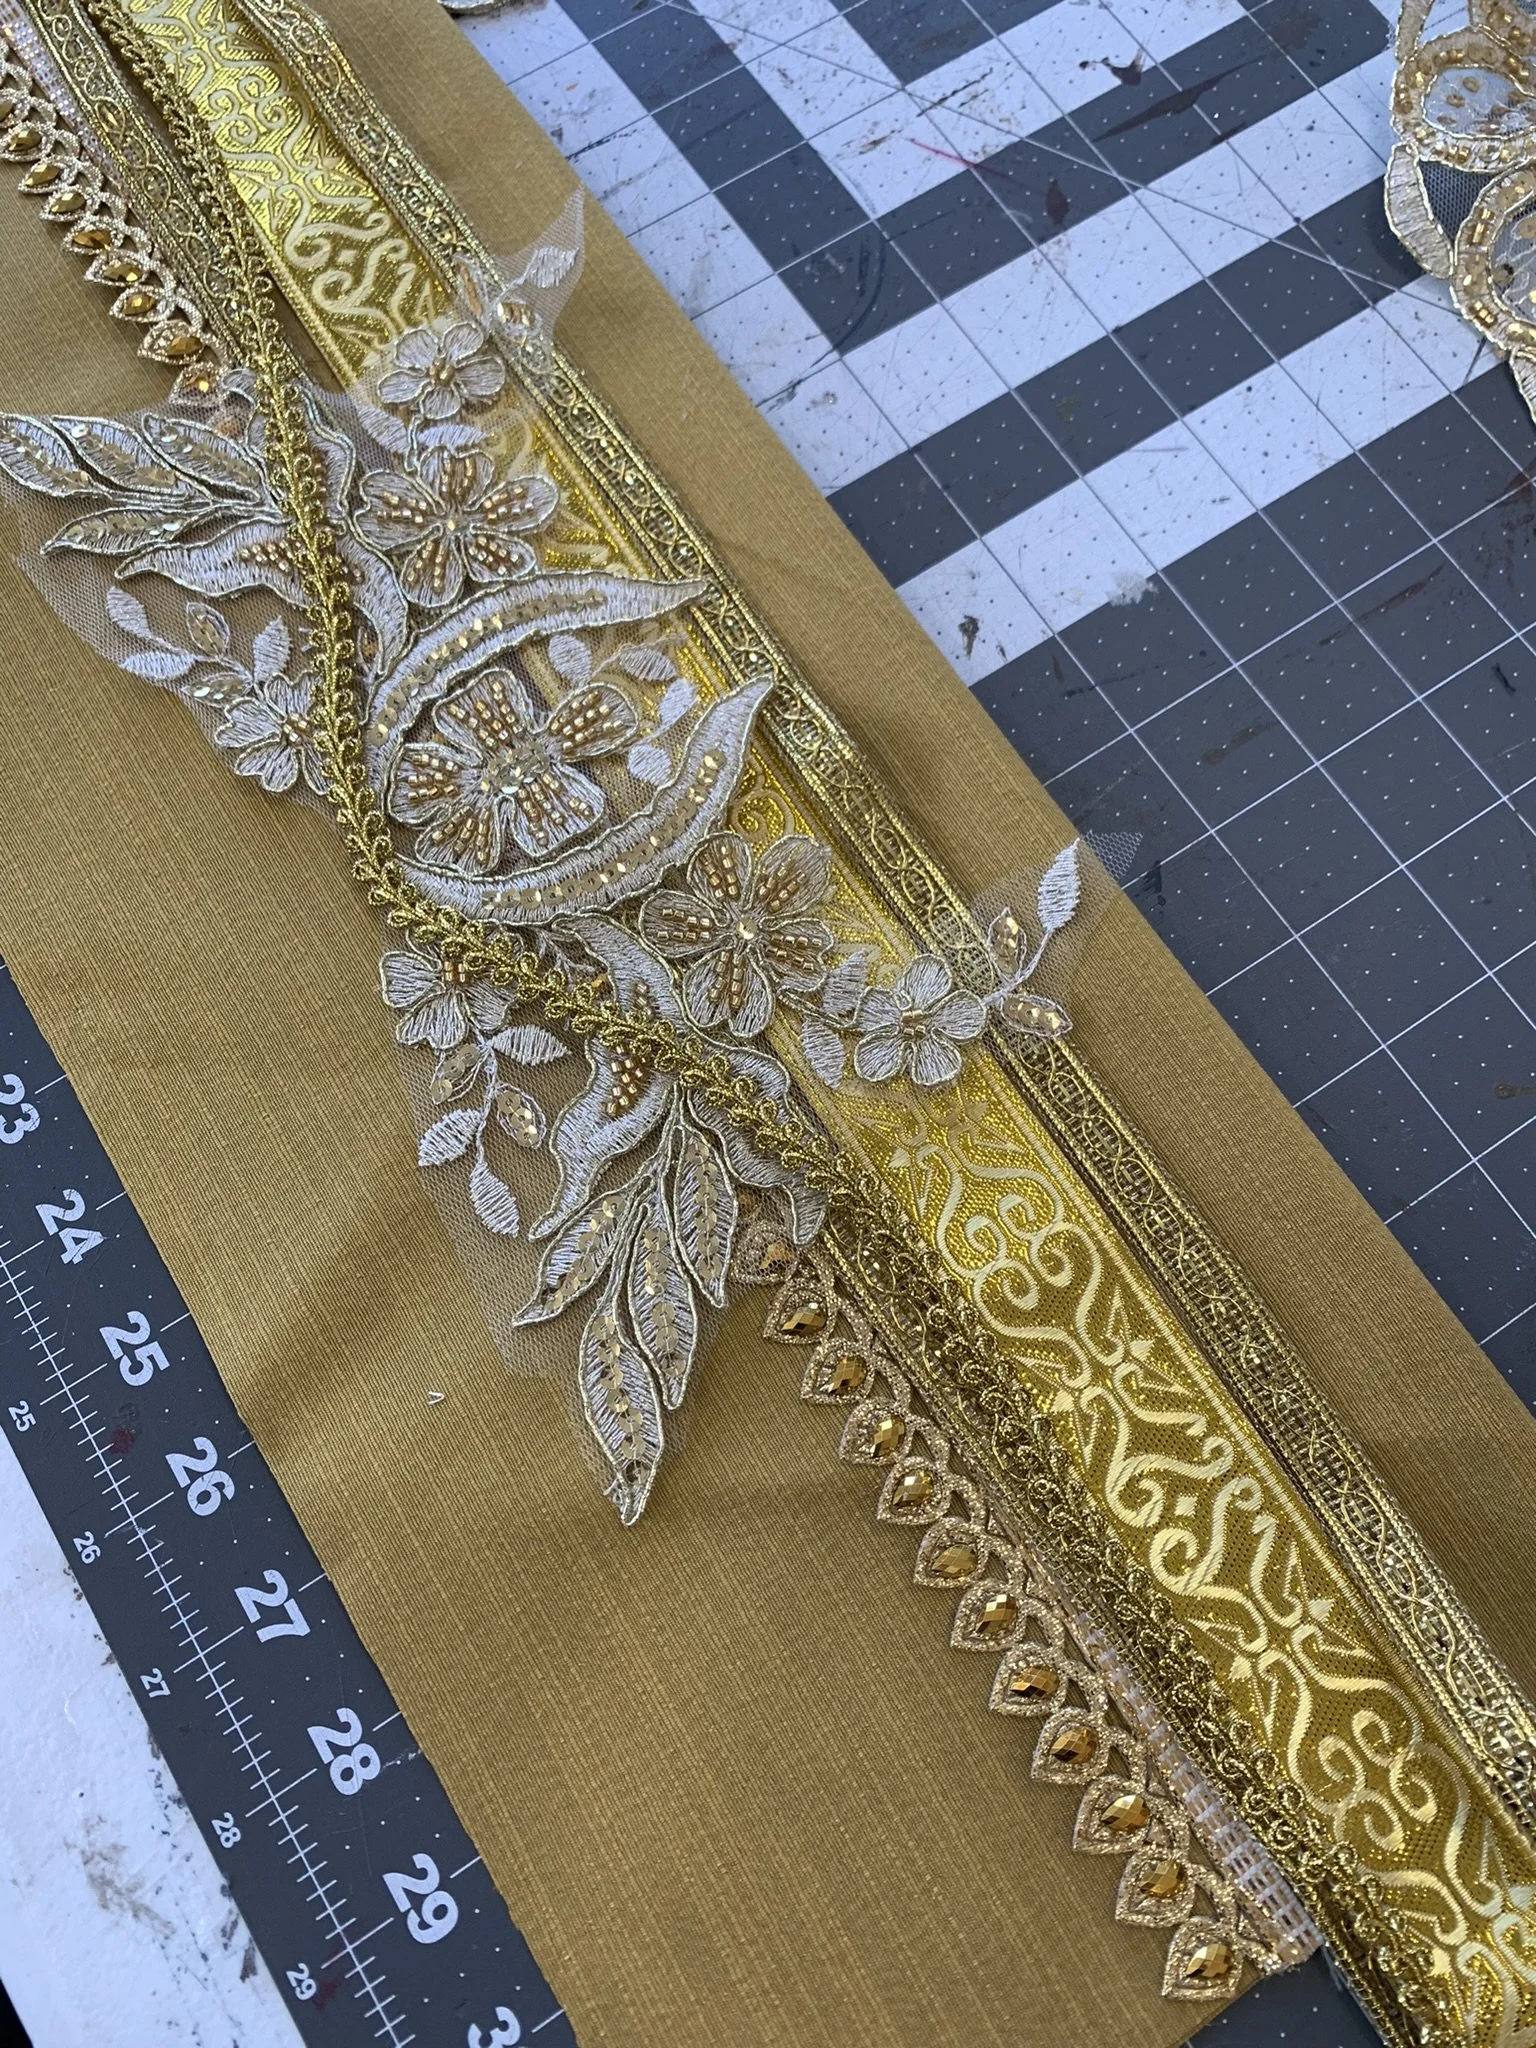
I go through several iterations of lace placements until I like something. This is a process usually spanning a couple of days. I lay out an idea, photograph it, lay out another idea, photograph that. I try to limit myself to 3 but for Frieren there were so many pieces I did a lot more than that.
I try not to cut into the trims or lace until I like something.
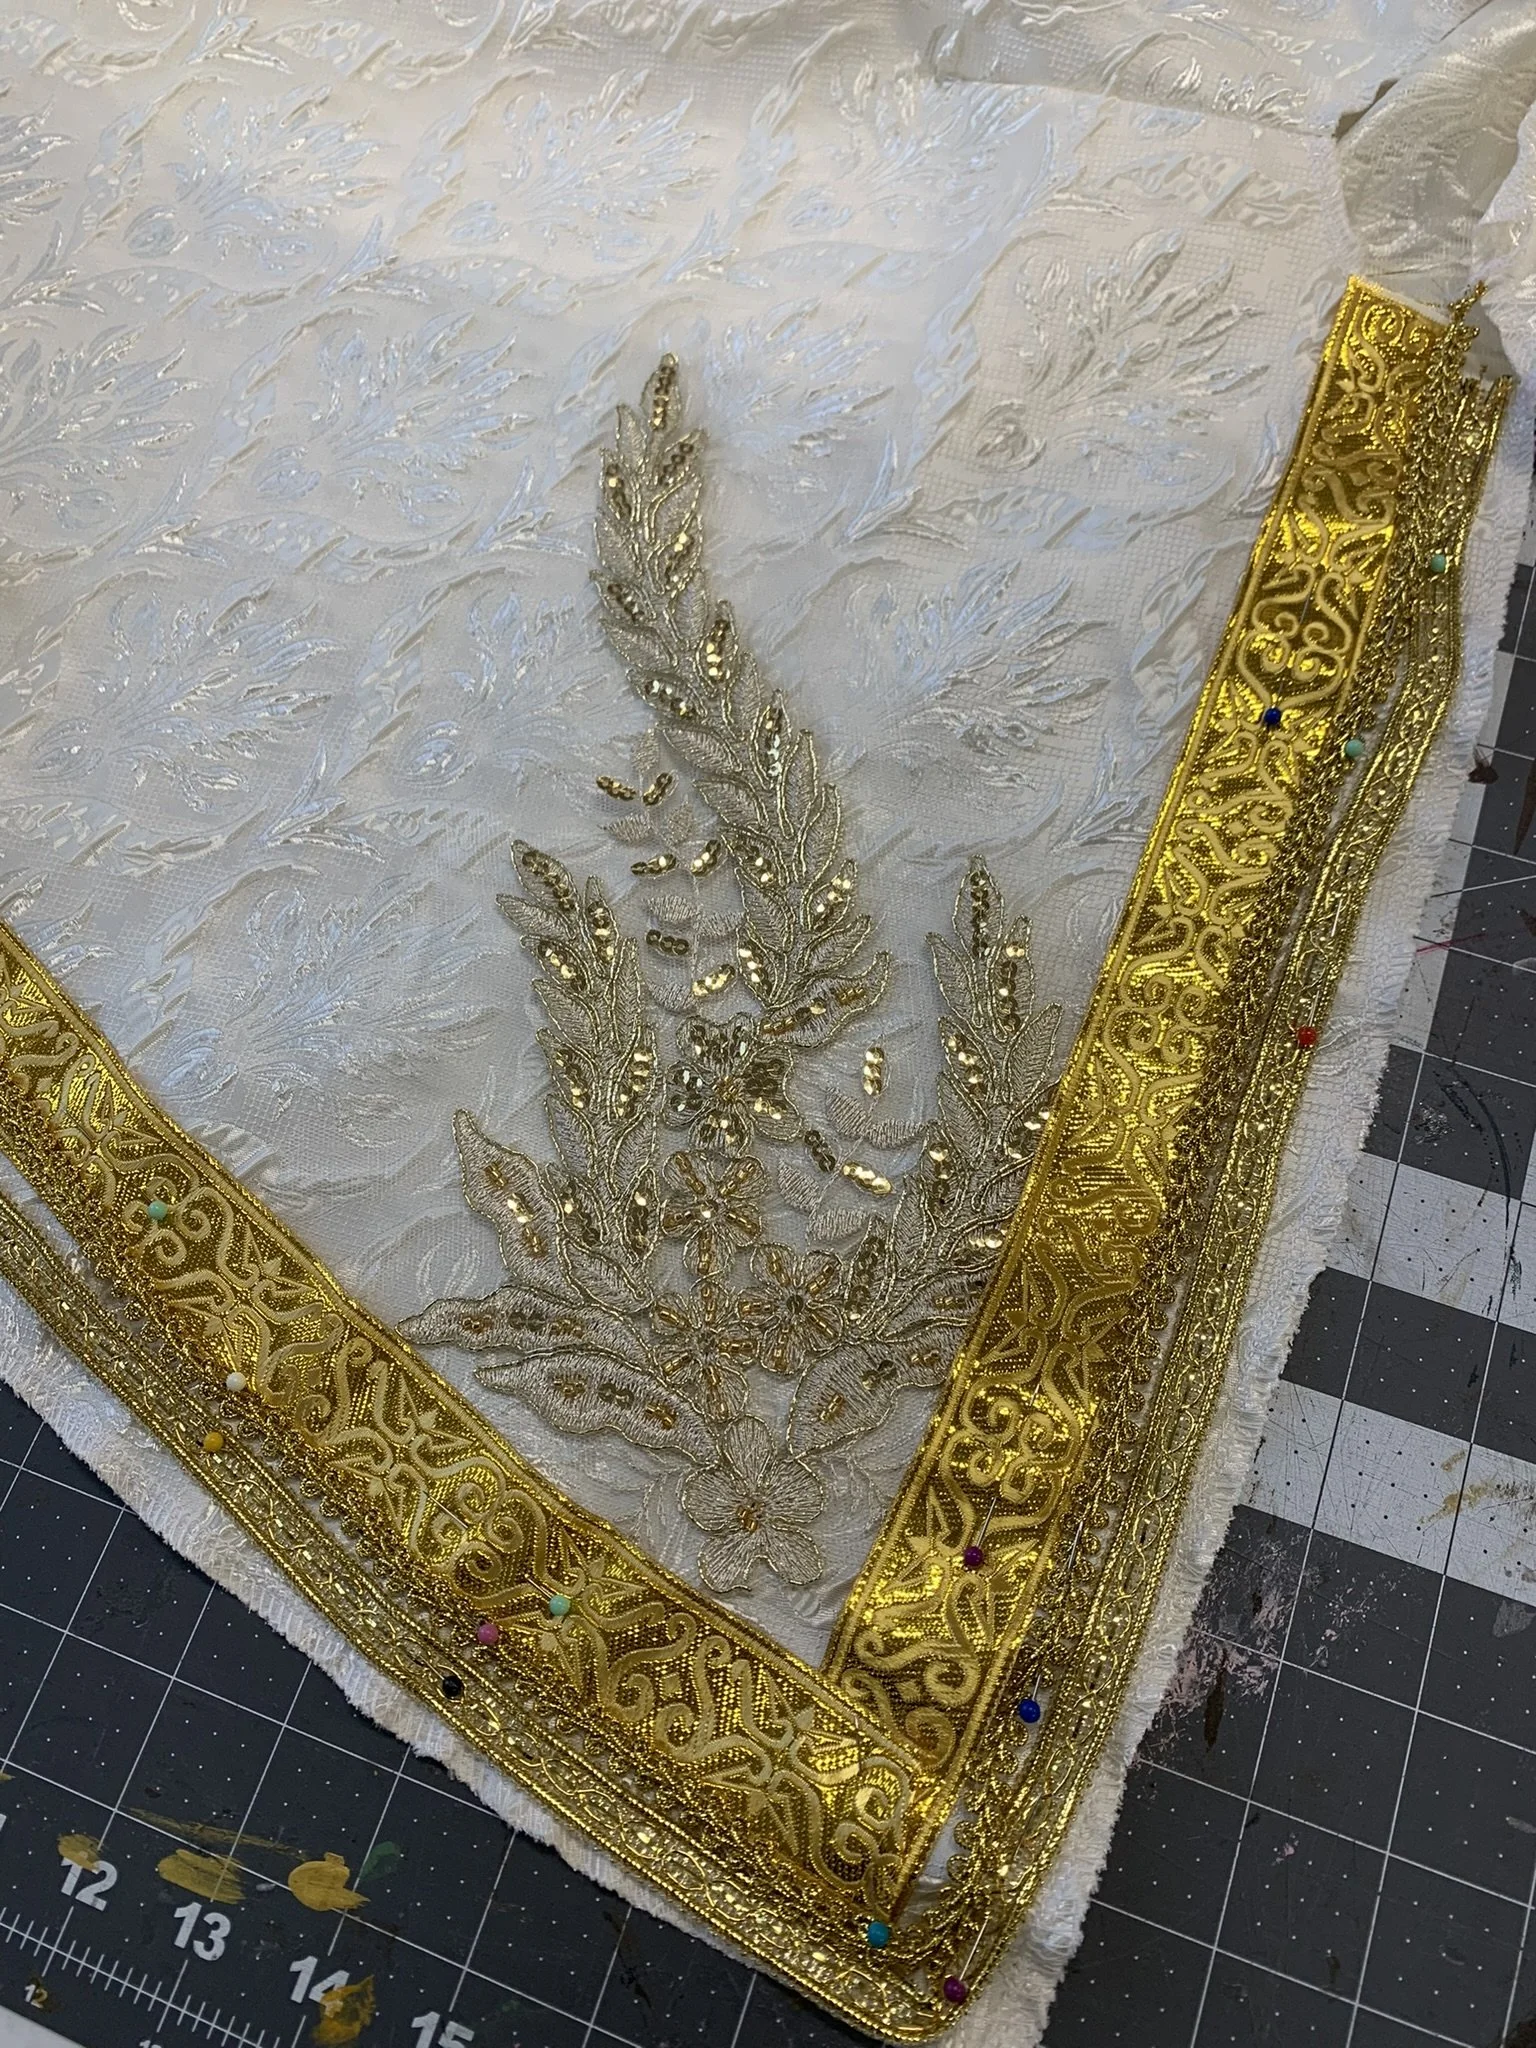
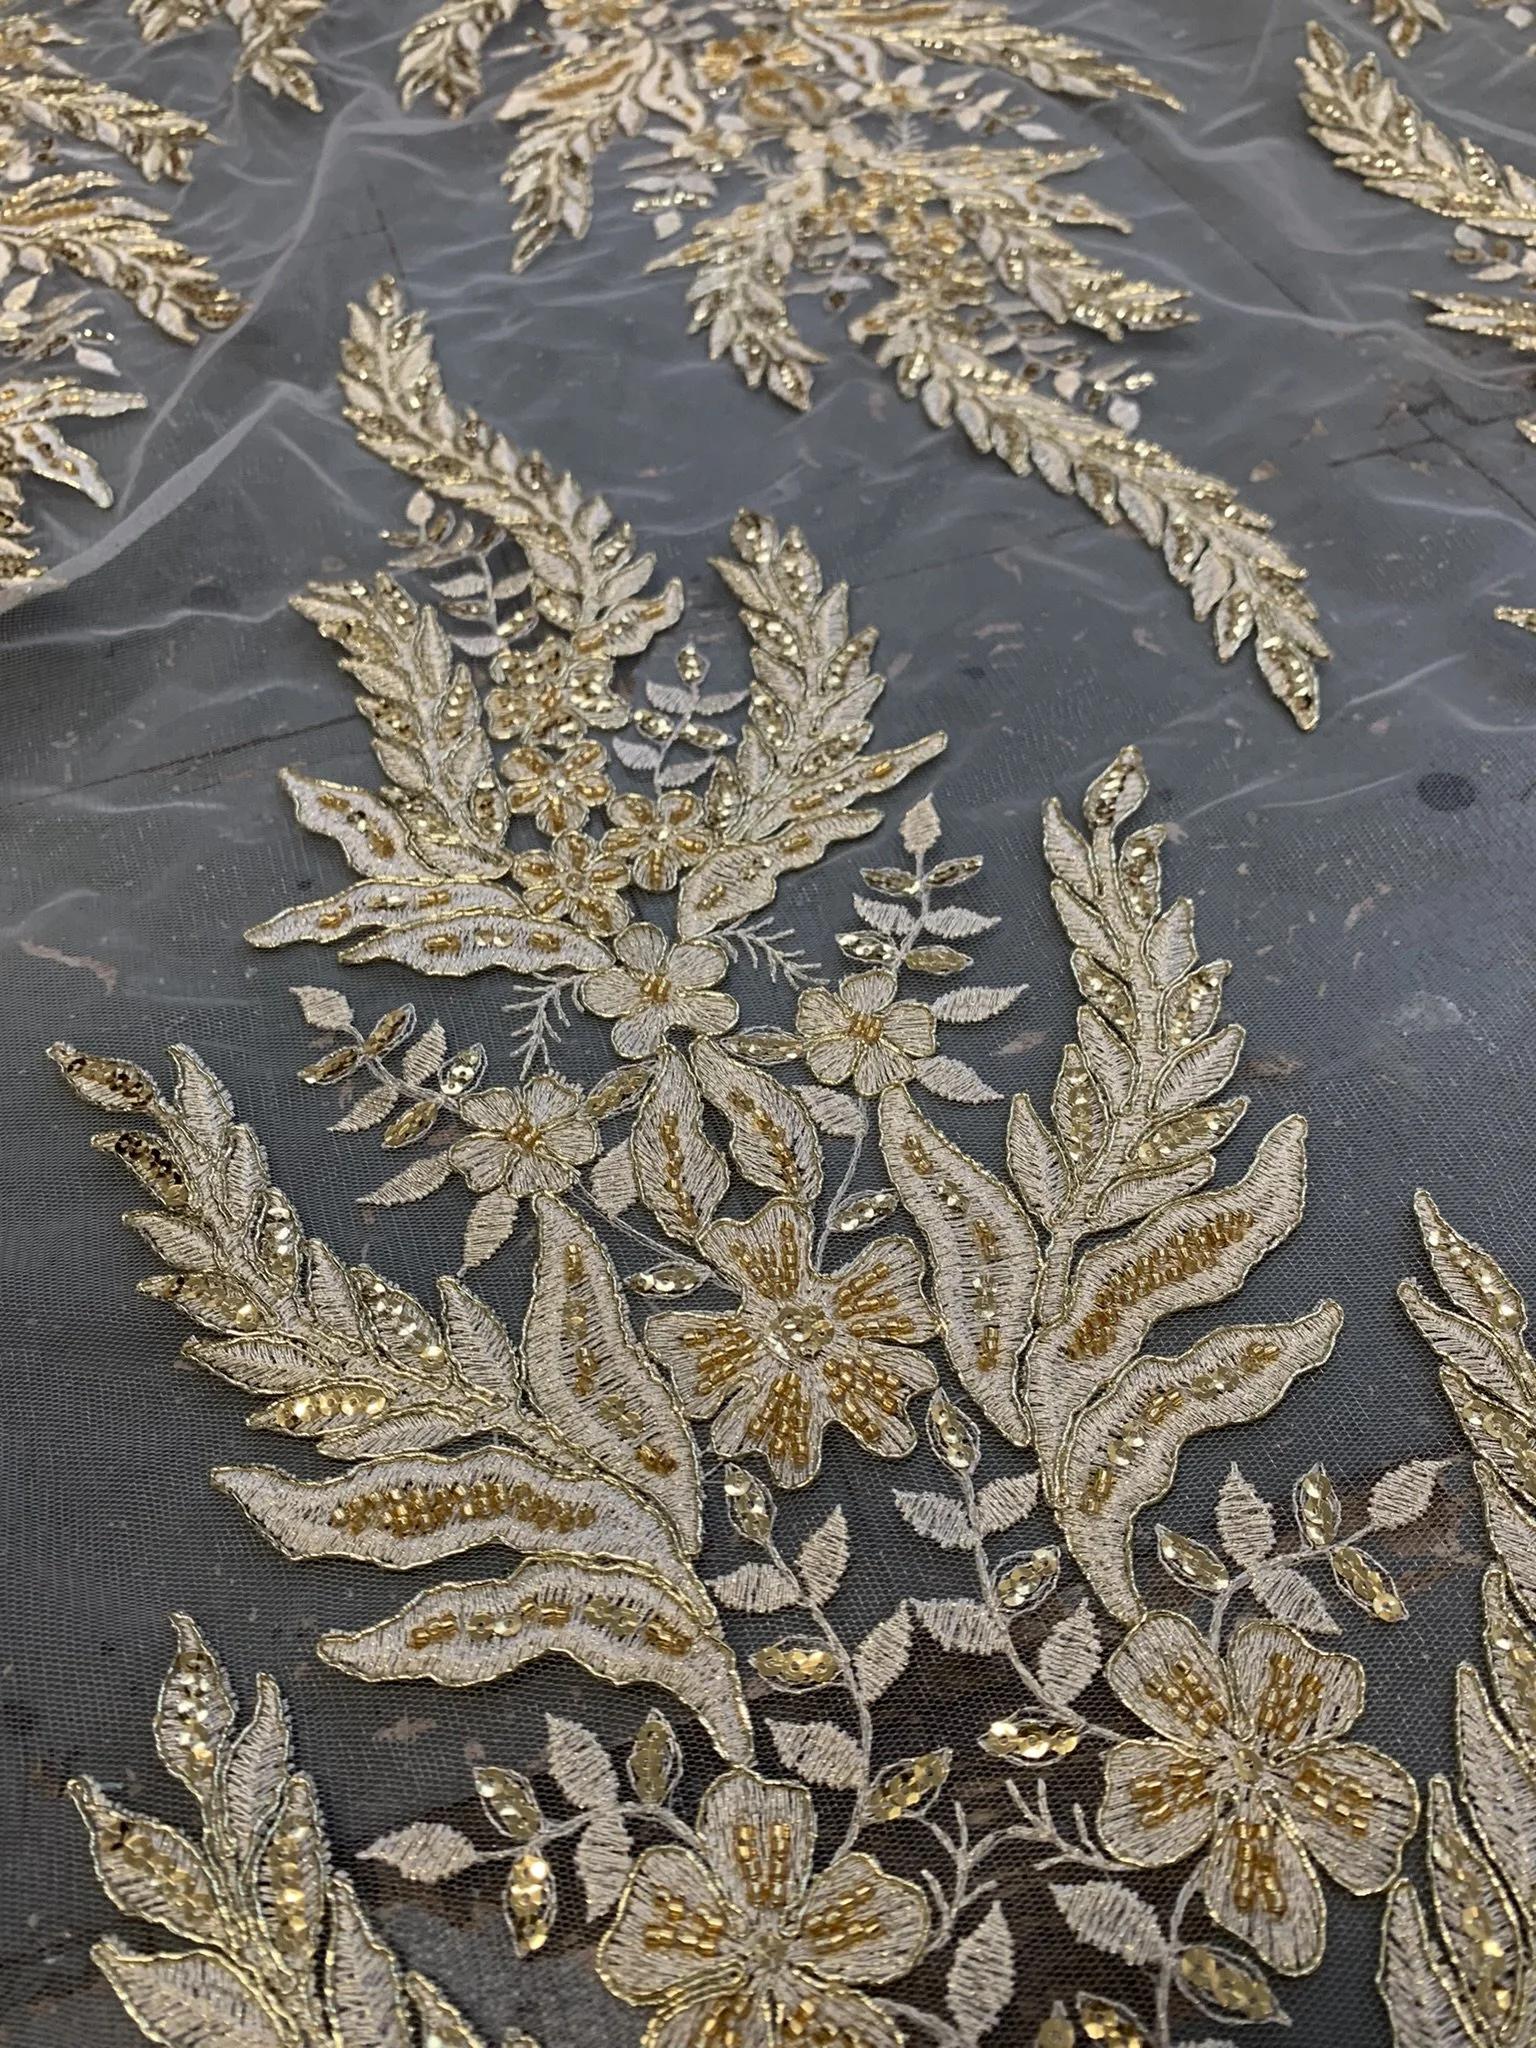
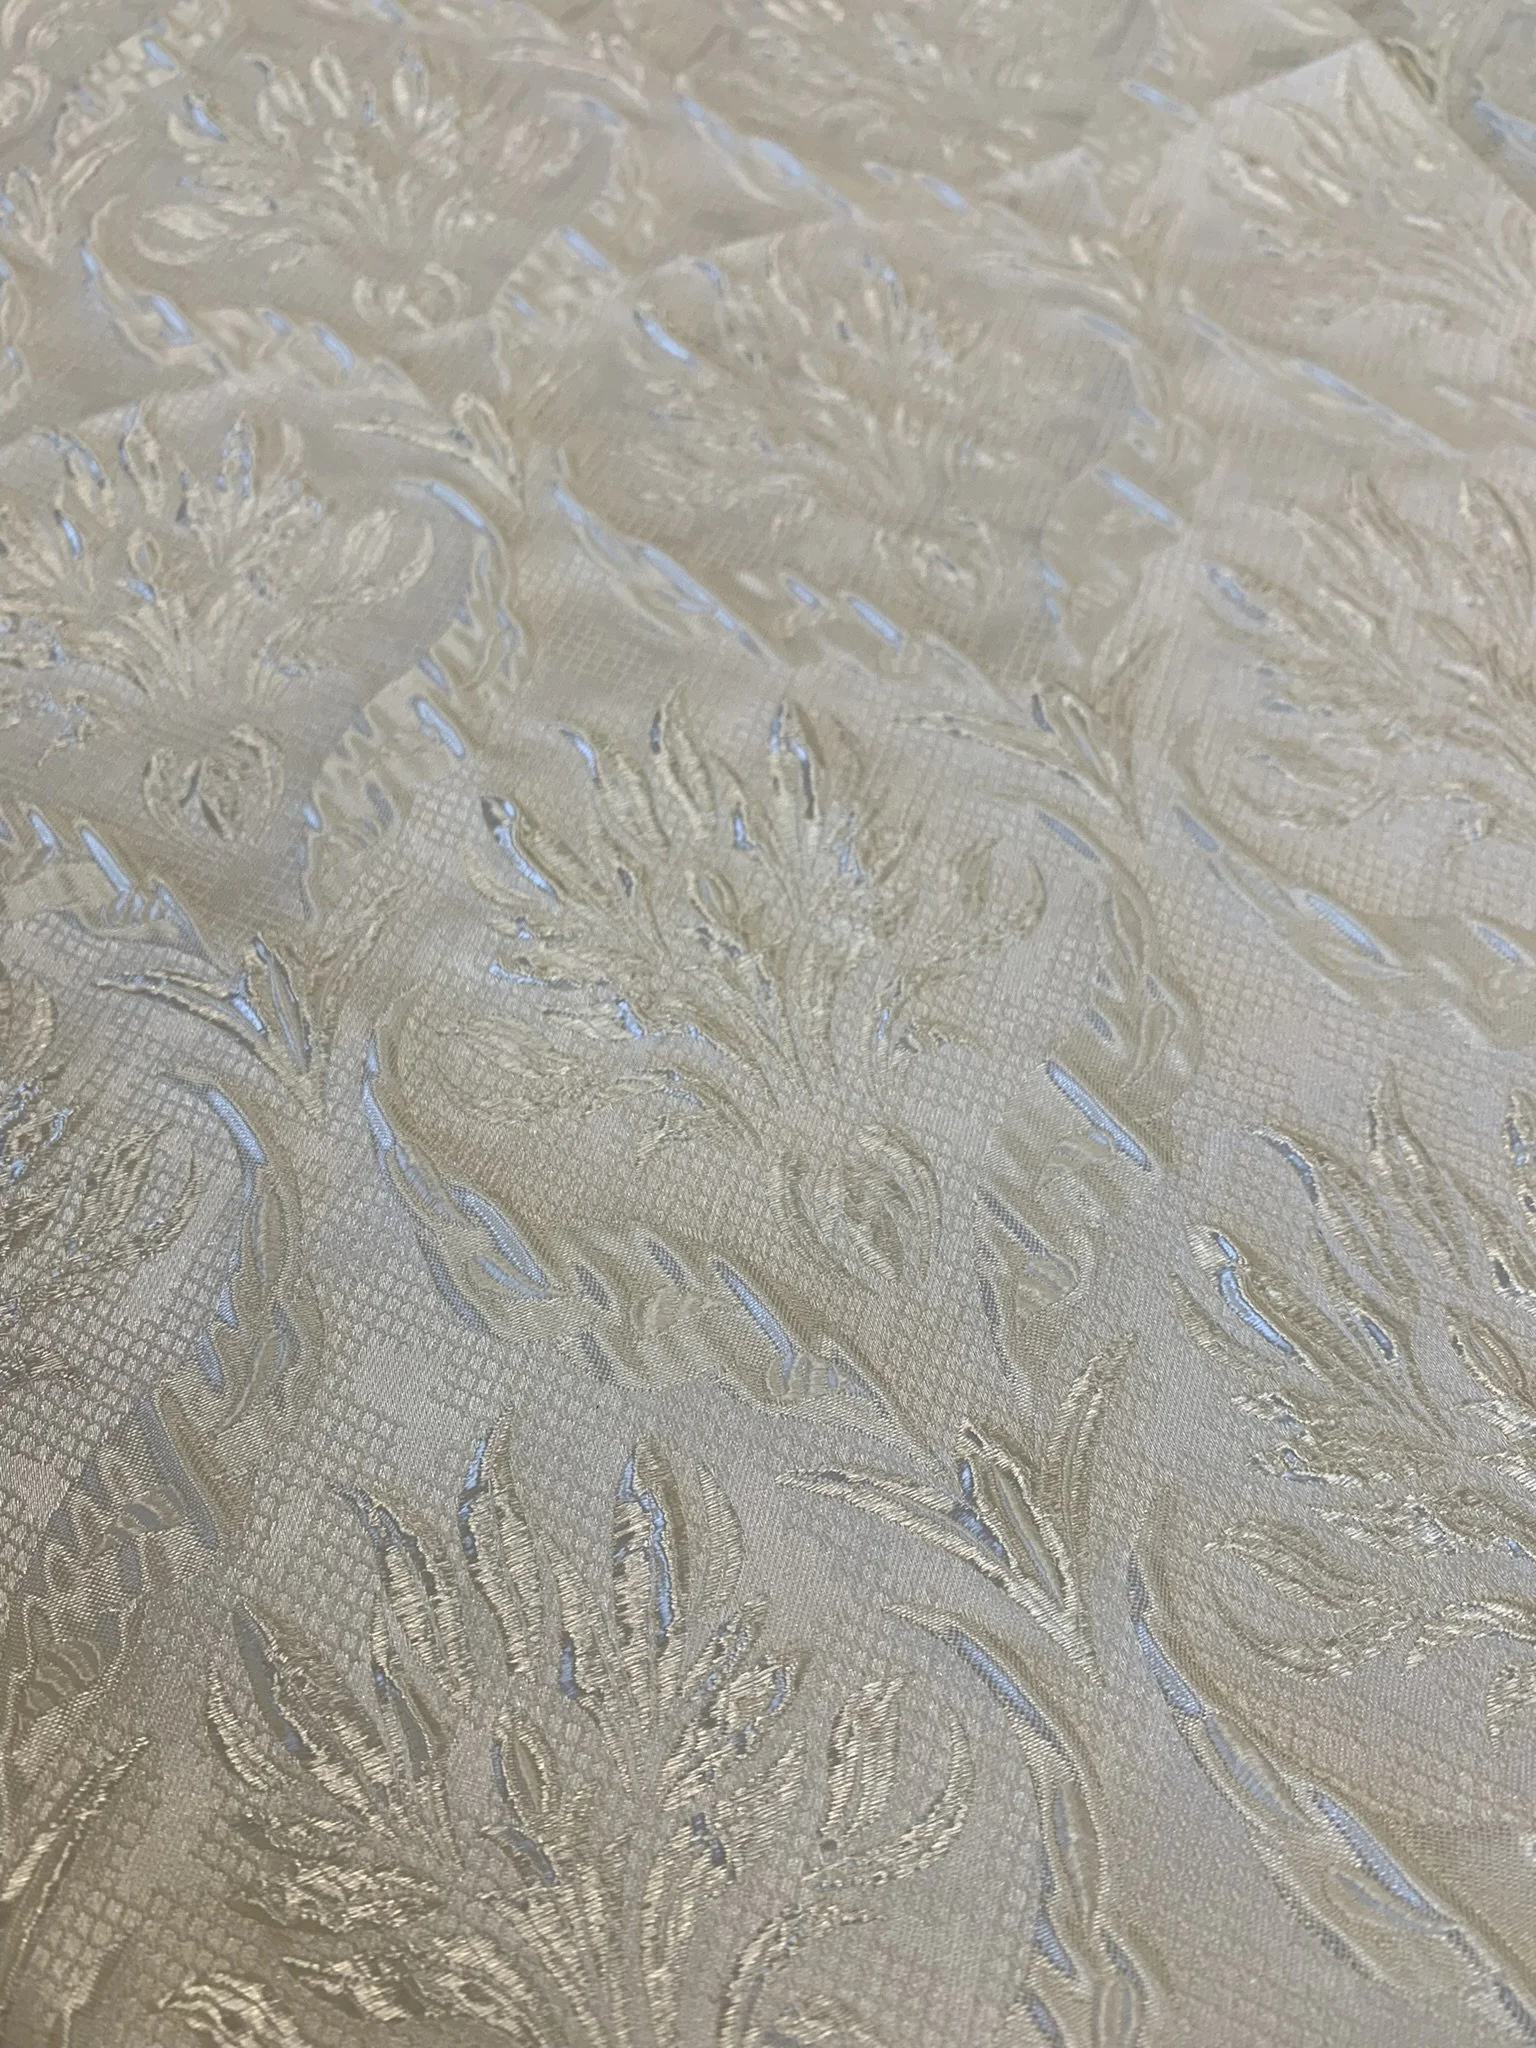
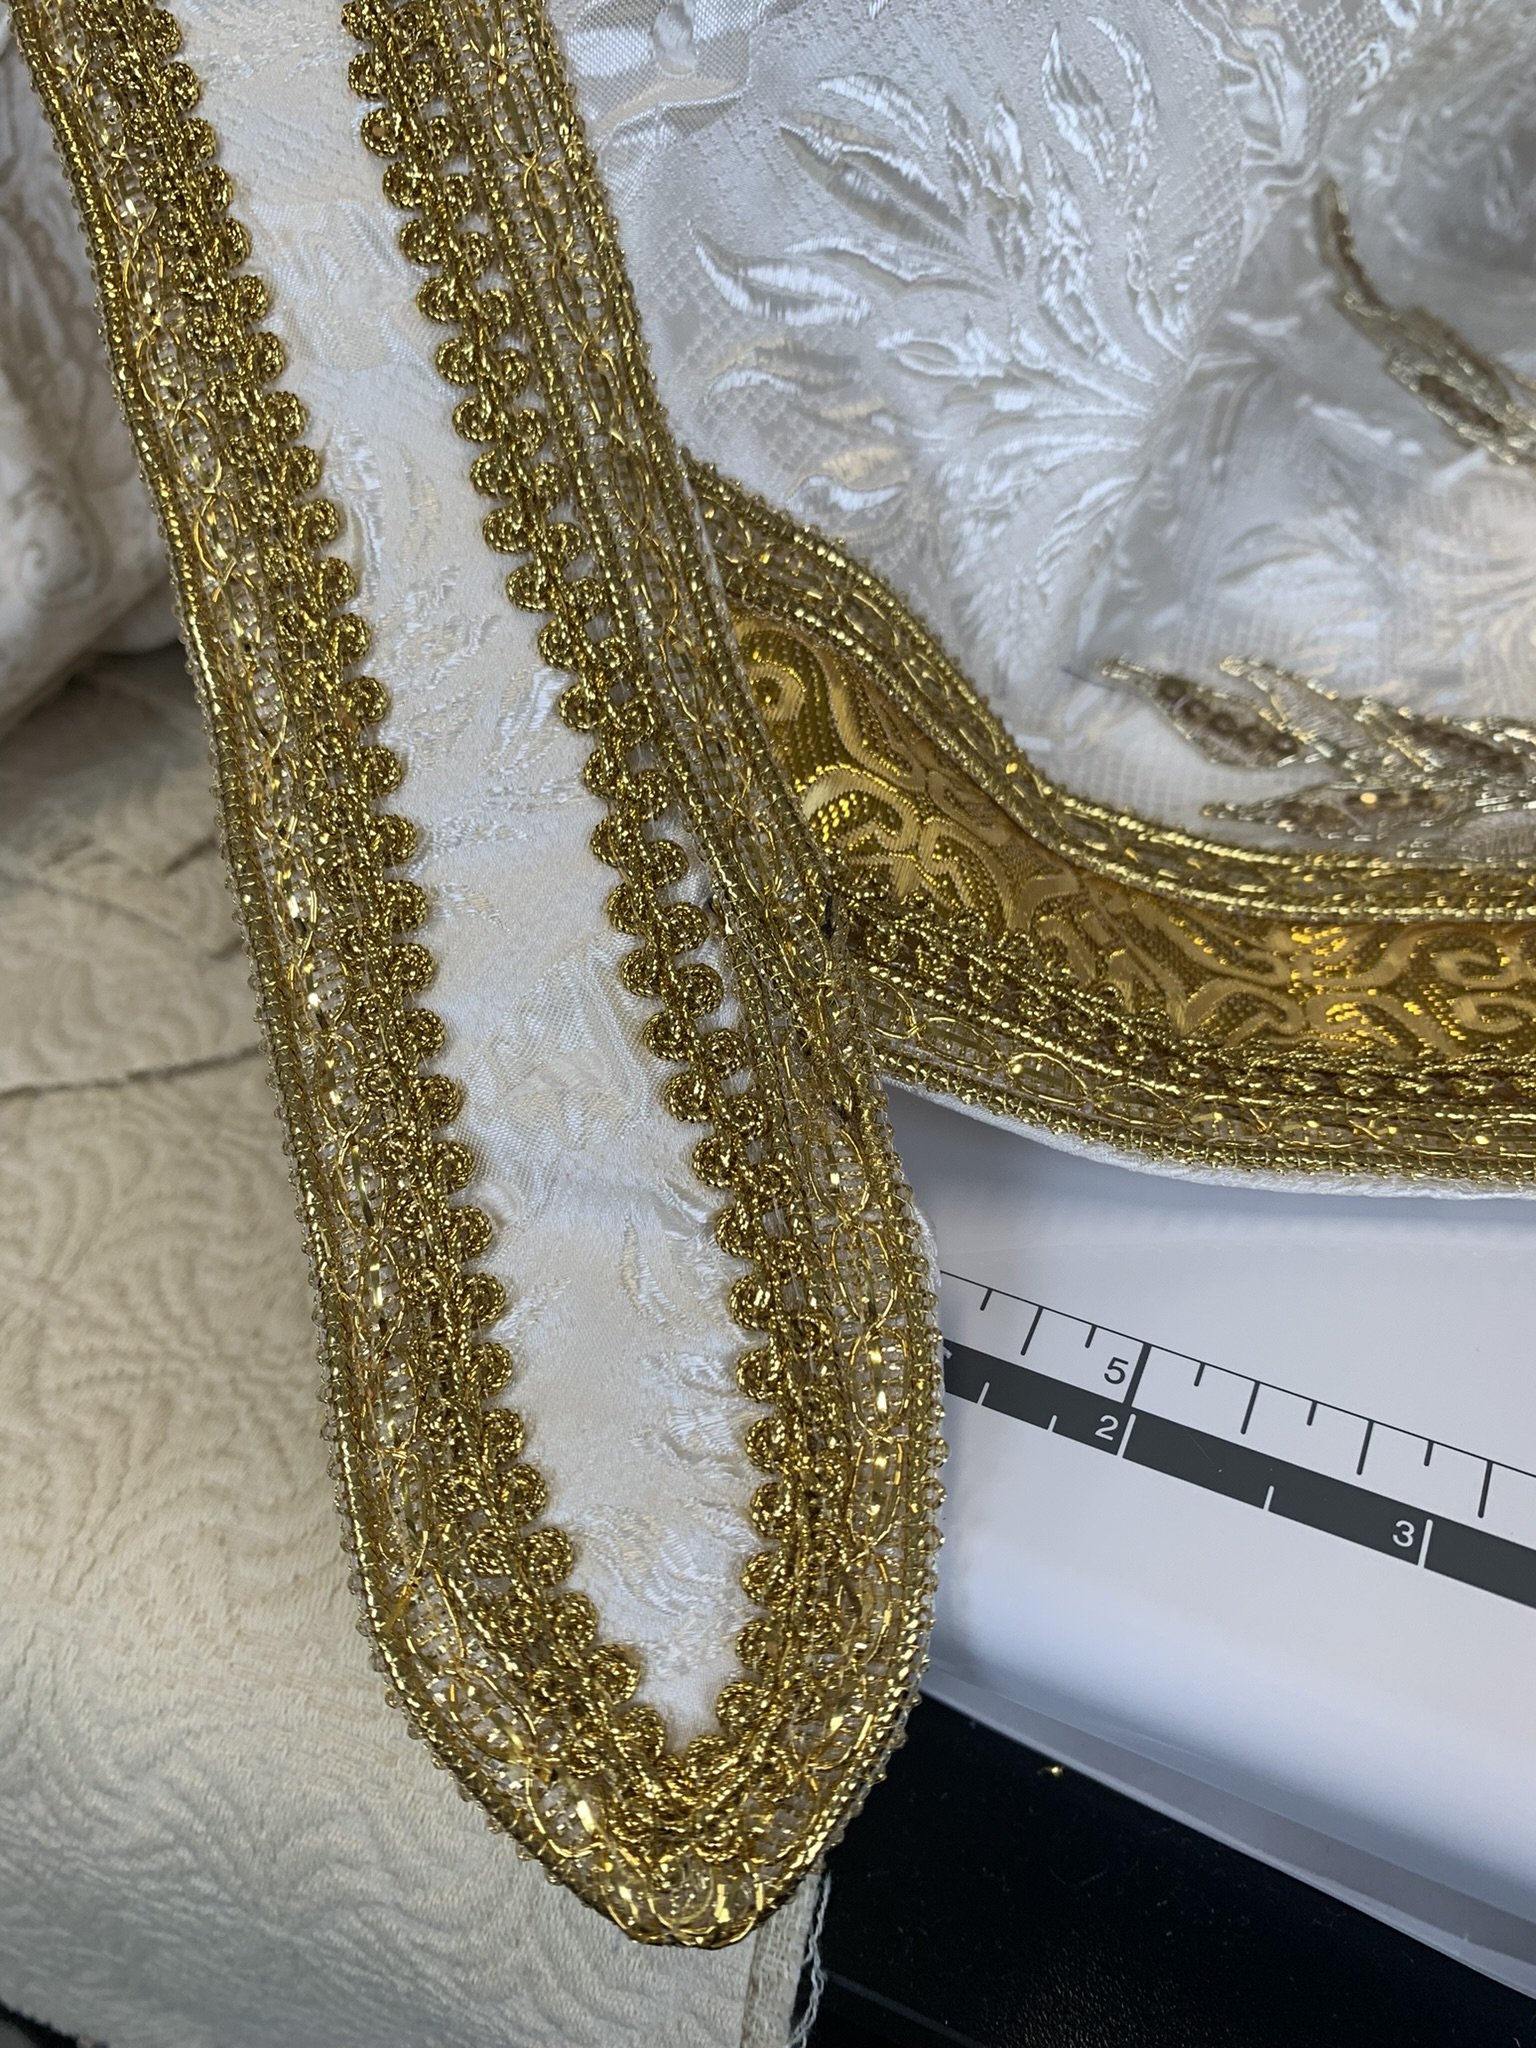
This is how the lace fabric originally looked before I cut it into pieces:
I cut up the lace and rearrange individual pieces so it doesn’t look like a copy and paste from flat fabric to garment. Cutting into the design creates loose ends. So I finish each piece with a dab of glue so the embroidery doesn’t fray or unravel.
The lace is cut back and then melted with a lighter to seal the edges, also to reduce the lace as much as possible. It’s easy for it to feel invisible especially on white, but will I know it’s there, so away it goes.
I often have to sew beads and sequins back into place.
It’s really important to me for everything I make to feel original and all the trims I use together feel cohesive and seamlessly work together.
Once I’m happy with the trim arrangements the process of finishing starts. I machine stitched and finished the hems of the skirt and shawl. The skirt is finished via lining and a slightly curved waistband. The lining does not attach to the skirt, functioning like a petticoat. Both the bottom hem of the skirt and the lining have a double fold hem. The shawl is finished with a lining, this lining does attach at the hem to finish in a closed seam. The undershirt is also lined but I haven’t quite gotten to that step yet.
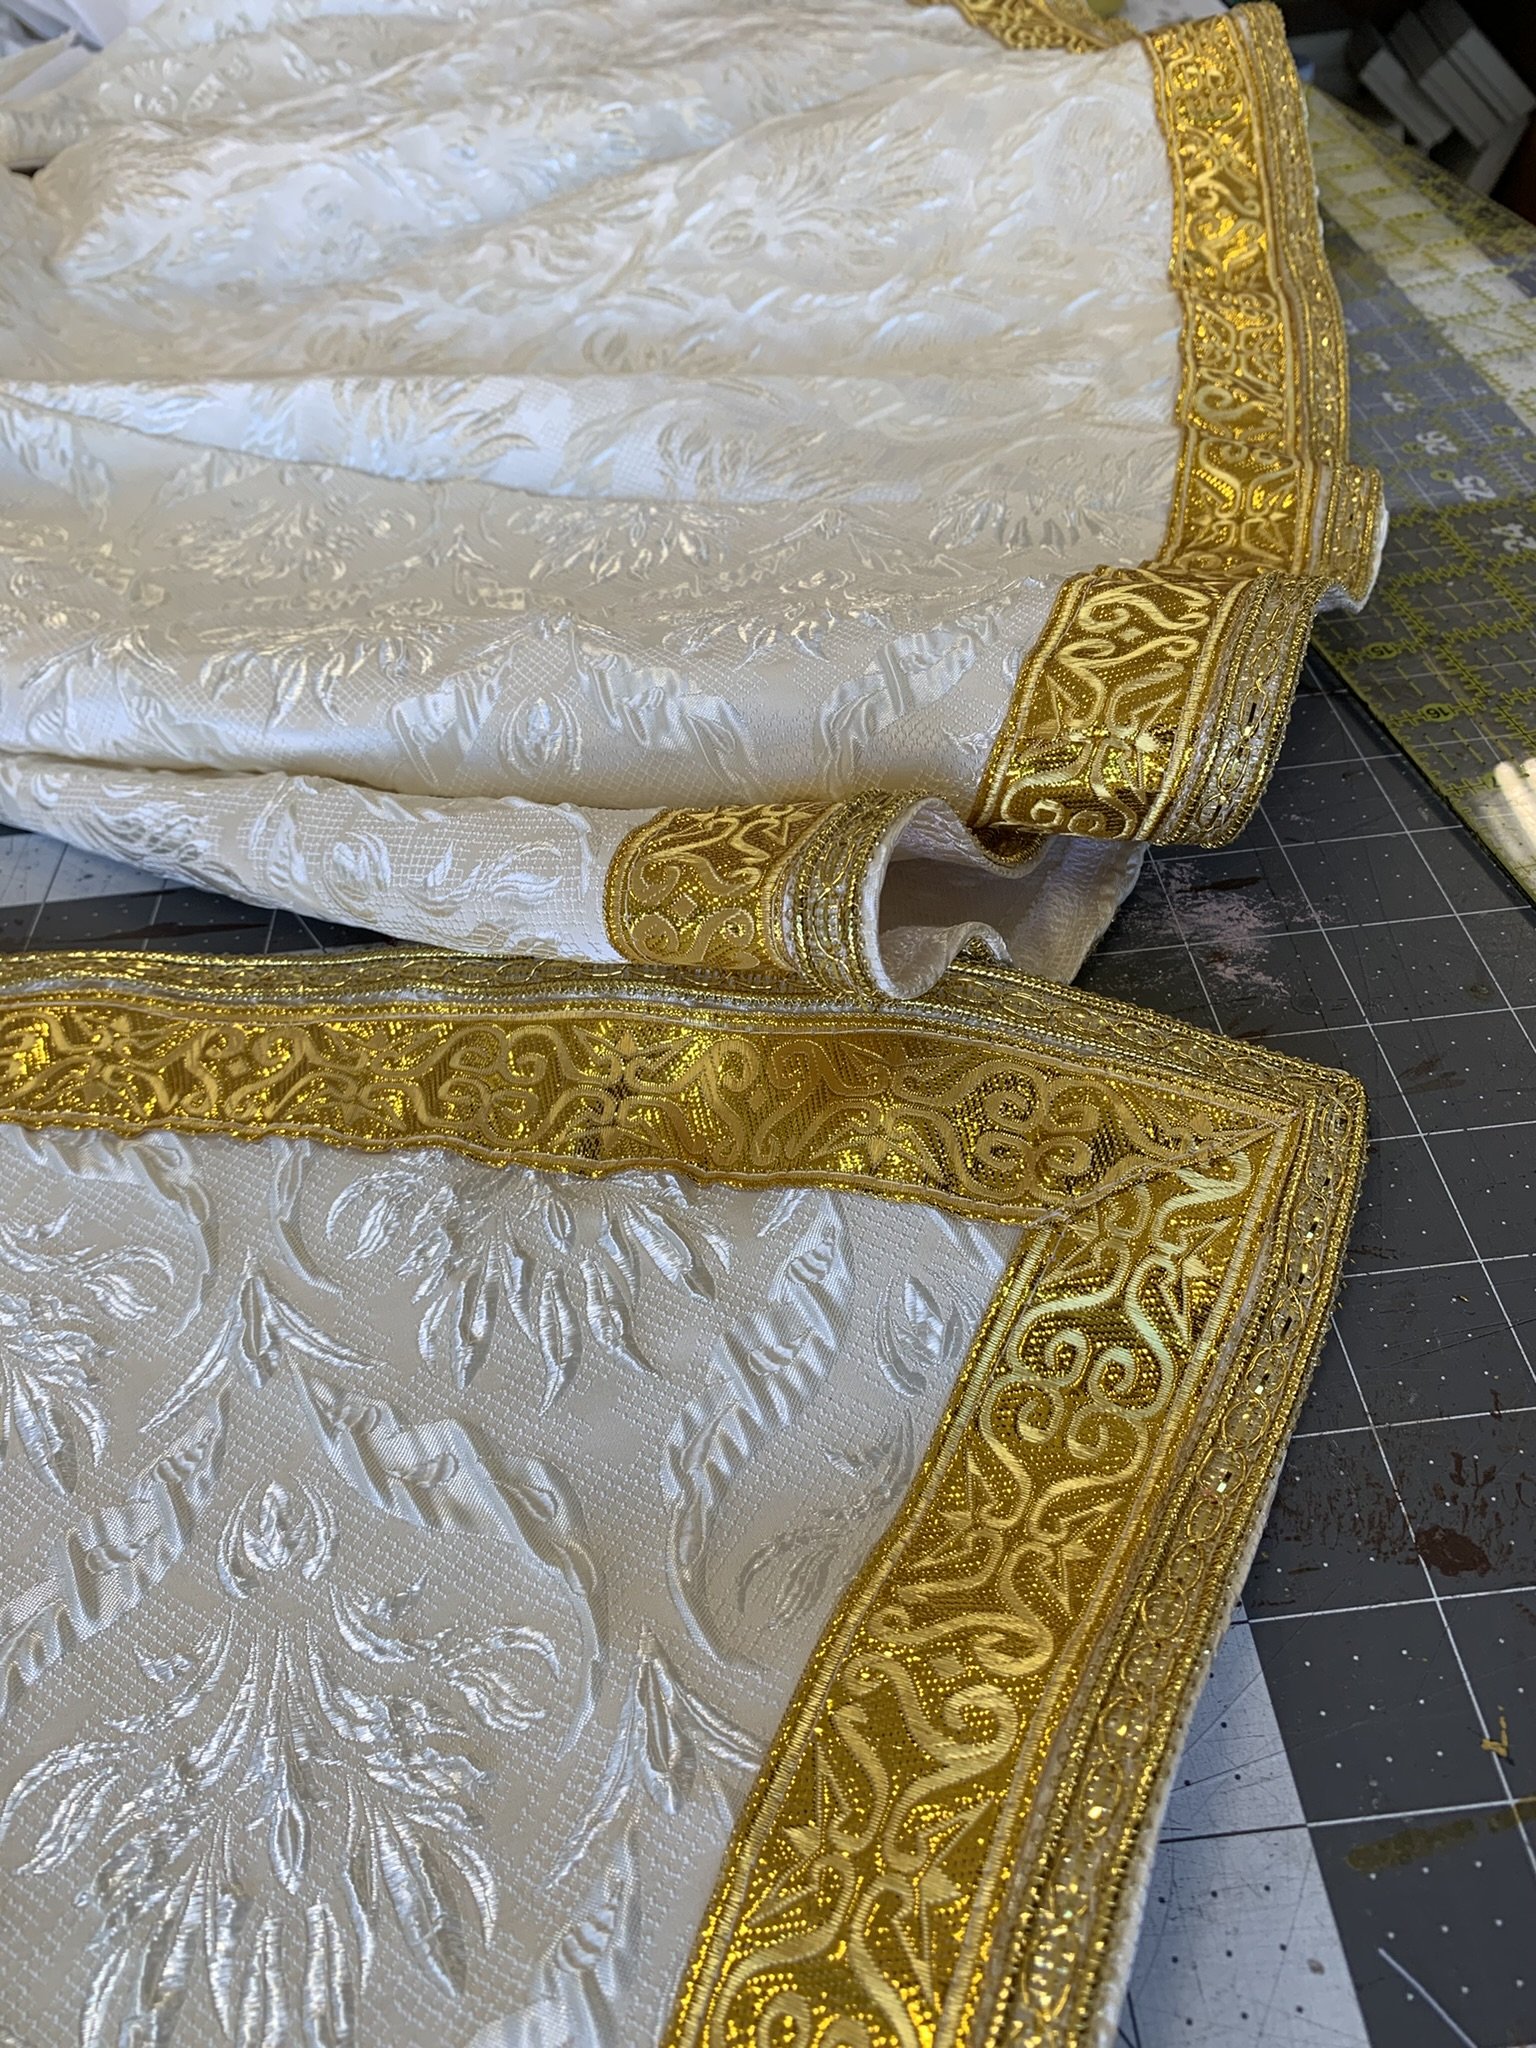
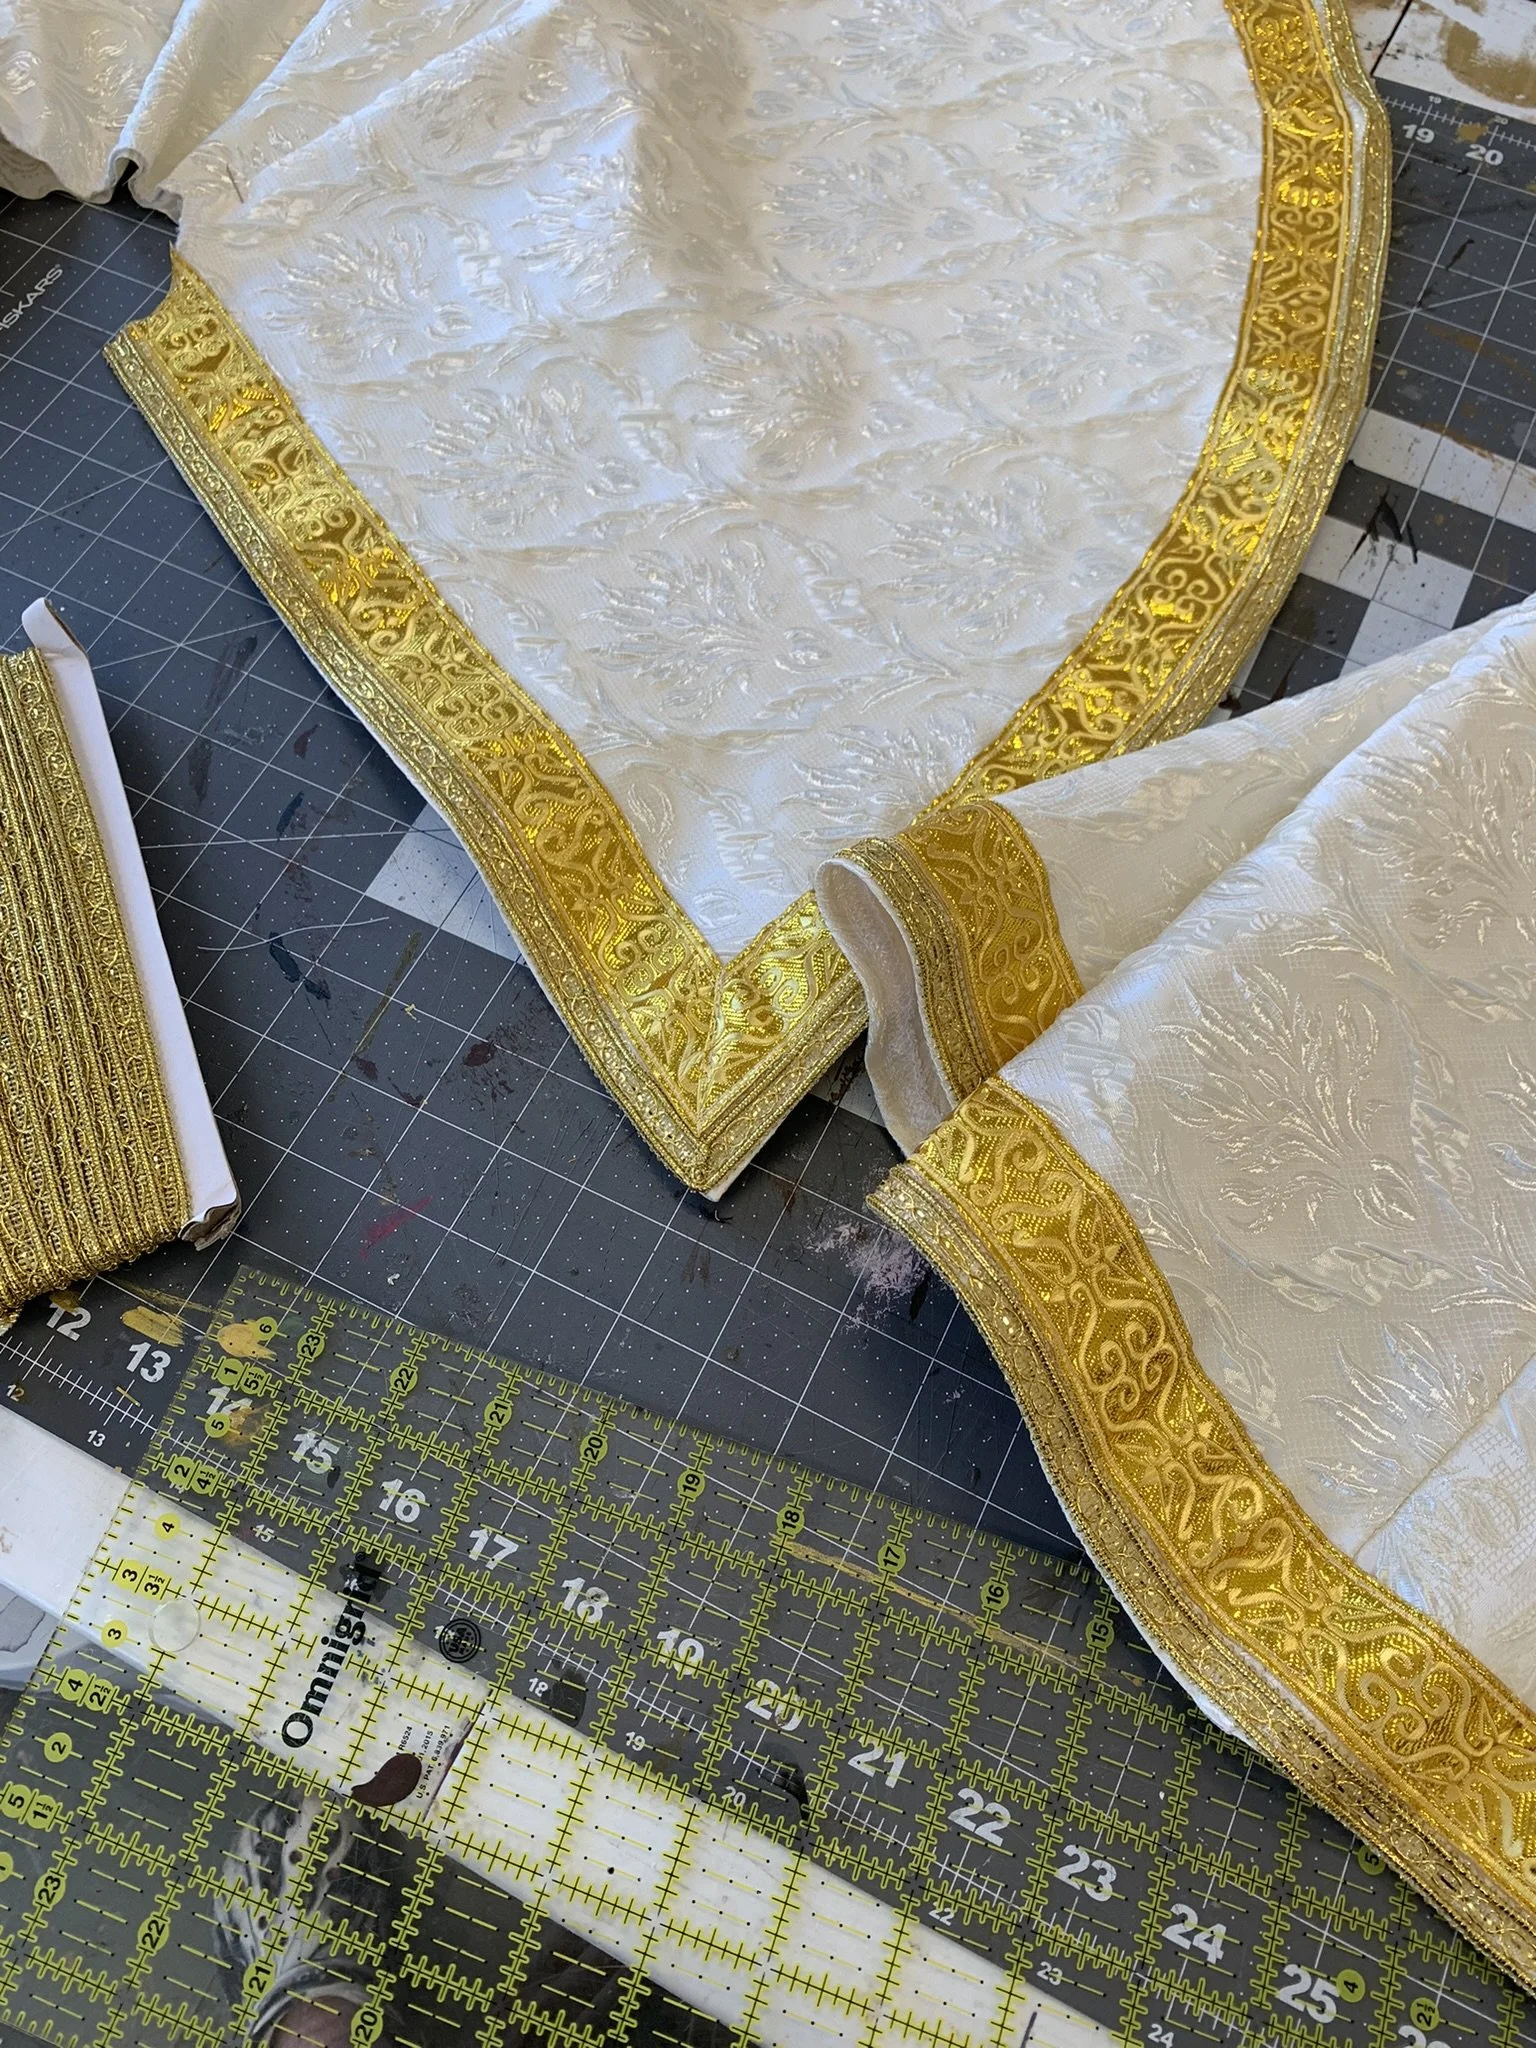
The ribbon trims are sewn down with a machine. I did have to gather the top edge of the thicker ribbon trim to go seamlessly around the curve. These are done after the lining has closed the front and bottom hem.
Because of the mild symmetry of the branching pieces of my pieces of lace, I pin everything down pretty meticulously and hand sew all the applique. It’s at this stage that I add back lost beads and make some additions as well. The shawl inside is accessible from the collar and the skirt from the open bottom. I did some stitching through both lining and top to make my life easier for the shawl.
Cuffs and eppelets
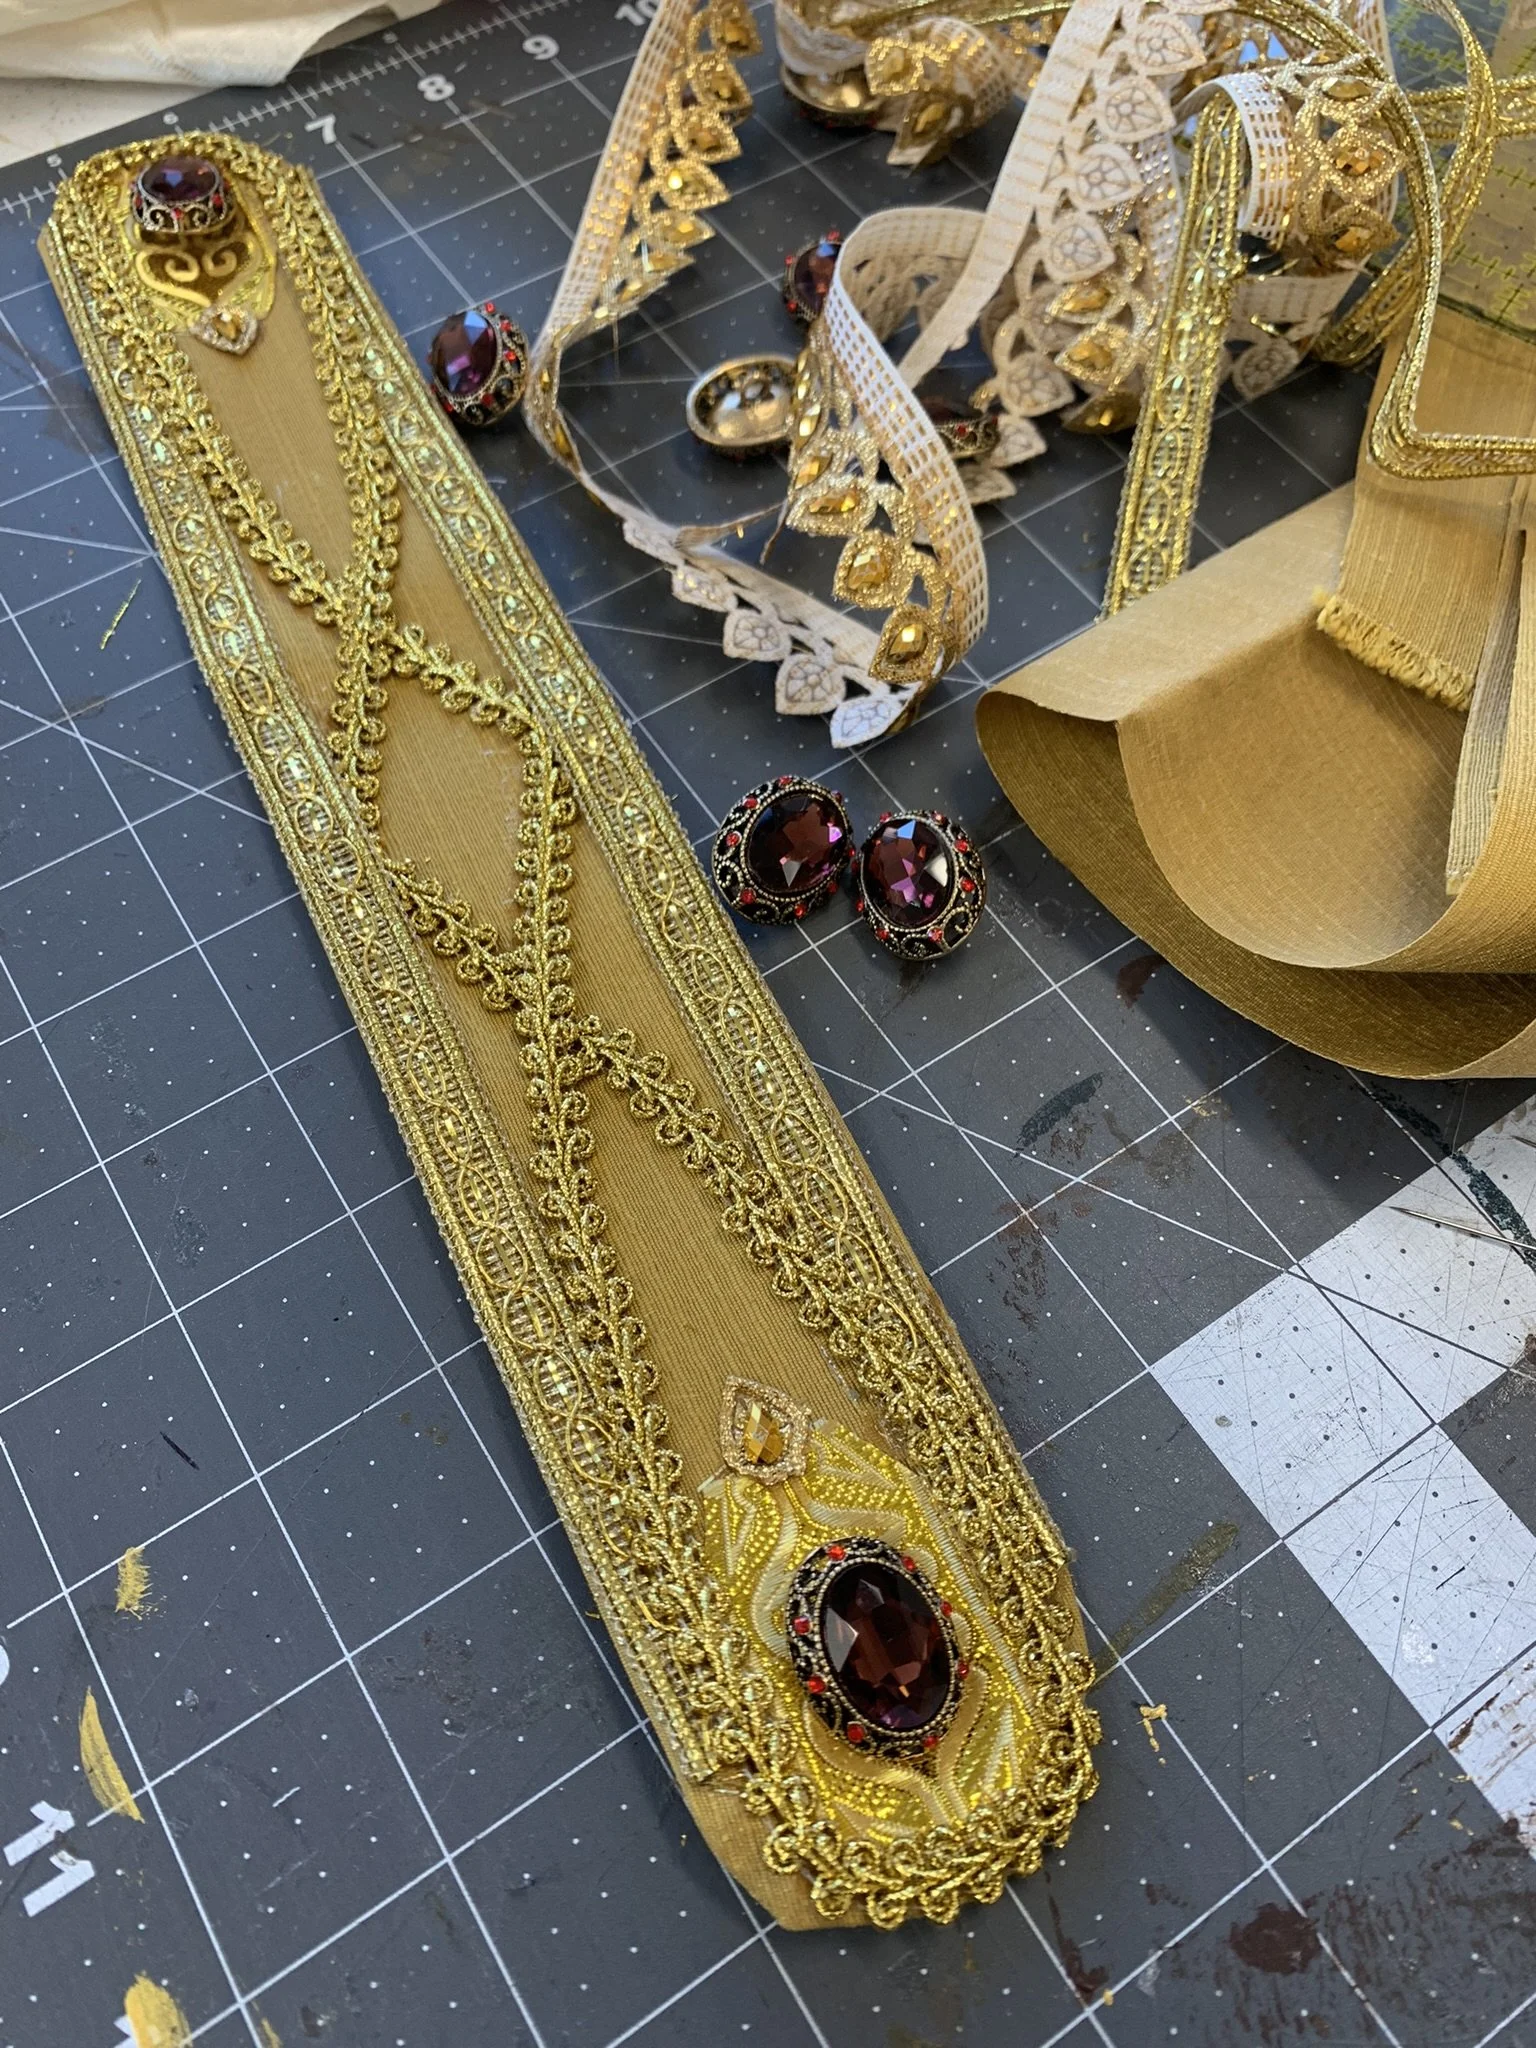
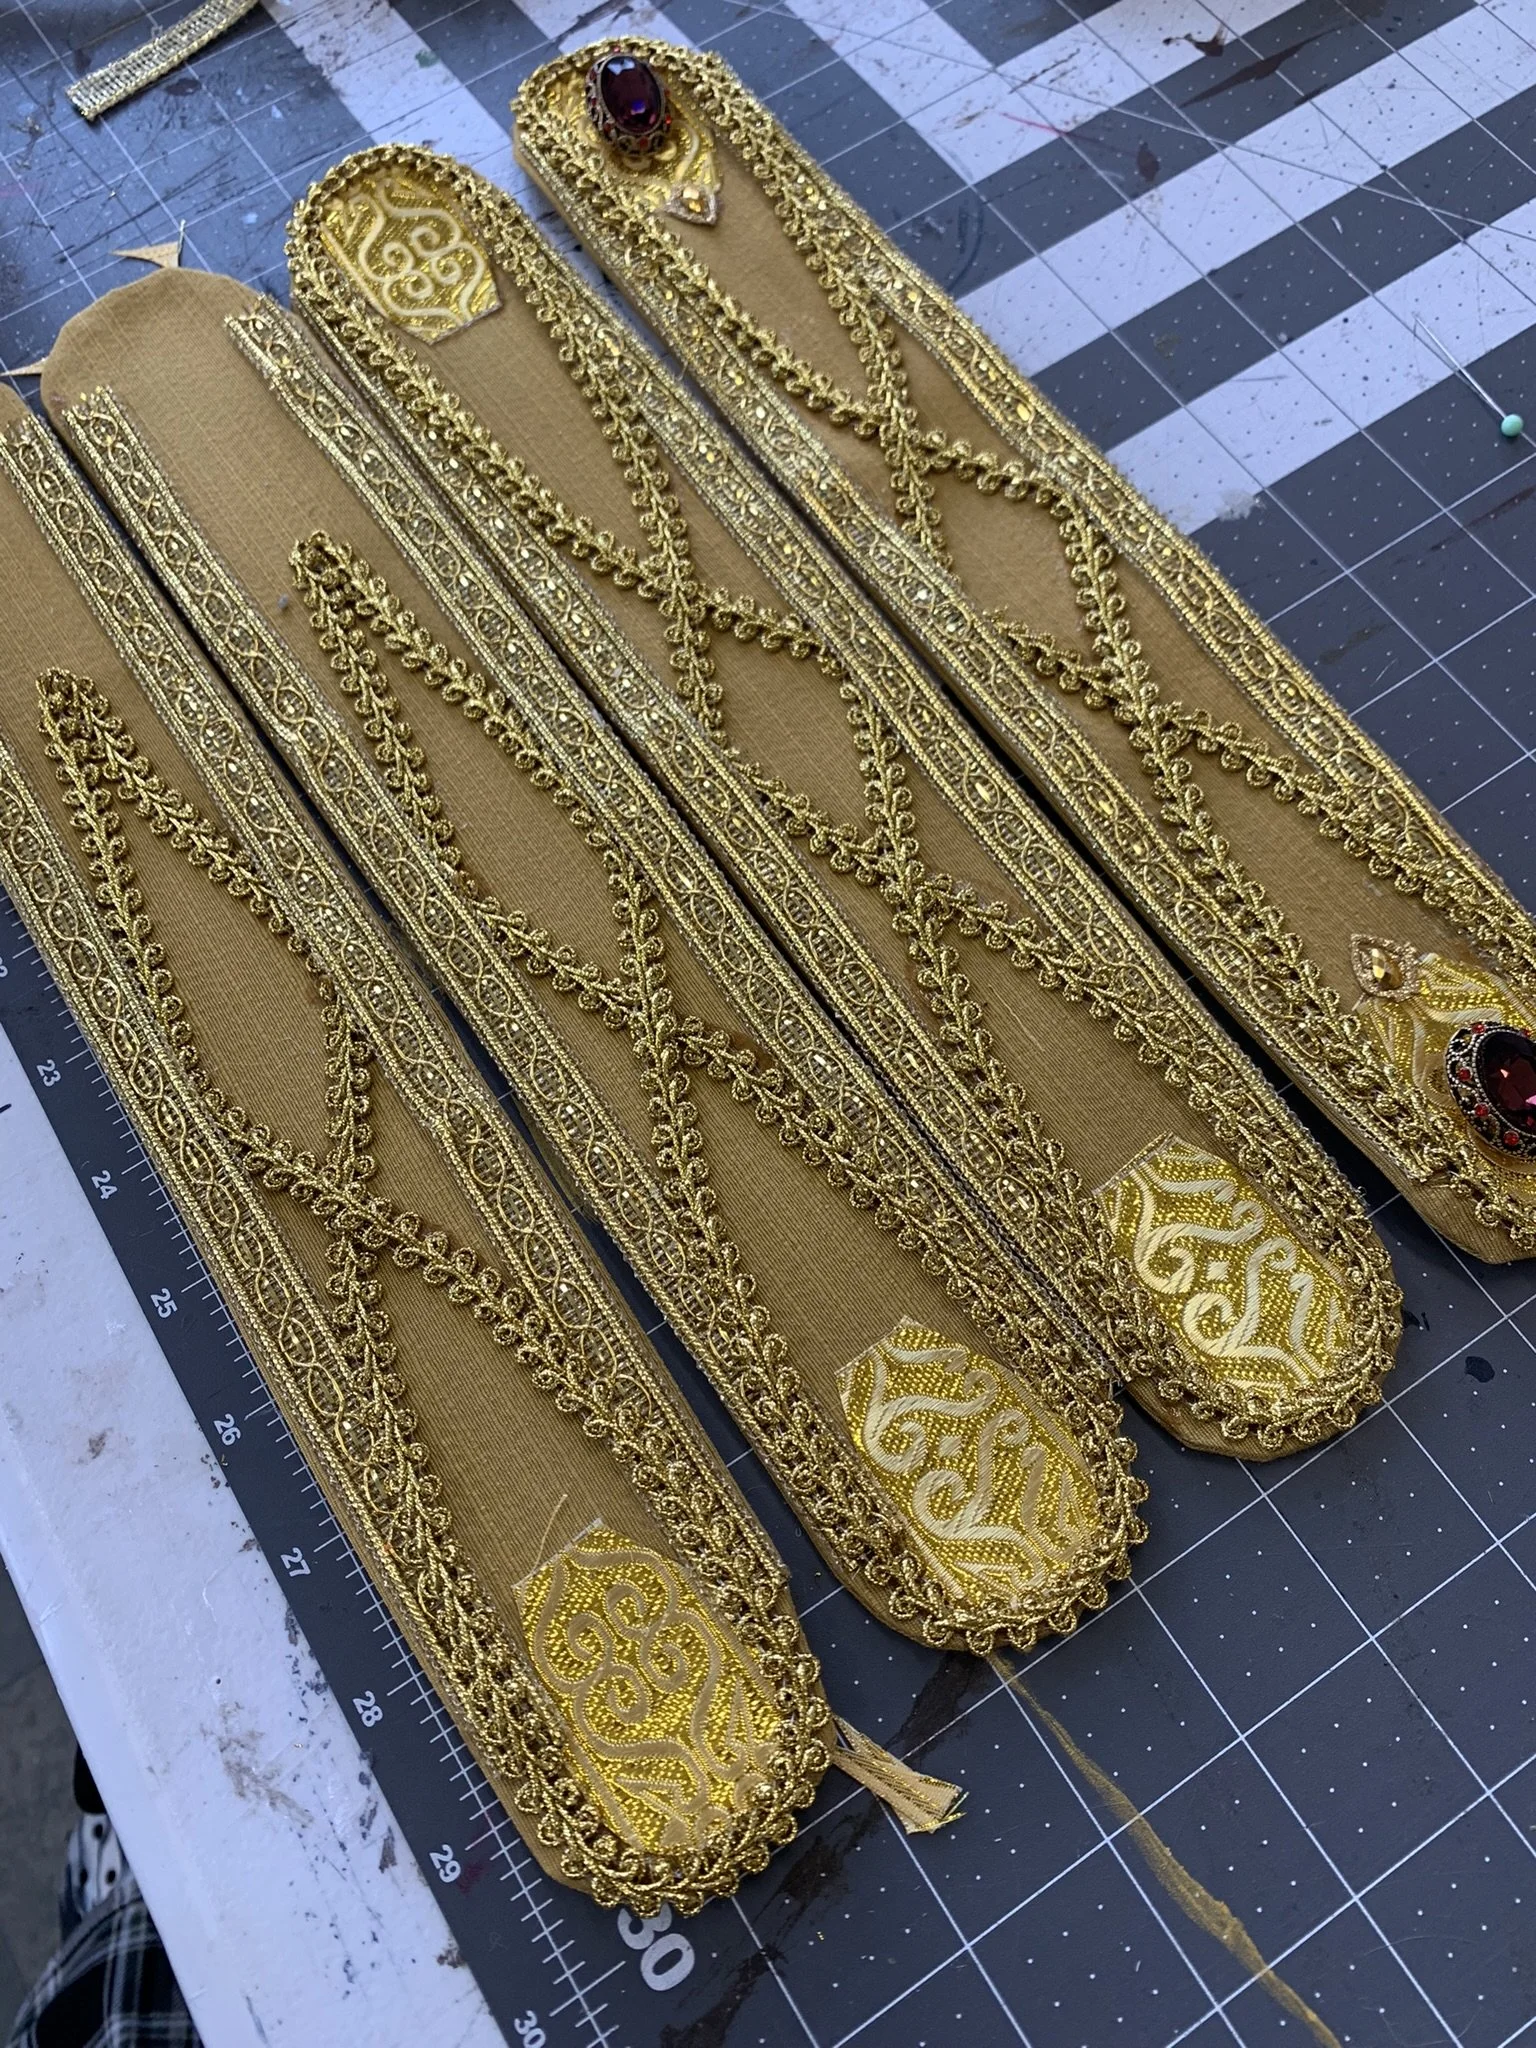
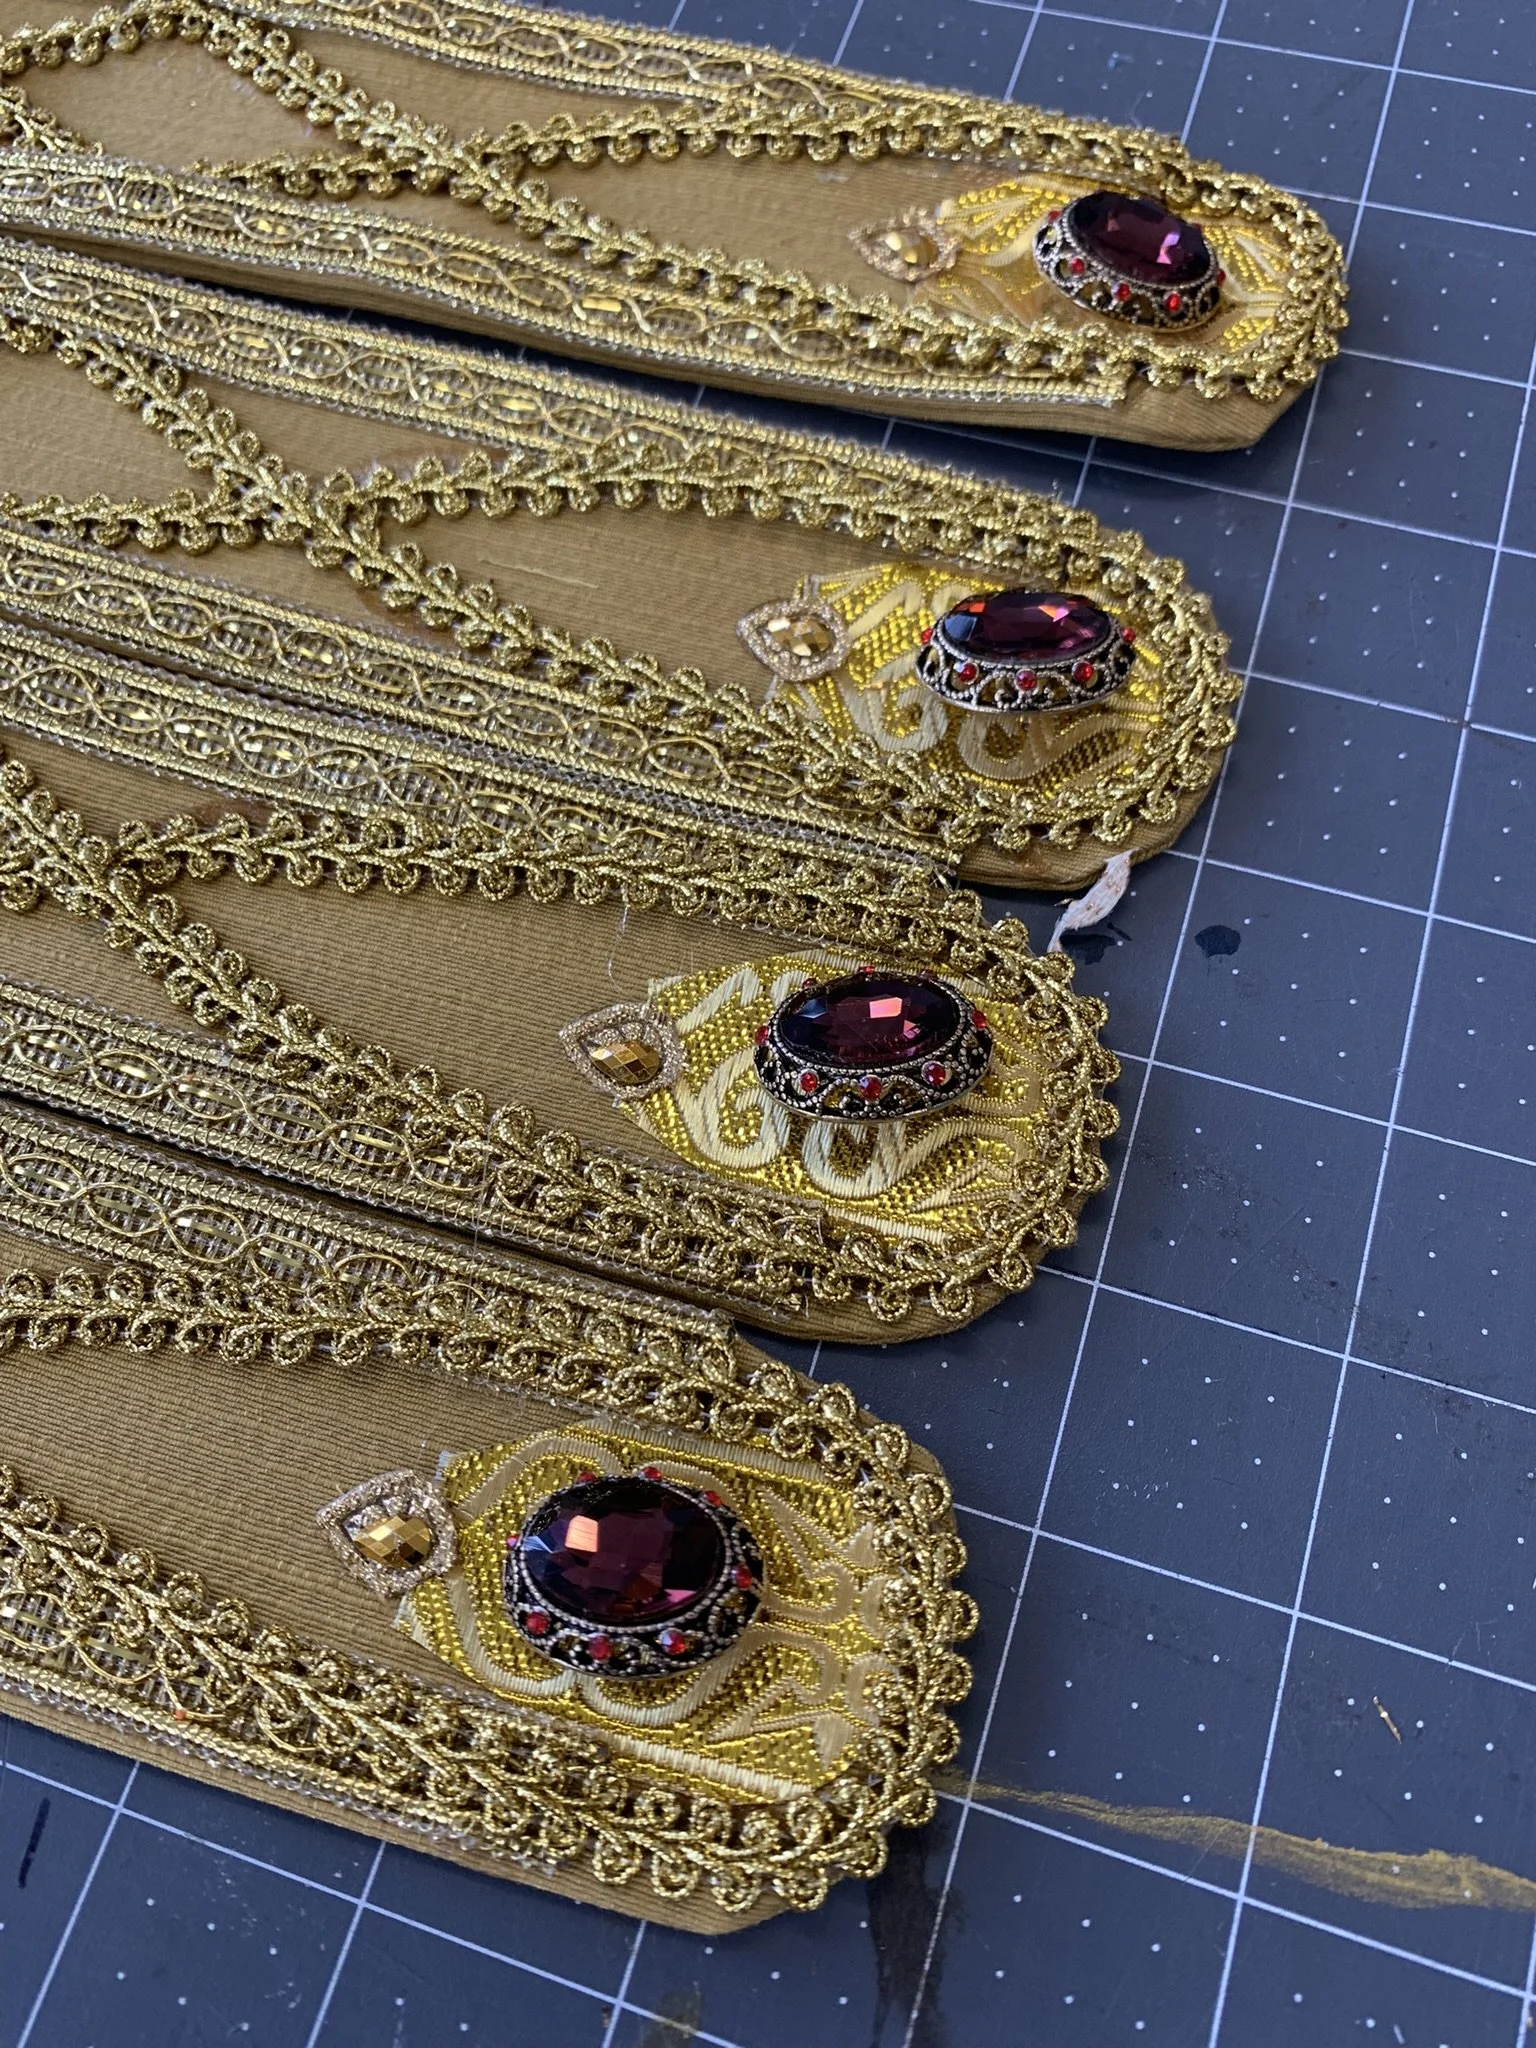
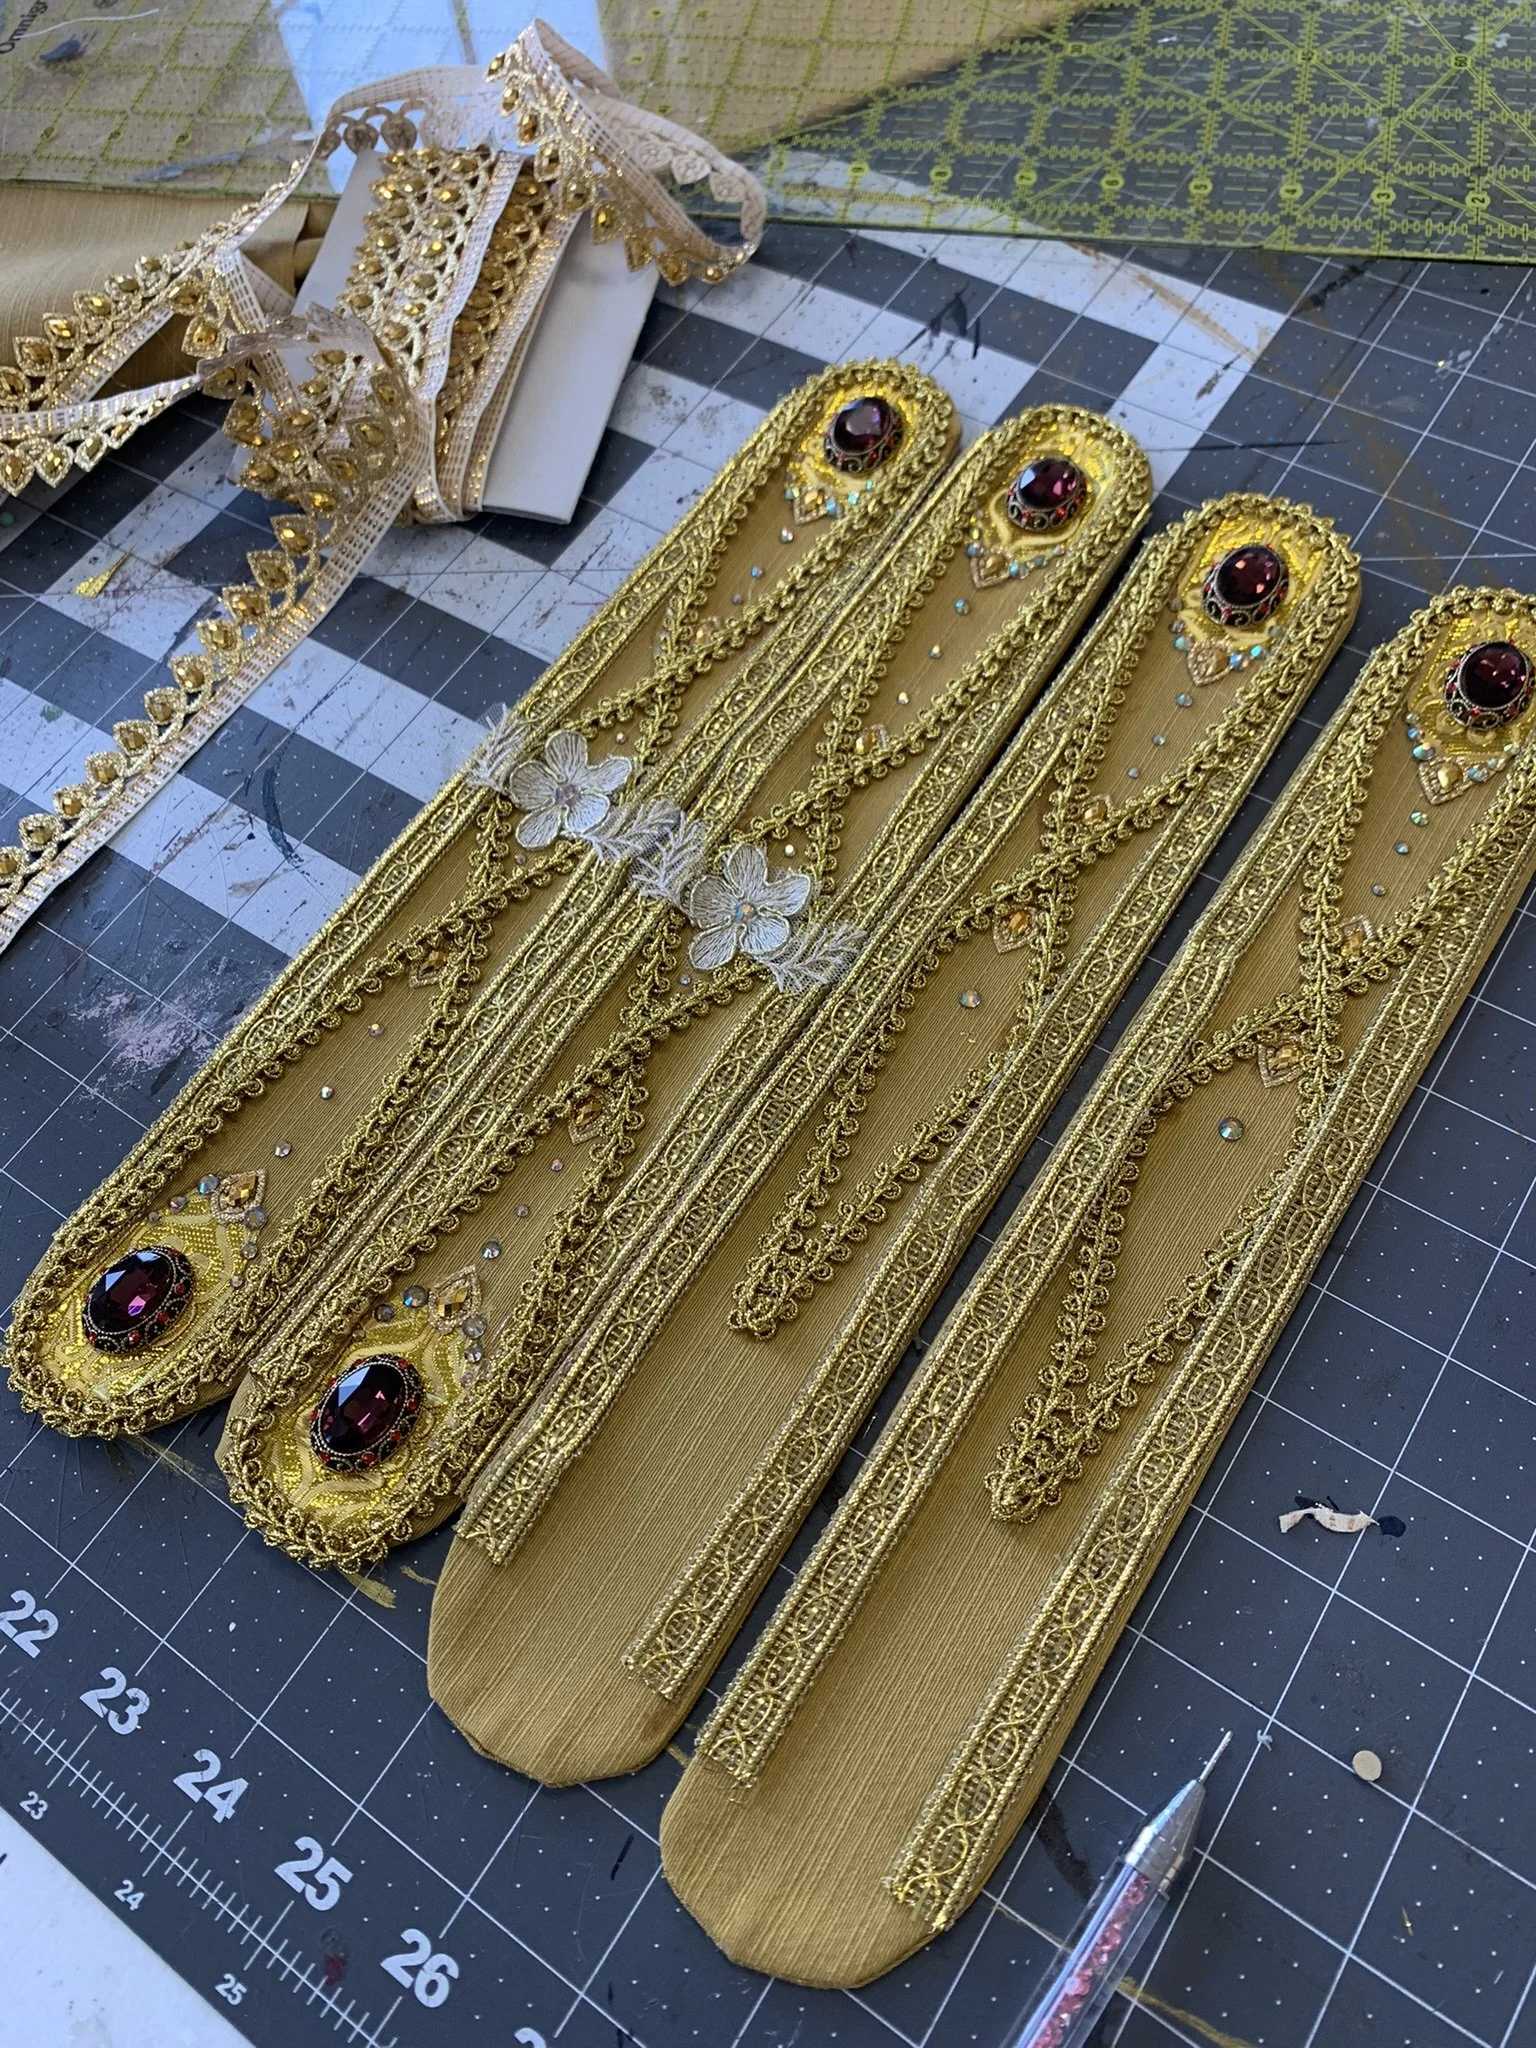
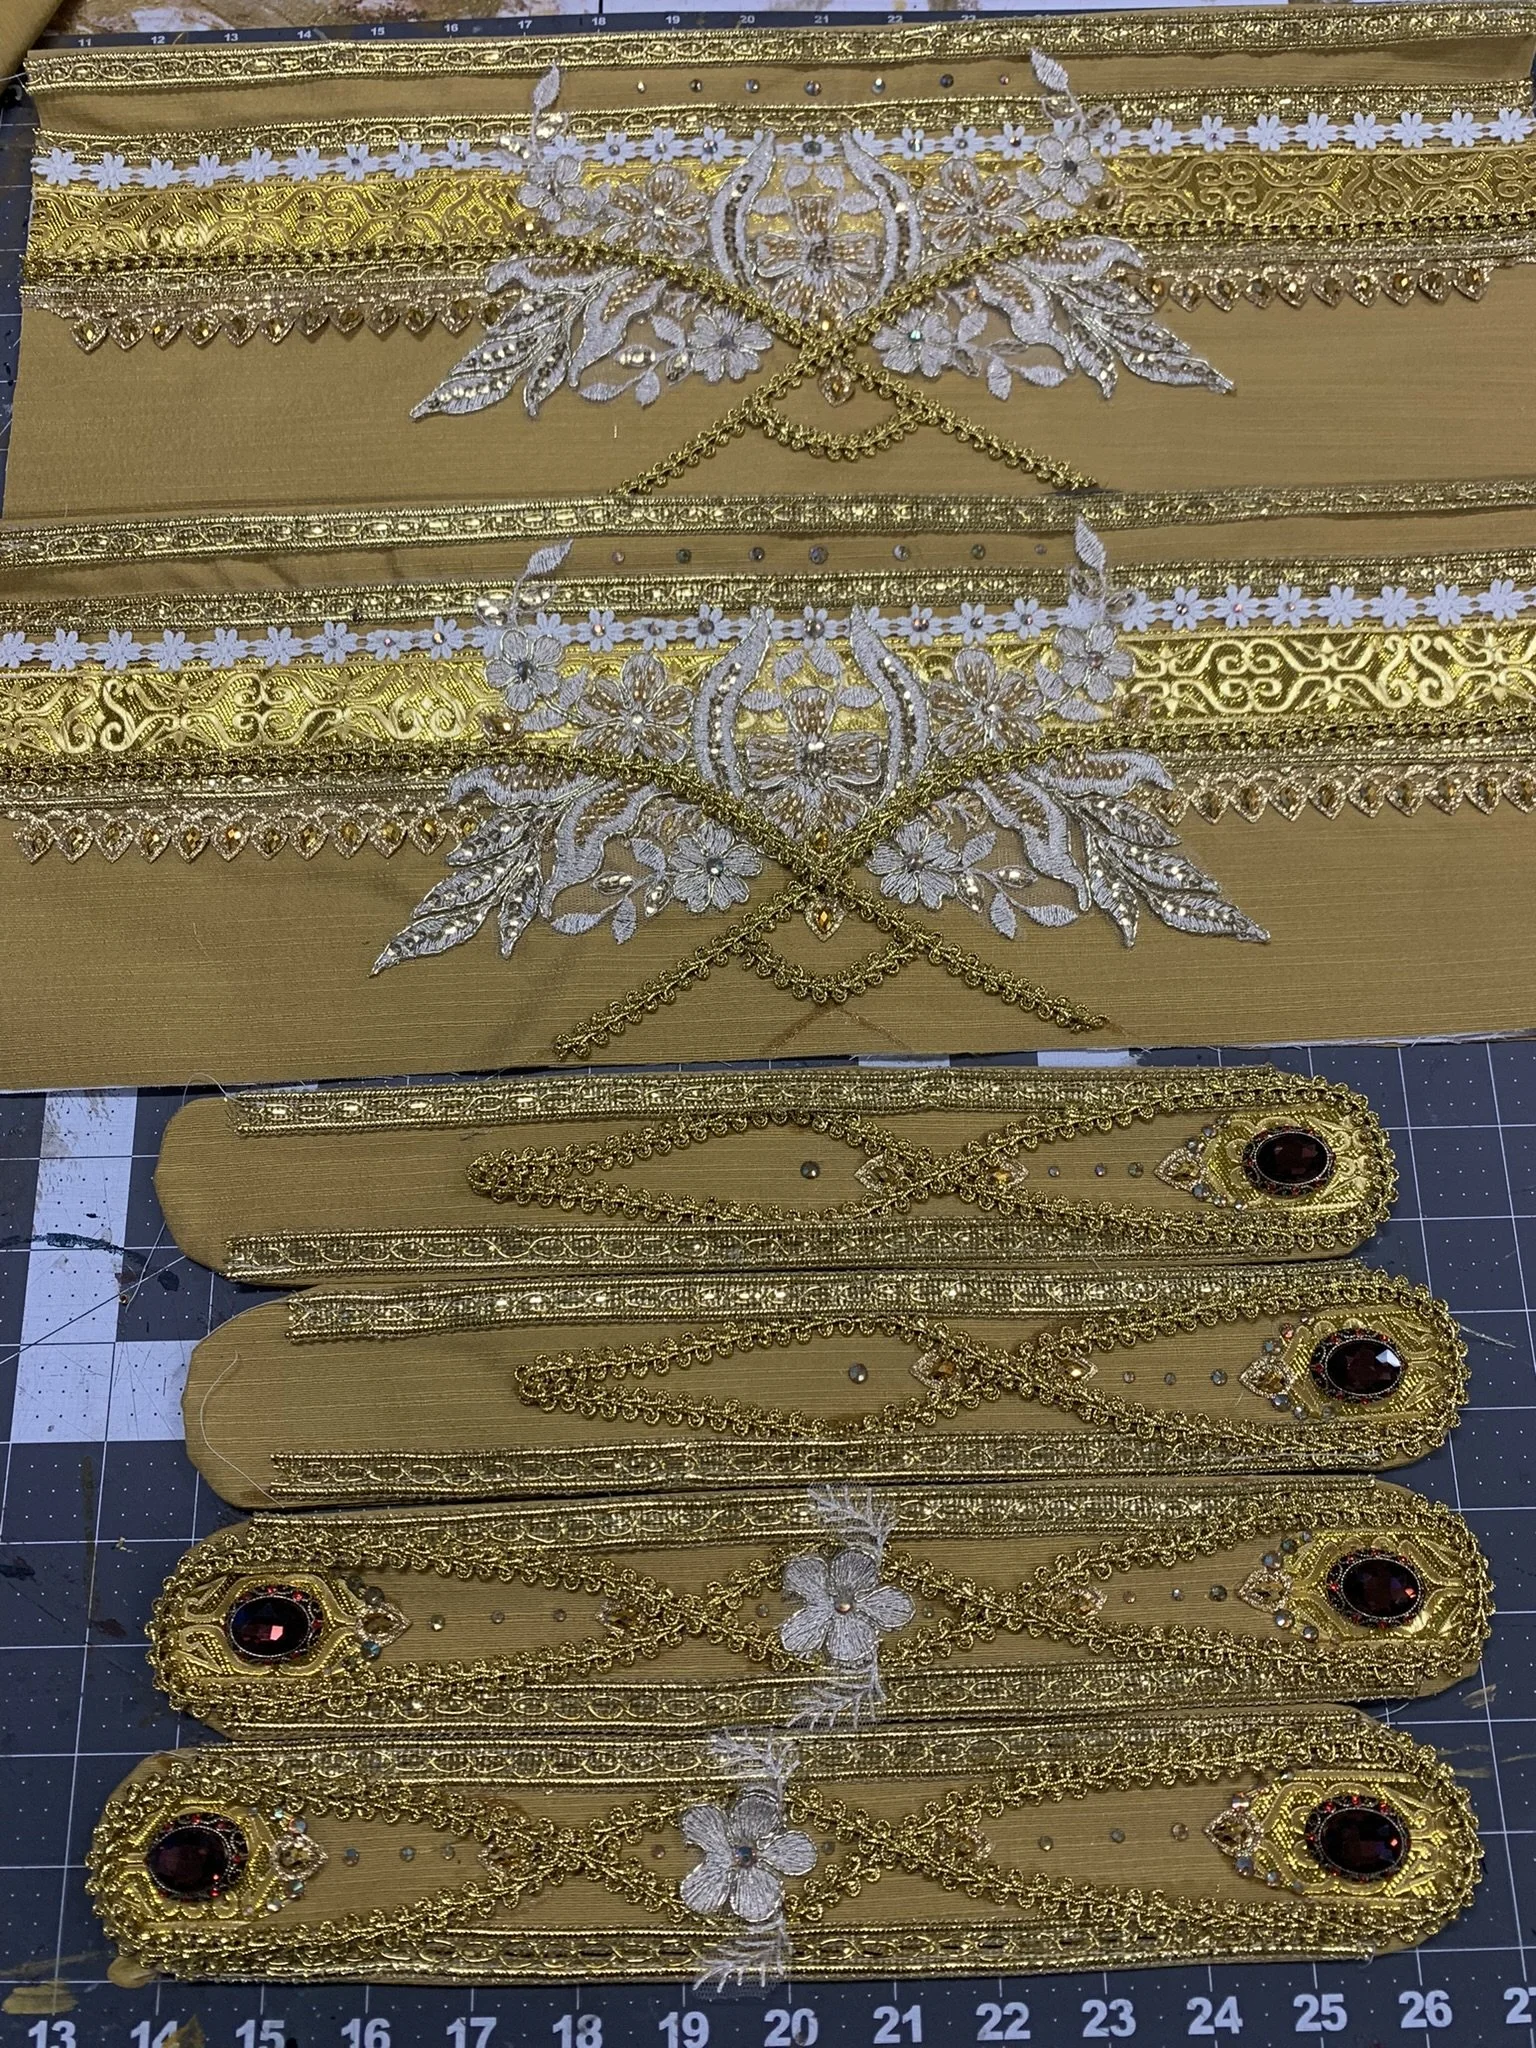
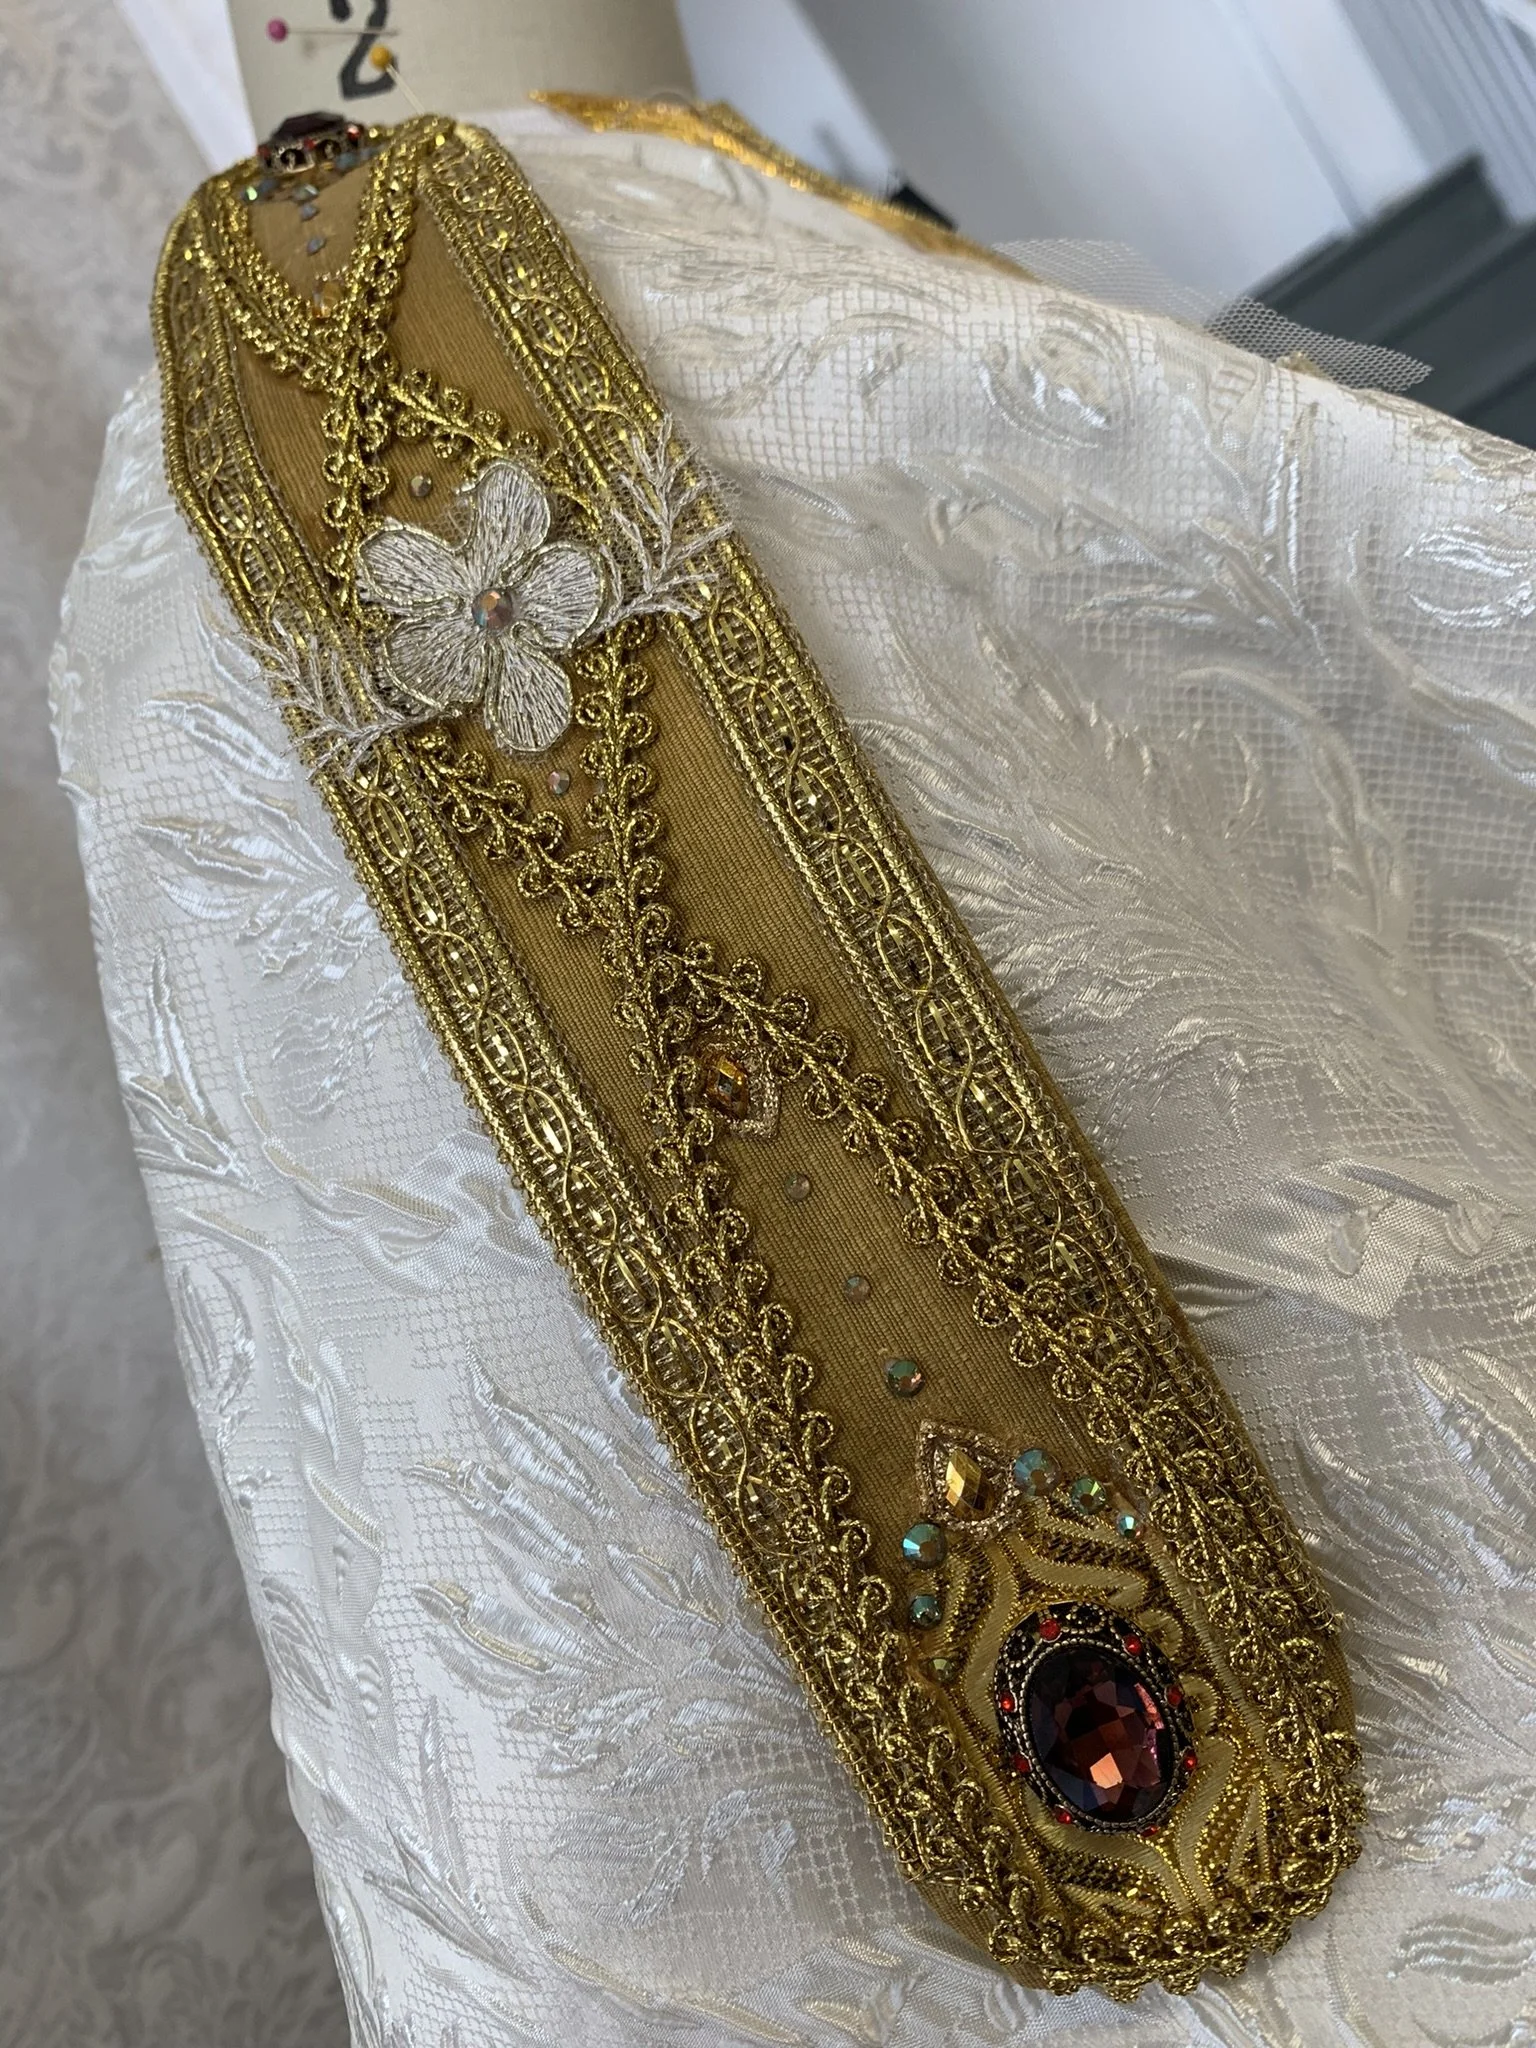
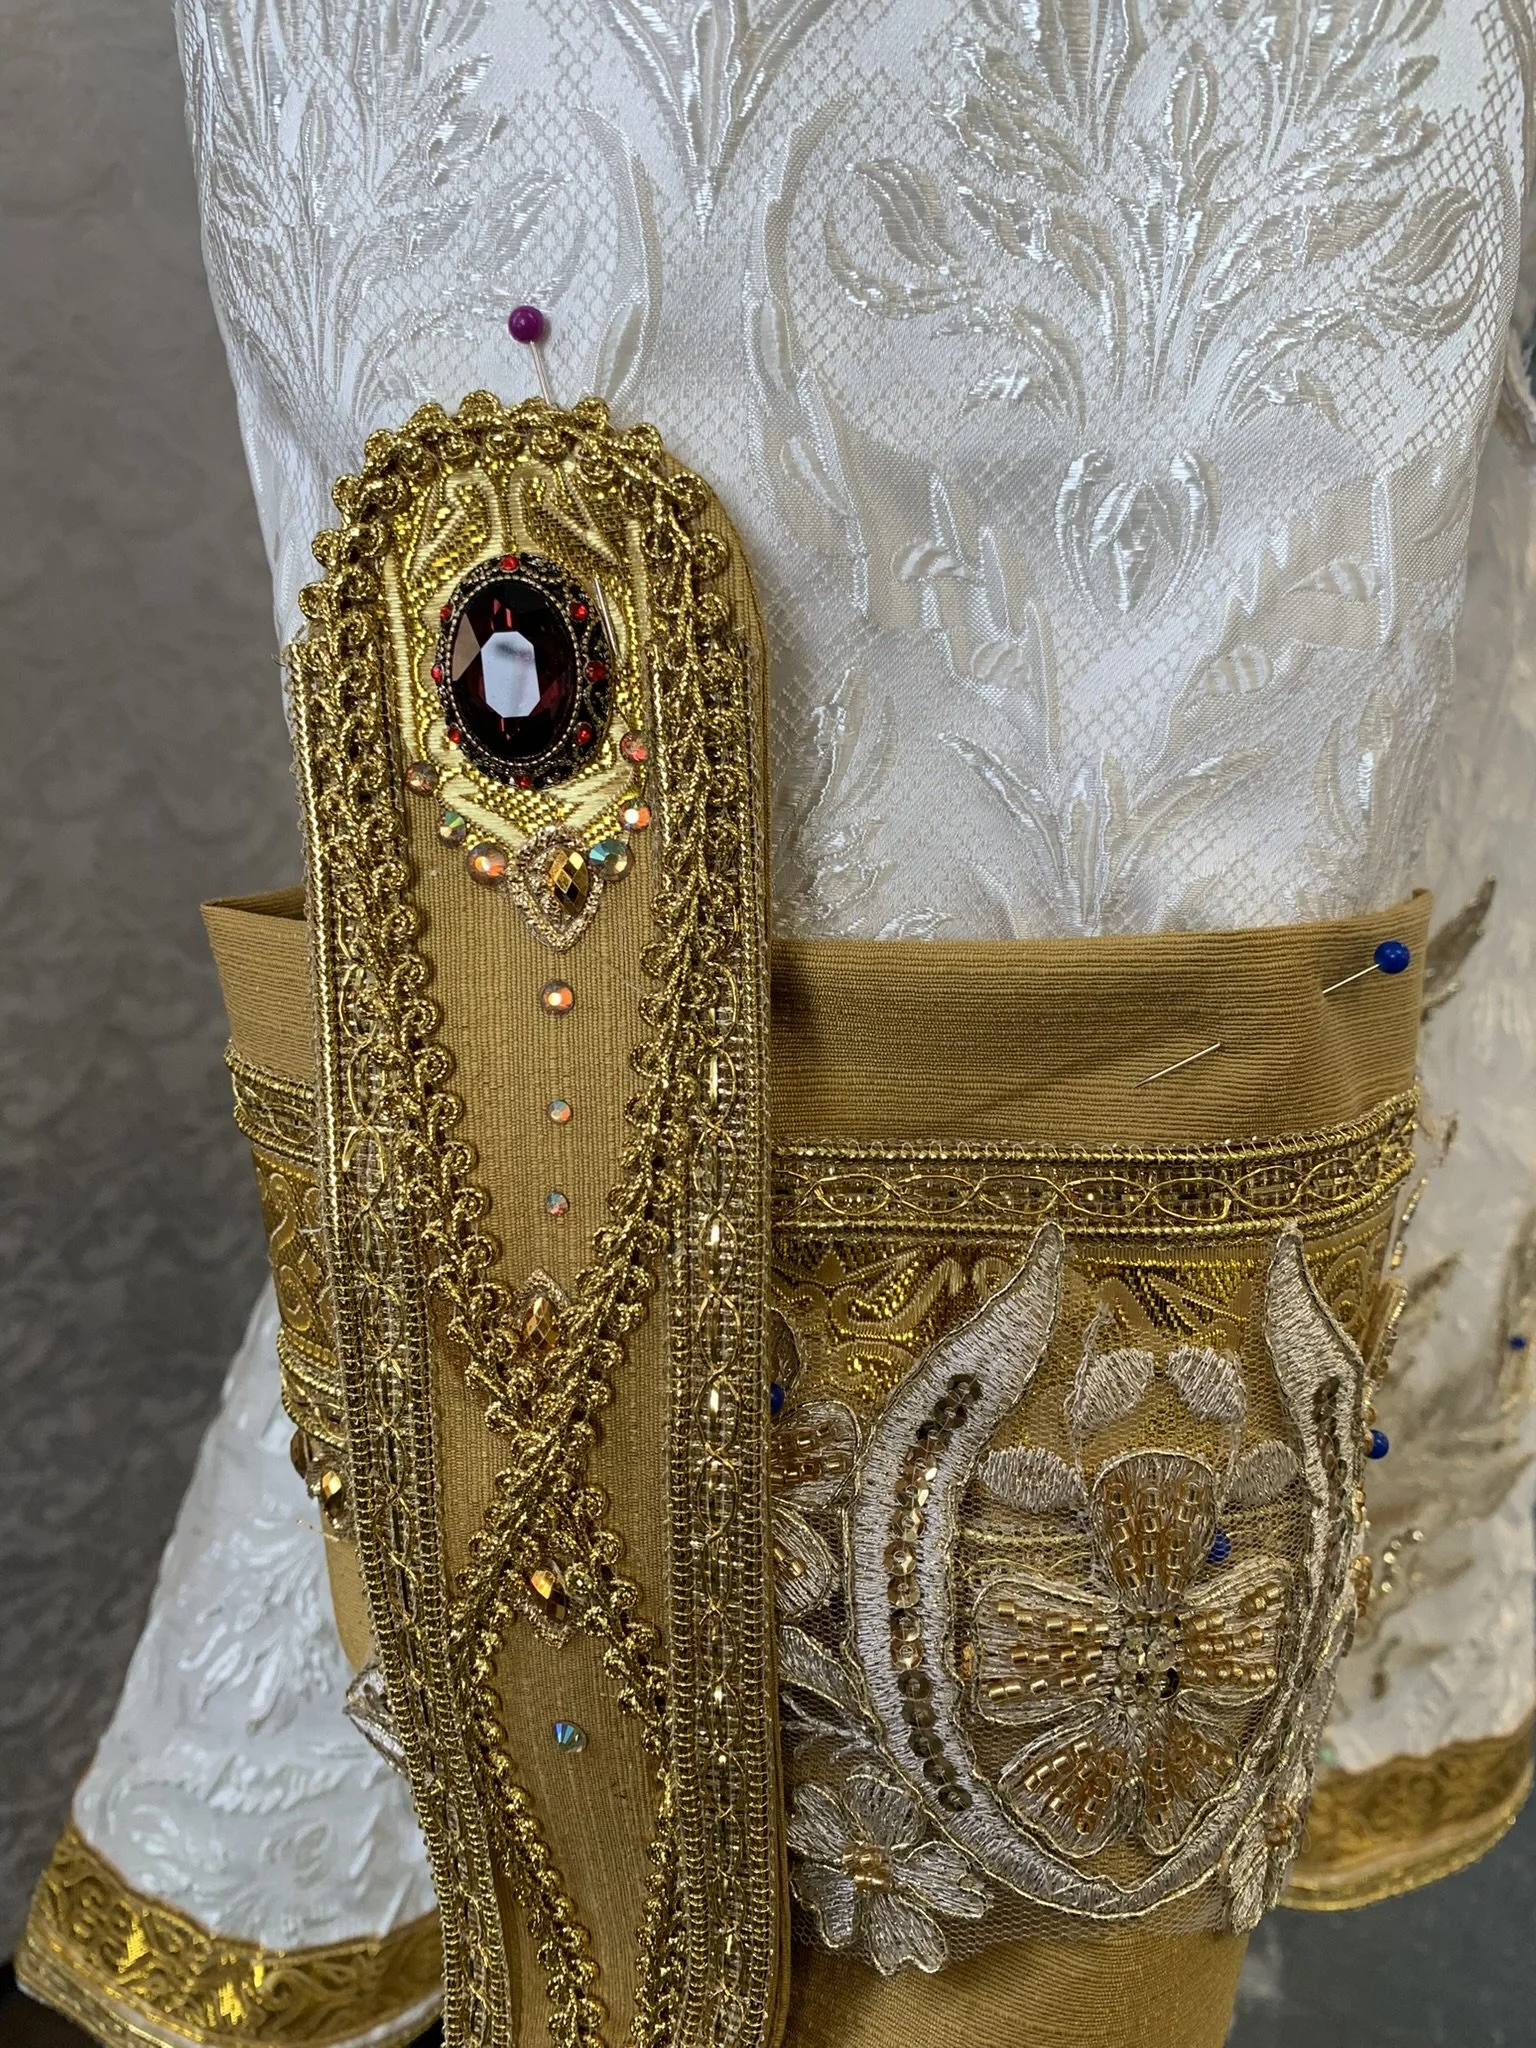
Cuffs are built on this gold fabric that’s double interfaced so they will hold the weight of all the details. Much like the other pieces I lay out trim ideas prior to finalizing anything. When I like what I have I finish everything via machine and hand stitching.
The lace is hand sewn while any of the ribbon trims are machine stitched. I finish by adding beads that fell off the trim and anything additional, rhinestones beads. I even cut some of the ribbon trims up to create little appliques. The cuffs are then sewn to a lining, sewn into a tube and attached to the sleeve, lining to lining outside to outside for a clean interior.
The epaulets come next. I used the same gold as for the cuffs, they are single interfaced and have a lining, and I repeated a lot of the same ribbon trims. One ribbon trim I appliqued on either end of the epaulet, decorated with rhinestones. Similar to the cuff the applique is hand sewn and anything flat was sewn on with the machine.
I had a lot of fun using the braided trim to make my own design that weaved in and out of the layers of trims.
I finished by adding rhinestones to everything! I later added hundreds of rhinestones to the full garment as well. I chose rhinestones that I felt most resemble the color shift blue to orange in Frierens eyes from the animation. I absolutely love that detail in the anime, I think it’s so stunning and wanted to bring as much of that ethereal beauty and consideration to the garment as well.
Lining - Zipp
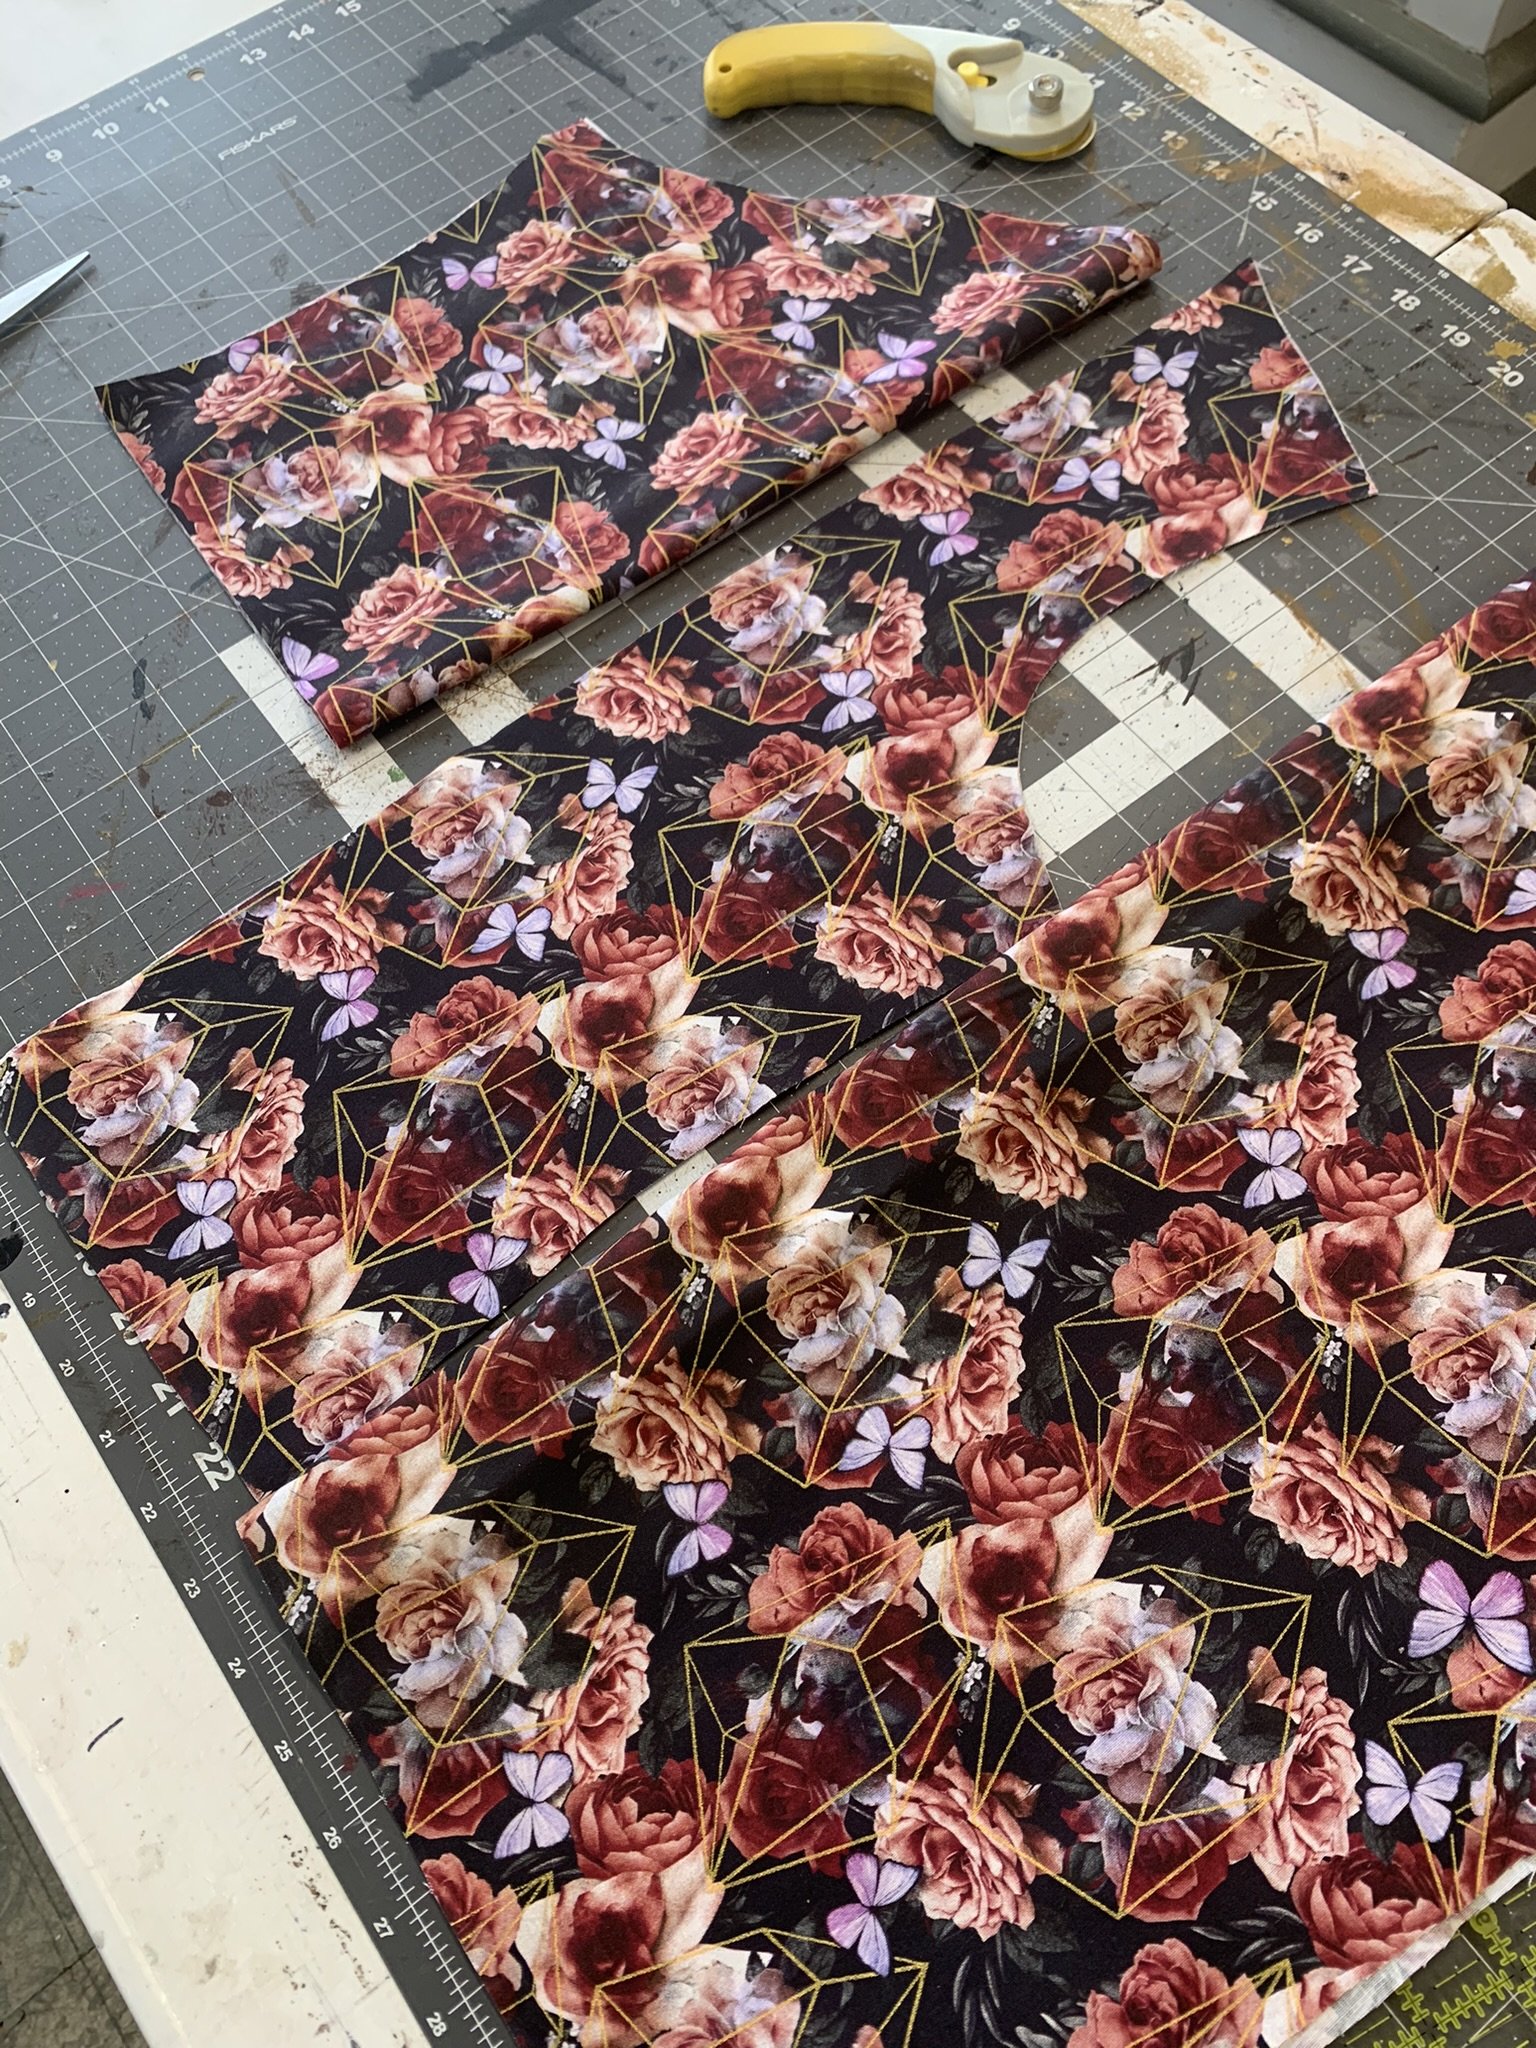
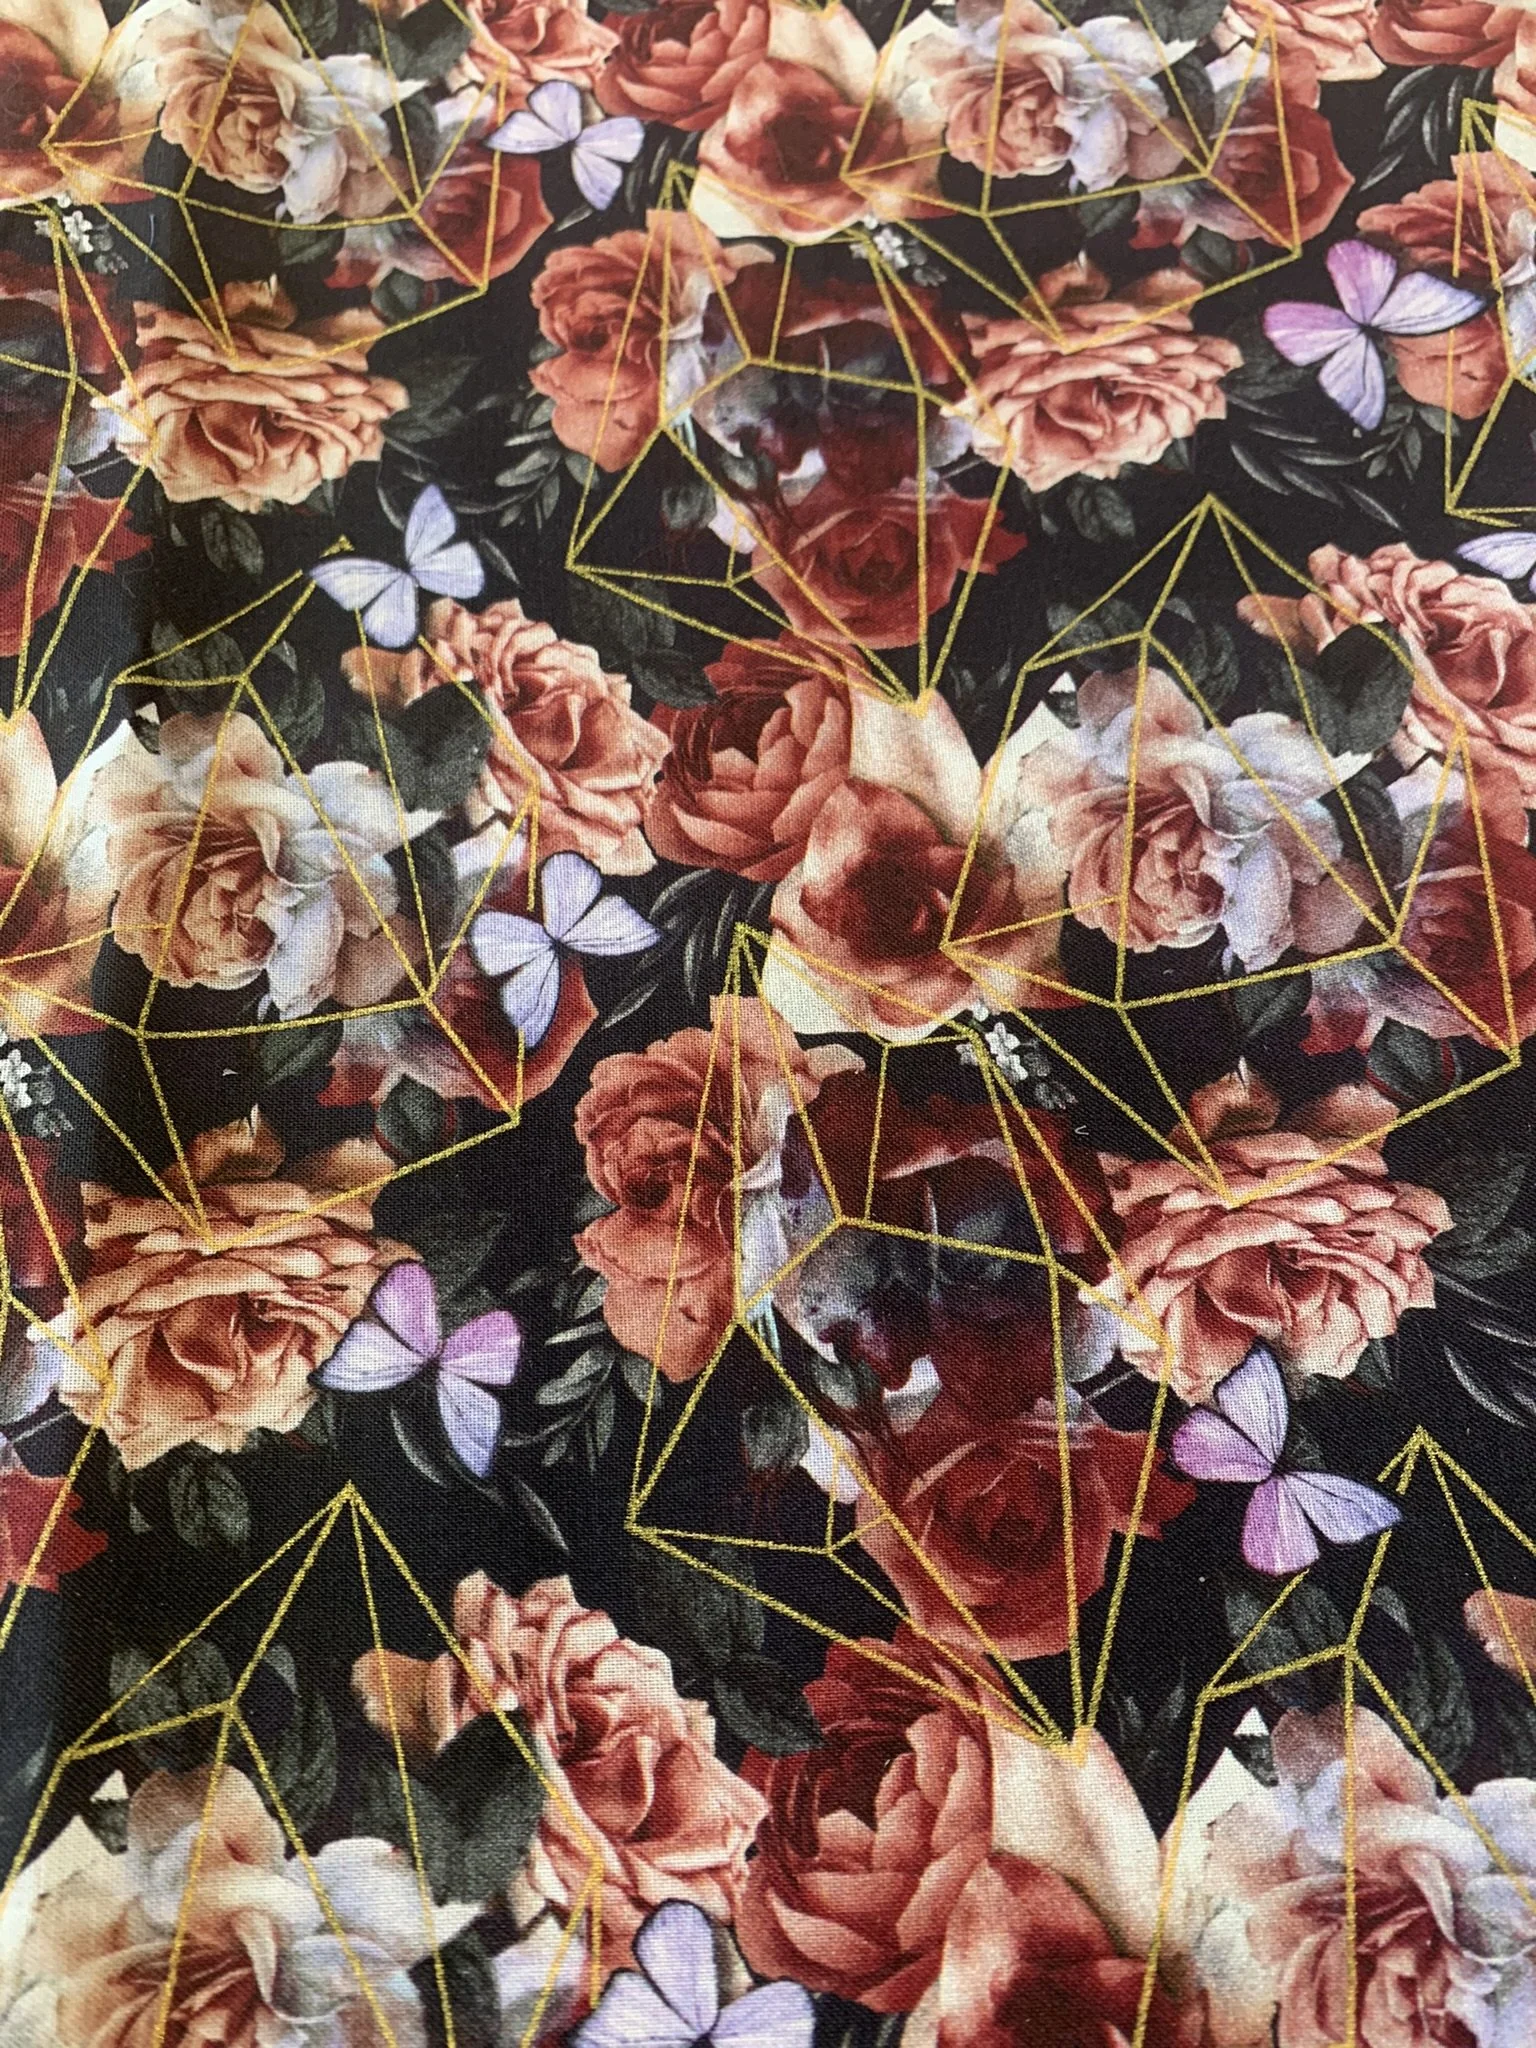
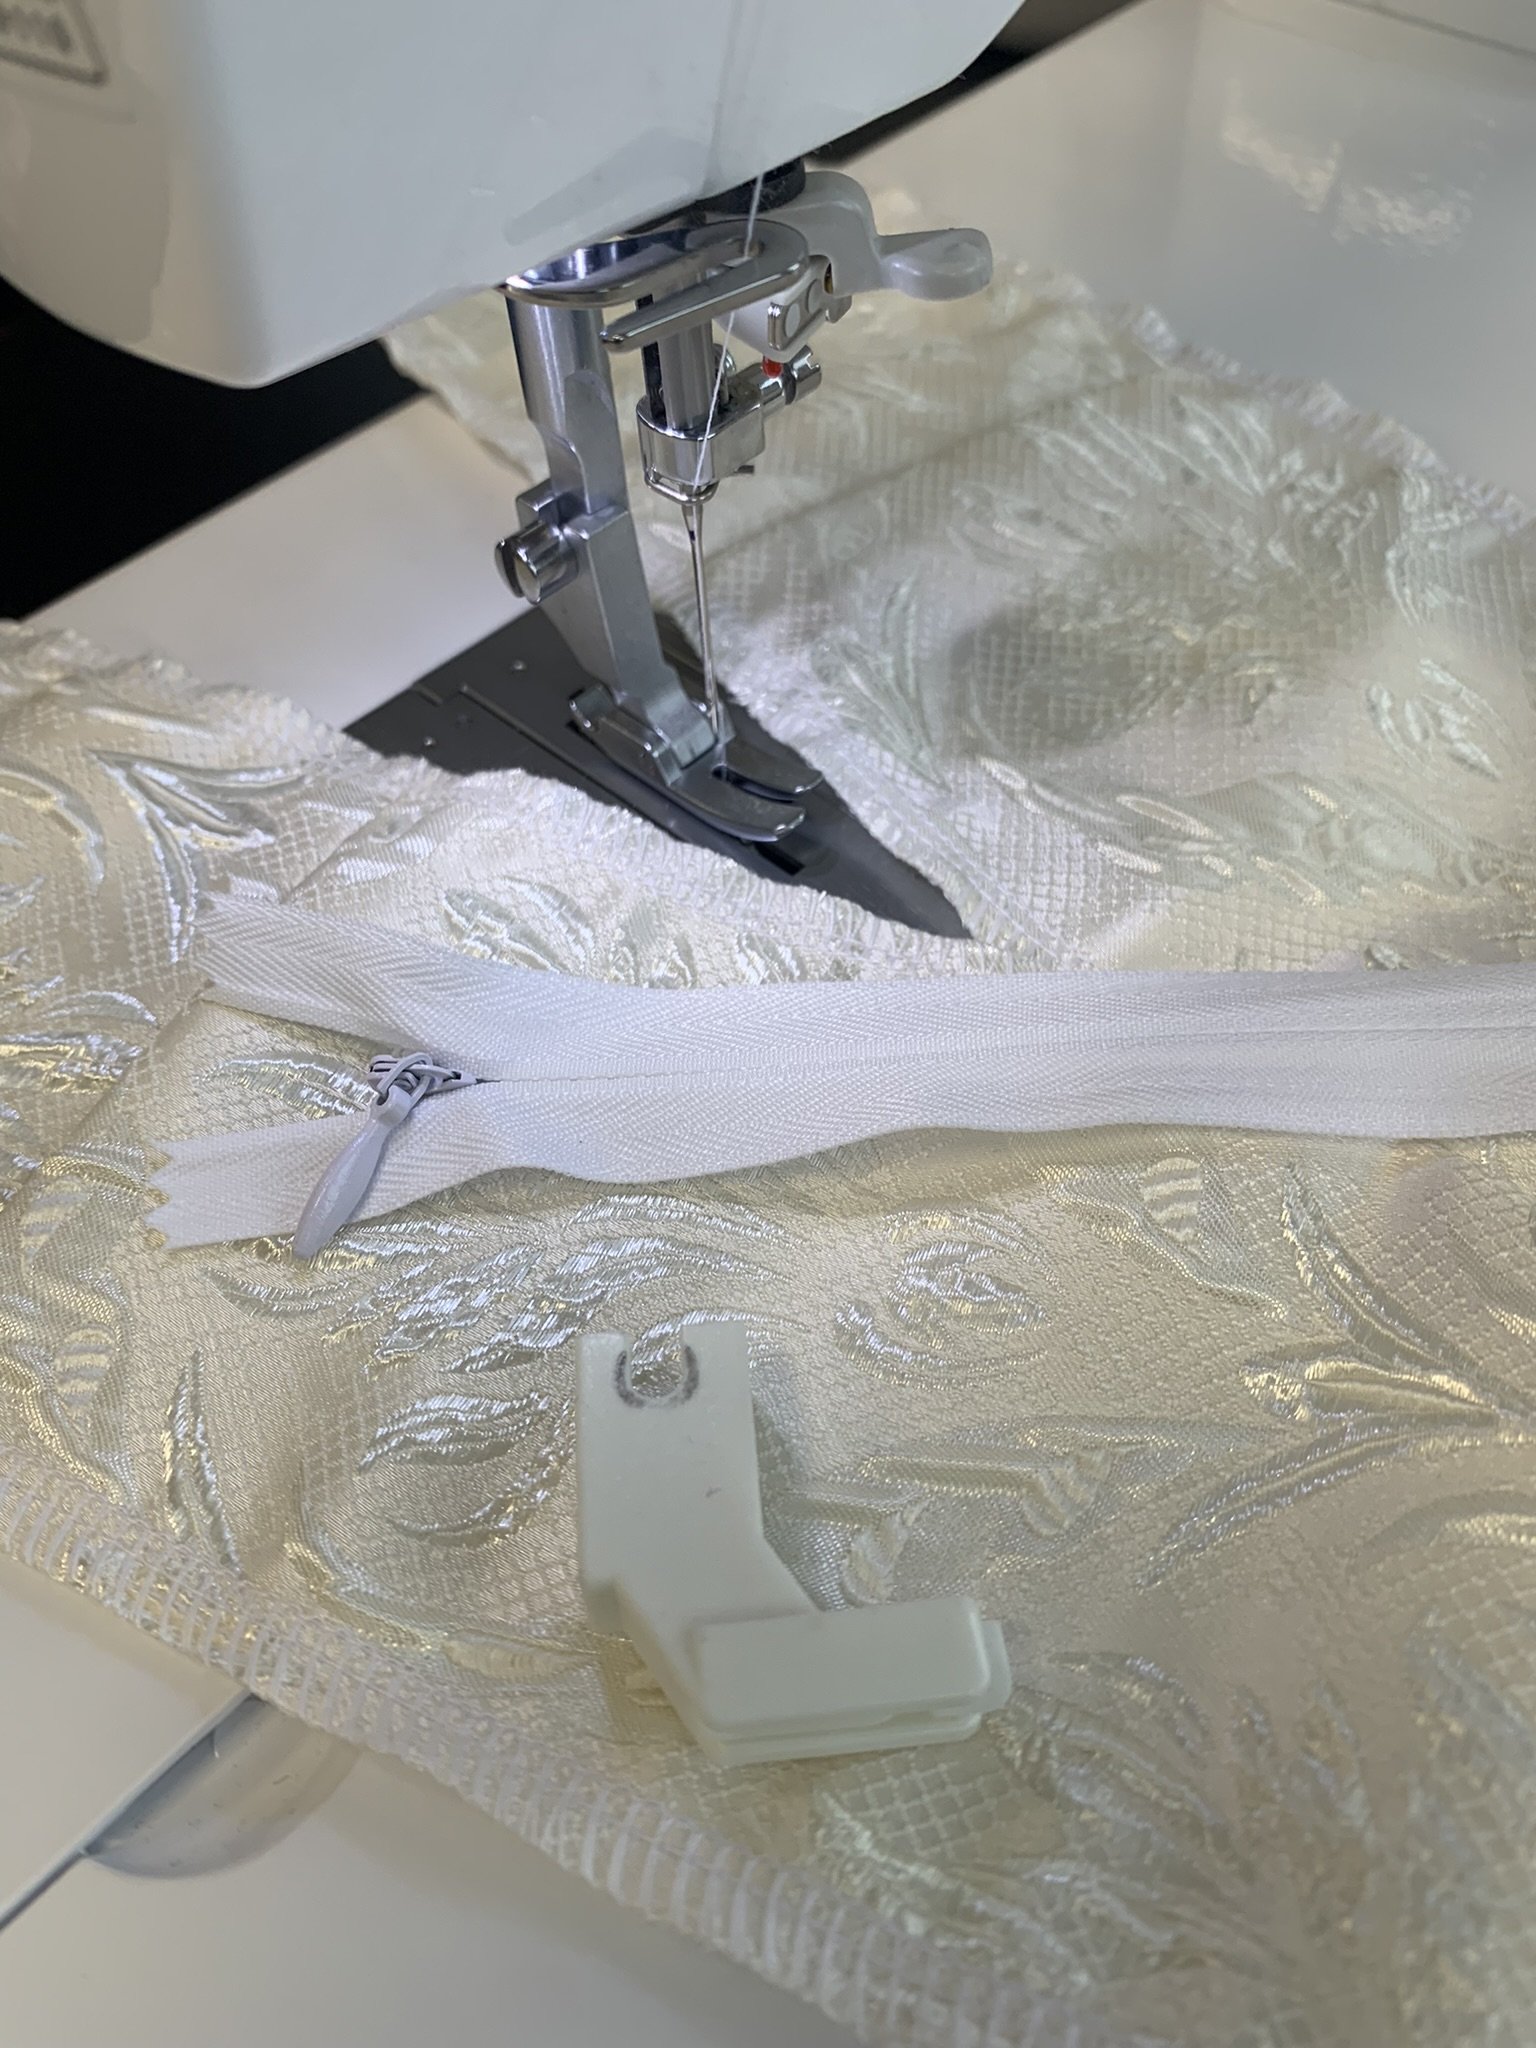
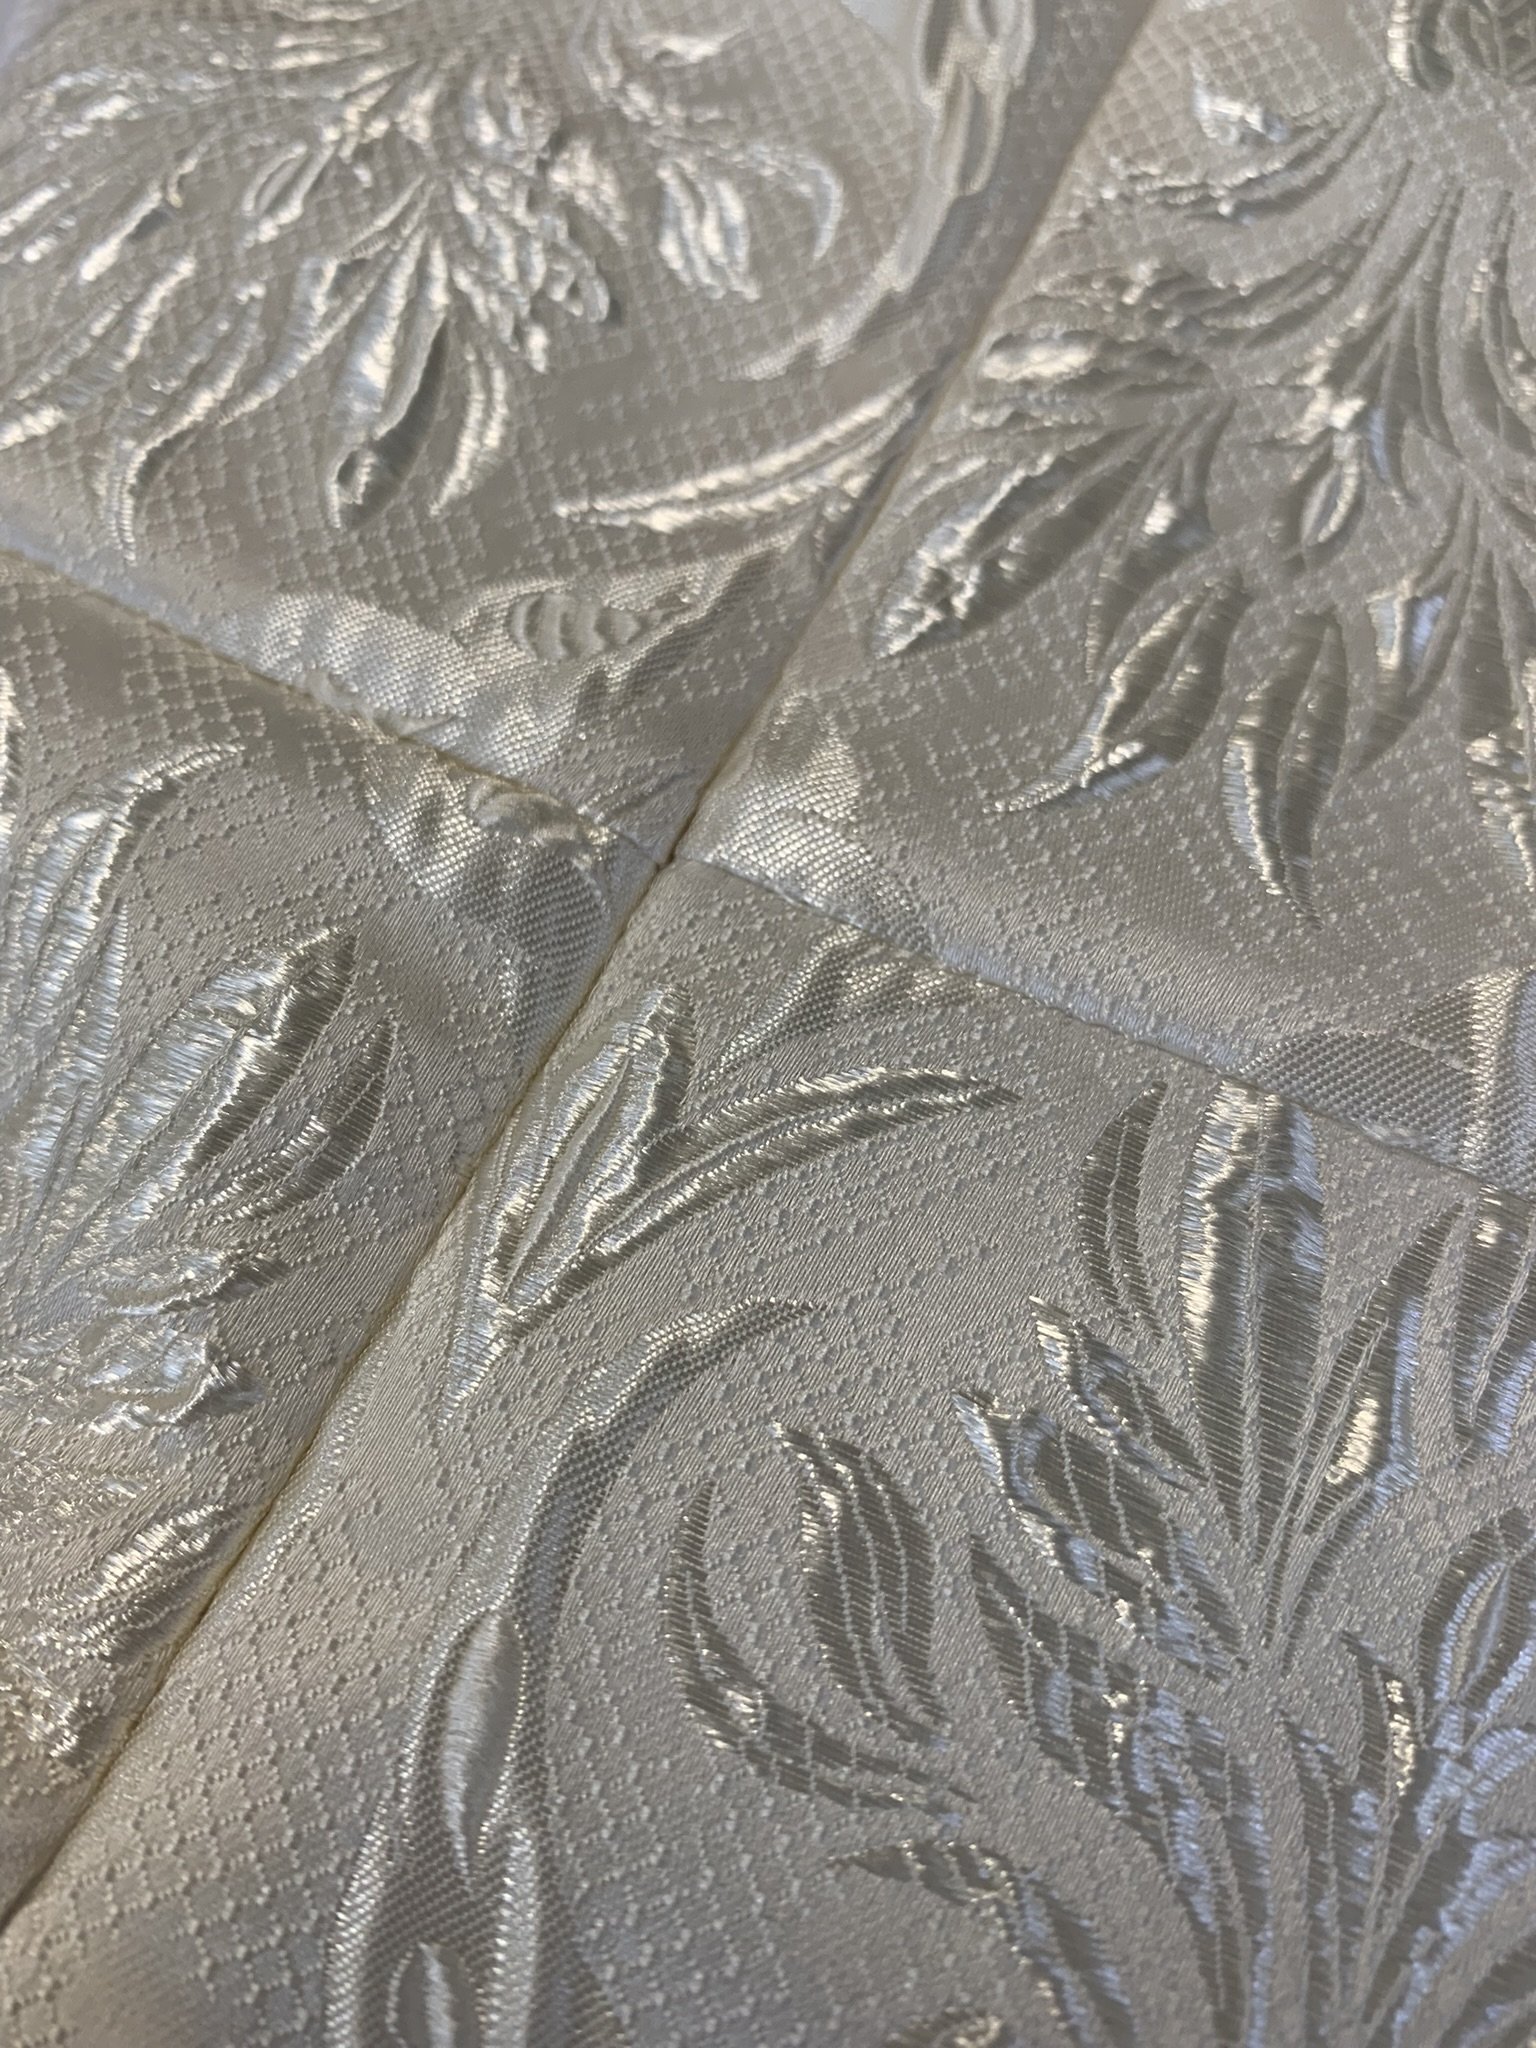
A second look at the quilting for the undershirt. The lining fabric I chose this beautiful cotton - it’s been prewashed to reduce shrinking. And the beautiful matchup of the invisible zipper.
Shawl Collar
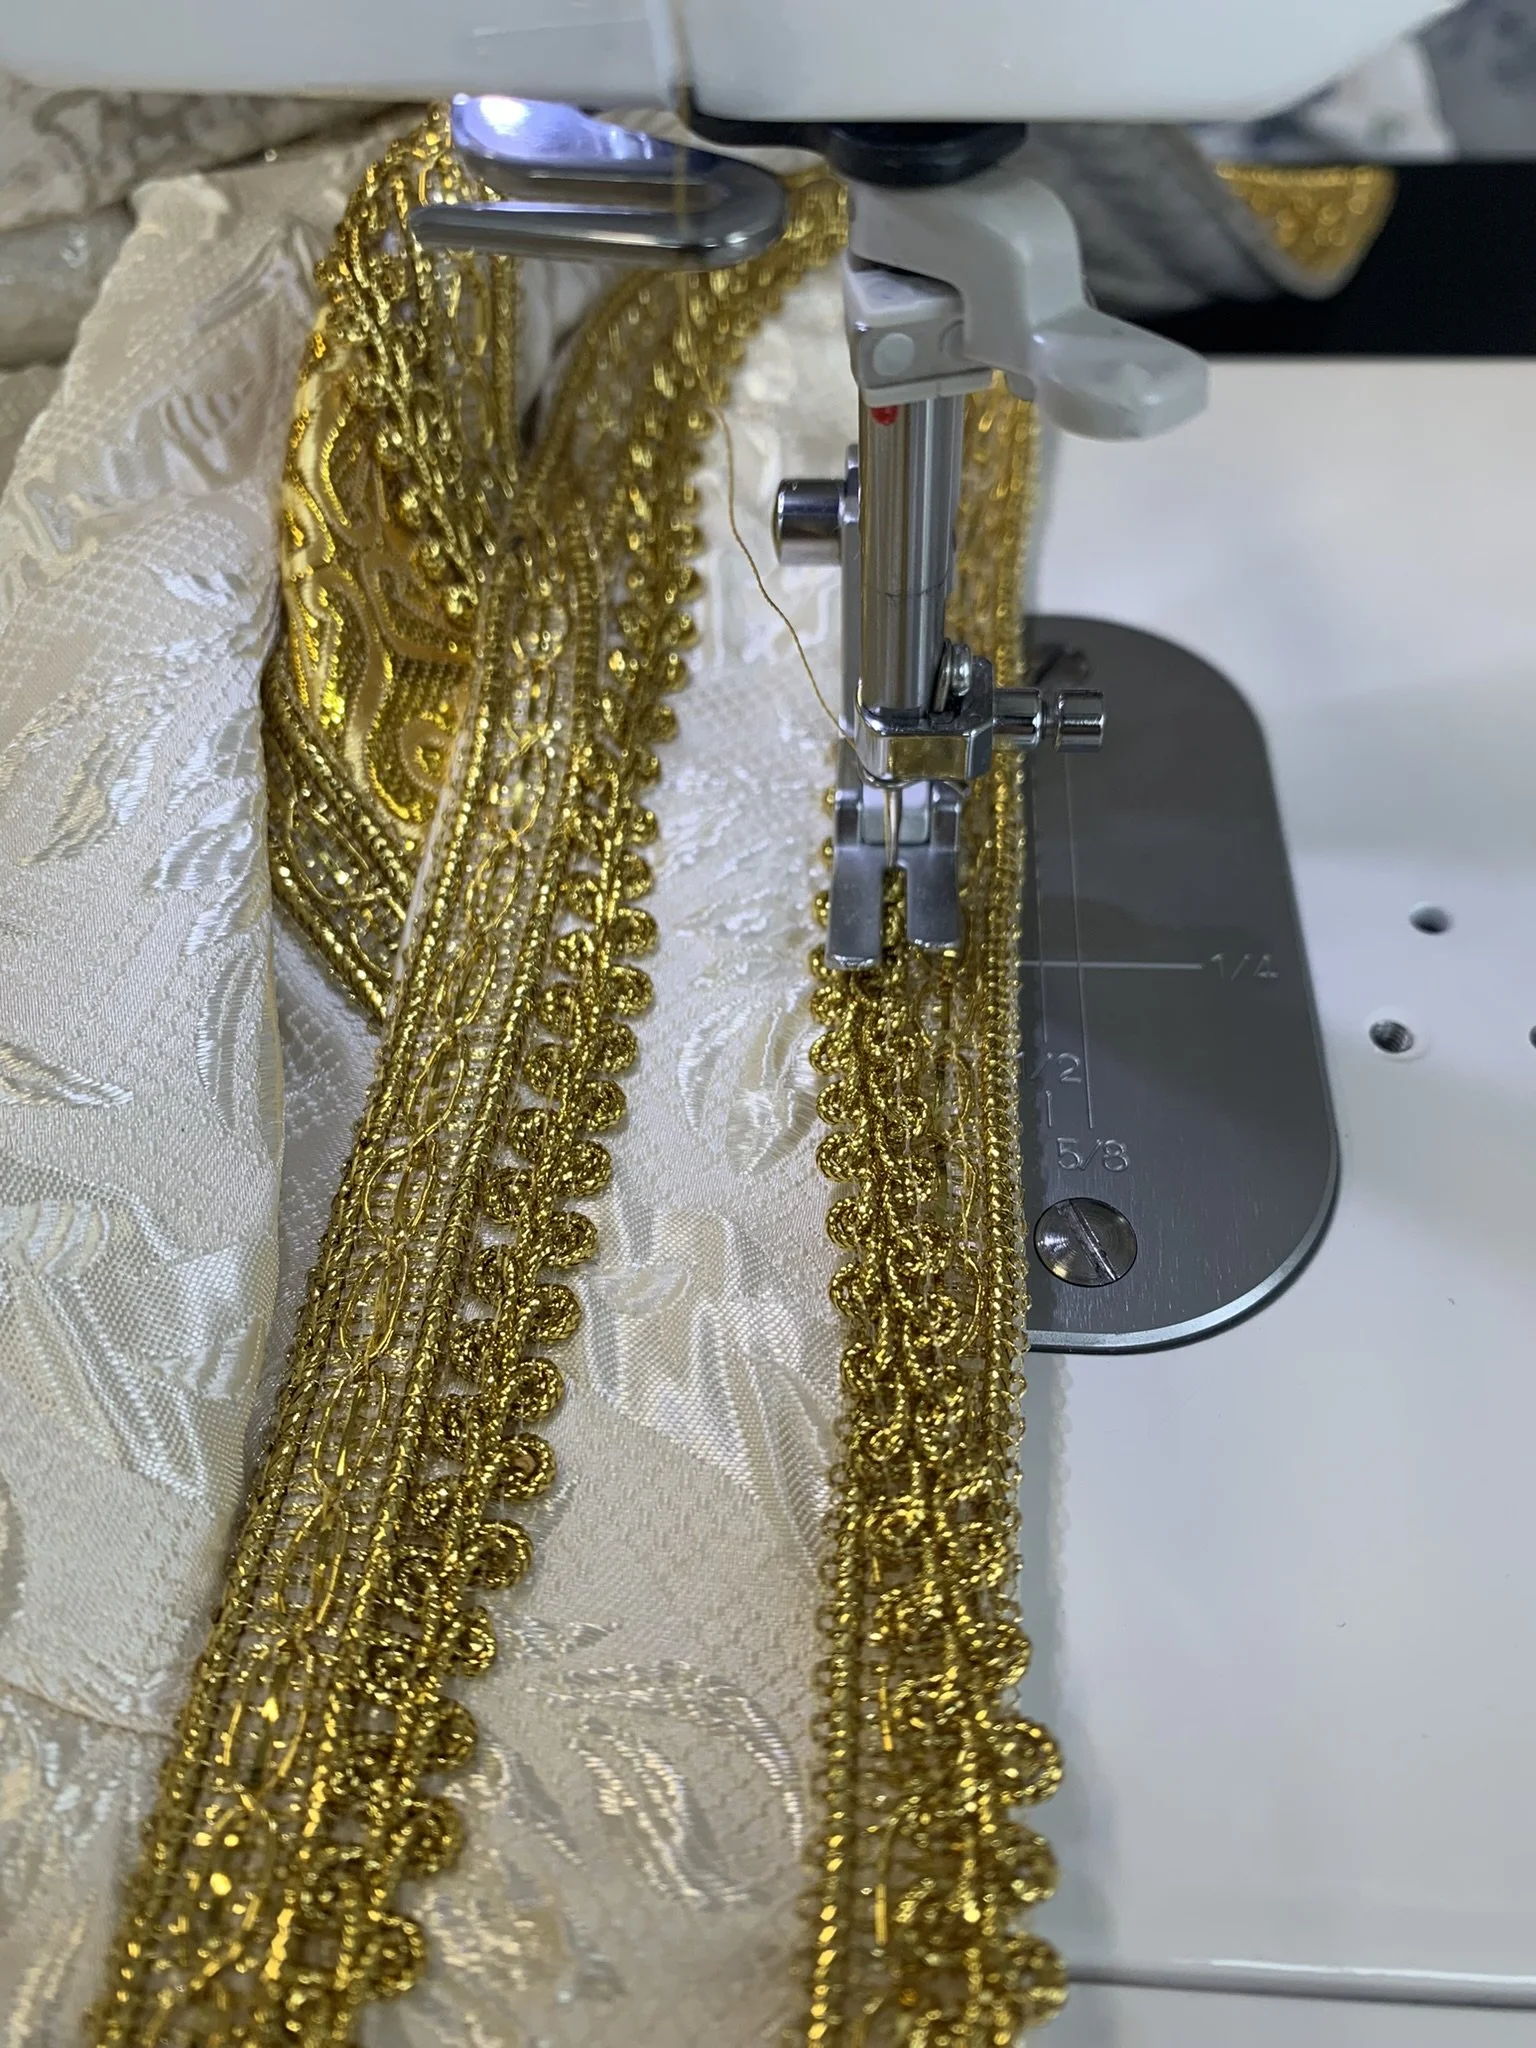
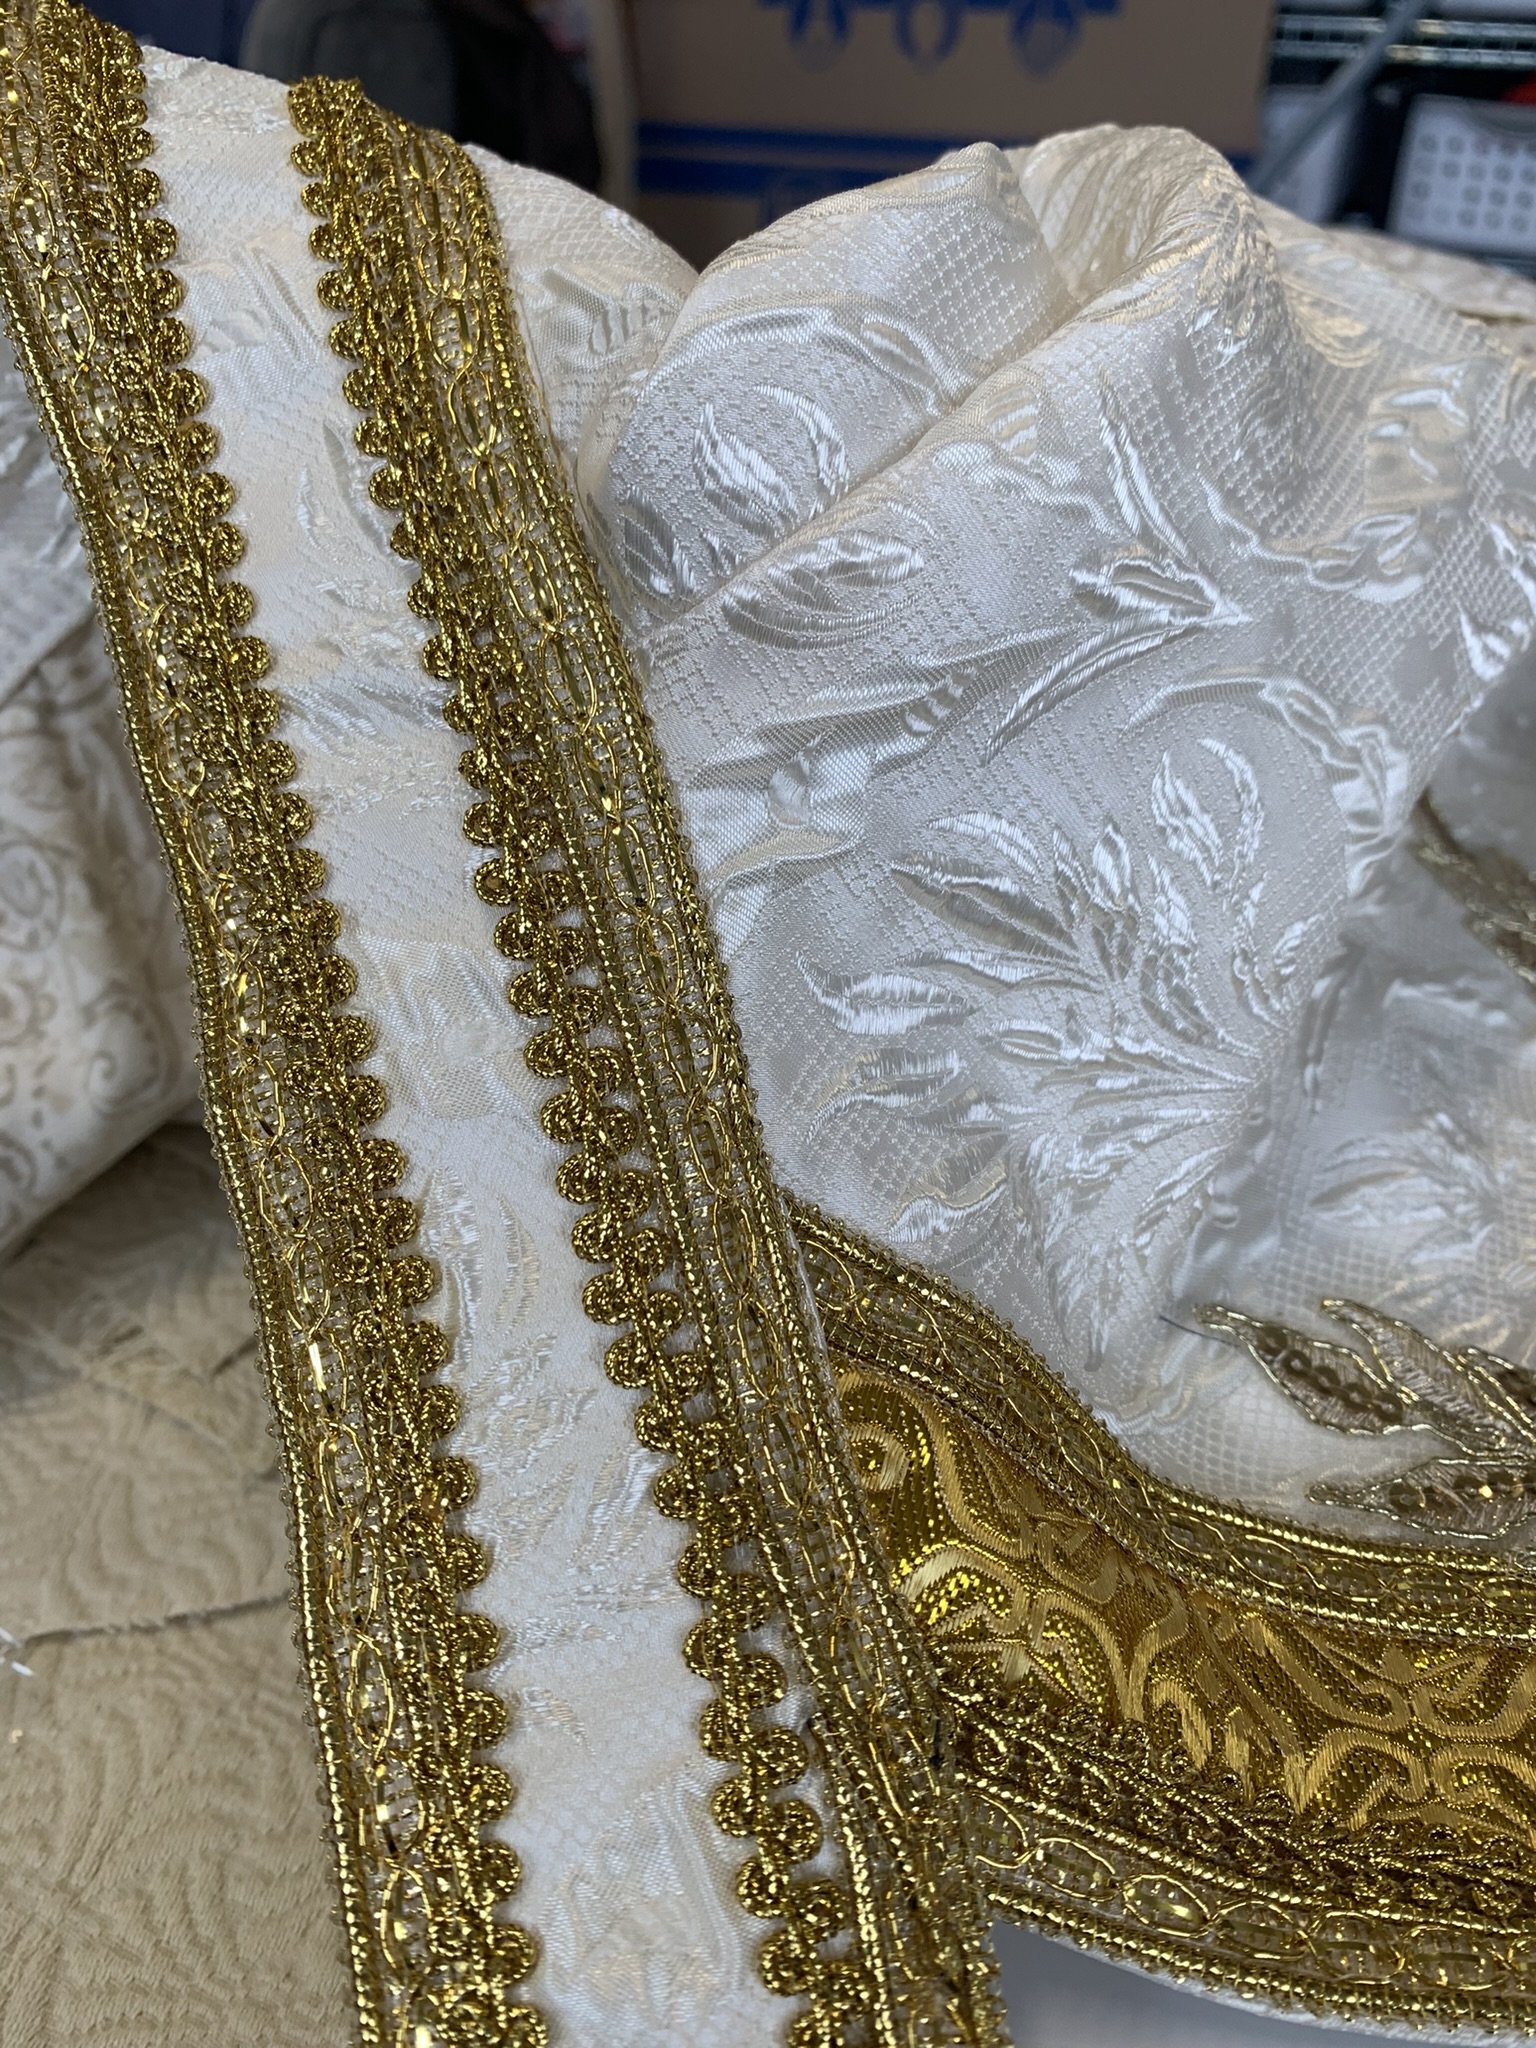
Collar is added first and the trims are fixed with a sewing machine. More beads and details are added after adding the collar to the main body. I tried to get as much of the collar details sewn down as possible.
I have a lining on the shawl so the shall neck opening is finished inside the collar. So it’s a clean and finished seam on the inside.
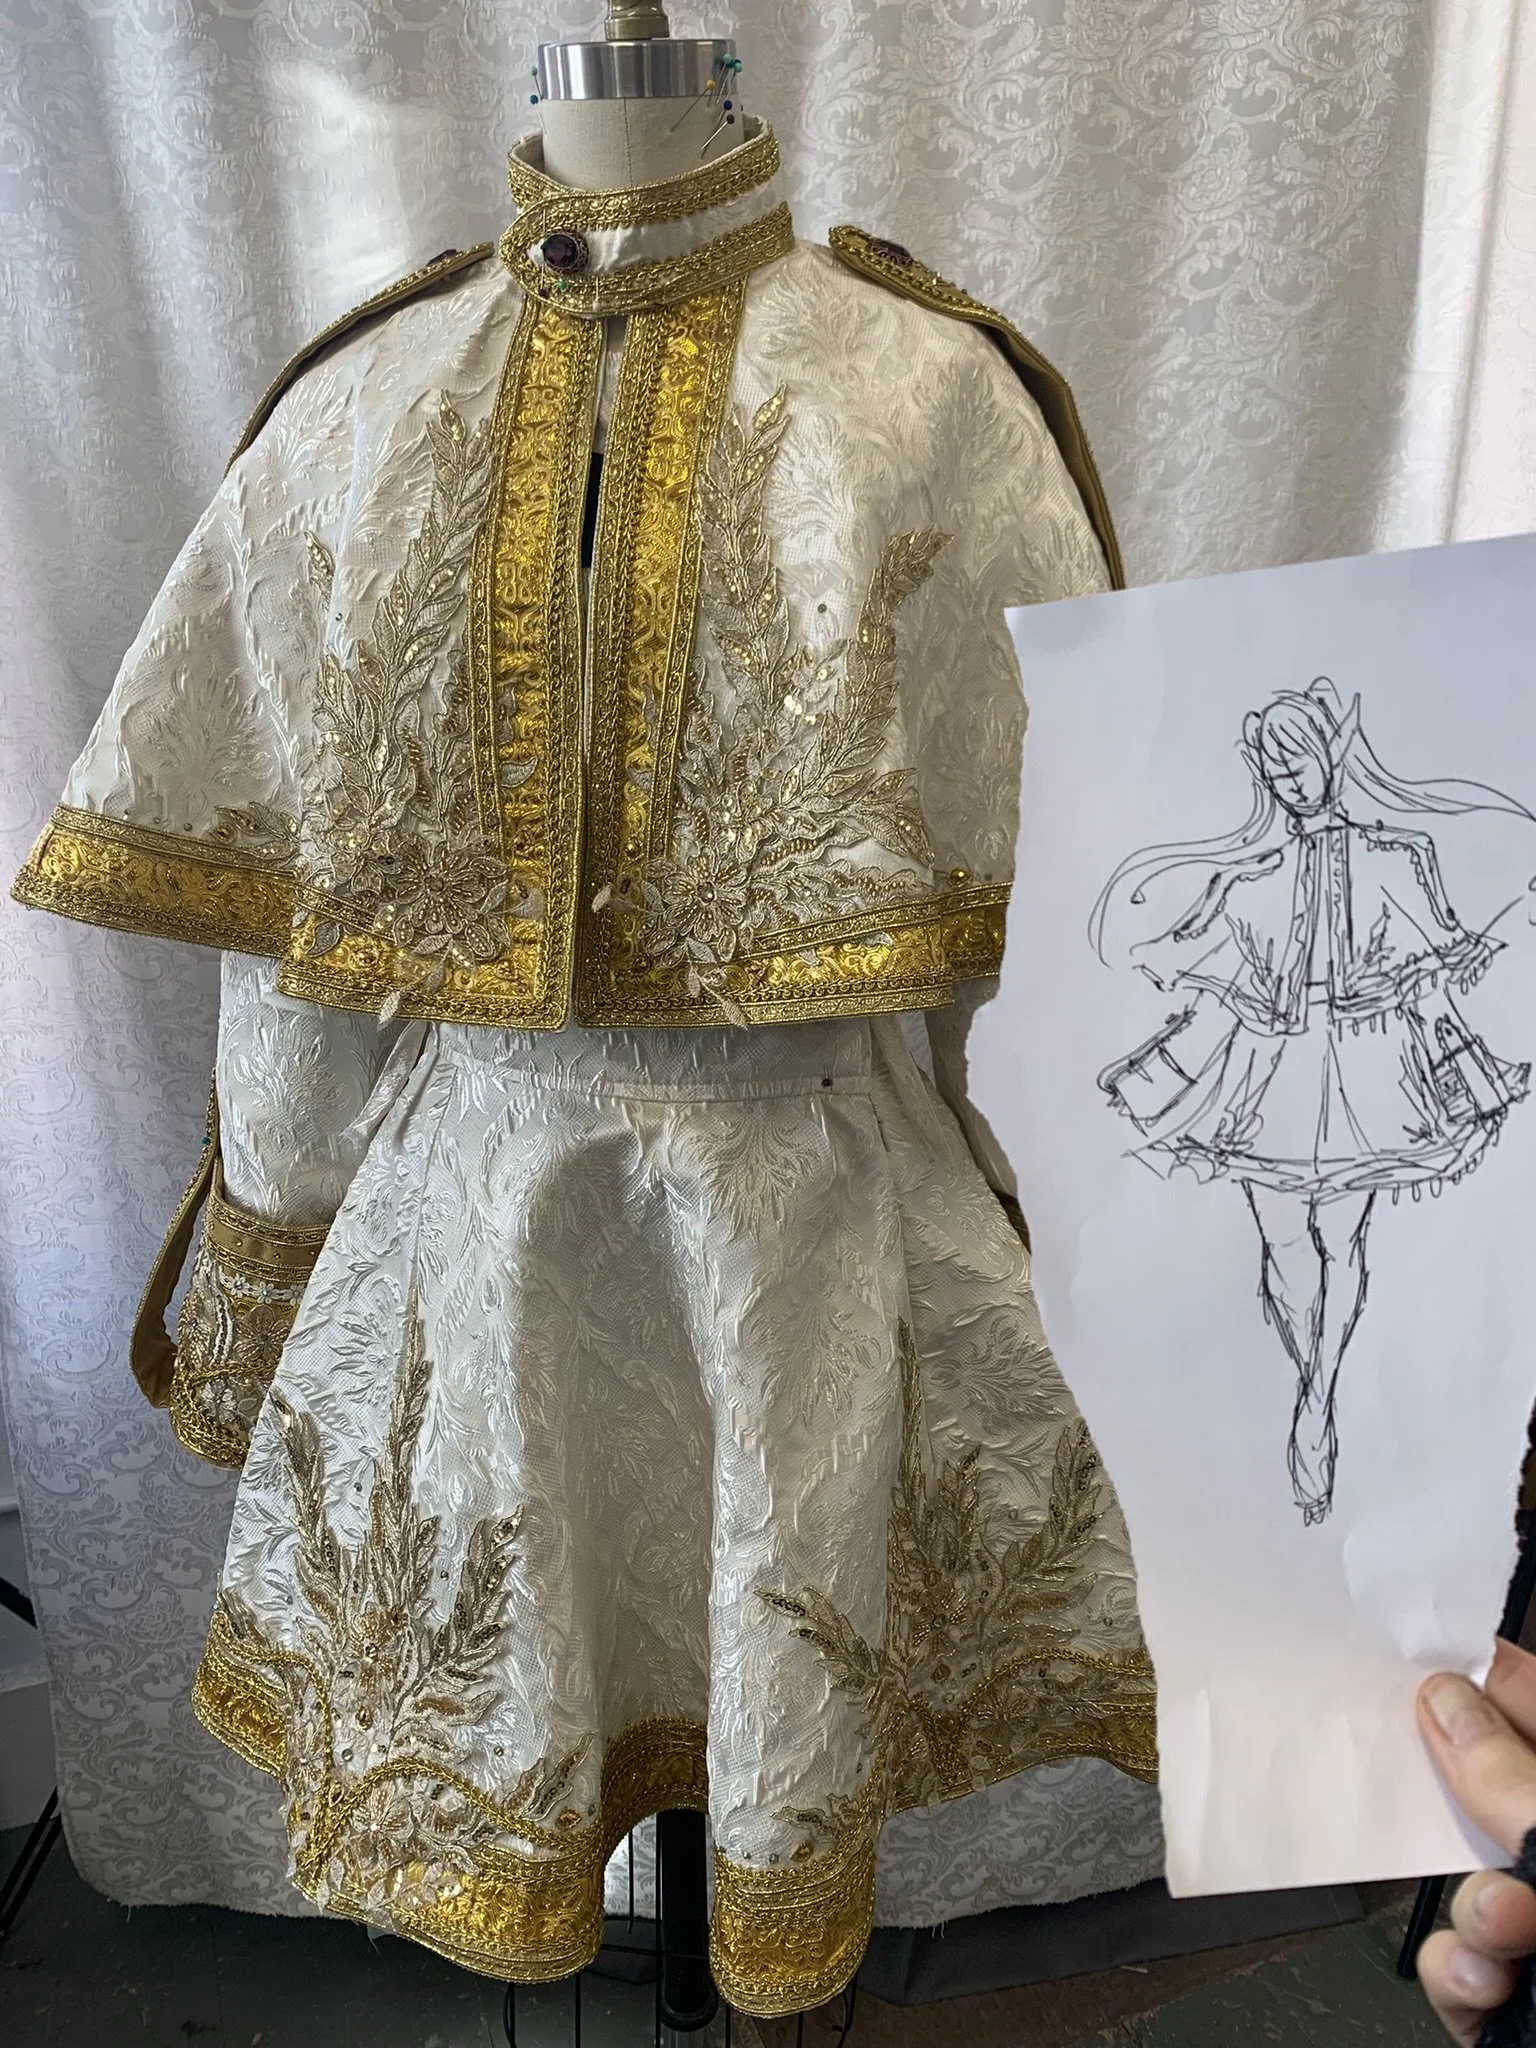
From first sketch to finished!
I did go back in and add more trims and applique to different areas of the skirt and shawl. I wanted it to feel very intricate and the more I added the better it got. I like that you can see how the design evolved beyond even the sketch as far as planned details.
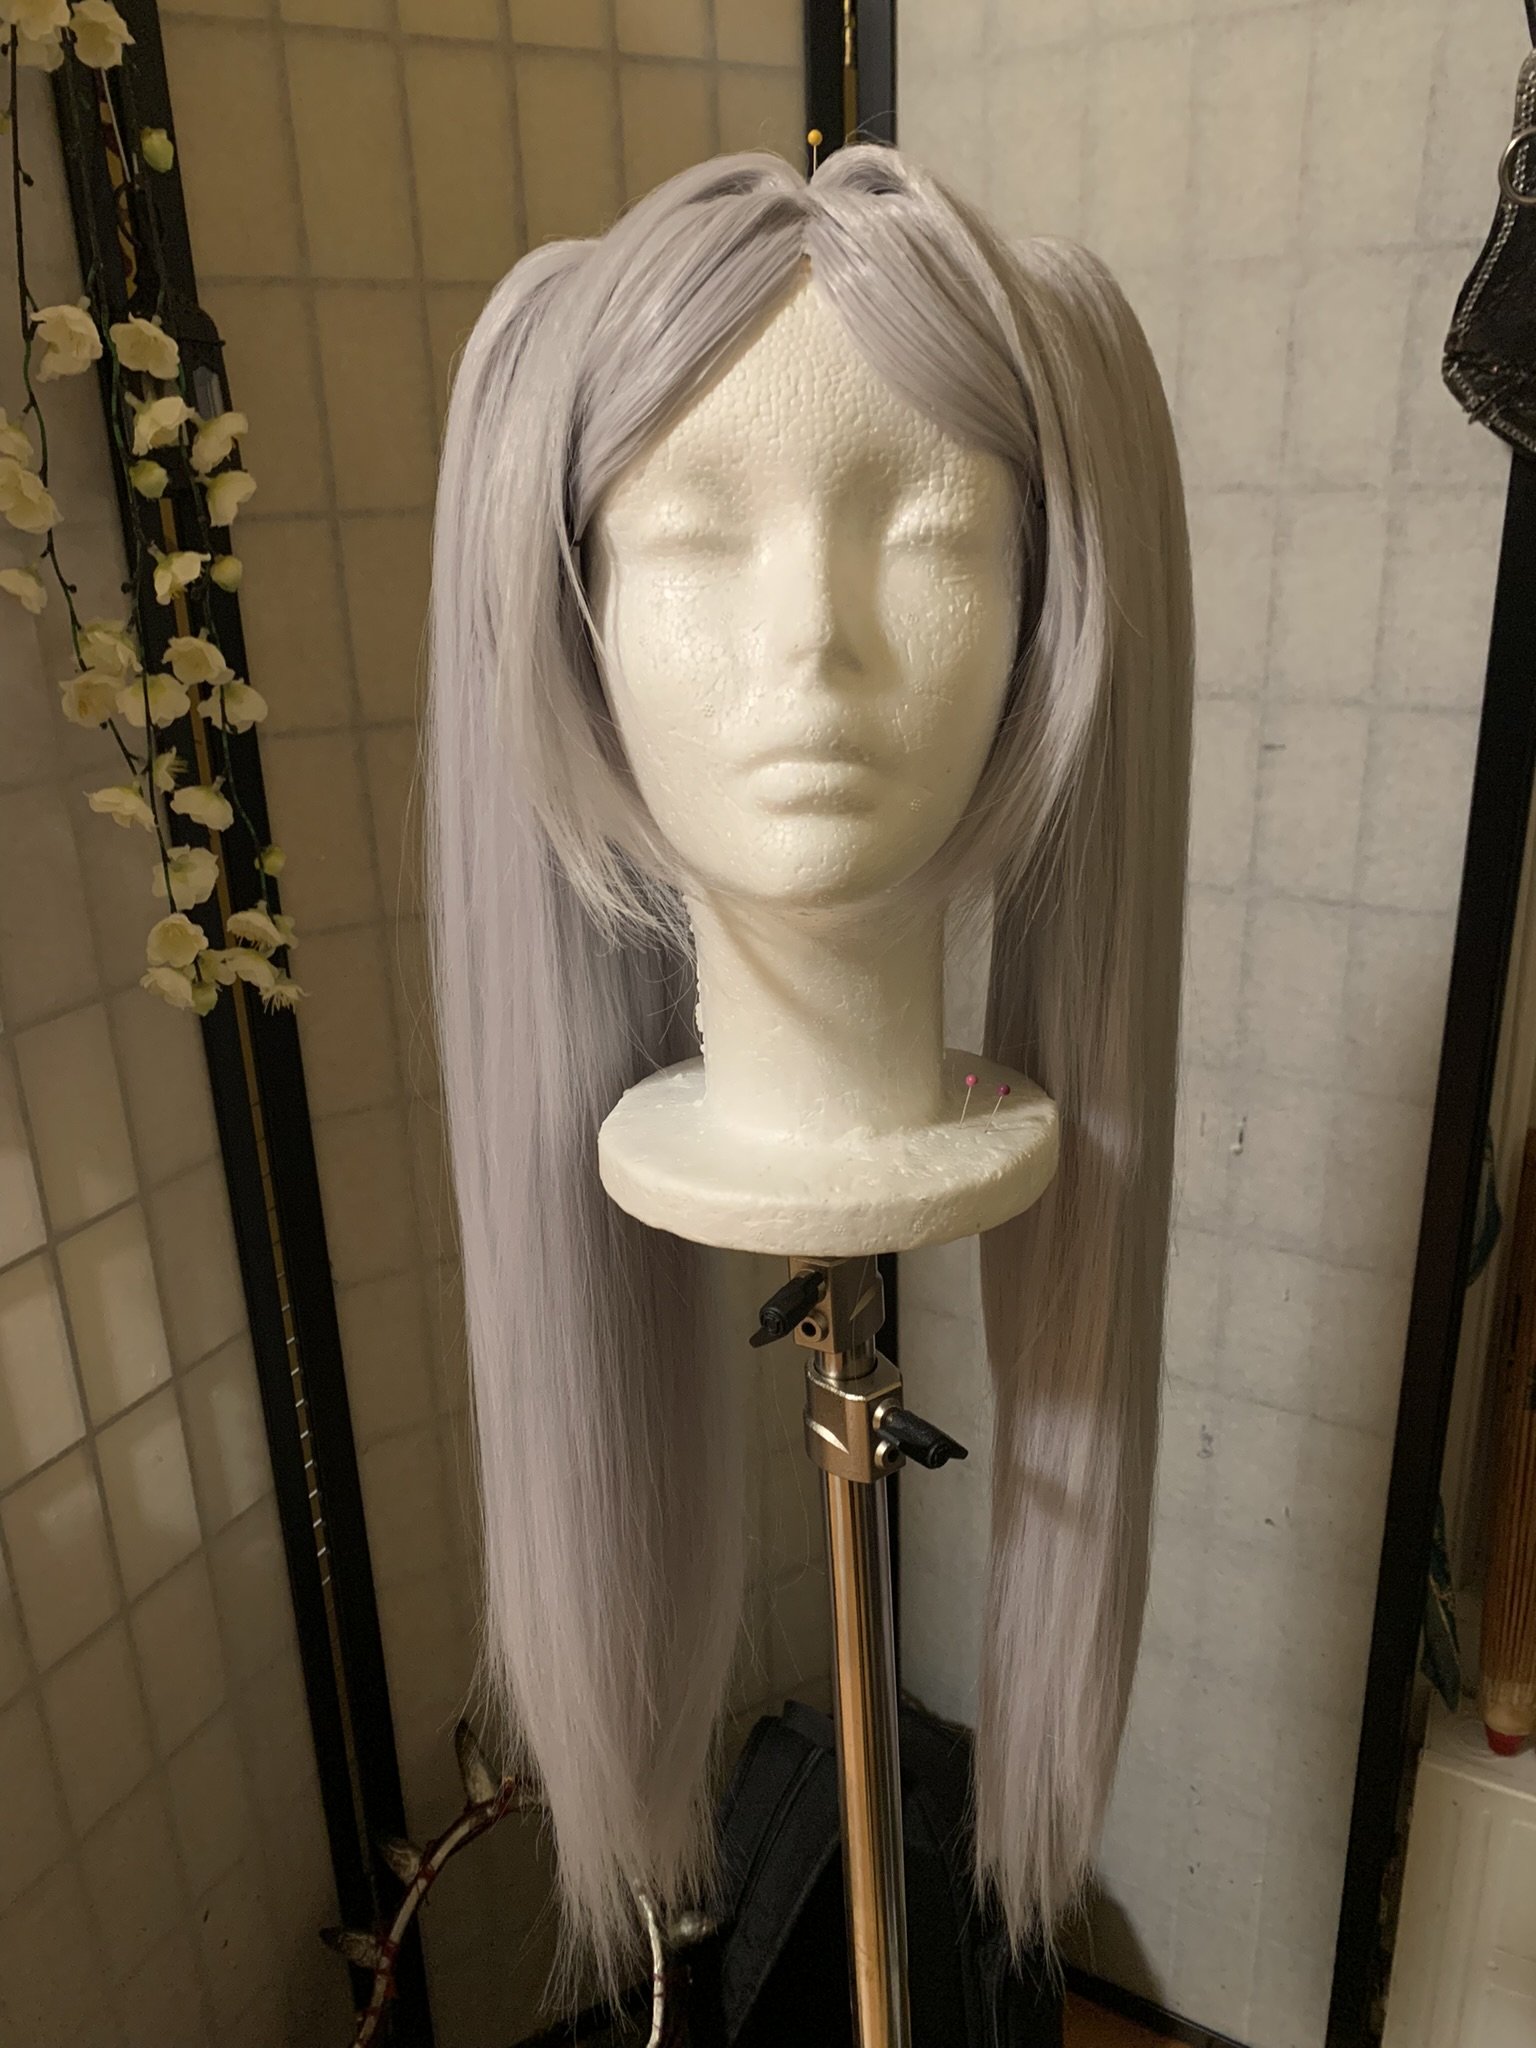
Wig + Earrings + Prop
Wig - Right out of the bag the wig looked pretty good. But I knew I wanted some customization.
I crimped the ponytail clips fully, to reduce tangle, it made them wayyy too thick, so I used thinning scissors to remove all the weight out of it. I tamed the little anime bangs and made them suit my particular face shape with cutting and g2b hair spray to hold the styling. I took out a lot more weight from everything than I expected to.
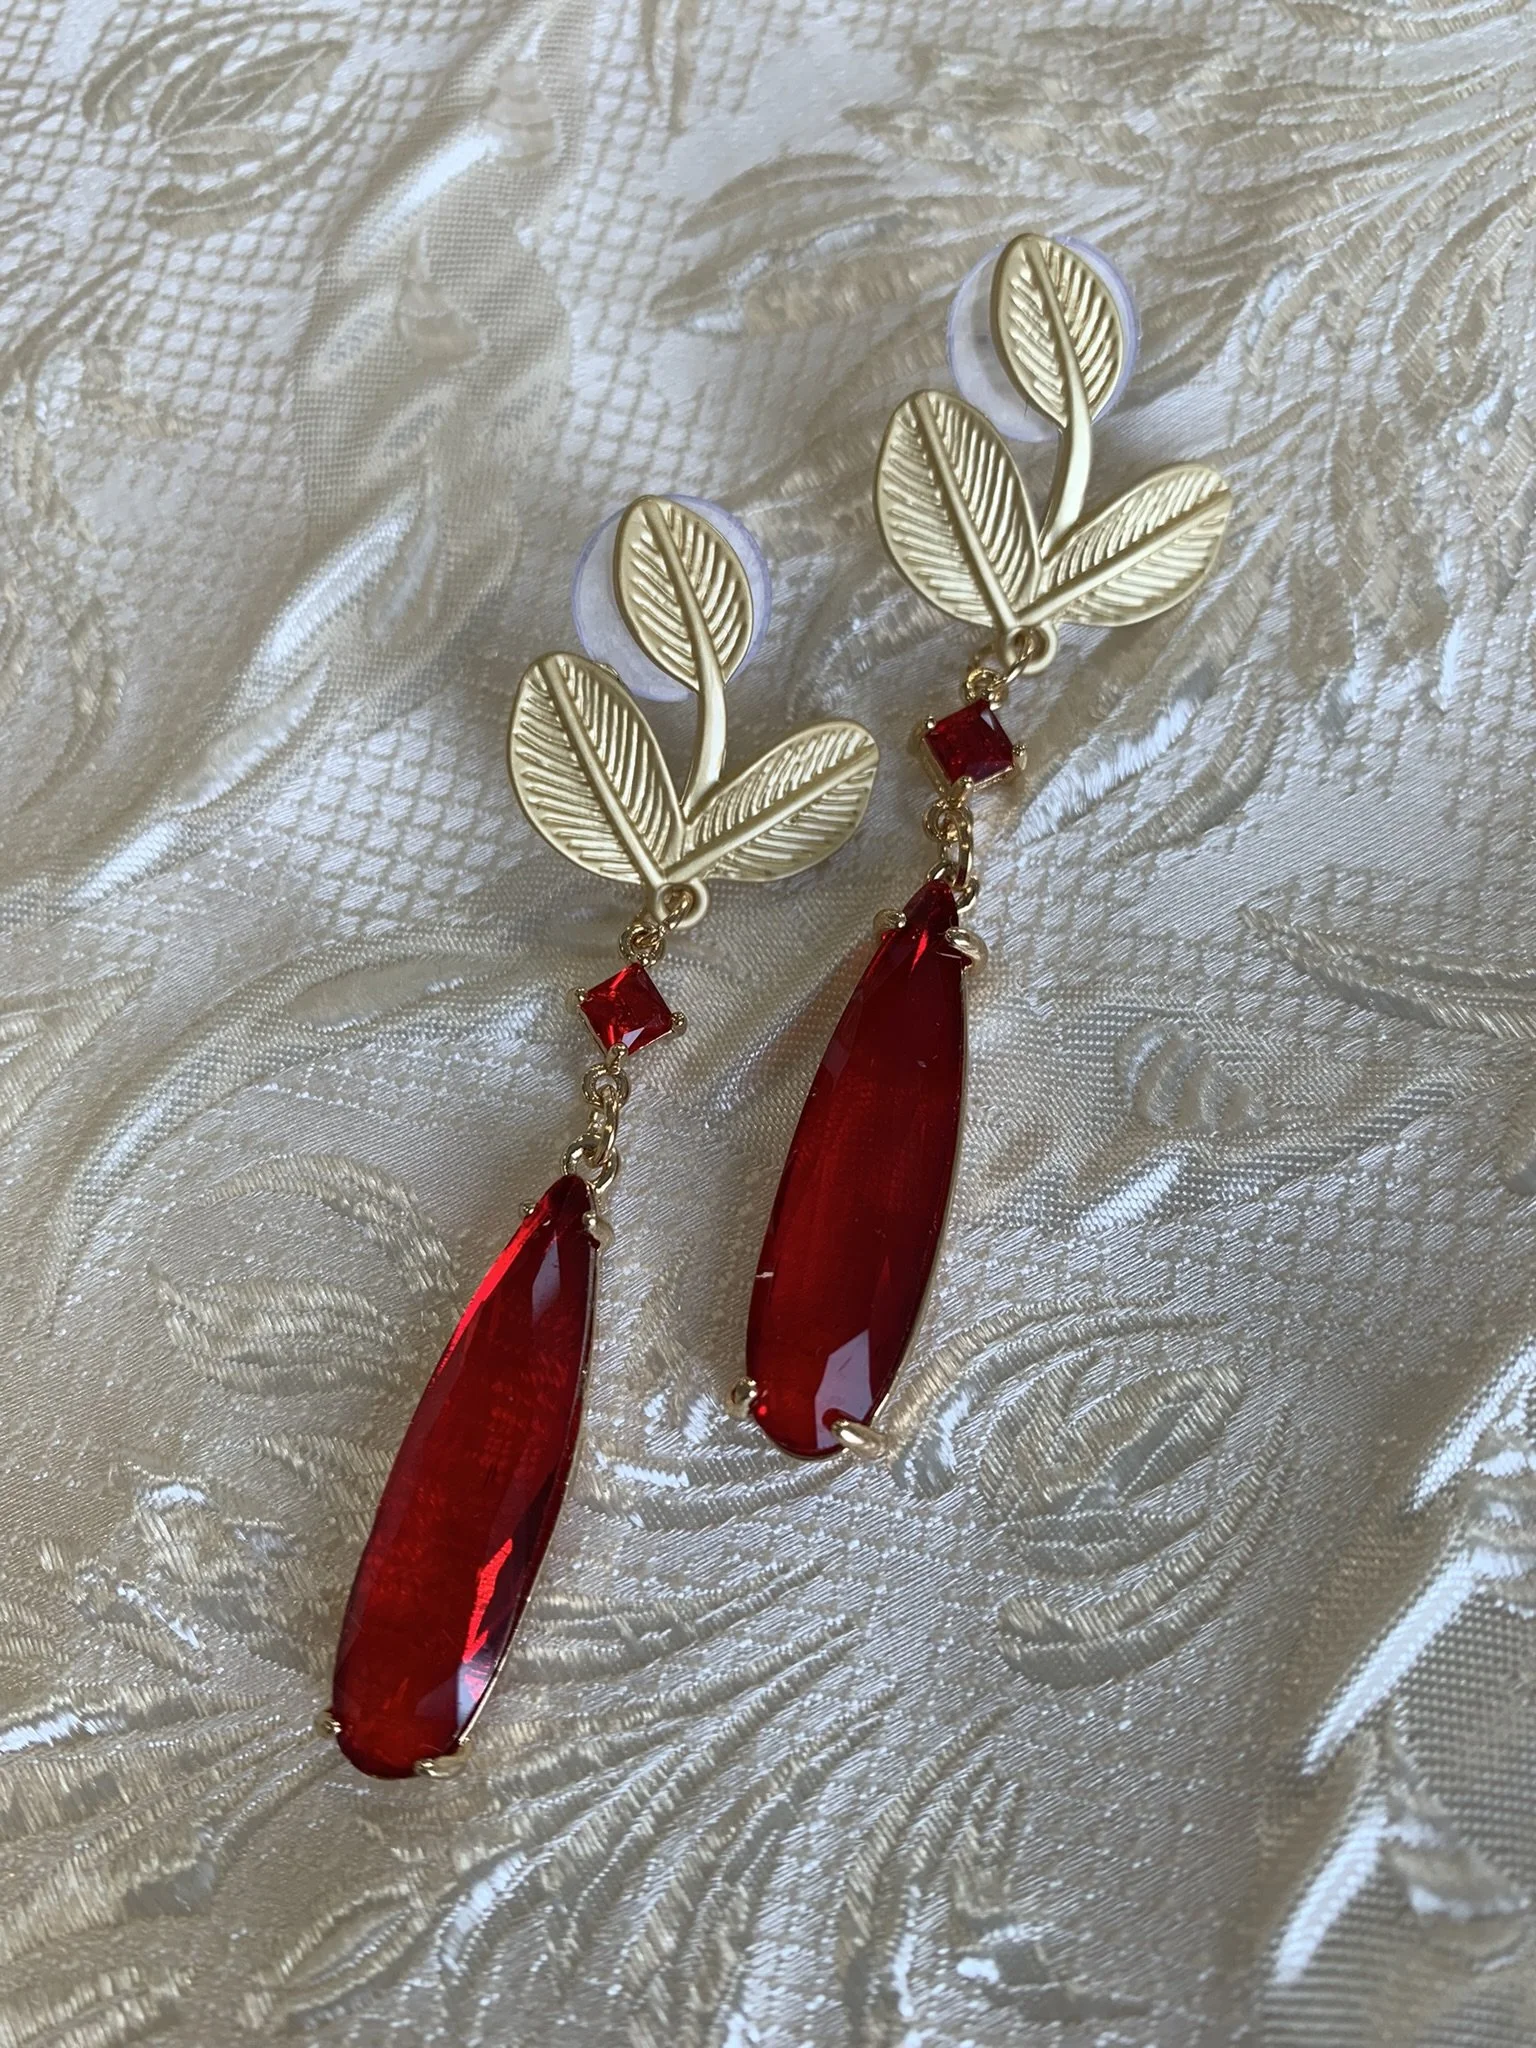
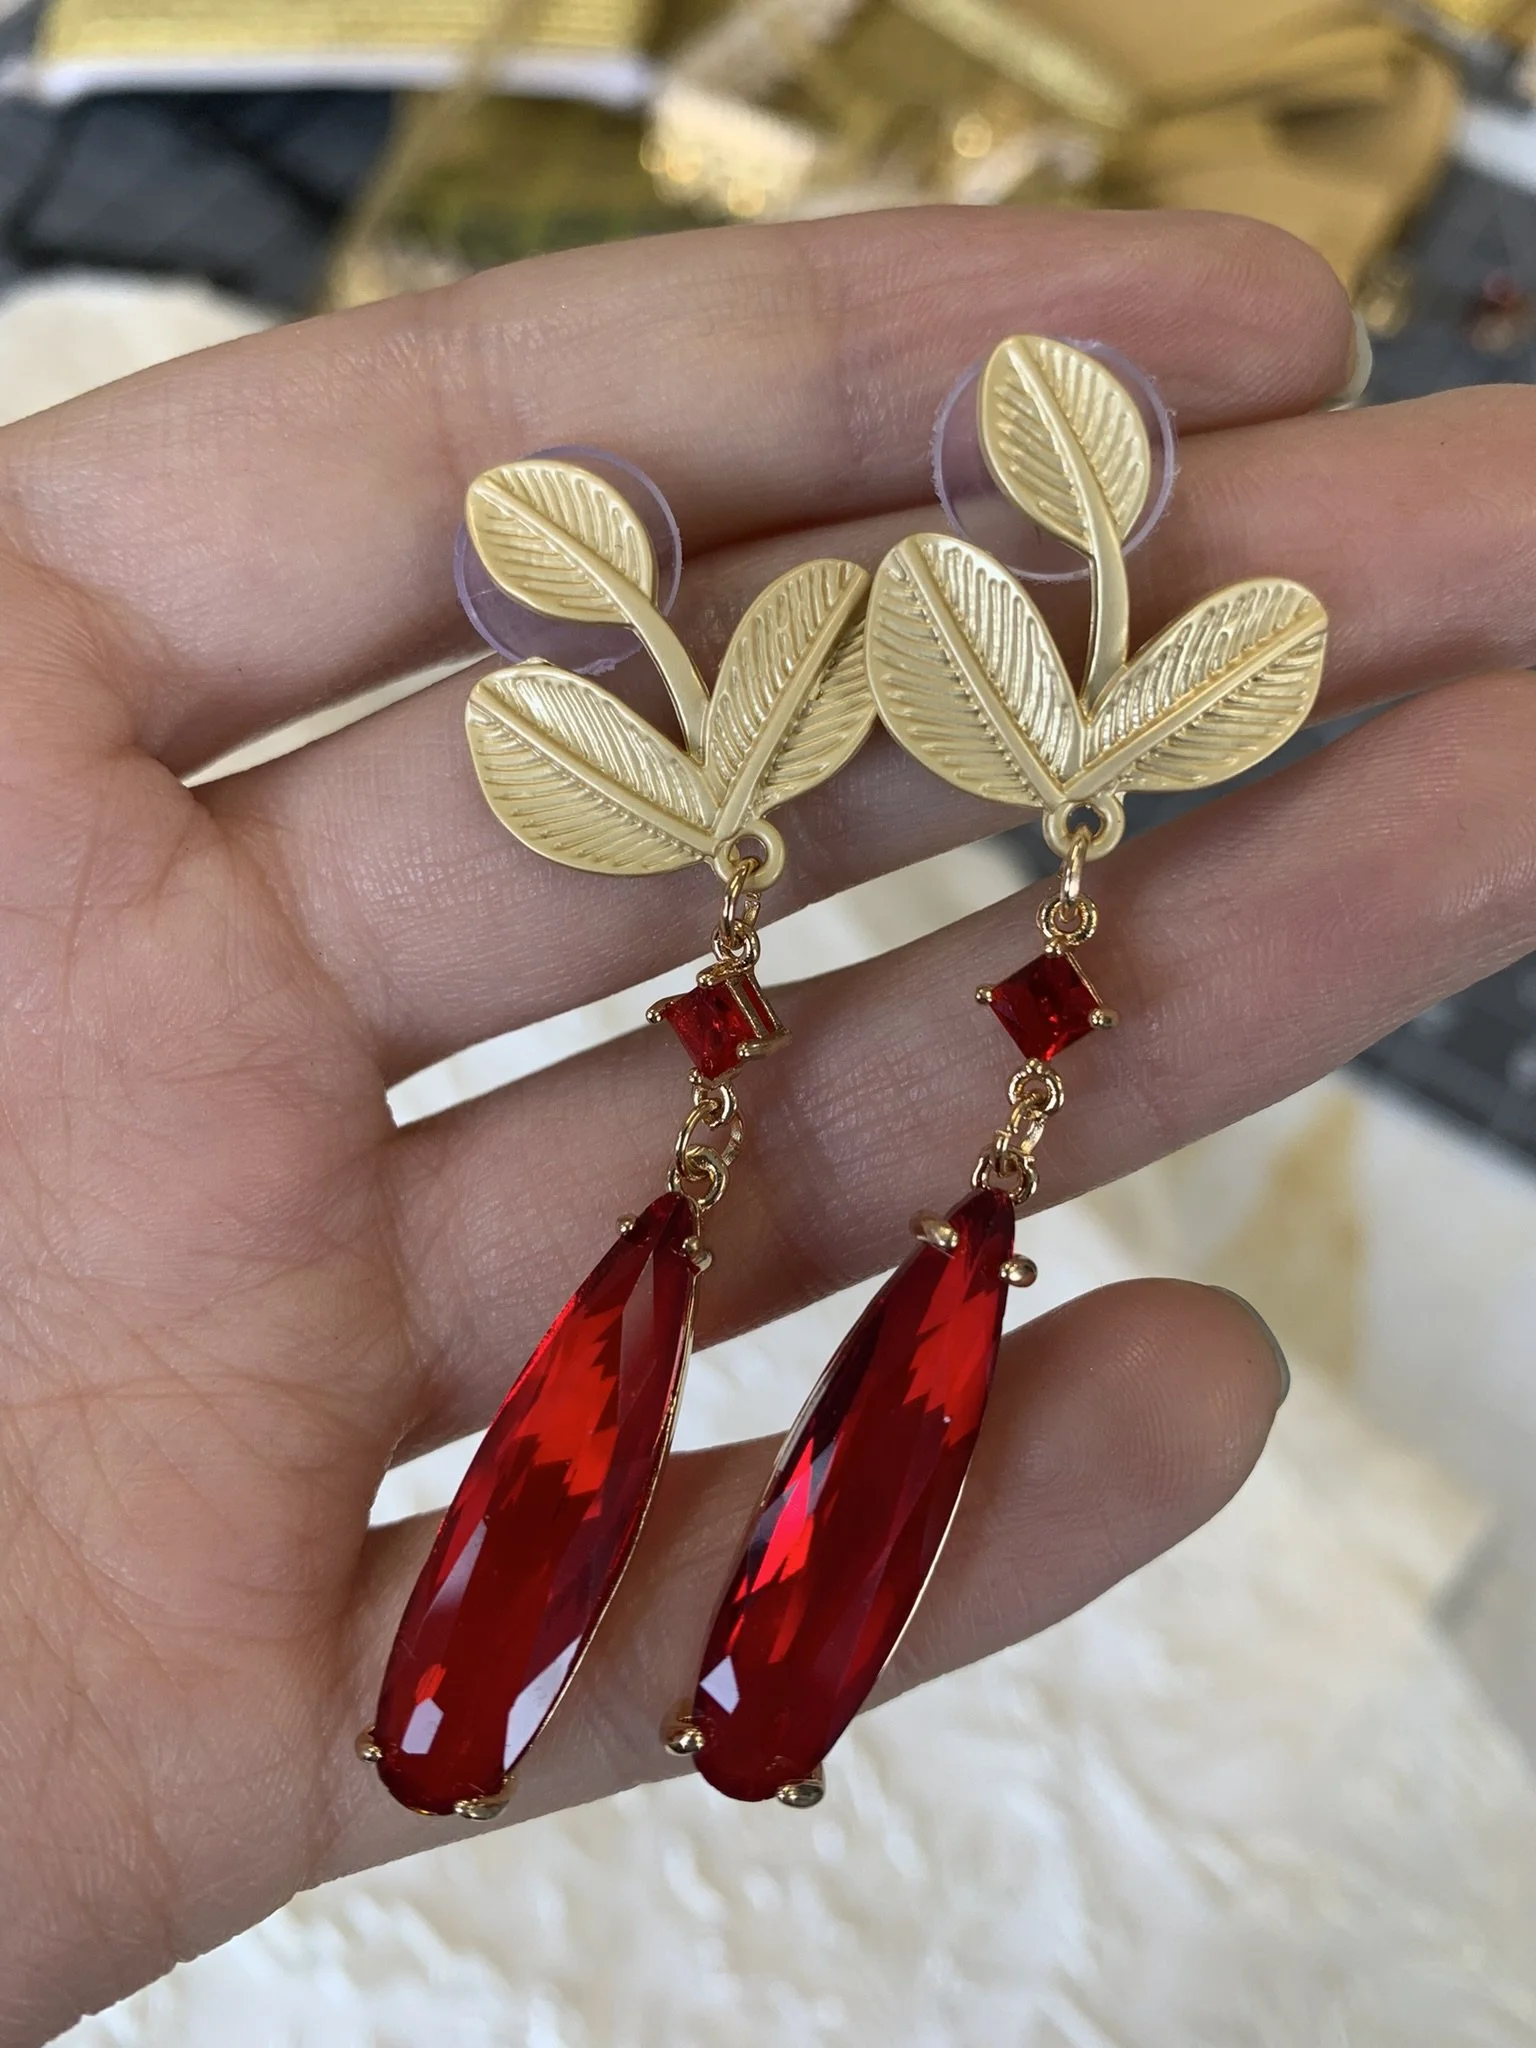
Earrings - I did not metalsmith the earrings but I did source each bead and assemble them.
As is my signature I had to make extra beautiful earrings to match my extravagant cosplay. I was again looking for a leafy design and a drop gem that has some facets that would catch the light.
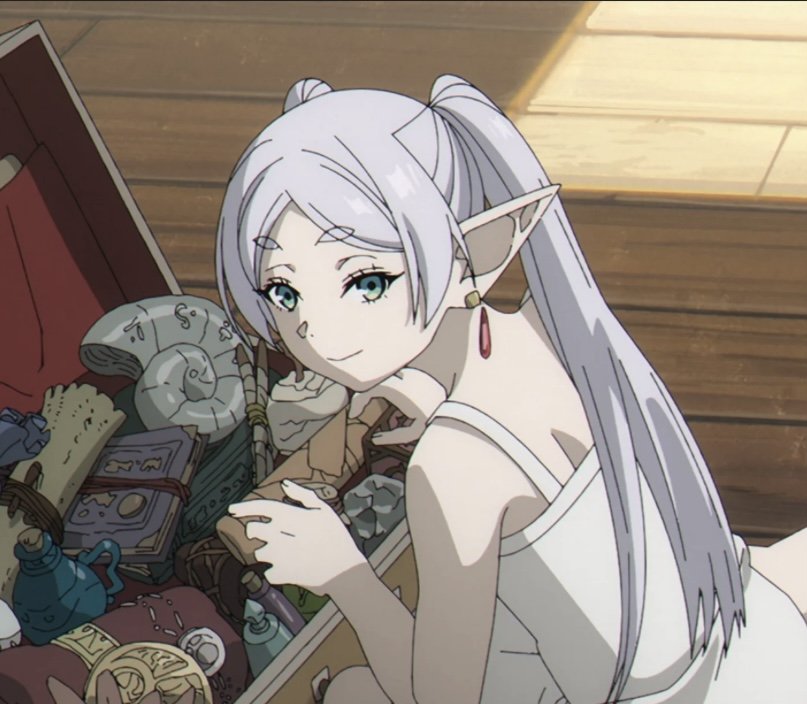
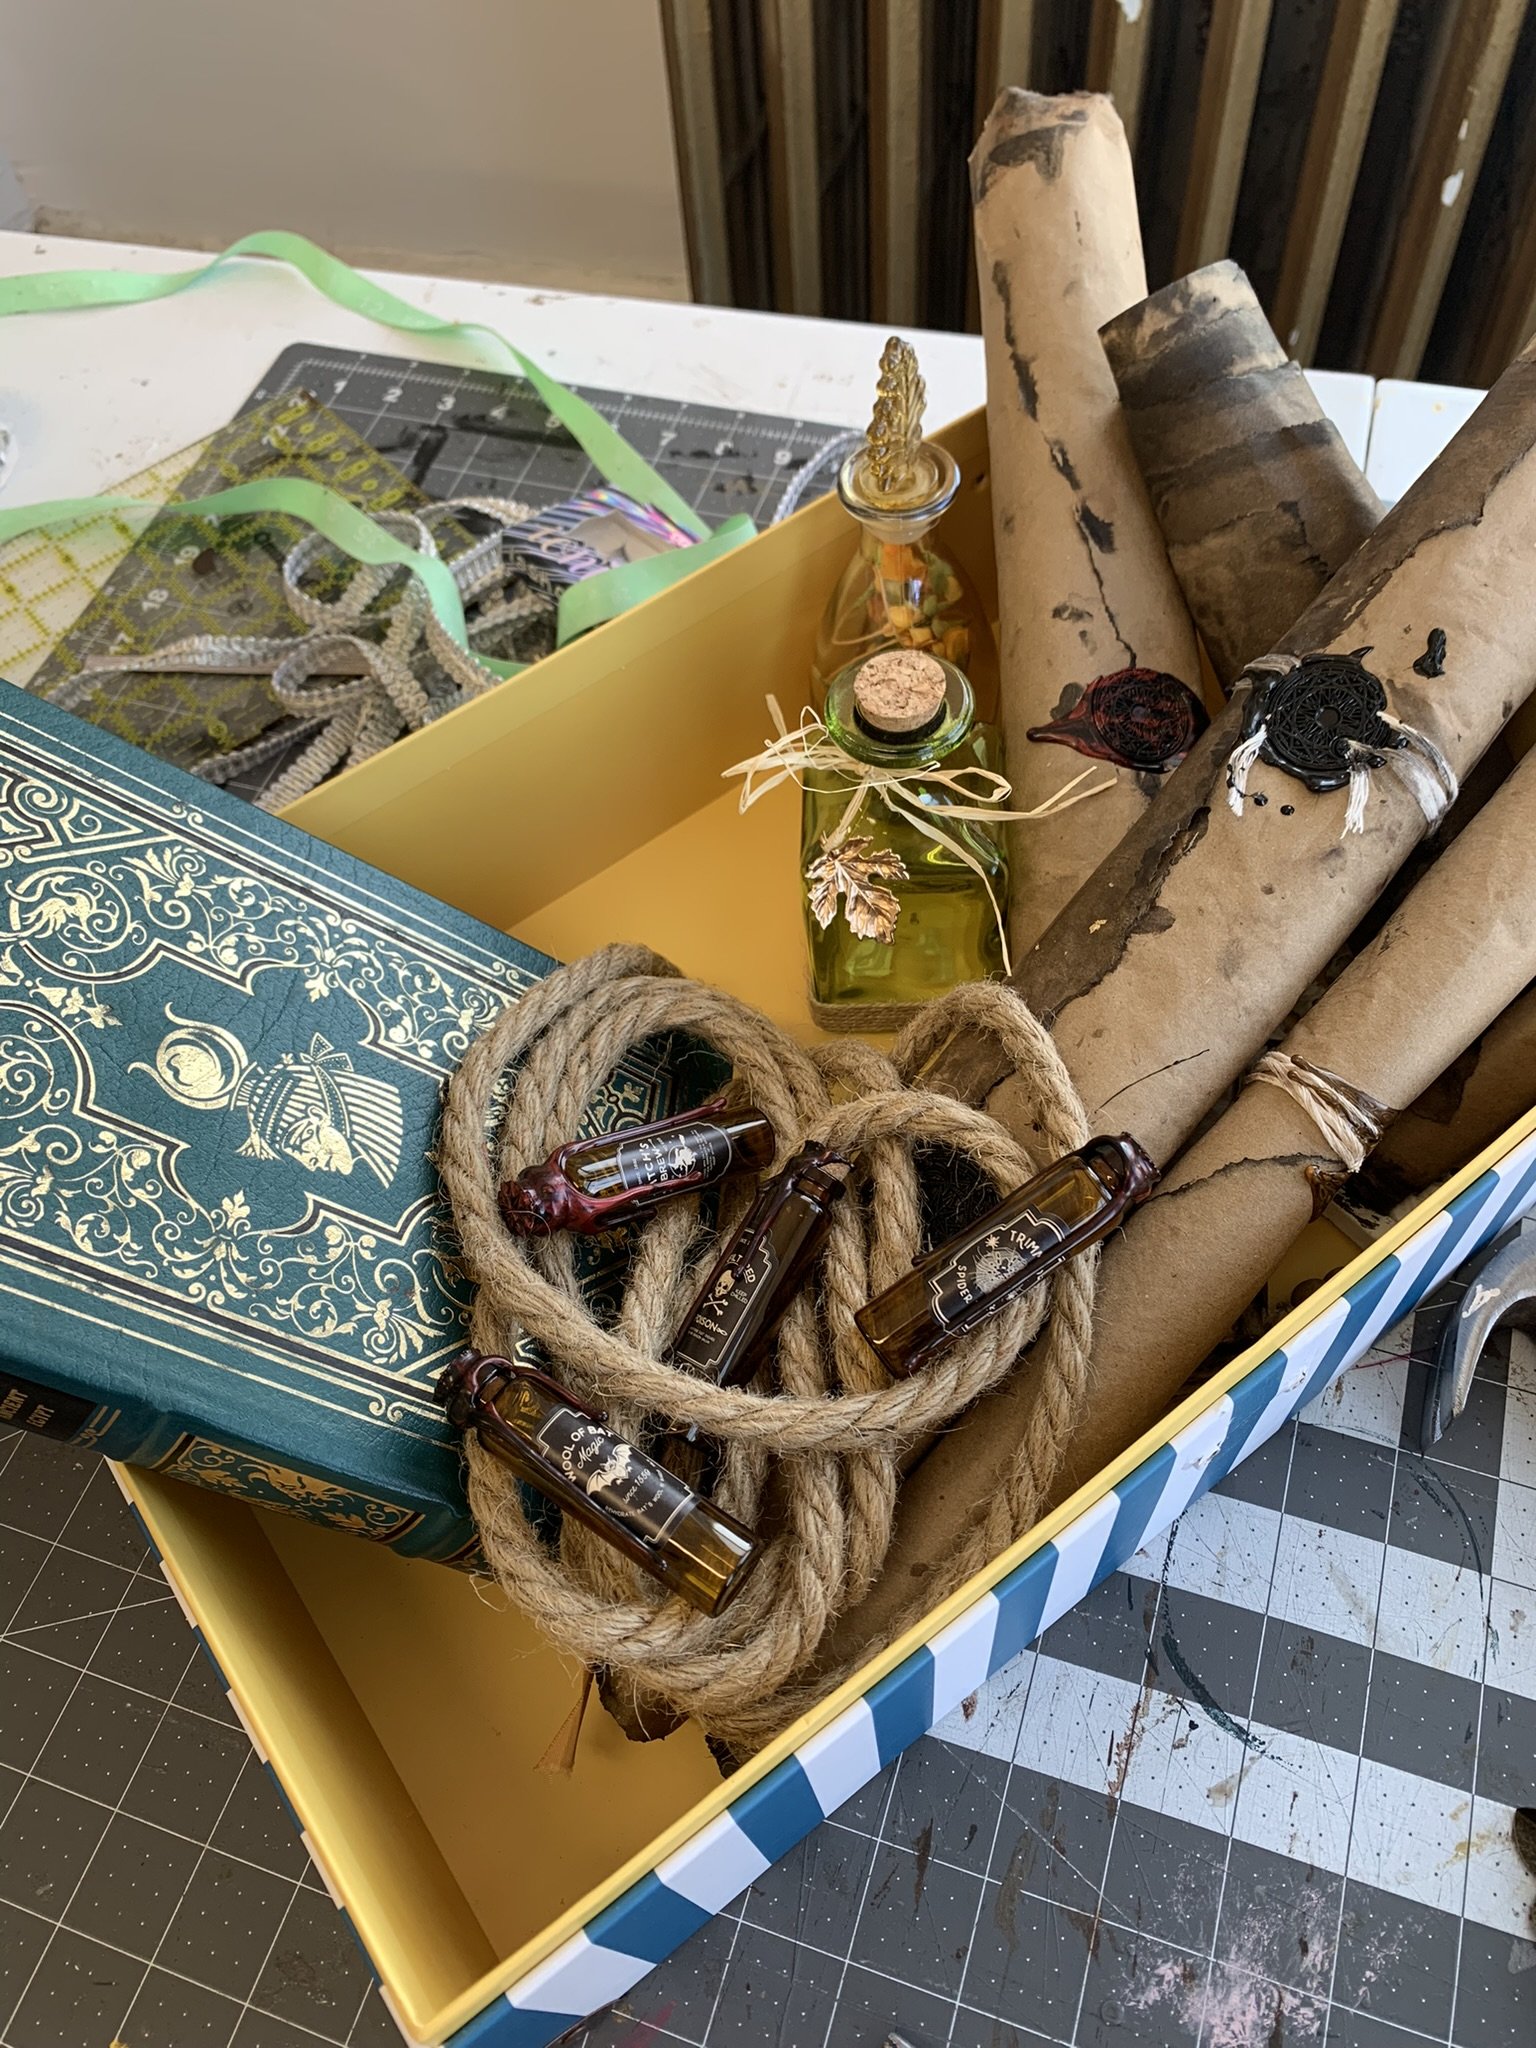
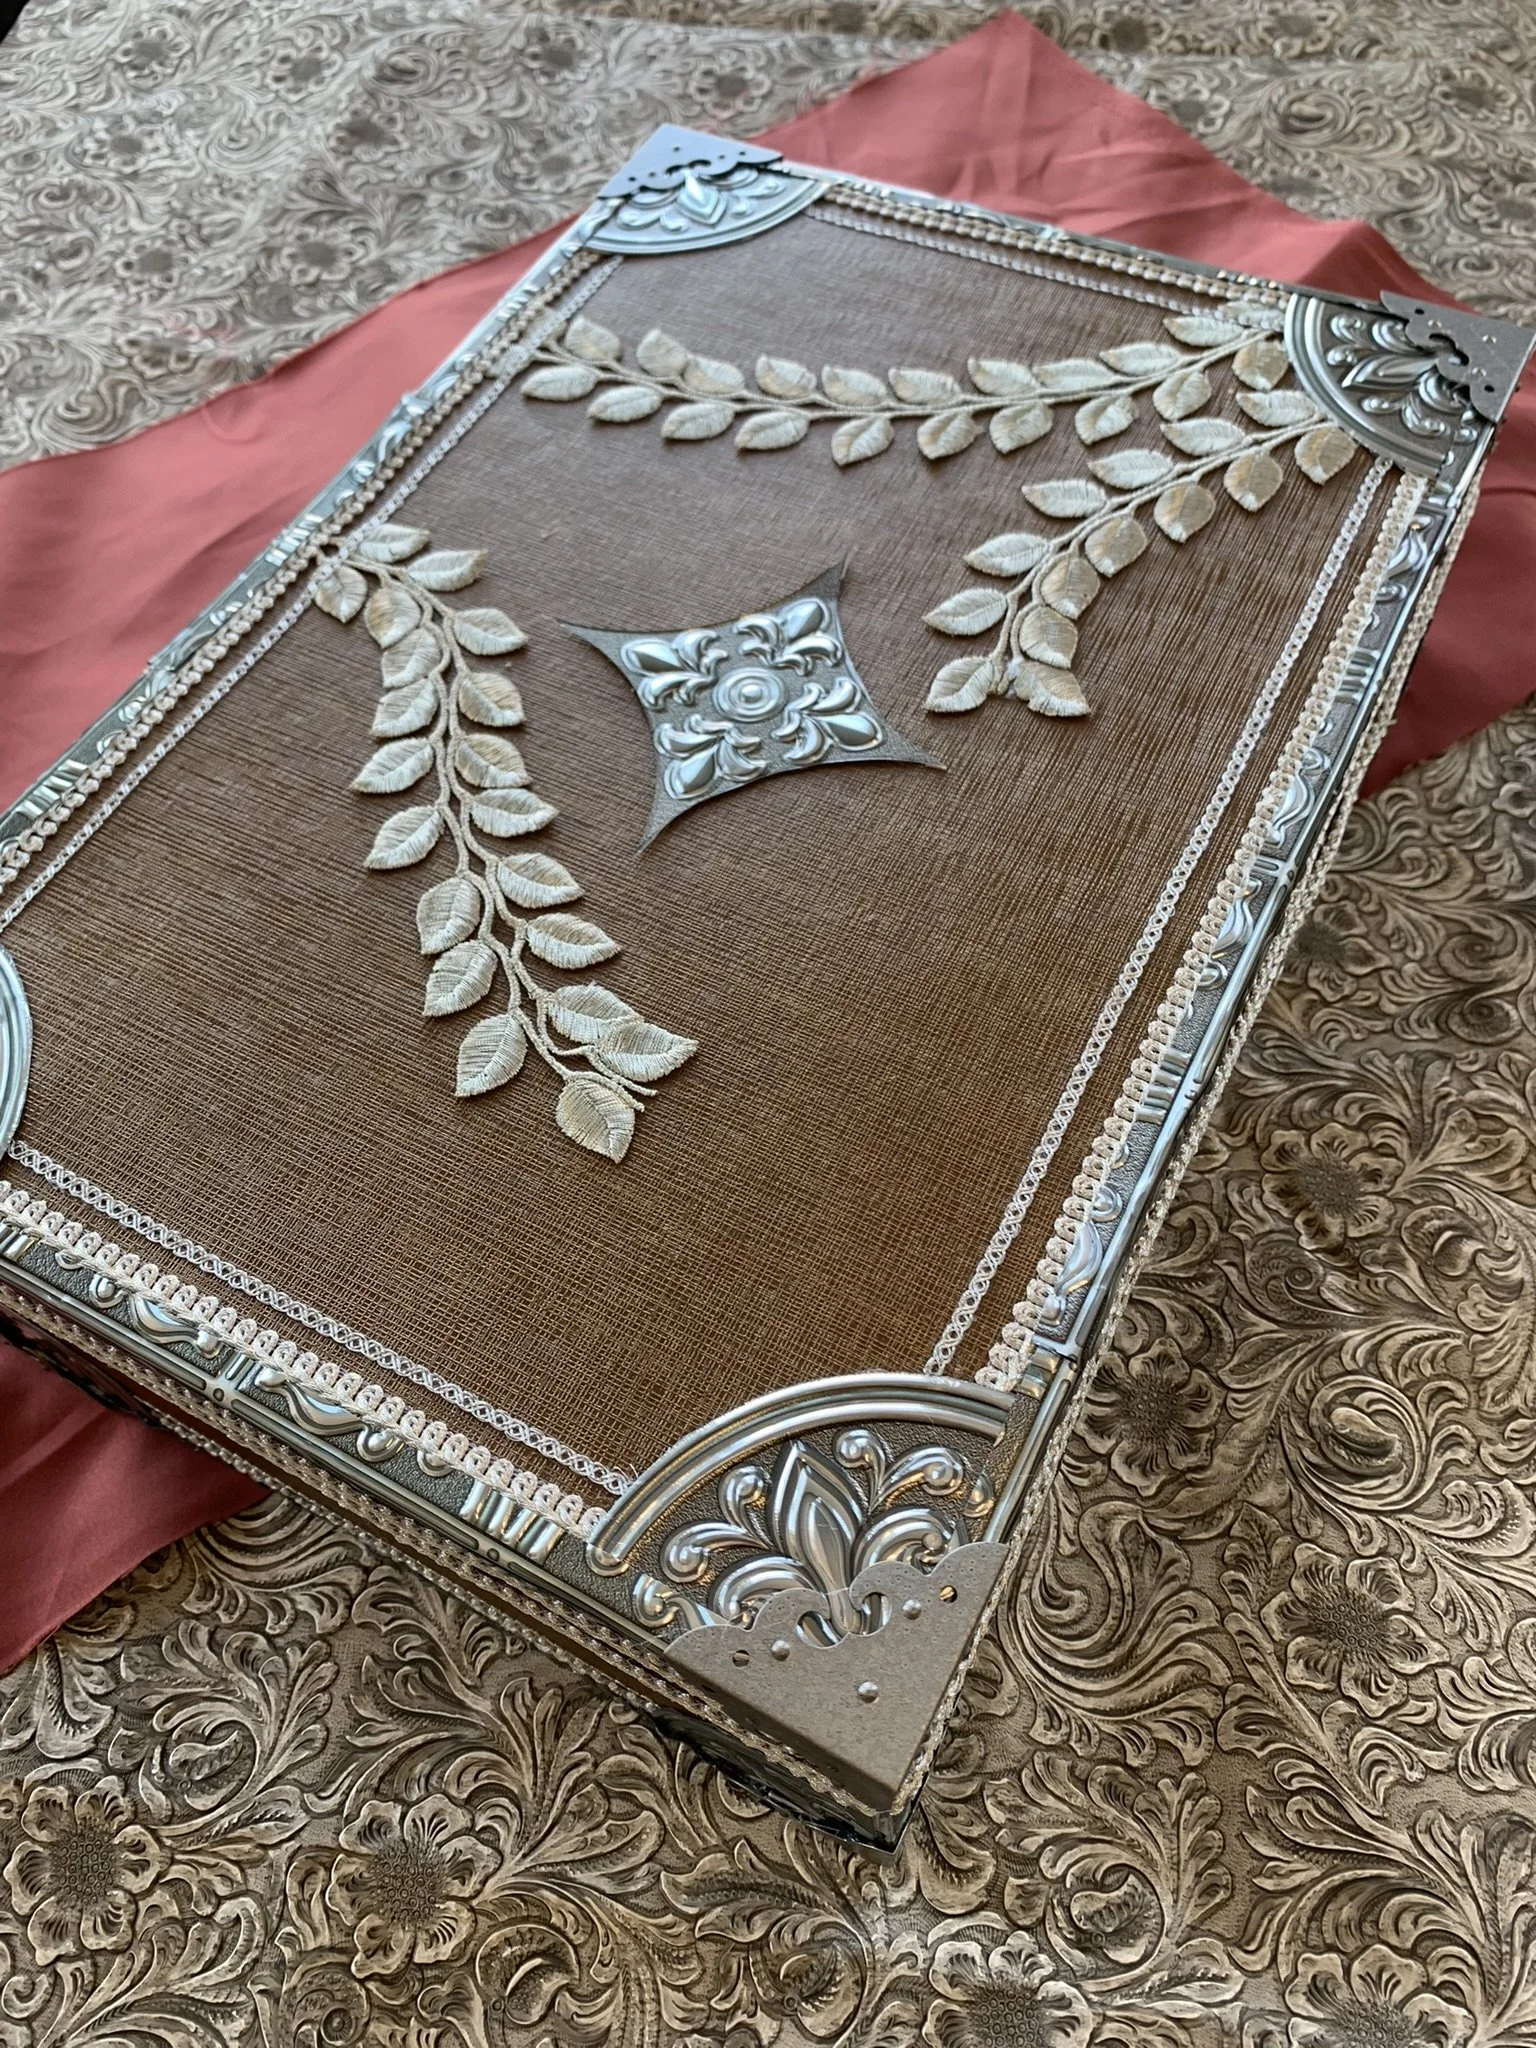
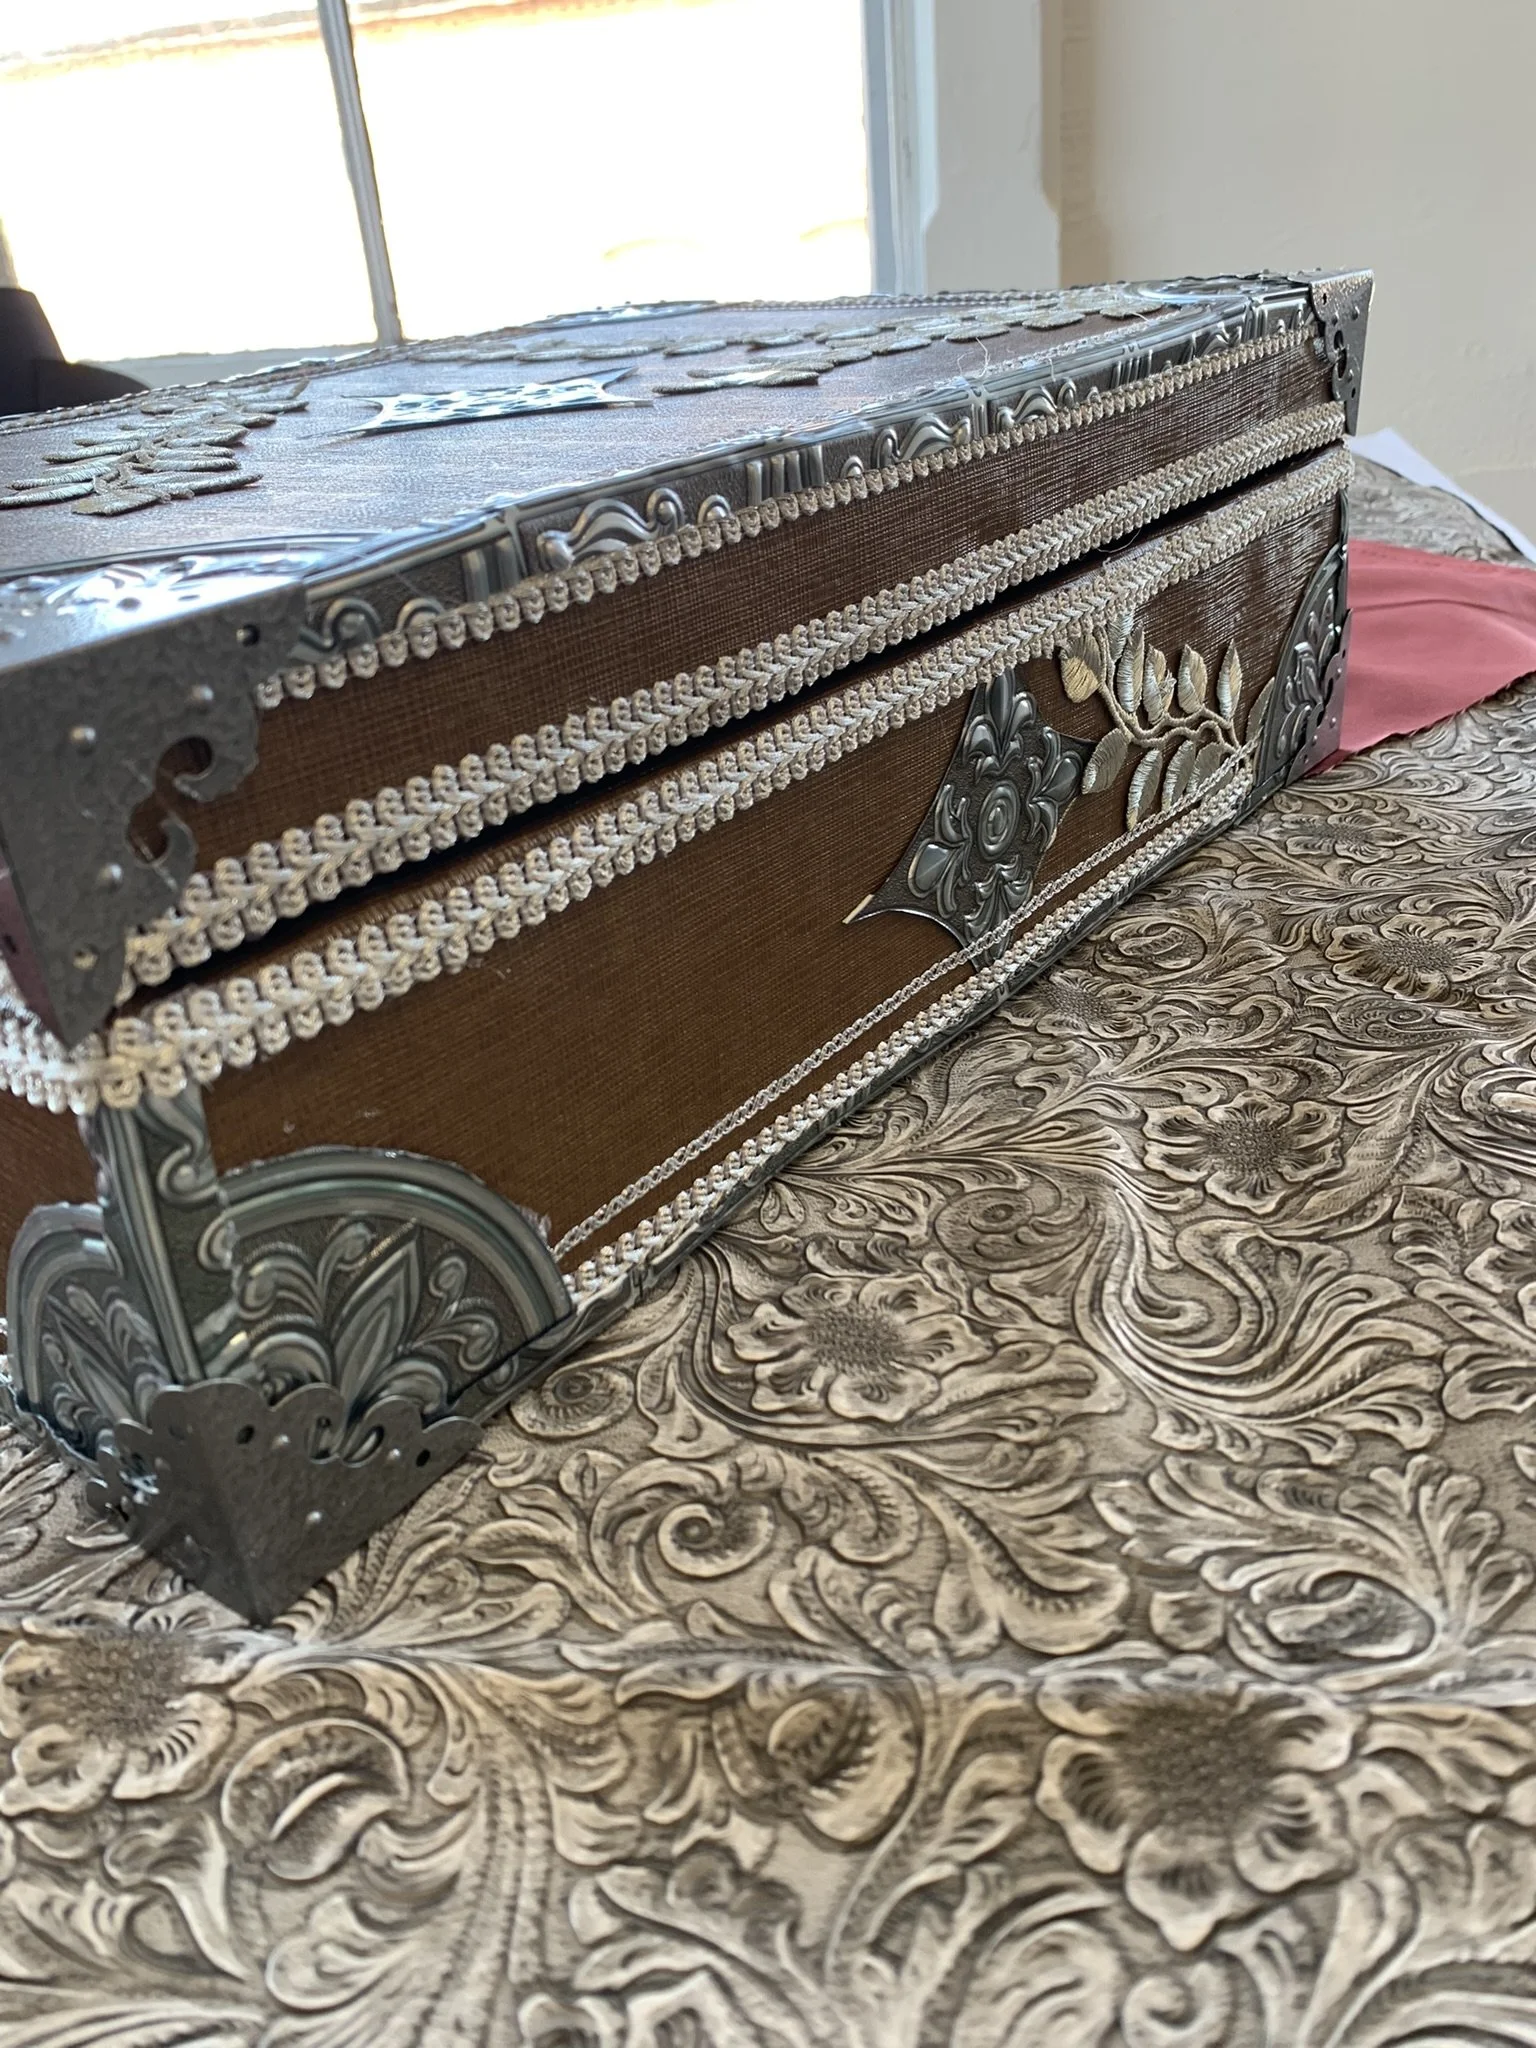
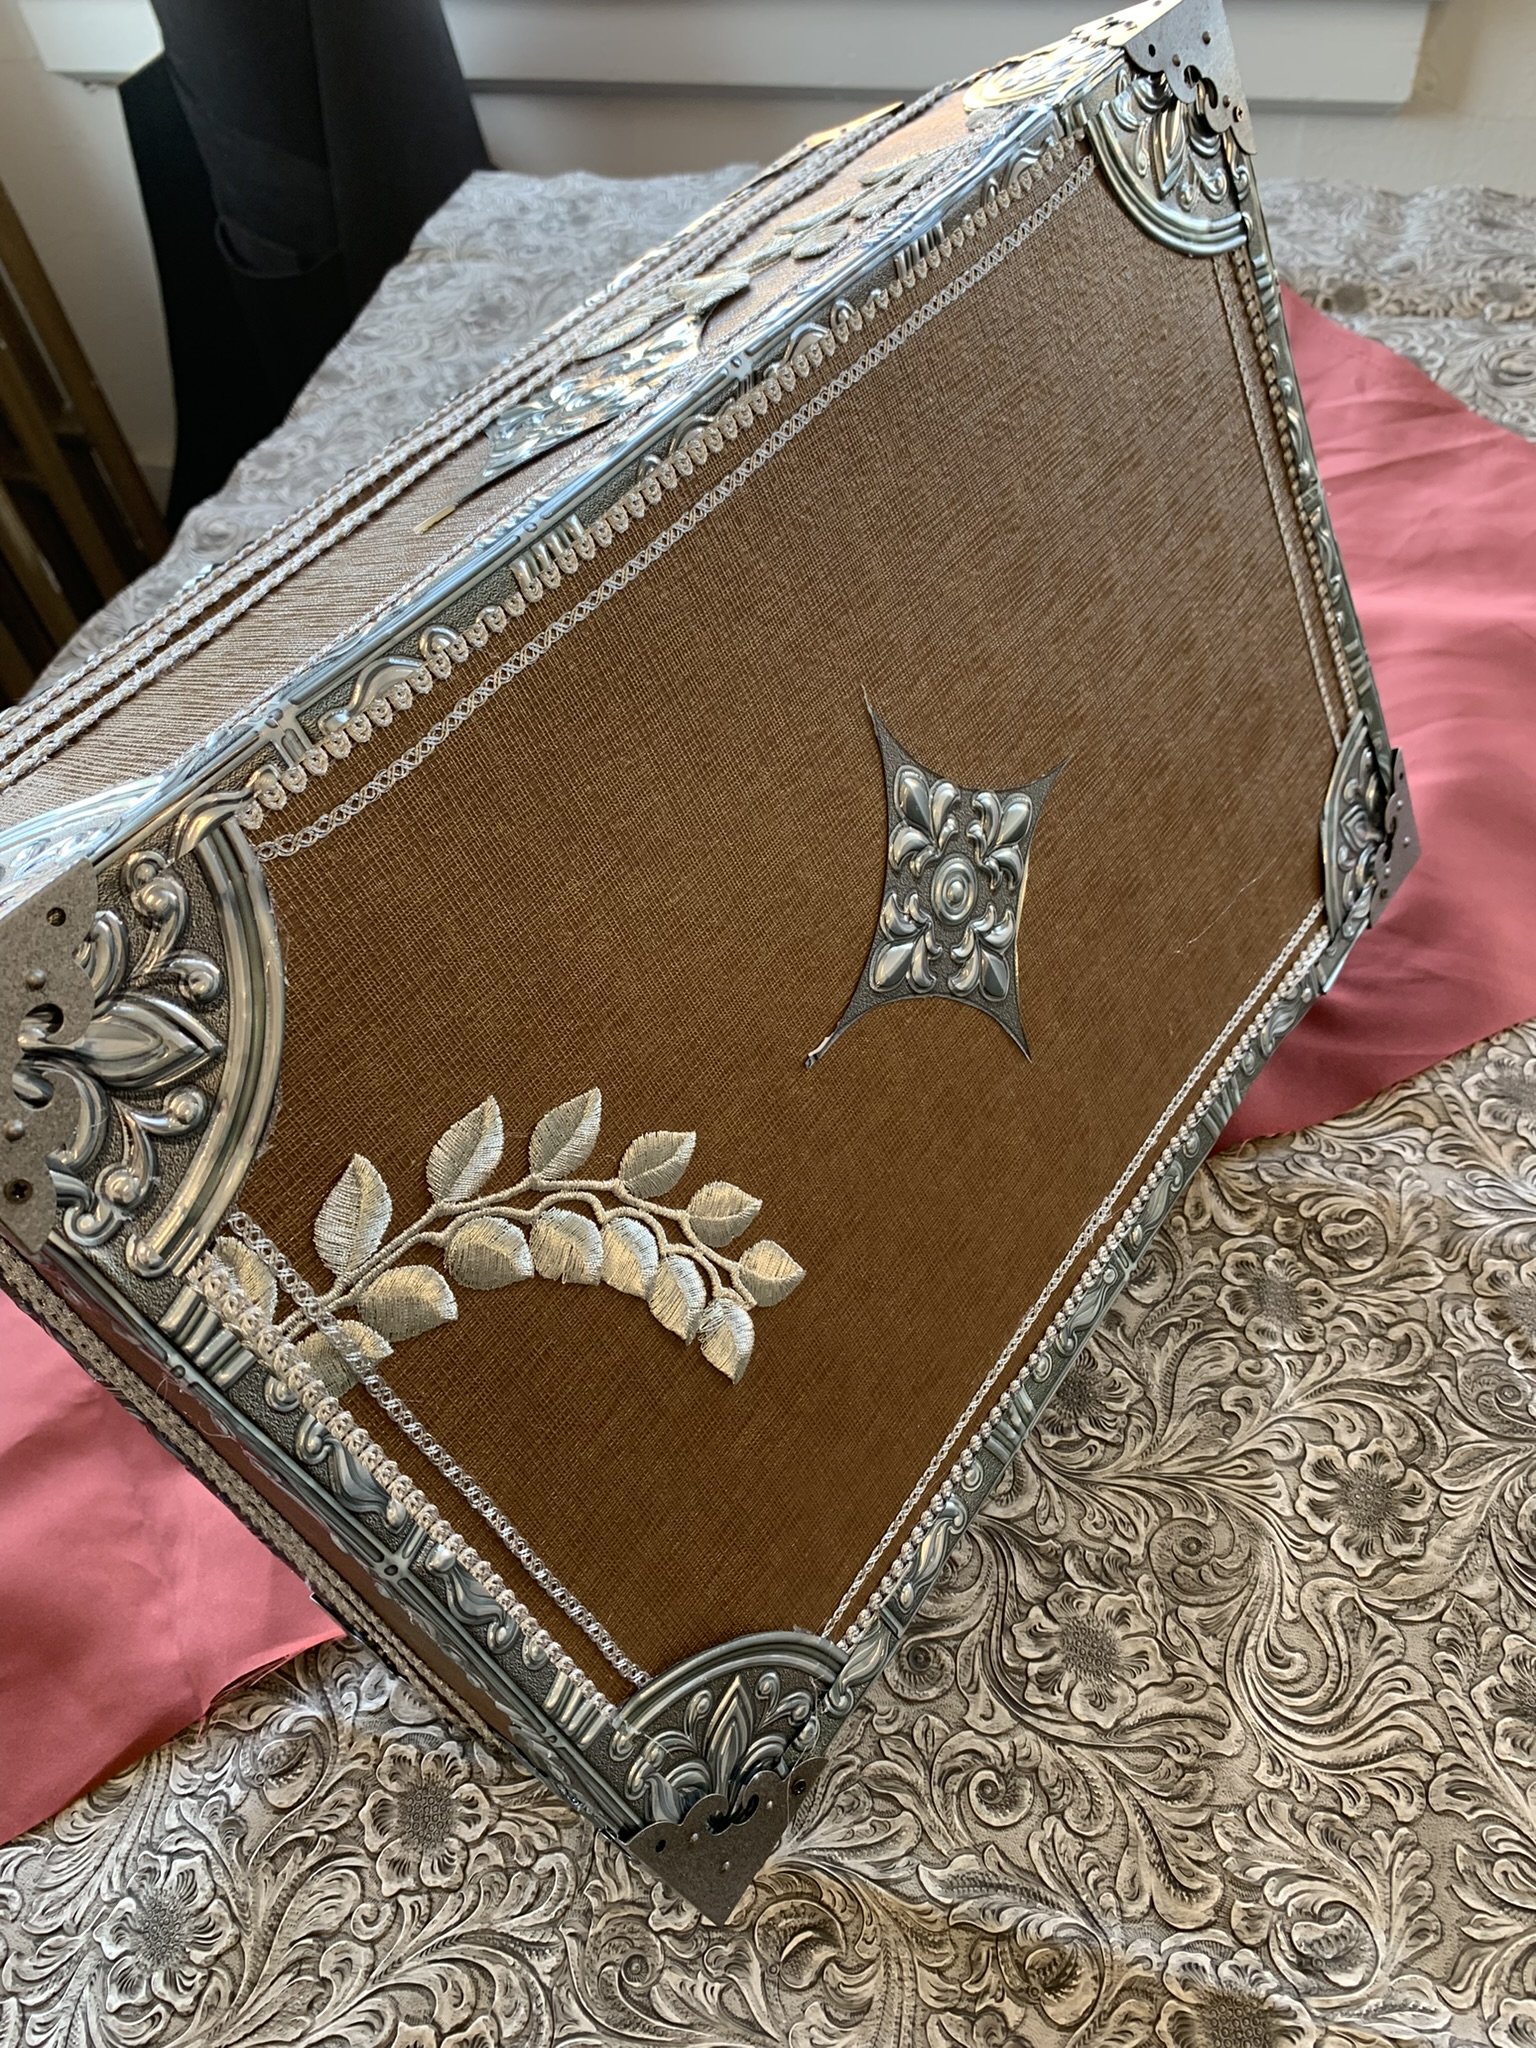
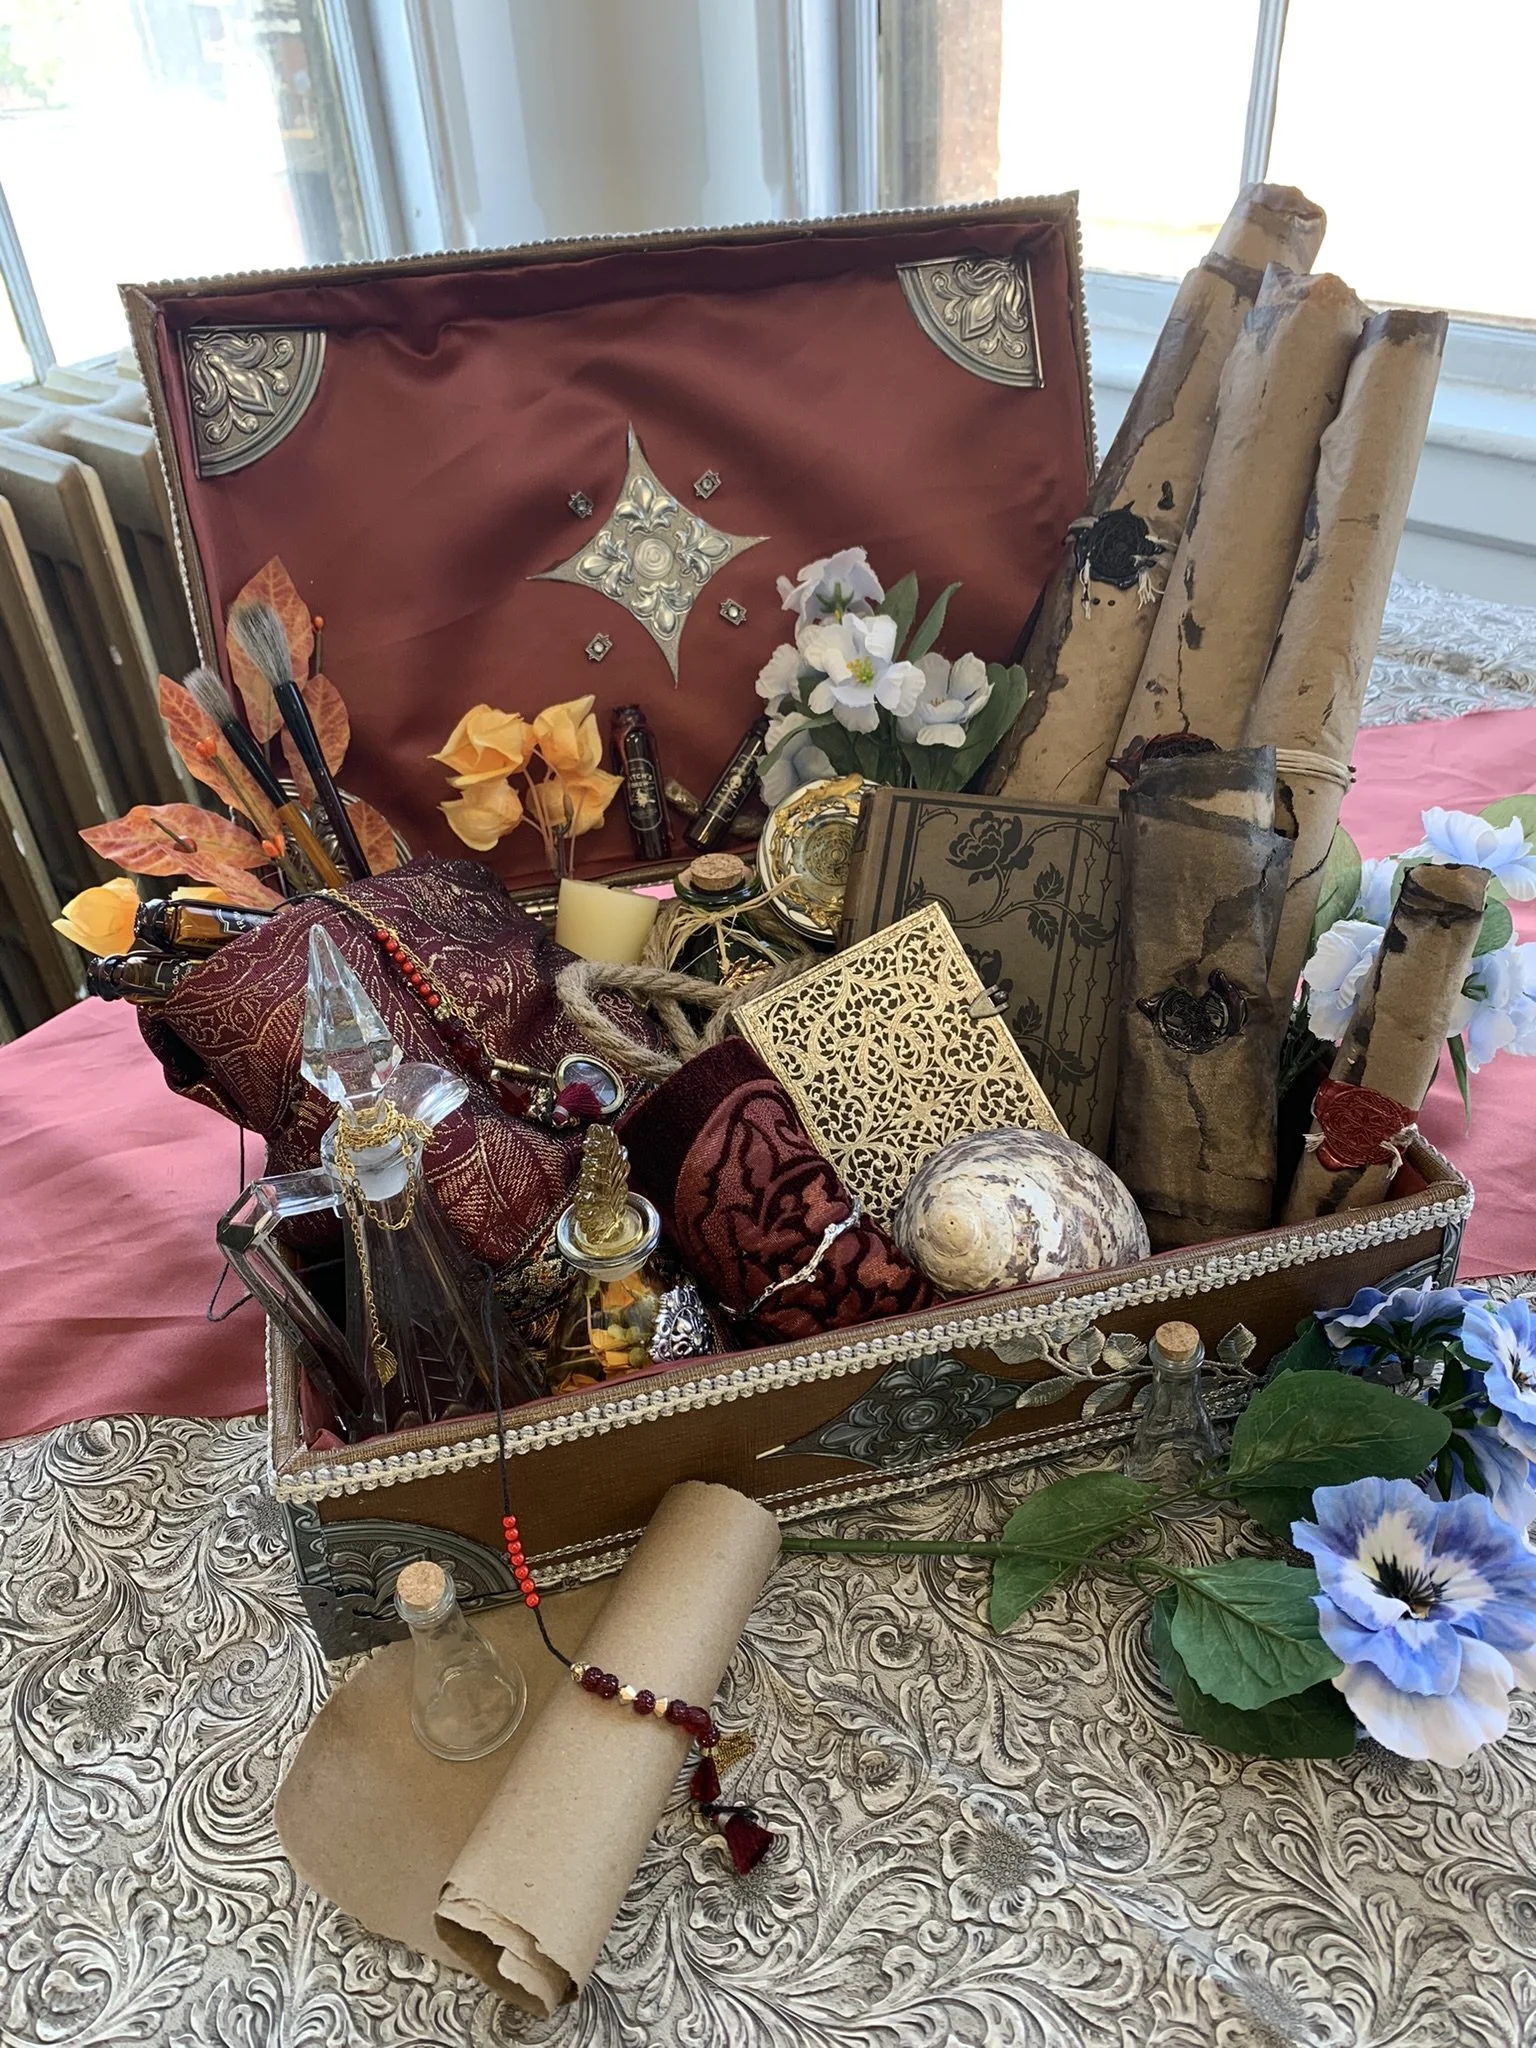
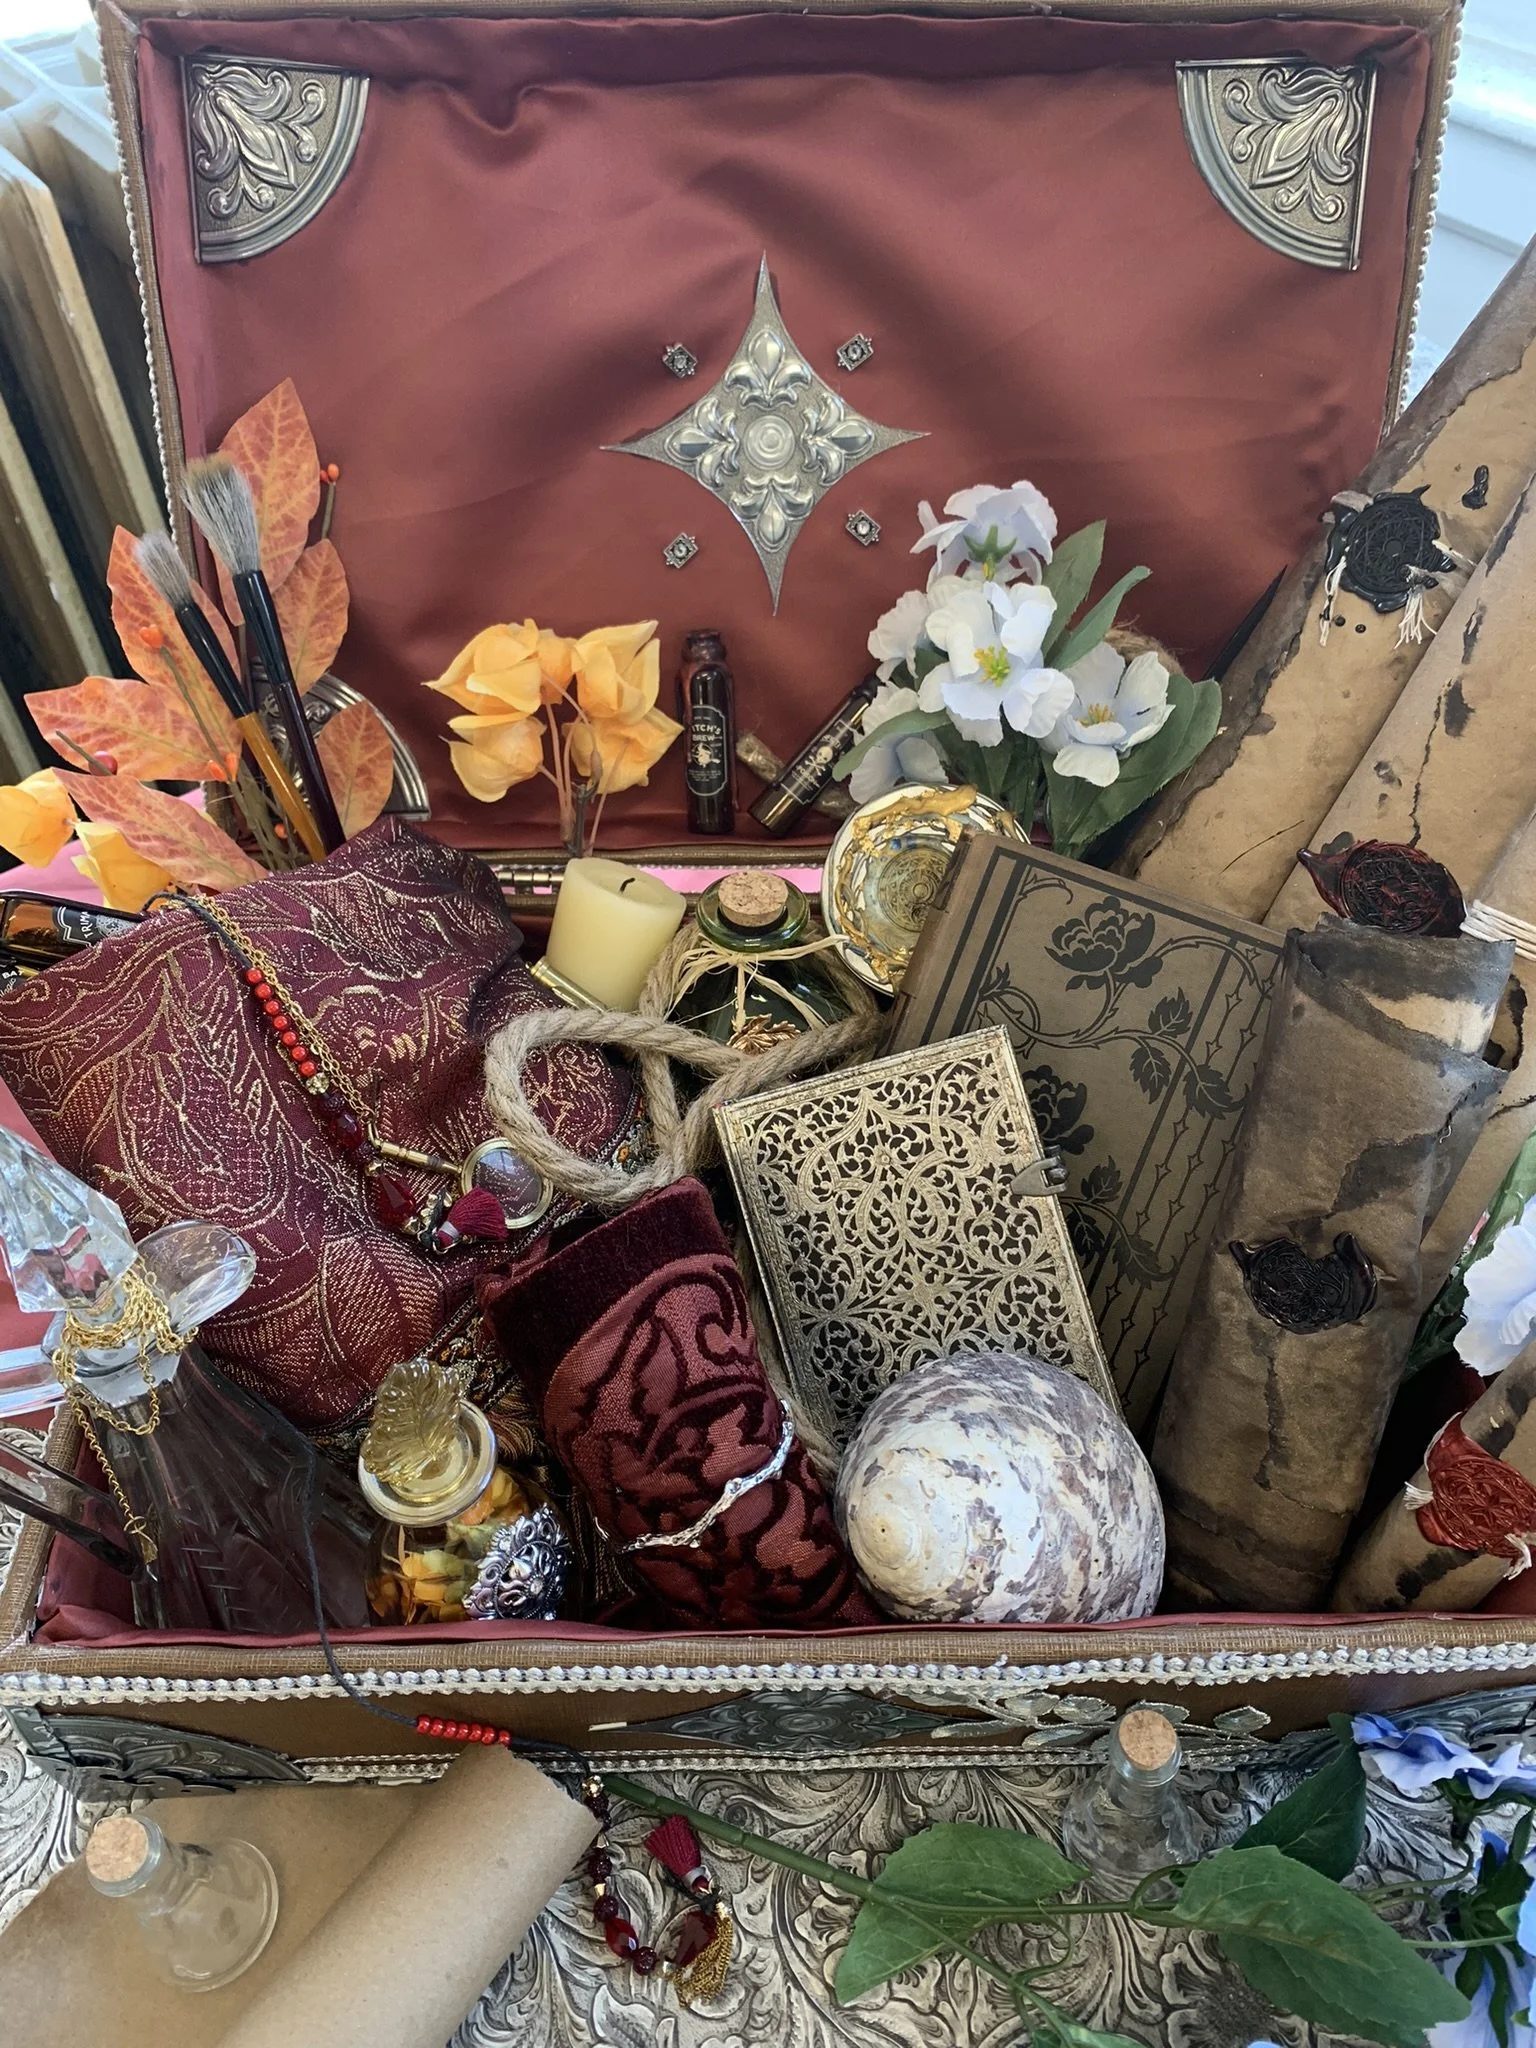
The suitcase - was really fun. I knew I didn’t want to make every item inside it so I settled on a combination of thrifting unique items and making paper items like the scrolls and some of the fabric pieces. I absolutely loved picking out and putting together all the trinkets.
The box construction started as one of those keepsake boxes you can find at Joanns or Michels.
This is the internal structure. With some of my made scrolls and findings
Scrolls are made from craft paper. I ripped the edges of them for some roughness and soaked the paper in a paint bath to tarnish and warp the paper.
I hung the paper to dry then rolled it into the scroll shape.
Using acrylic paints I weathered the edges more intensely. I did try burning some of the edges but I found the paint was more effective.
I finished the paper bindings with string and a wax seal.
Some of the jars and vials also got wax seals.
Constructing the box:
I used a vinyl for the exterior and a satin for the interior
For the exterior:
I removed all hardware from the original box
I measured and cut the vinyl down to shape.
I anchored the fabric on the back and then stretched the fabric from one side to the other. Secured with staples. I had done some upholstery work prior to this project so I used those techniques to get the fabric into a really nice fit.
Then I just went wild with the decorations. The flat tiles are floor tiles that I cut into my desired shapes and glued to the surface. While the leaf trim was a ribbon applique I purchased and cut and arranged the way I wanted and glued those down.
For the interior:
I cut the fabric similarly to the outside.
Then I measured my top width and length and marked that as my inner rectangle.
I sewed from each corner out by a diagonal to the edges with right sides together and this formed the inside shape of the box. I did this for both top and bottom.
I did try a few techniques for securing the lining to the side of the box. And I settled on glue. In future I would hand sew this so it would be cleaner.
I couldn’t help myself and put some of the exterior details on the inside as well.
To finish everything I added new hardware, door hinges and closures to the font and added all the corner pieces. I sewed together a handle and that was screwed in and detailed as well.
The prop is made from:
Pvc pipe that can disconnect in 3 places
Insulation foam is the base of the moon shape
Eva foam clay cover and details
Resin for the center red gem
Fabric for the sash ornamented in filigree, rhinestones, and a bead.
Happy Sewing